A Sandy Base
I’ve been poking along on my carving in between raking leaves, cleaning windows, raking leaves, getting the house ready for winter, raking leaves…did I mention raking leaves?
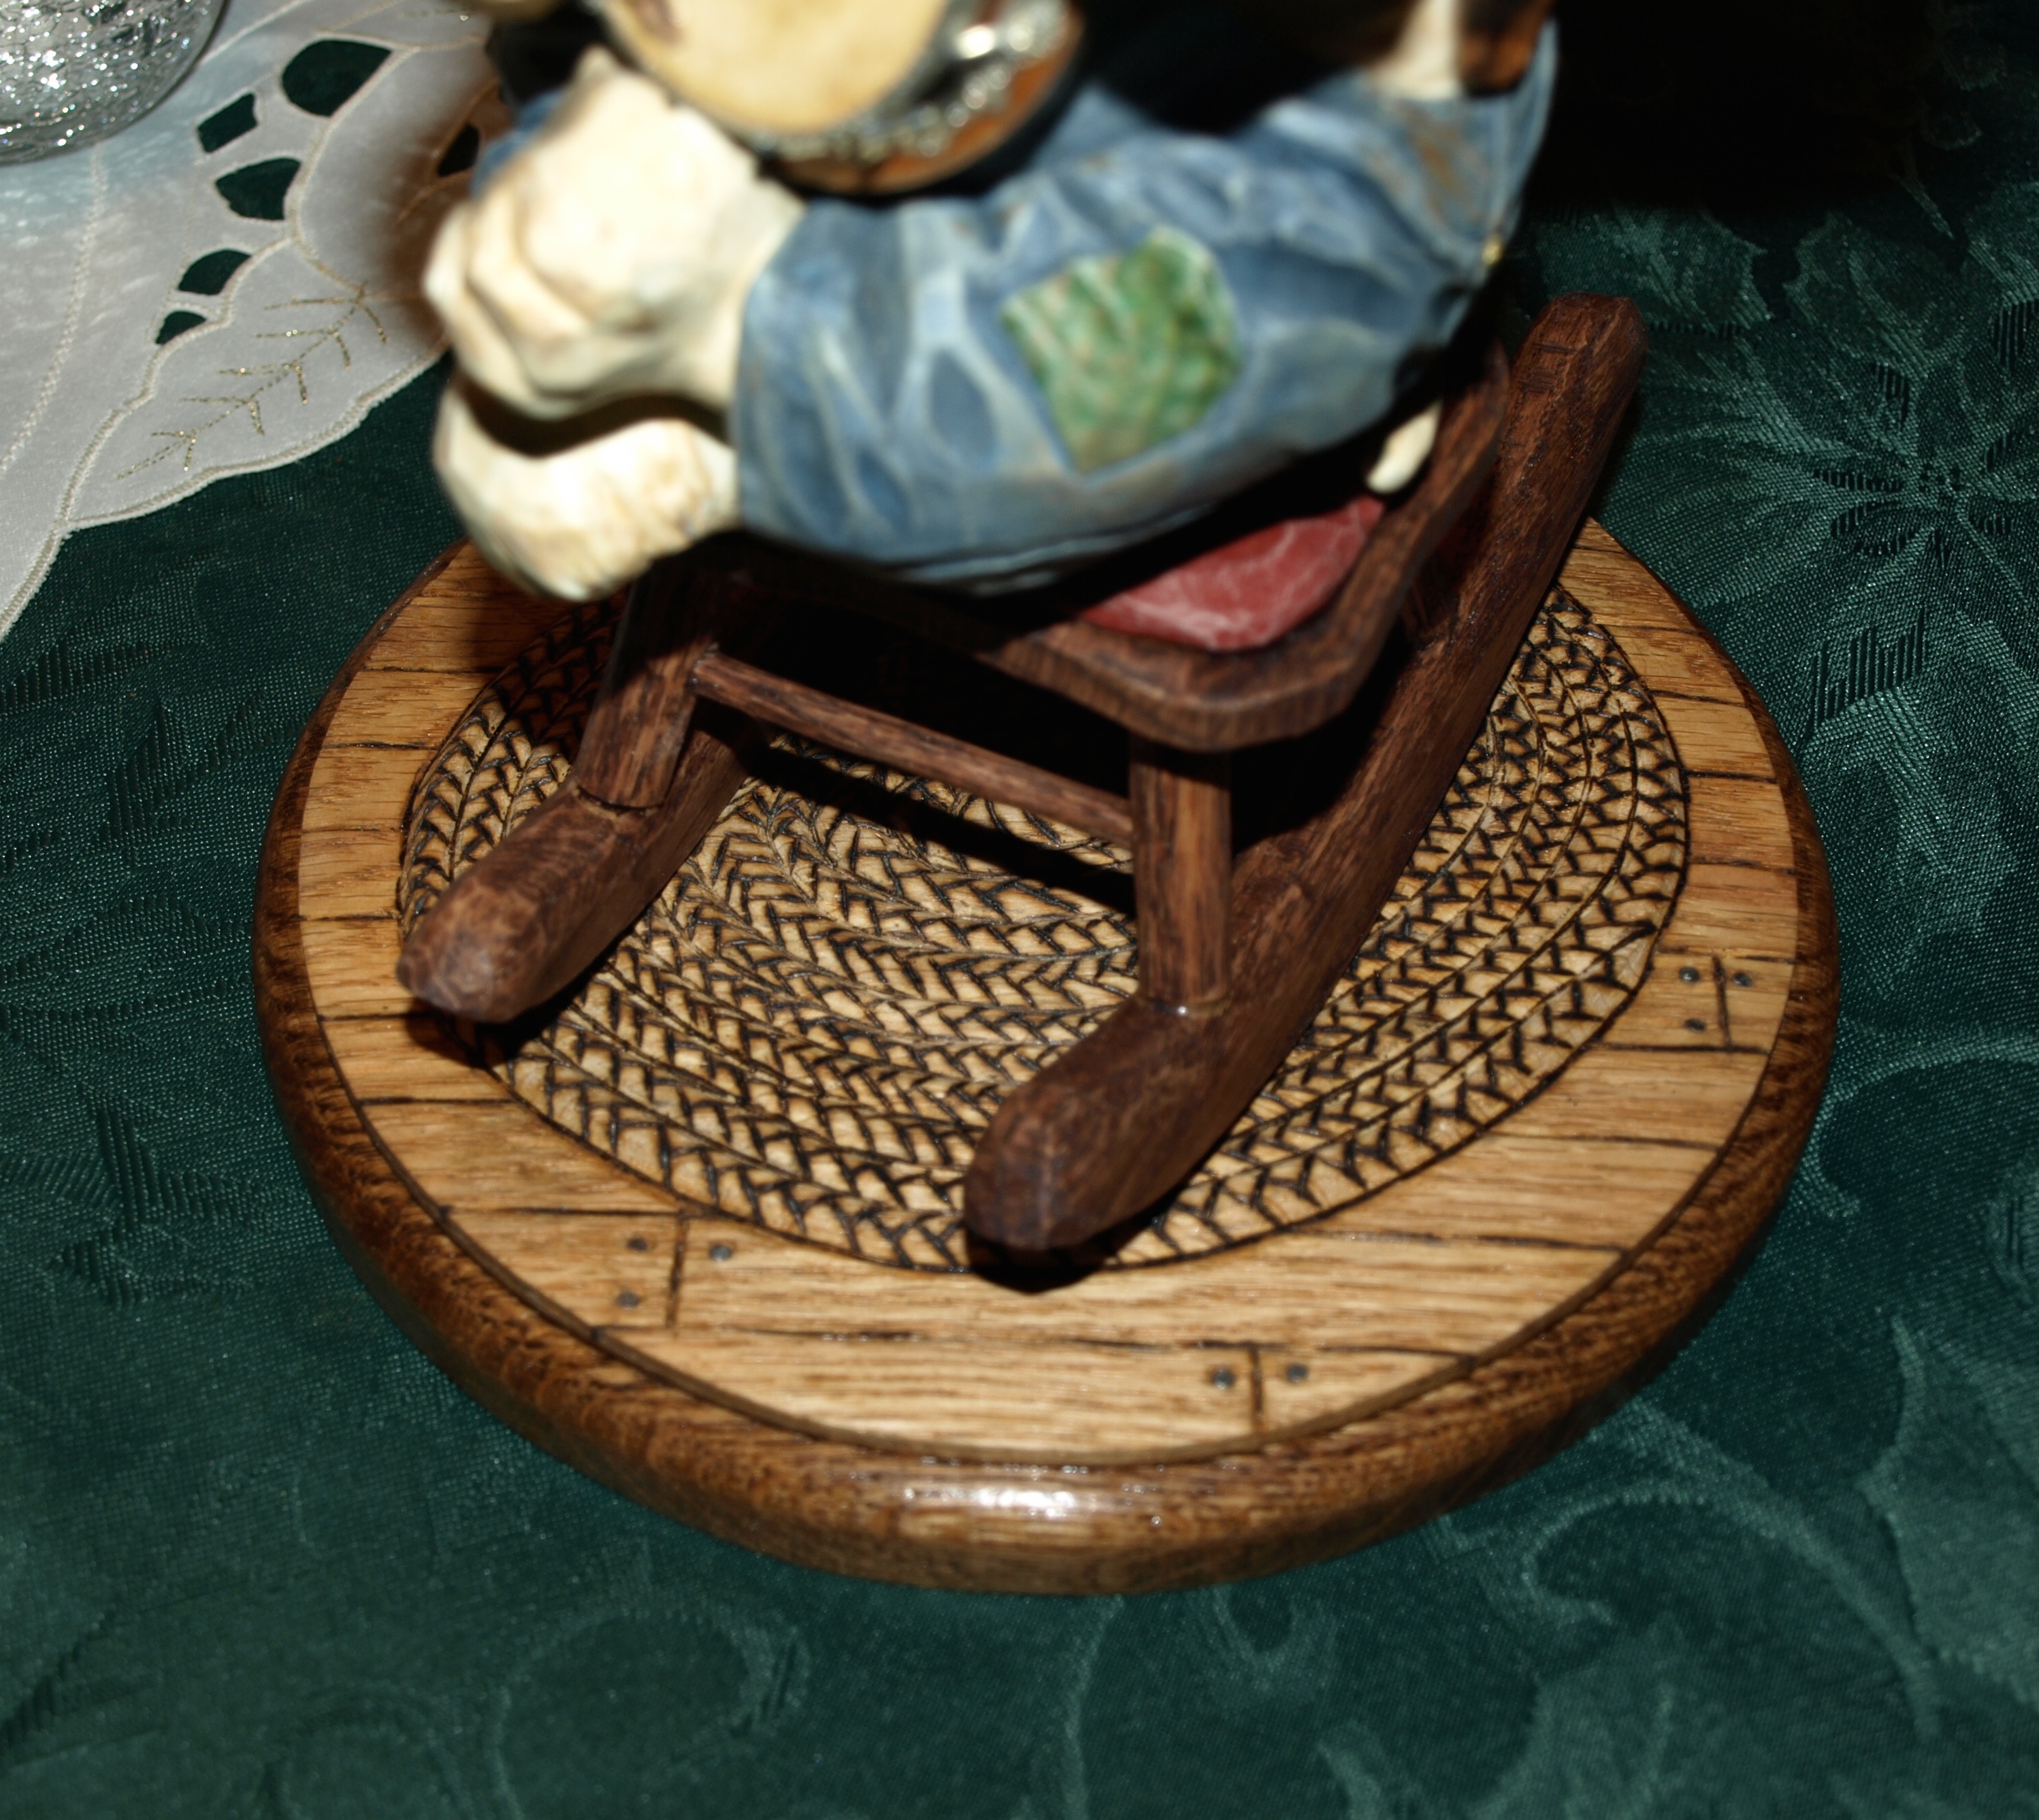
The base is my usual 1/2″ oak and I’ve added some sand for the beach scene. The sand is once again a polymer mixed with aggregate that is used in the patio block laying business. The nice thing about the mix is that once I screen out the larger pieces and am left with the “sand”, adding a little water activates the polymer and sets it rock hard. I actually mix it with a bit of white glue and water to give it greater sticking power.
Here’s a photo of what it looked like while it was still drying. Once dry, I’ll give it a couple of coats of sand coloured acrylic paint. By the way, I’ve added a little sand pail and shovel along with some small shells. The shells almost look real because…they are.
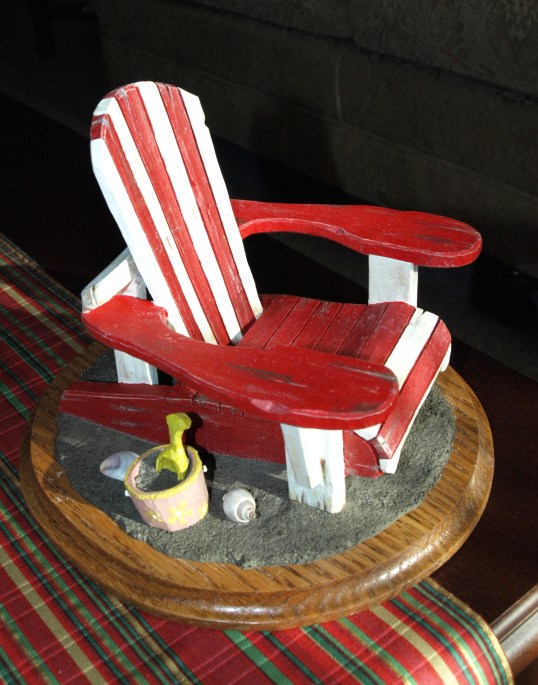
OLYMPUS DIGITAL CAMERA