Happy New Year
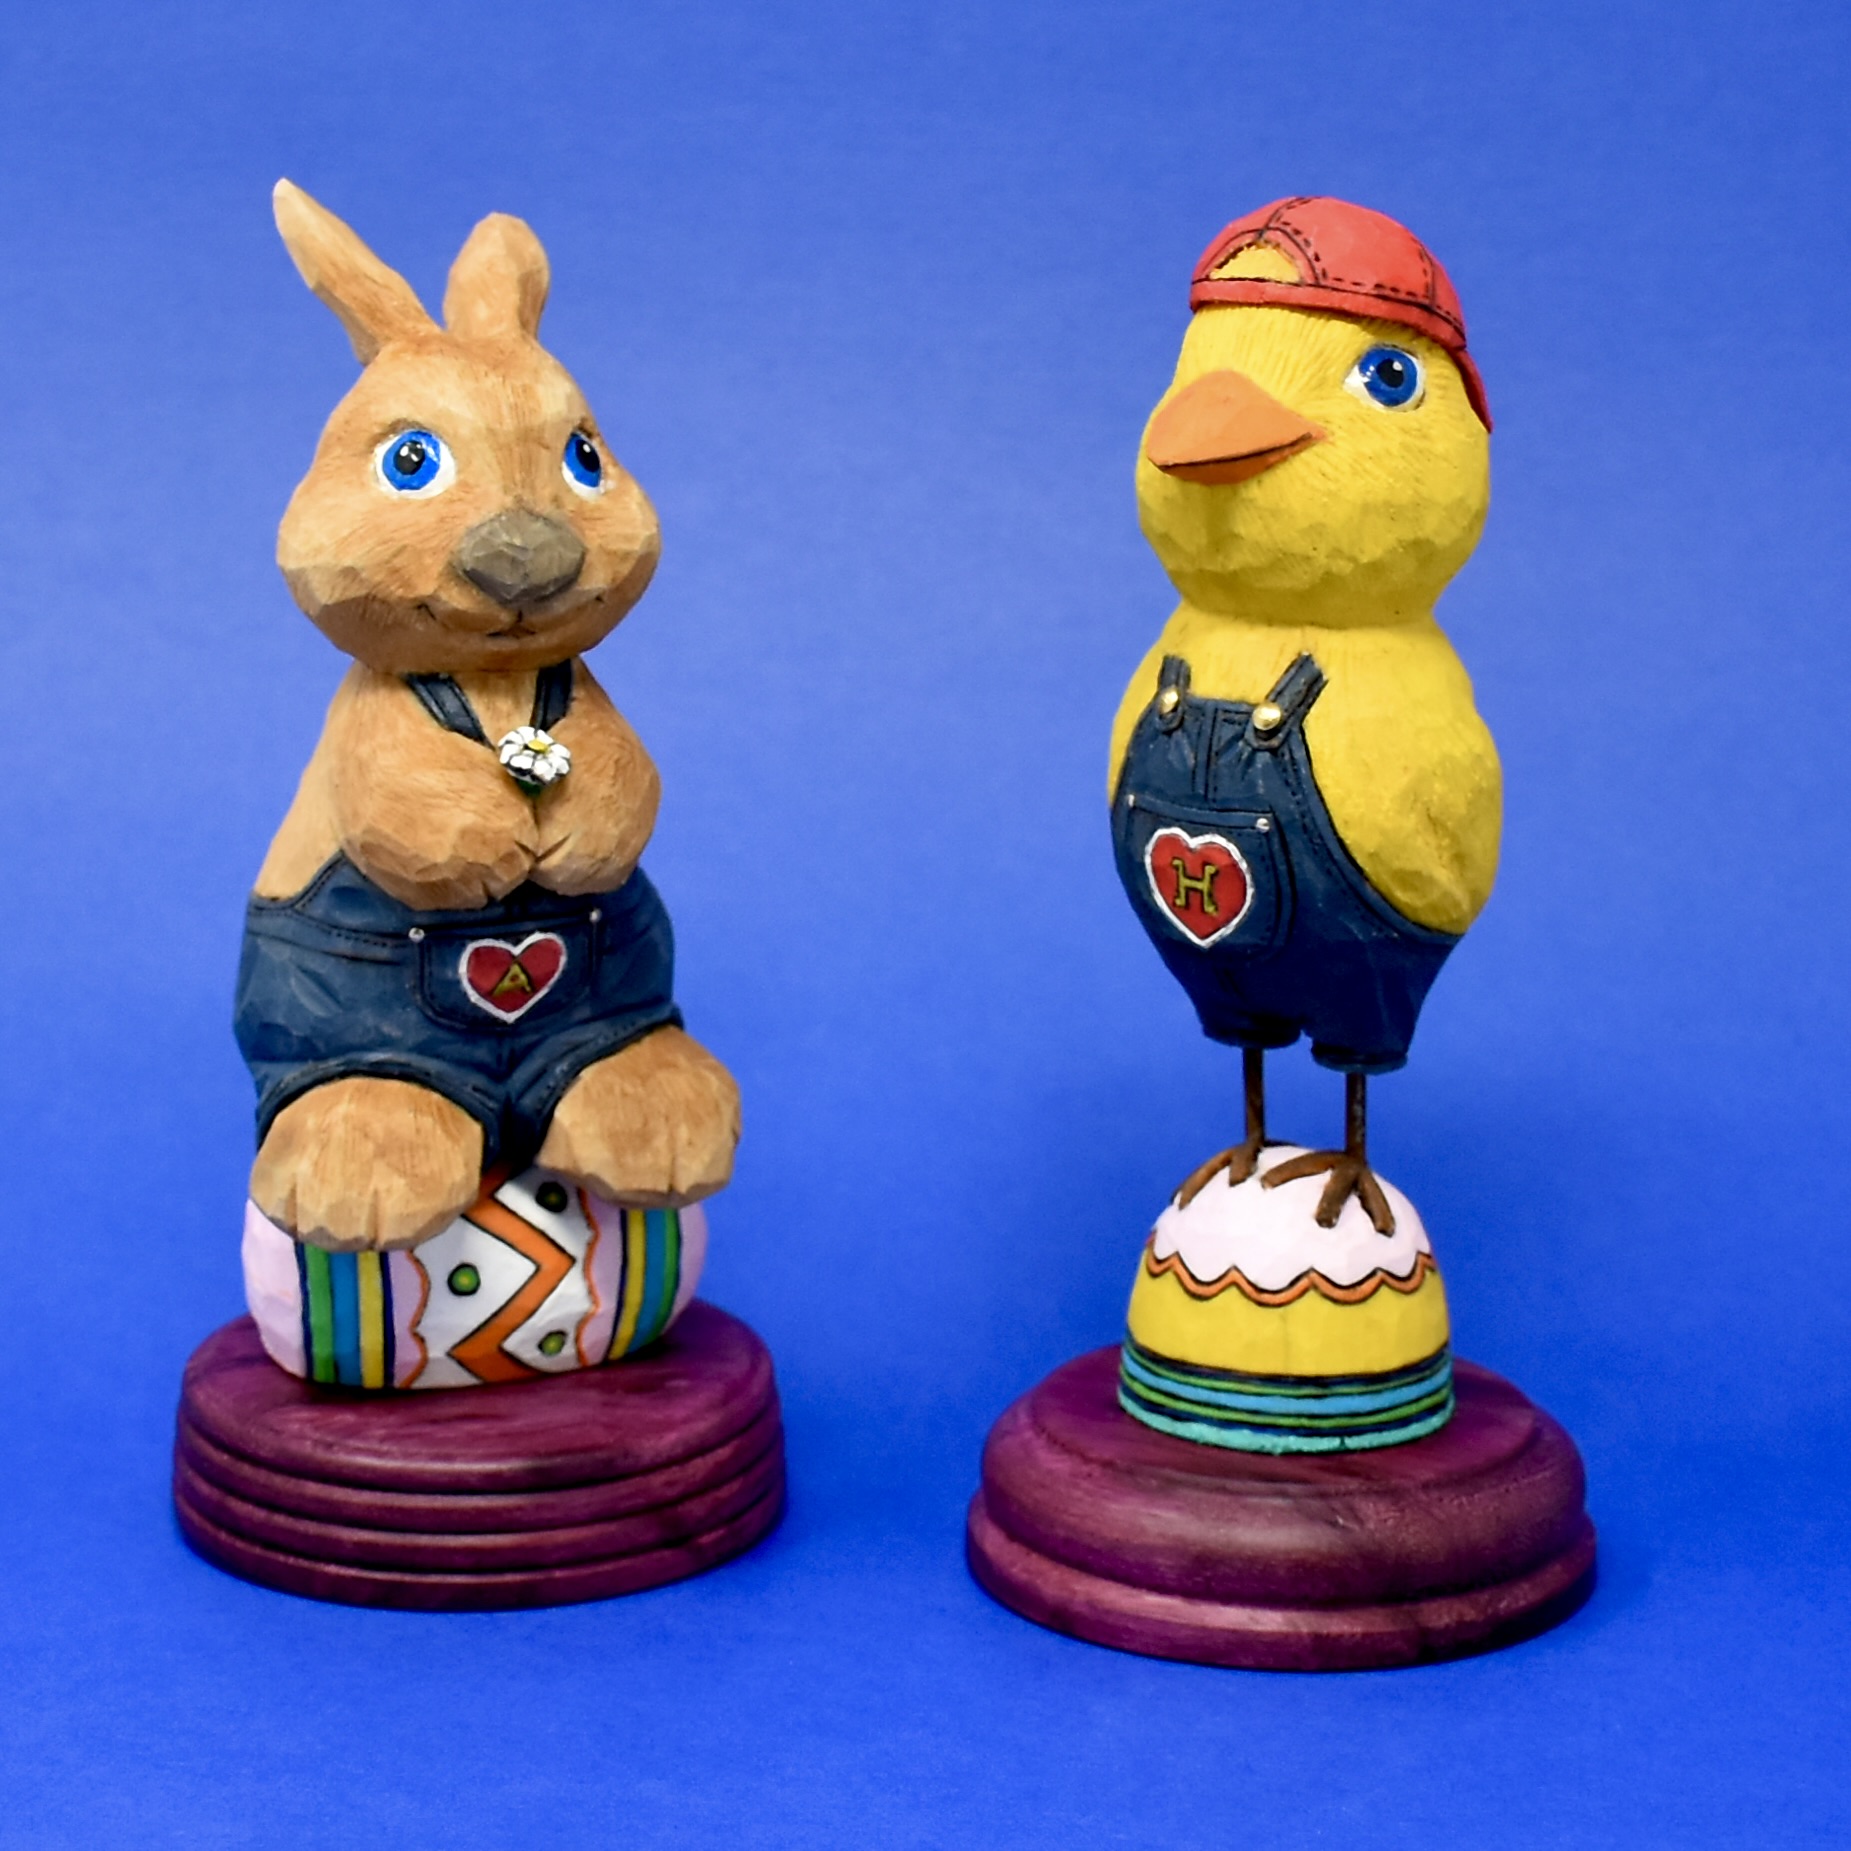
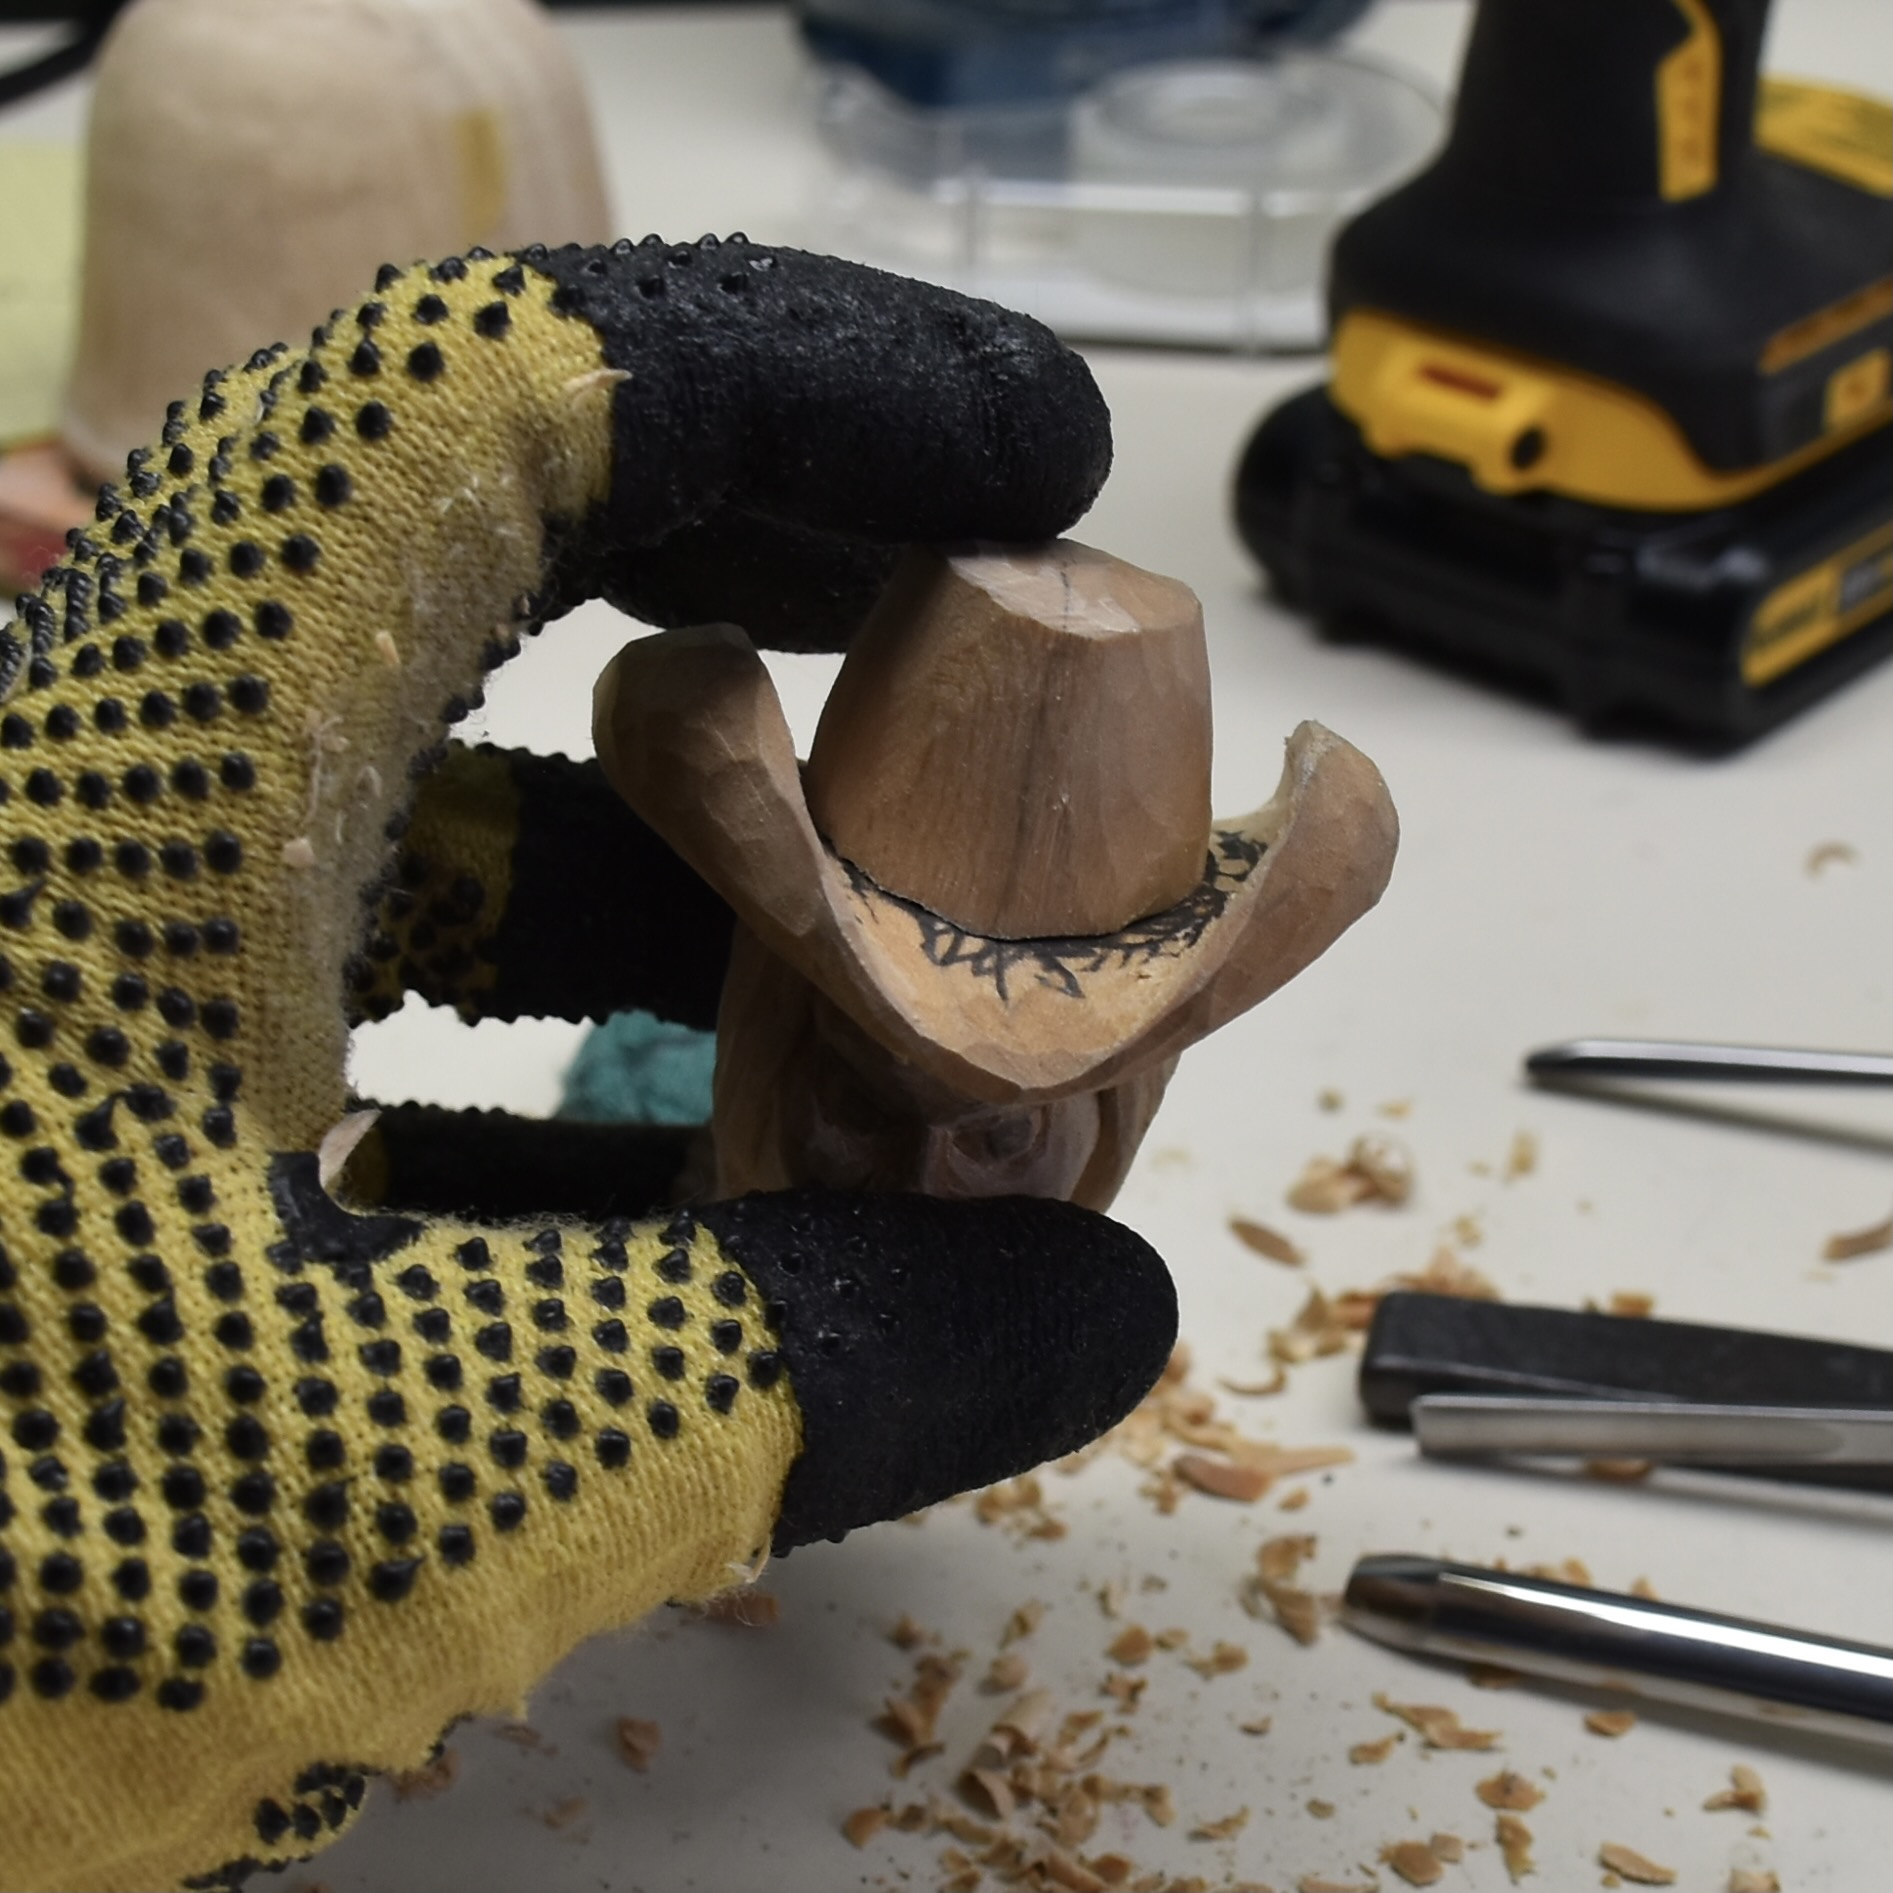
As I look back at my carving and wood turnings this past year…I started out strong with what has become one of my favourite pieces and then tapered away to smaller carvings for my two little grandchildren!
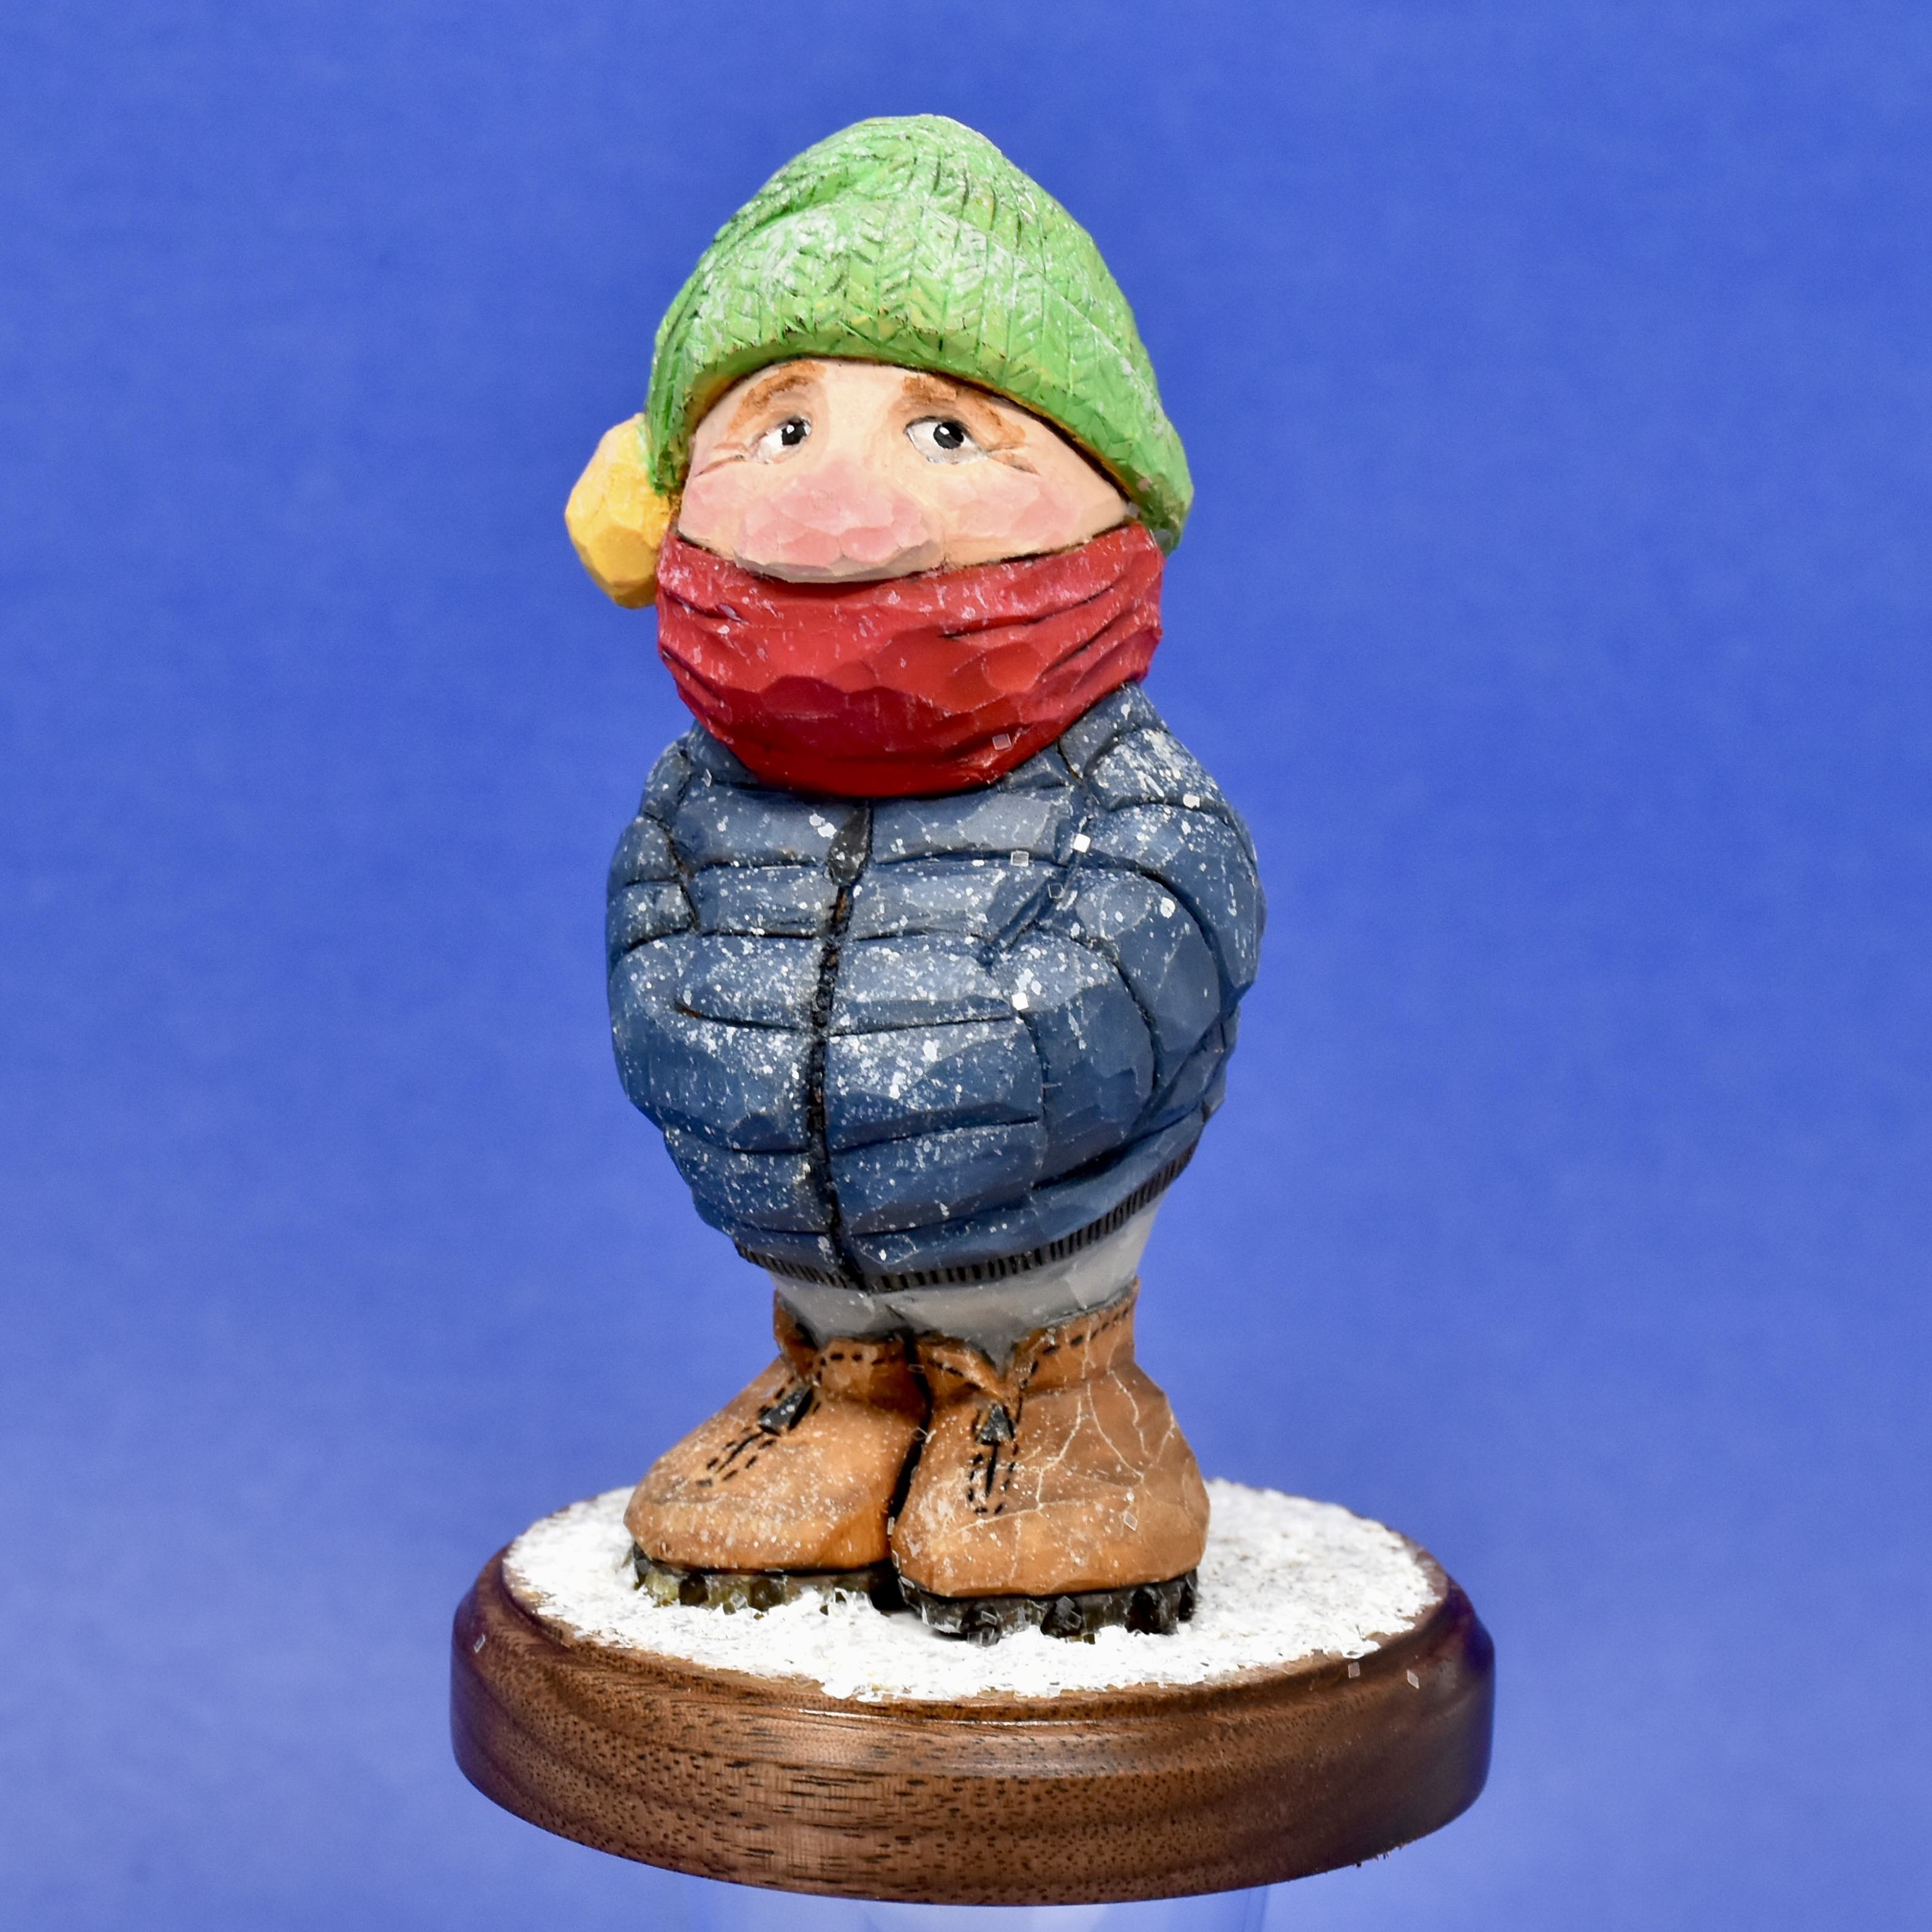
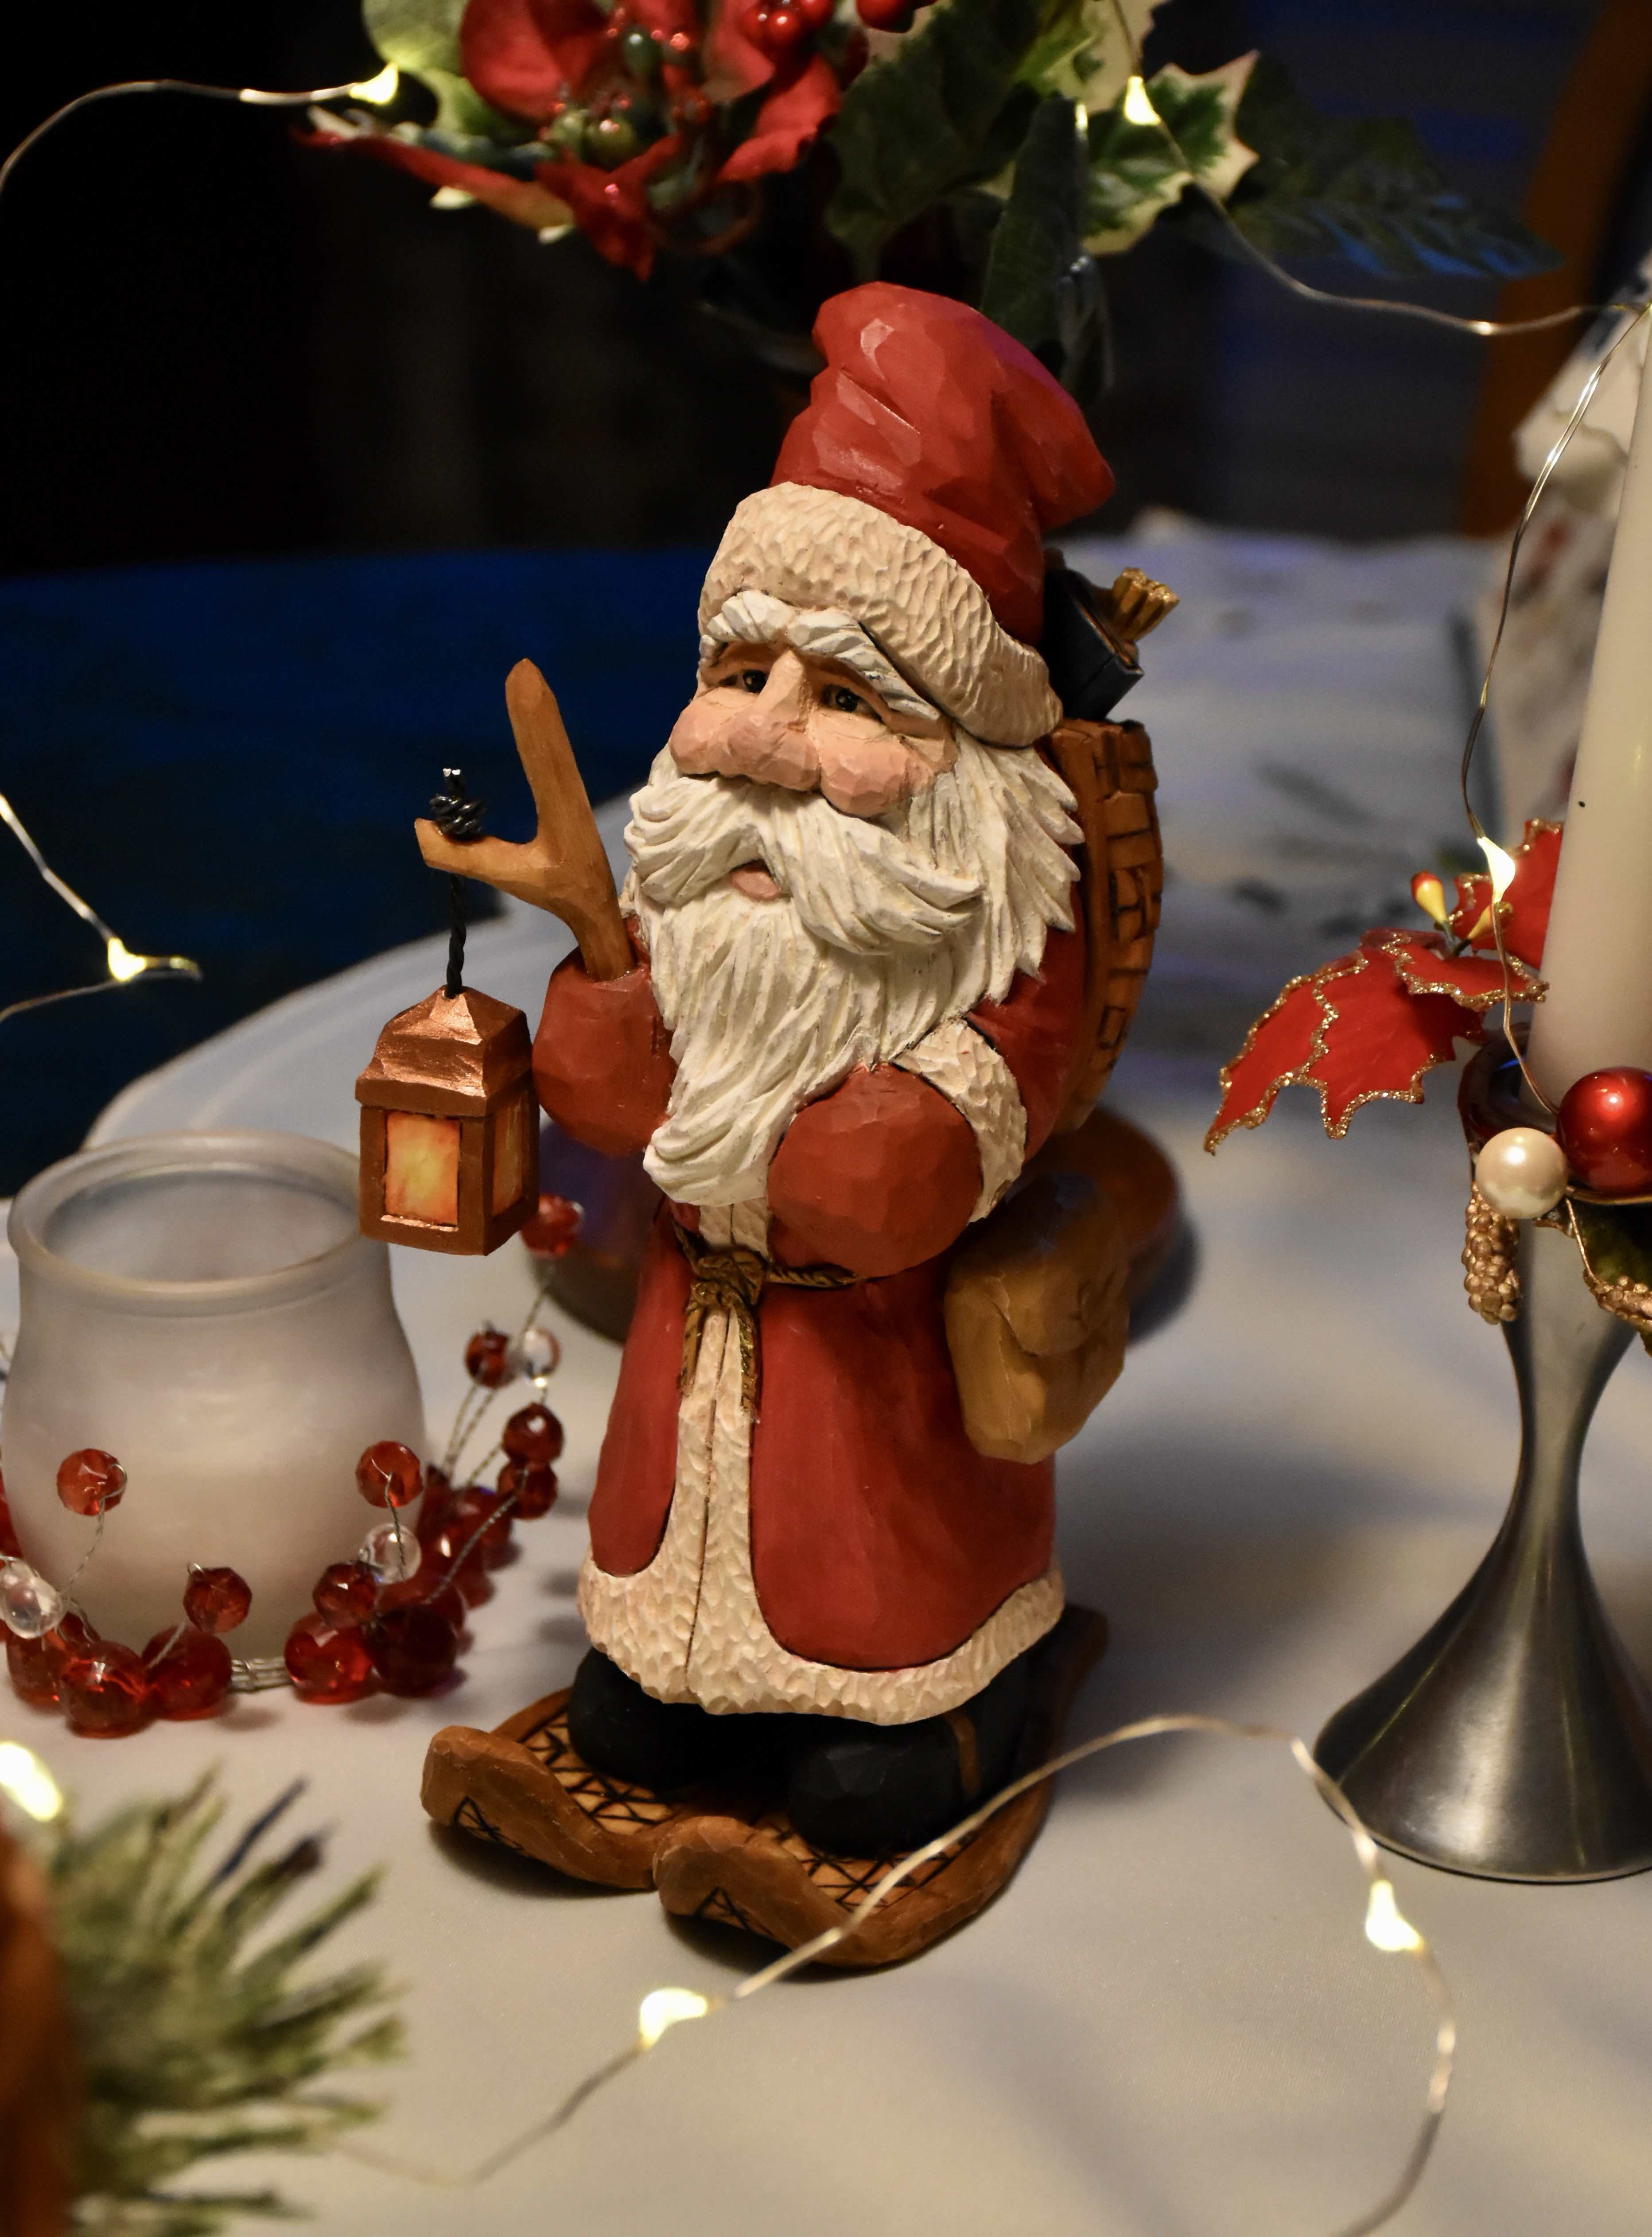
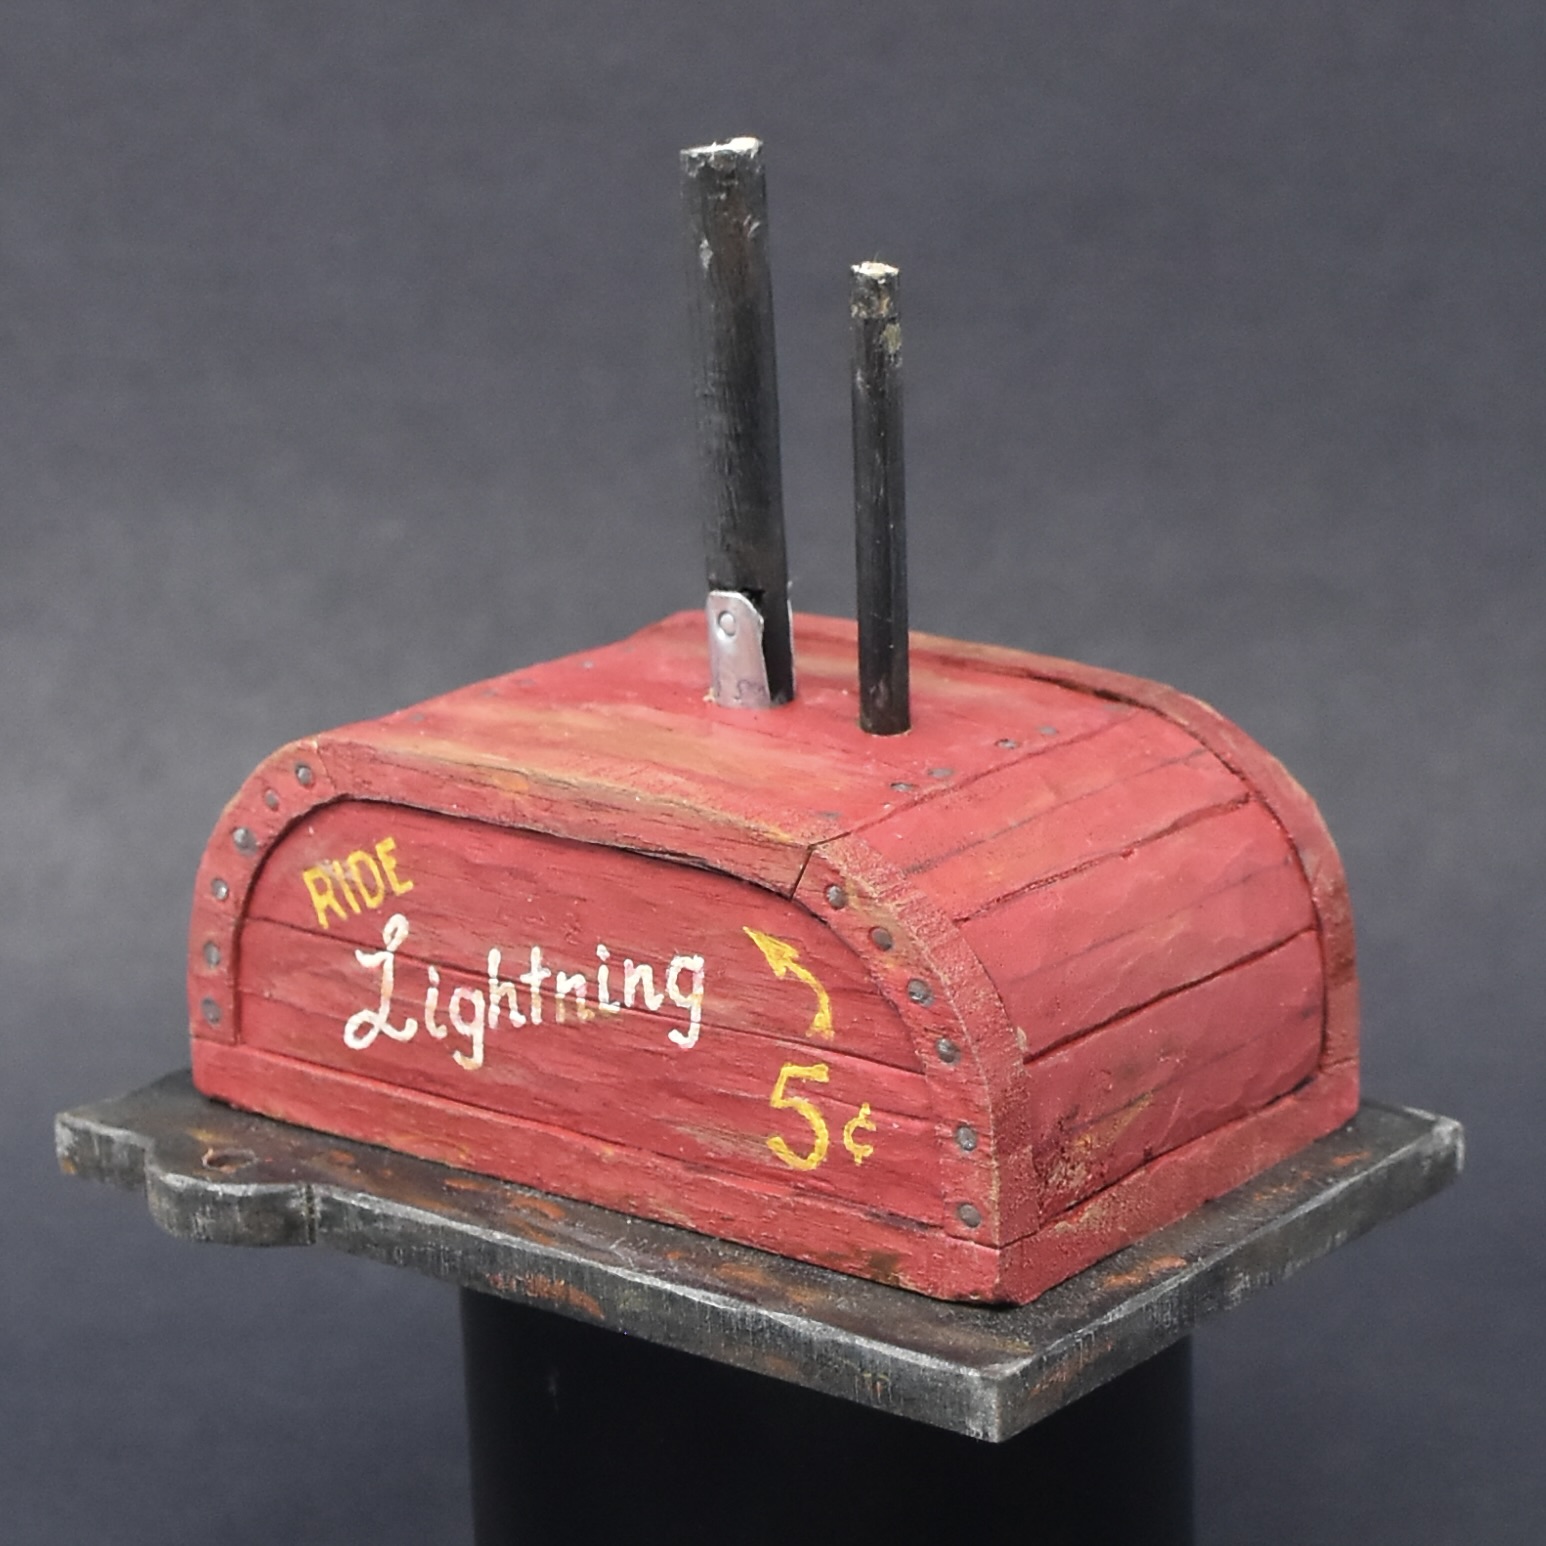
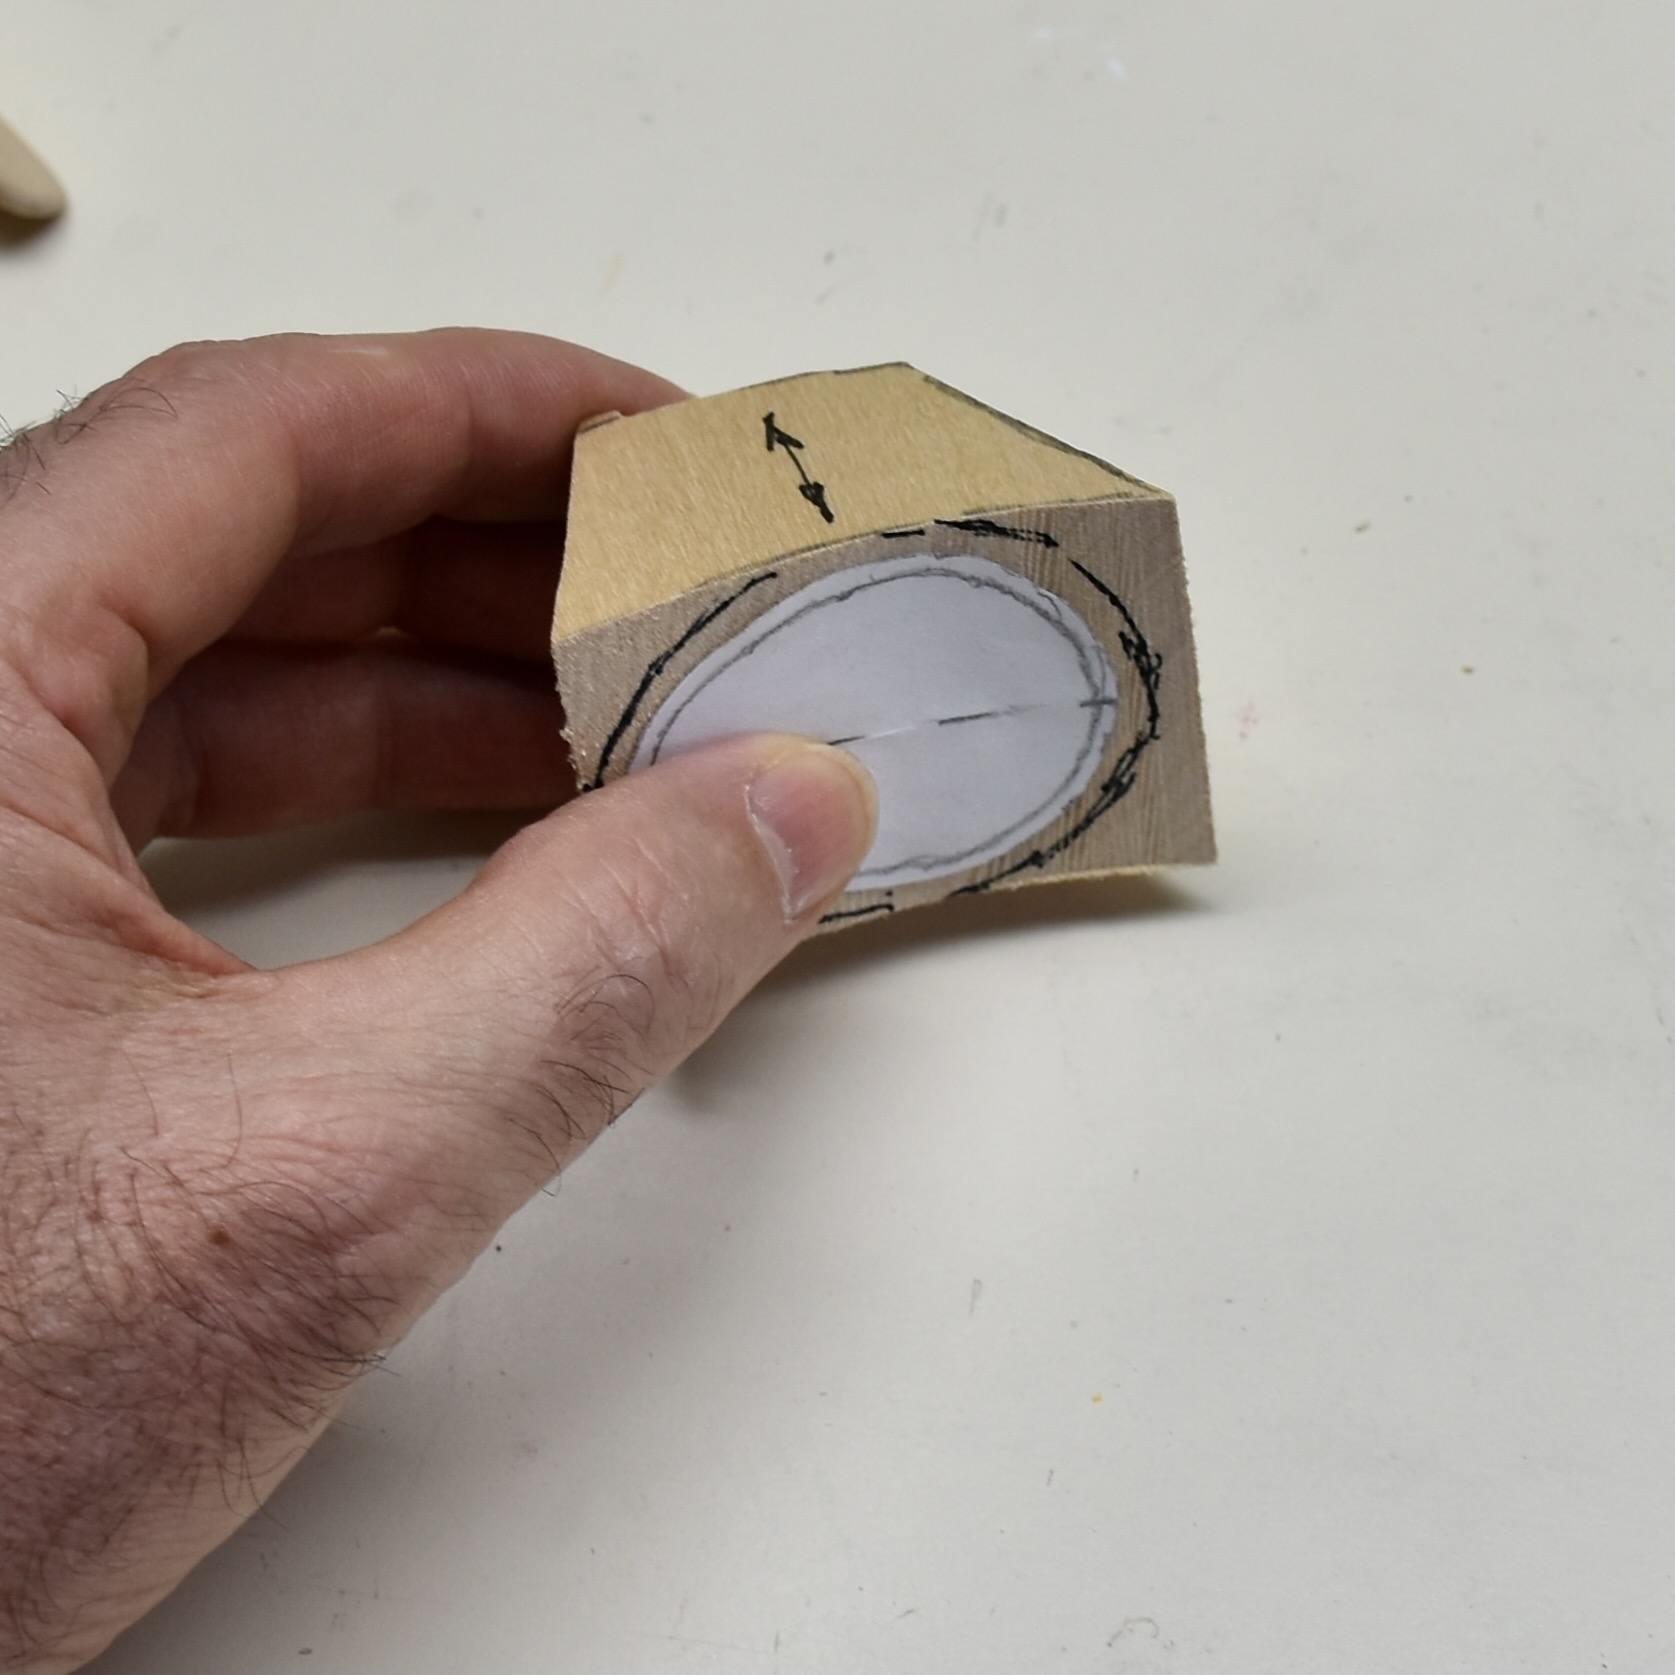
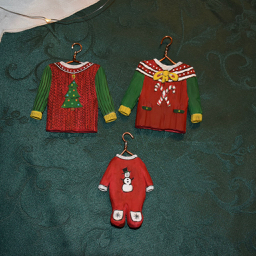
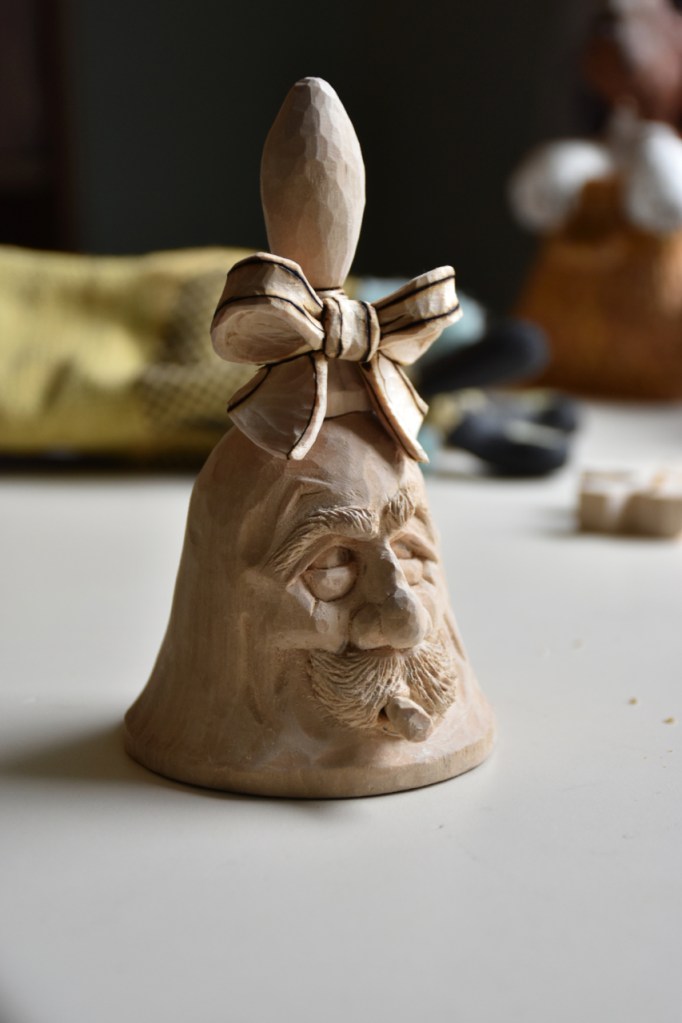
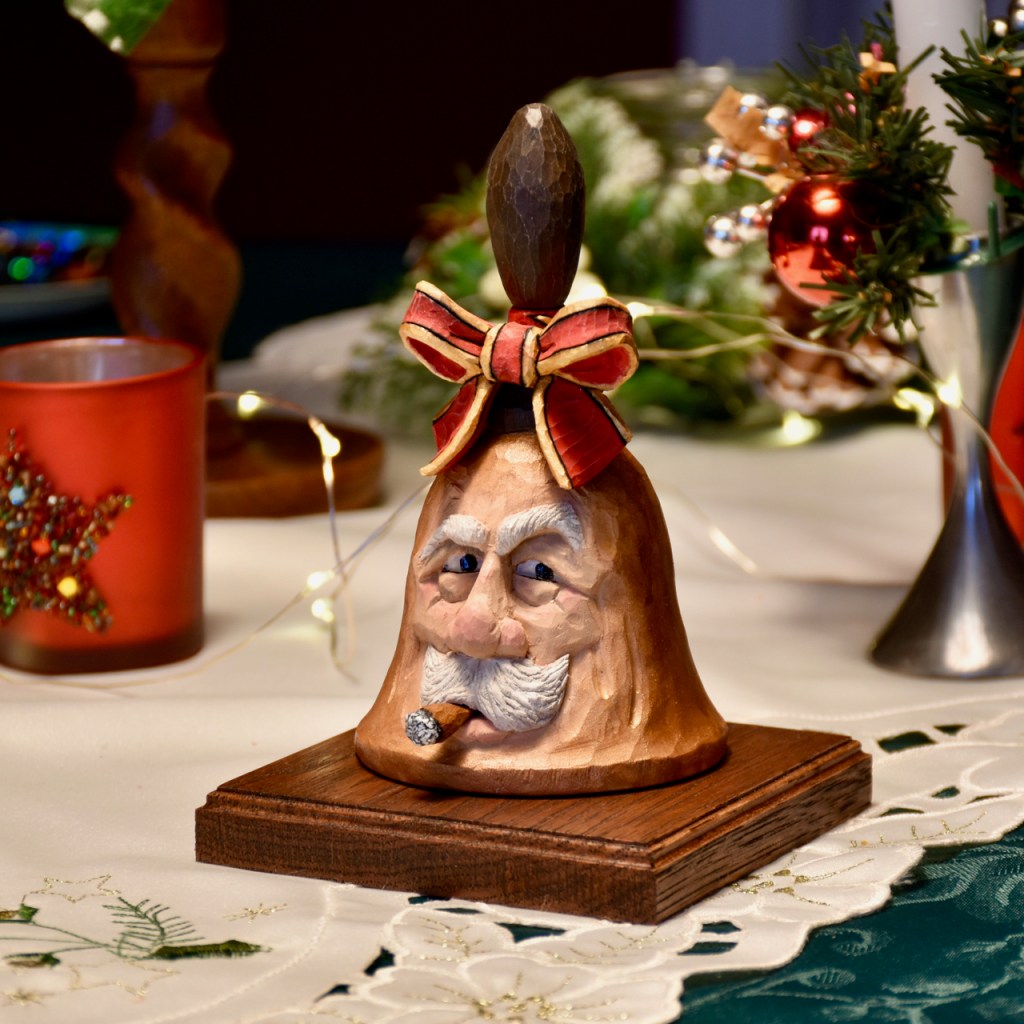
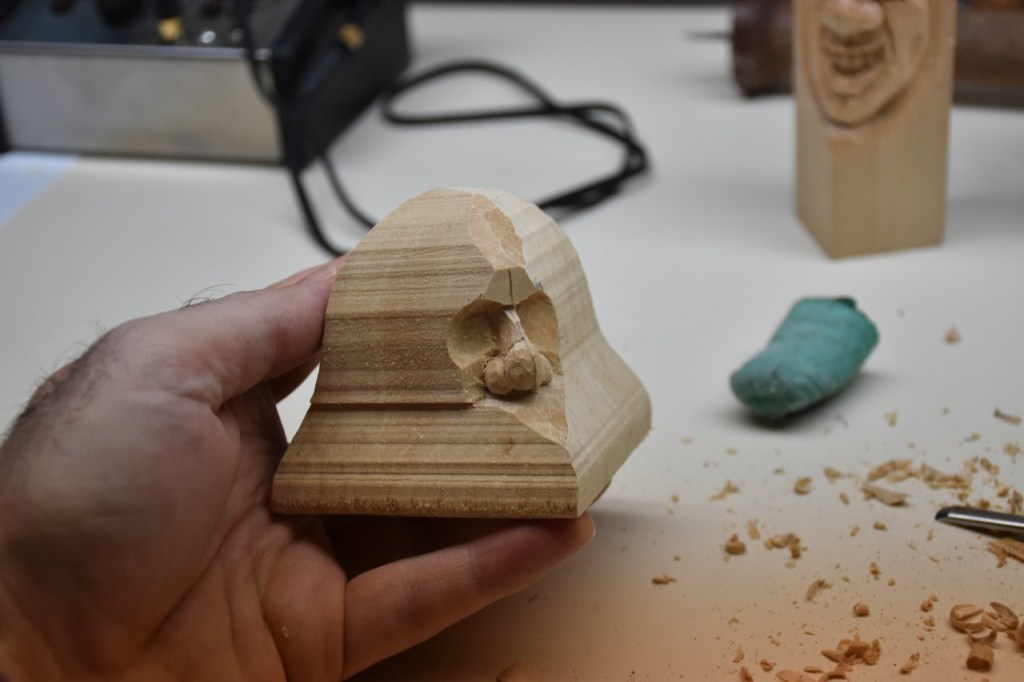
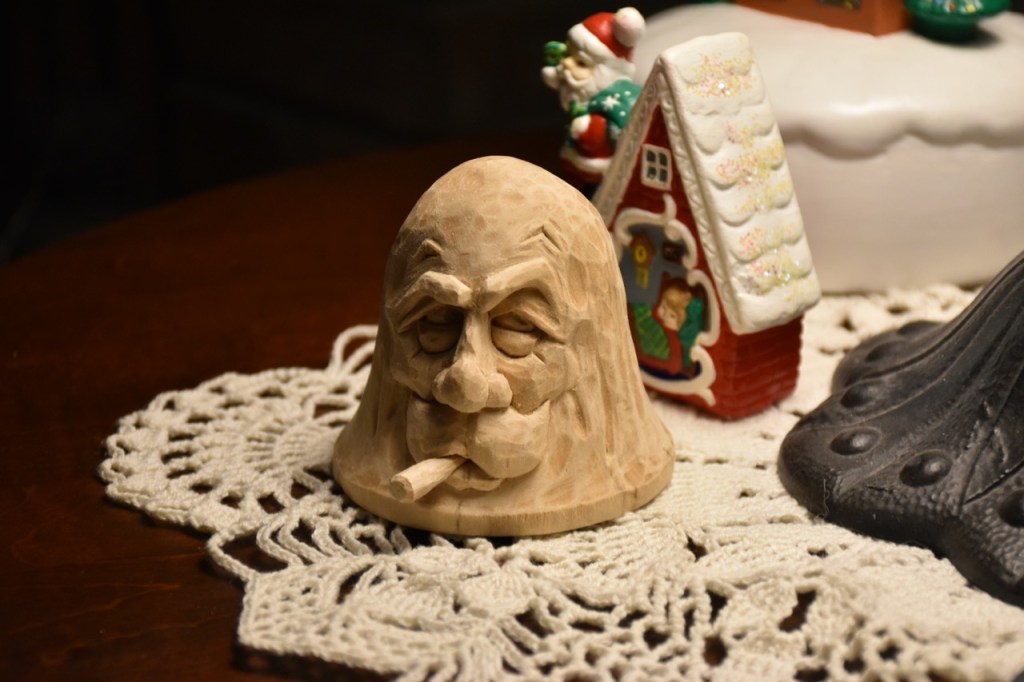
I did spend a lot of enjoyable time putting together smaller projects that I used at our local carving club in Kingston to help people with fun little projects…in particular, a whimsical “boot”, a little wintery wardrobe fellow and several of my Christmas Bell designs.
I also had a terrific opportunity to teach a half day course at Queen’s University to some really advanced art students who hadn’t got around yet to carving…I used a “Queen’s grad student” design to help them with that. What an enjoyable half day was that!
And, as I outlined in an earlier post, I worked at trying to prepare monthly Zoom call discussions and tutorials for the True North Caricature Carvers. Some of that preparation was organizing virtual shows and some was actually having hands-on displays ready to demonstrate different aspects of producing a caricature carving. That whole endeavour has turned out to be pretty rewarding with near two hundred people signed up for the Zoom calls, a Facebook page with over seven hundred “friends” and a few thousand people viewing a number of Youtube videos that we’ve created. Lots of fun…if you want to get involved in these calls, just send me an email at mark@tributesinwood.com
I hope each of you have had an enjoyable and memorable past year and I wish each of you good health and happiness in the coming year.