
Creating an Oak Base
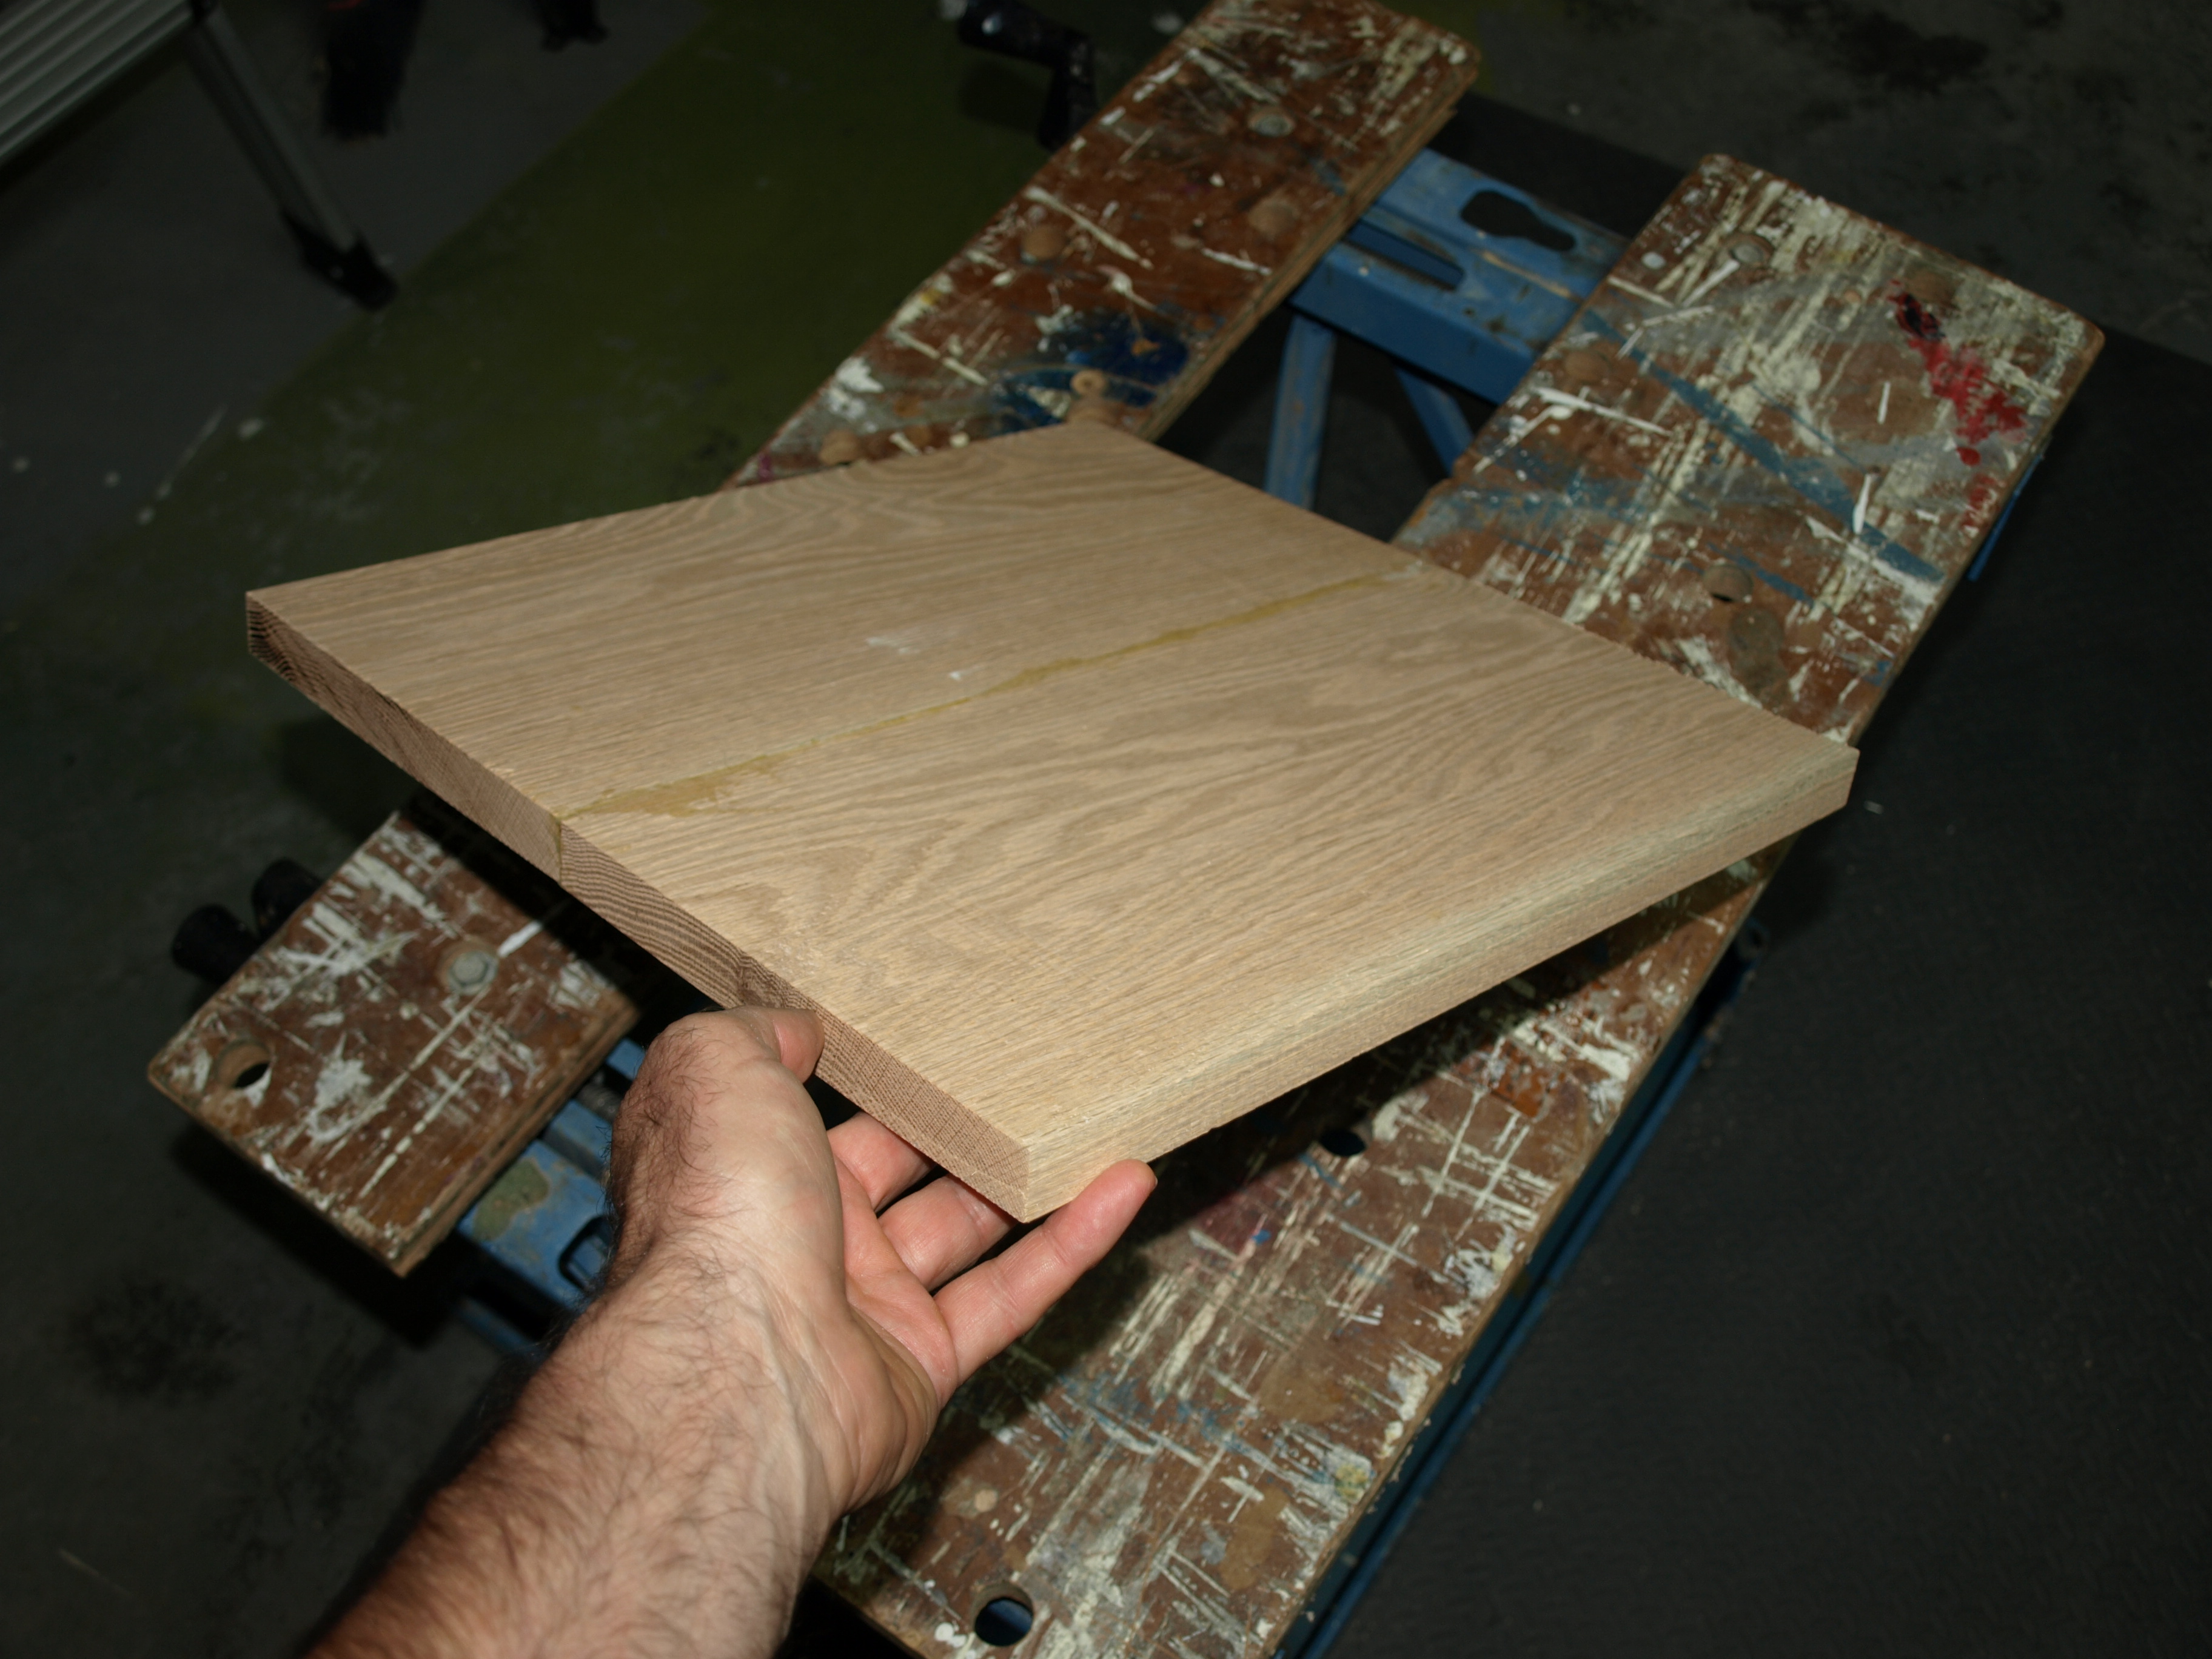
I picked up a beautiful piece of red oak at my favourite lumber mill just north of town. Card Lumber. What a great spot for someone who likes wood. I found a nice length of 8″ wide oak that was planed down for me to about a 3/4″ thickness. After a few quick saw cuts, I had it clamped down and laminated to produce about the 14″ by 14″ base that I would need.

That Black & Decker Workmate that you see the boards clamped down on was given to me as a Christmas present from my much missed Dad about 30 years ago and has served me very well…and has seen a lot of projects big and small. I used that table to carve a rocking horse for my 2 year old daughter ( she’s no longer two ) and I used that same table for some pretty major house renovations over the years.
A nice piece of red oak emerged after gluing. Now, how many people do you know who would take a picture of a piece of wood to post on their website? You have to love wood. It’s a sickness, really.
Then to the bandsaw to create a nice flowing contour around the carving. I like the contour work around the carvings of docks and such as it leaves me with the impression of water without actually trying to add and paint a water scene. I’ve never come across a wood carving that includes a water scene that looks right to me…I much prefer a hint at a flat surface for water. Plus, that red oak will just make the rest of the colours in the carving “pop” once it’s stained and urethaned.
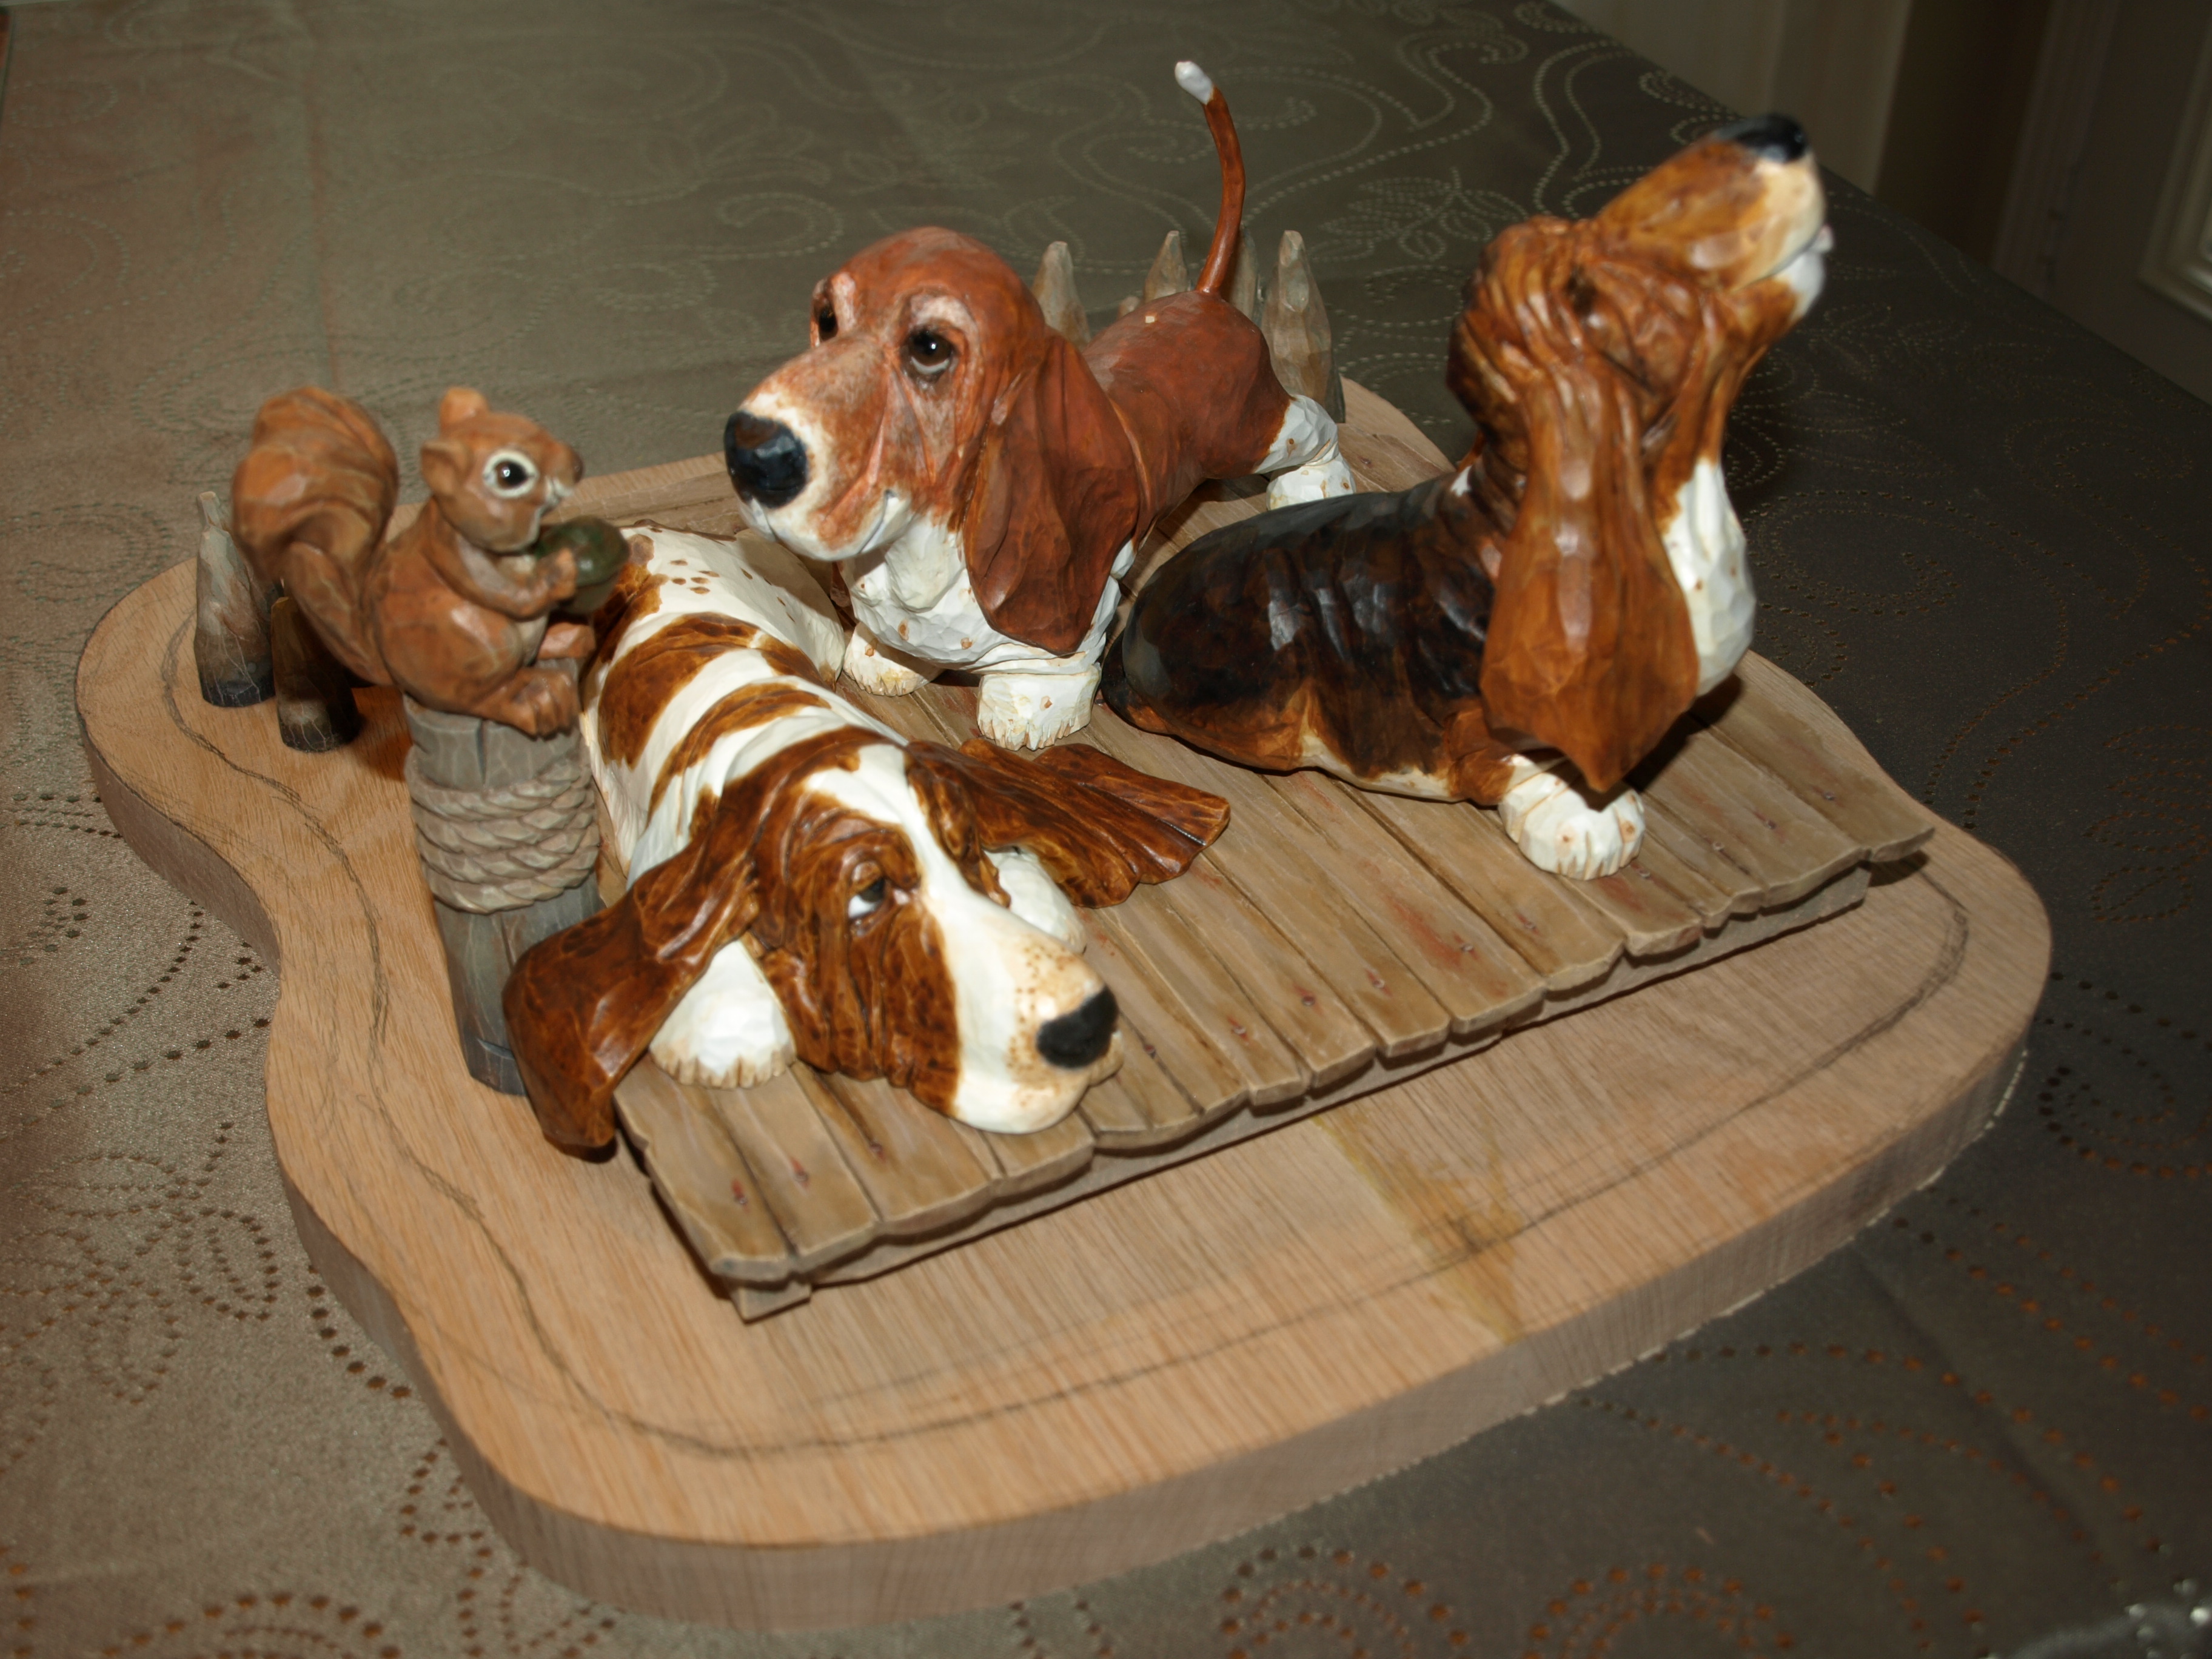
The base is substantial because the carving is quite substantial. The pencil mark that you see will be where the flat surface ends and a router with a Roman Ogee contour will begin…a nice flowing line from the “water” to the tabletop where the carving will be displayed. This is going to look really nice.

Looks great! That old work mate still does a good job. But behind every tool are skilled hands! I’m anxious to see the finished piece.
LikeLike
Thanks for the comment, Cheryl. We’re getting down to the final touches now.
LikeLike