
Building a Shed and some Brick-Work
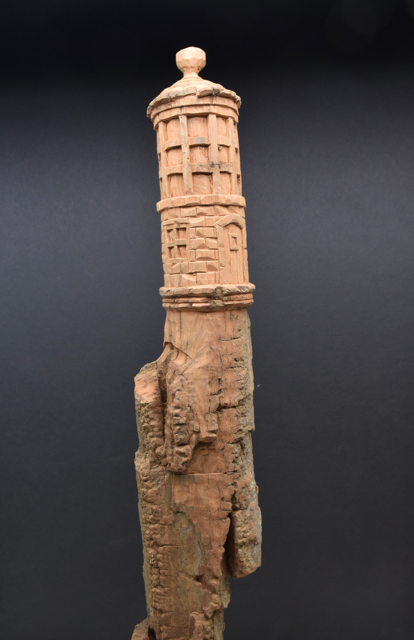
I started off by deepening the glass frames, window and doors on the upper level. You have to be pretty careful when trimming the bark down to what will become window and door frames as the bark is fairly fragile when thinned down. When I do cut the windows through, I’ll want to leave at least a 1/4″ depth of bark for strength.
I also started the rows of brick. Start with cutting the horizontal lines and then add the horizontal breaks for bricks. Remember to alternate back and forth with the bricks so that you don’t end up with the ends of the bricks one on top of the other. I also like to make the bricks look irregular by cutting the edges off randomly so that they lose their flat profile. The fewer flat profiles throughout the carving, the better, as it will give a nice shadow effect when the light hits it.
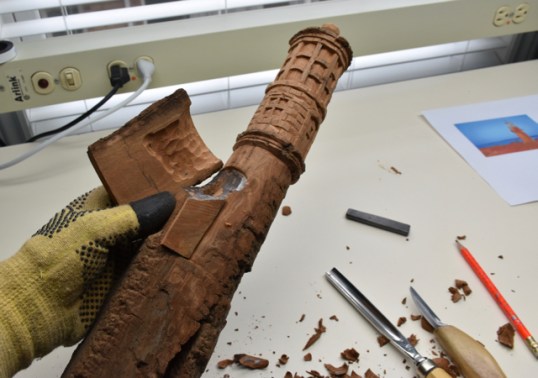
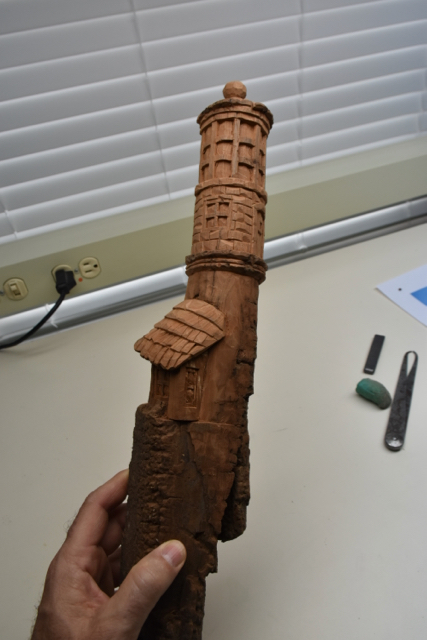
For the first time in my bark carving experience, I added a couple of pieces with glue to make the shed. So, I trimmed that protrusion on the side of the bark to give it a flat profile and then glued a piece to the side. That’s the four-sided piece you see sitting vertically. I then took another larger piece of bark and by marking the top of the recess where it would fit with lead crayon, I transferred the markings to the top of the new piece, cut those “high point” markings away and eventually got the roof to fit nicely. I just used a woodworking glue and it worked very nicely.
Now onto some shingles on that new roof so the rain doesn’t pour in…

It looks fabulous Mark, another stunning carving, it’s making me want another one 😃
LikeLike
I don’t know if I’ve ever seen a bark carving of a Basset Hound, though! Mark.
LikeLike