
Roughing and Detailing of the Body
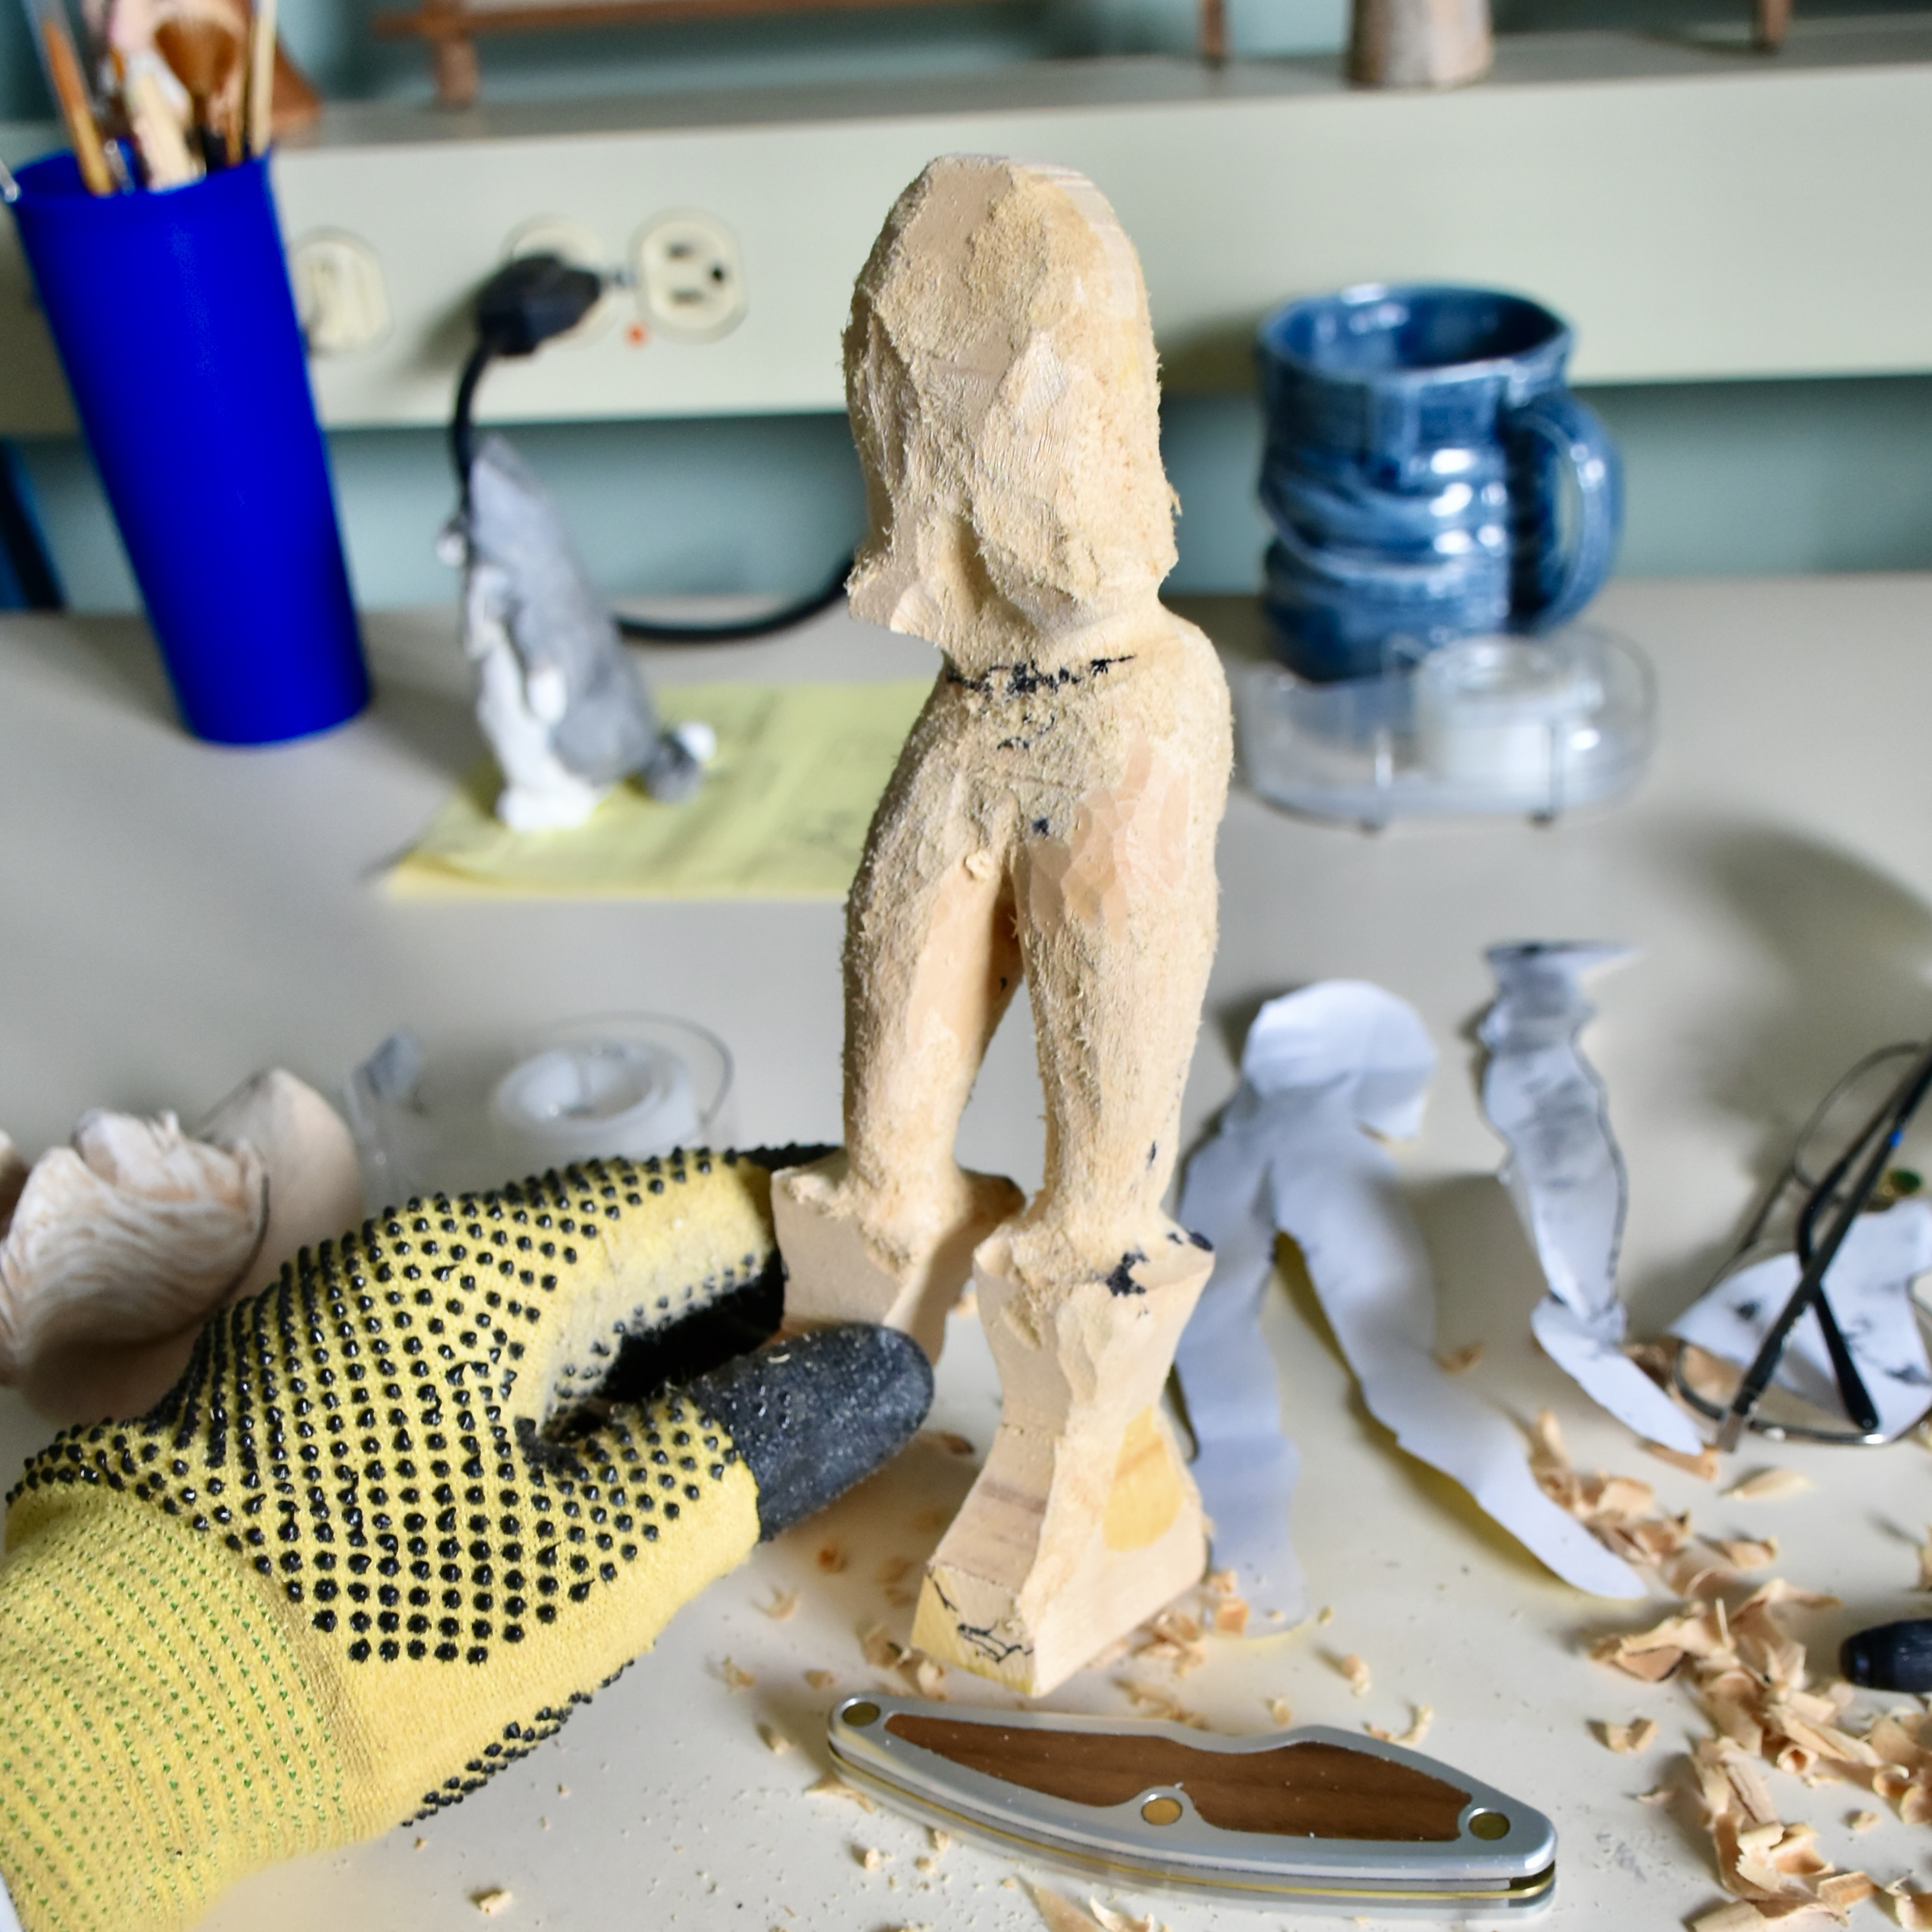
Once I had the body cut out on the bandsaw, I began the roughing-in process. This is most often done with a knife but I also like to use a Foredom tool with a Typhoon bit to remove material quickly. A Foredom tool is like a Dremel tool with a flexible hand-held shaft and a Typhoon bit is a cutter that has many small carbide “pins” that cut away the wood. It leaves a very rough finish that you then follow-up with a knife to smooth things out and generally get the shape that you’re after. If you use this method, just be very careful as the cutter can do a lot of damage to you if it’s contacted. I wear gloves, heavy sleeves, a leather apron, safety glasses and a dust mask when roughing-in a carving in this fashion. You should too.
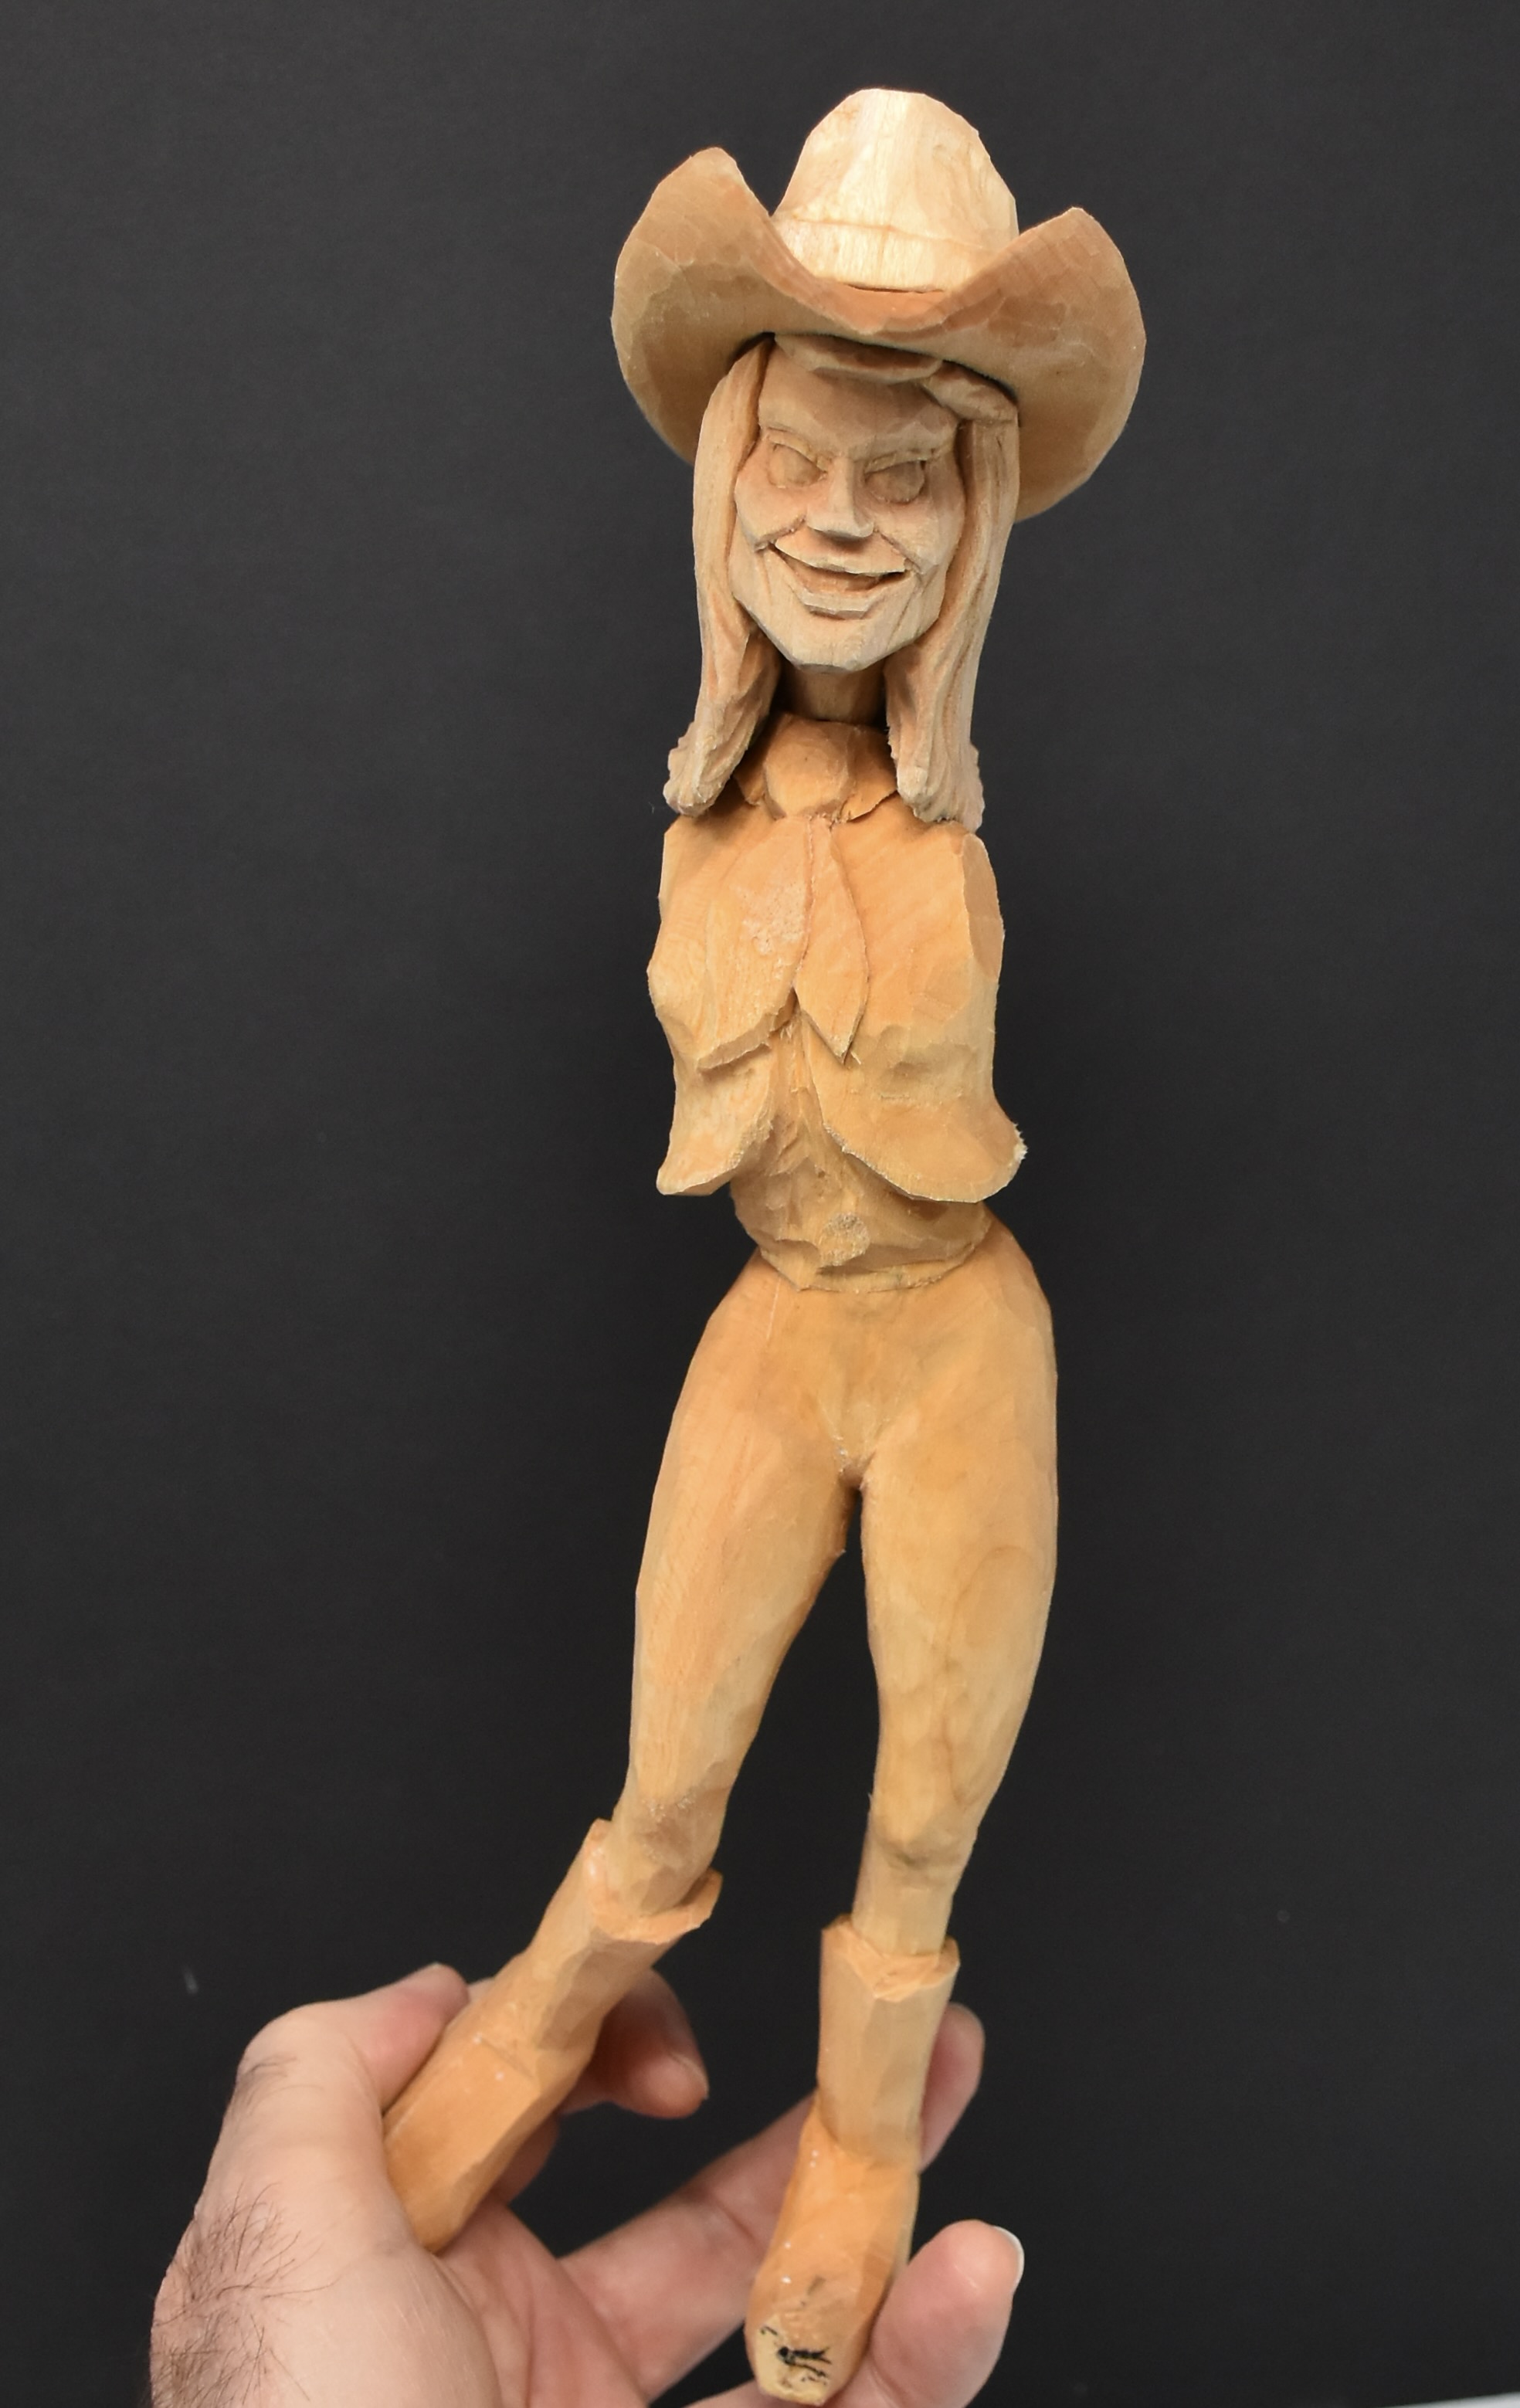
Note a couple of things in these photos…first, I always pencil in the centre lines and carve from one to the other…this ensures that I end up with rounded limbs and avoid just rounding off the square edges and thinking that it’s “round enough.” You’ll often see caricature carvings where arms, legs and bodies still have the squareness of the original bandsaw cut only because the carver didn’t picture the full centre lines and carve/round out between them. Second, as you can see in the third photo, I also keep pencilling in the joint markers ( in this case, ankle, knee and hip ) so that I maintain the right limb section lengths.


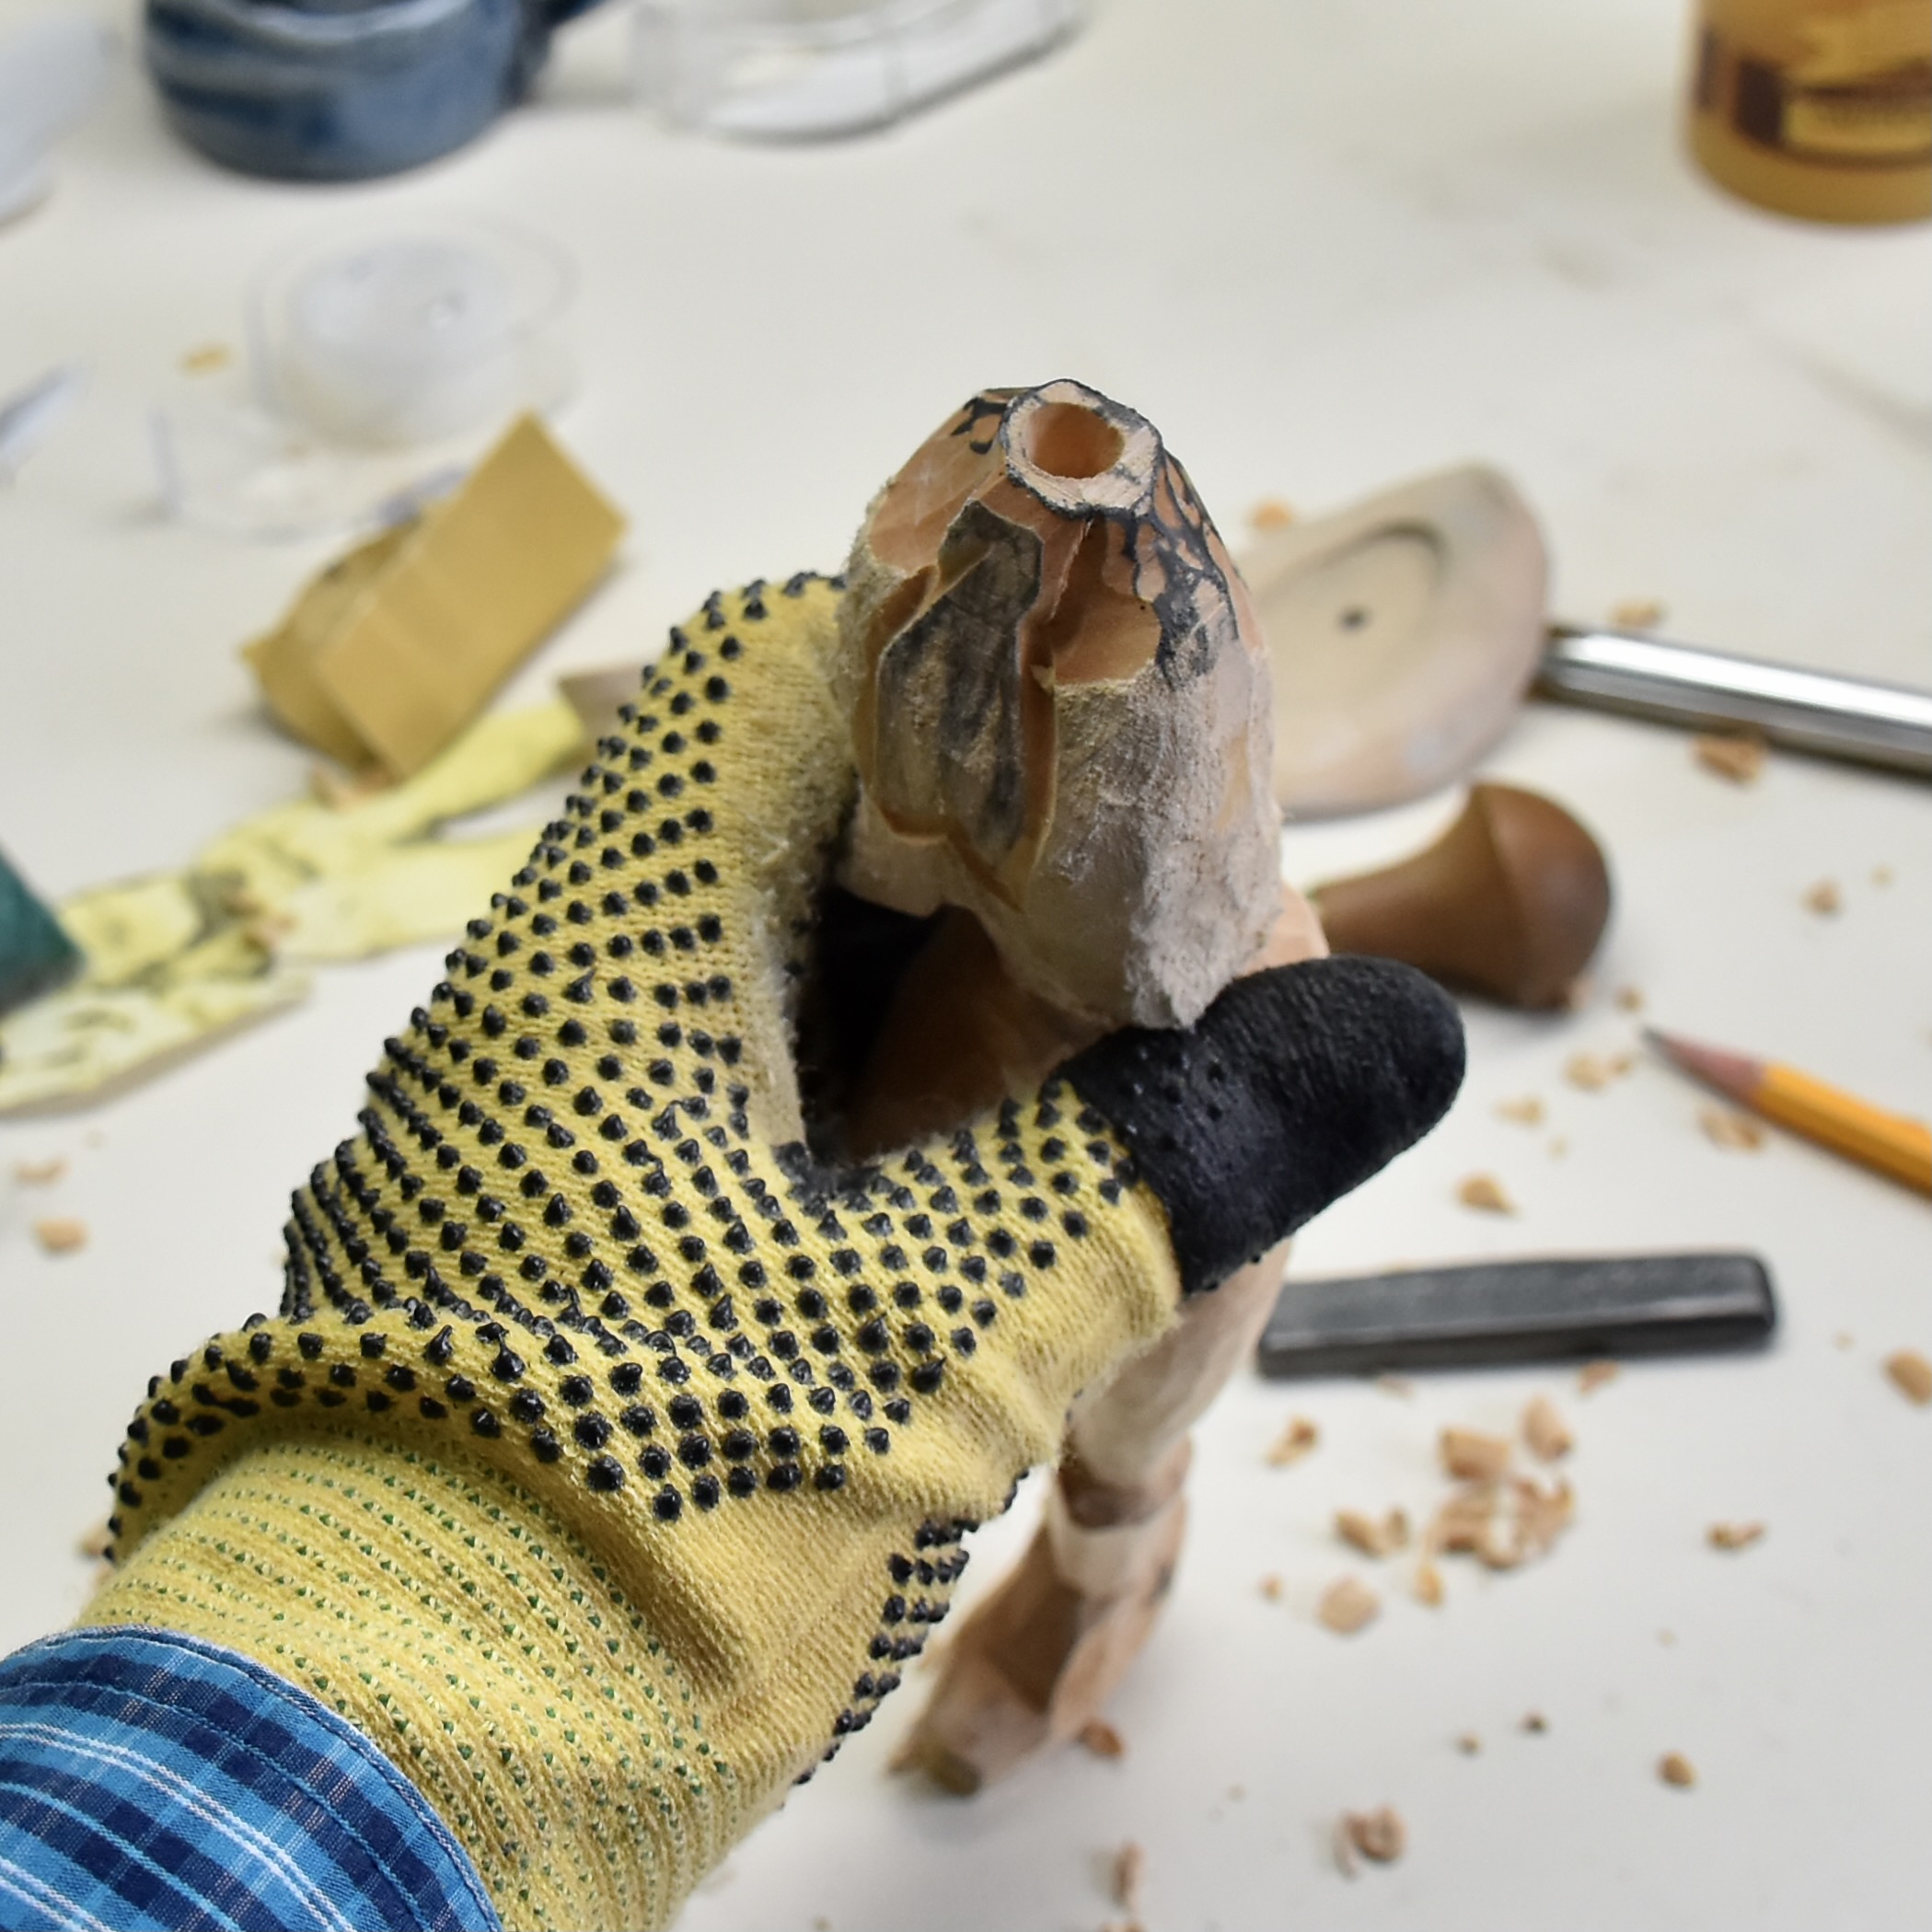
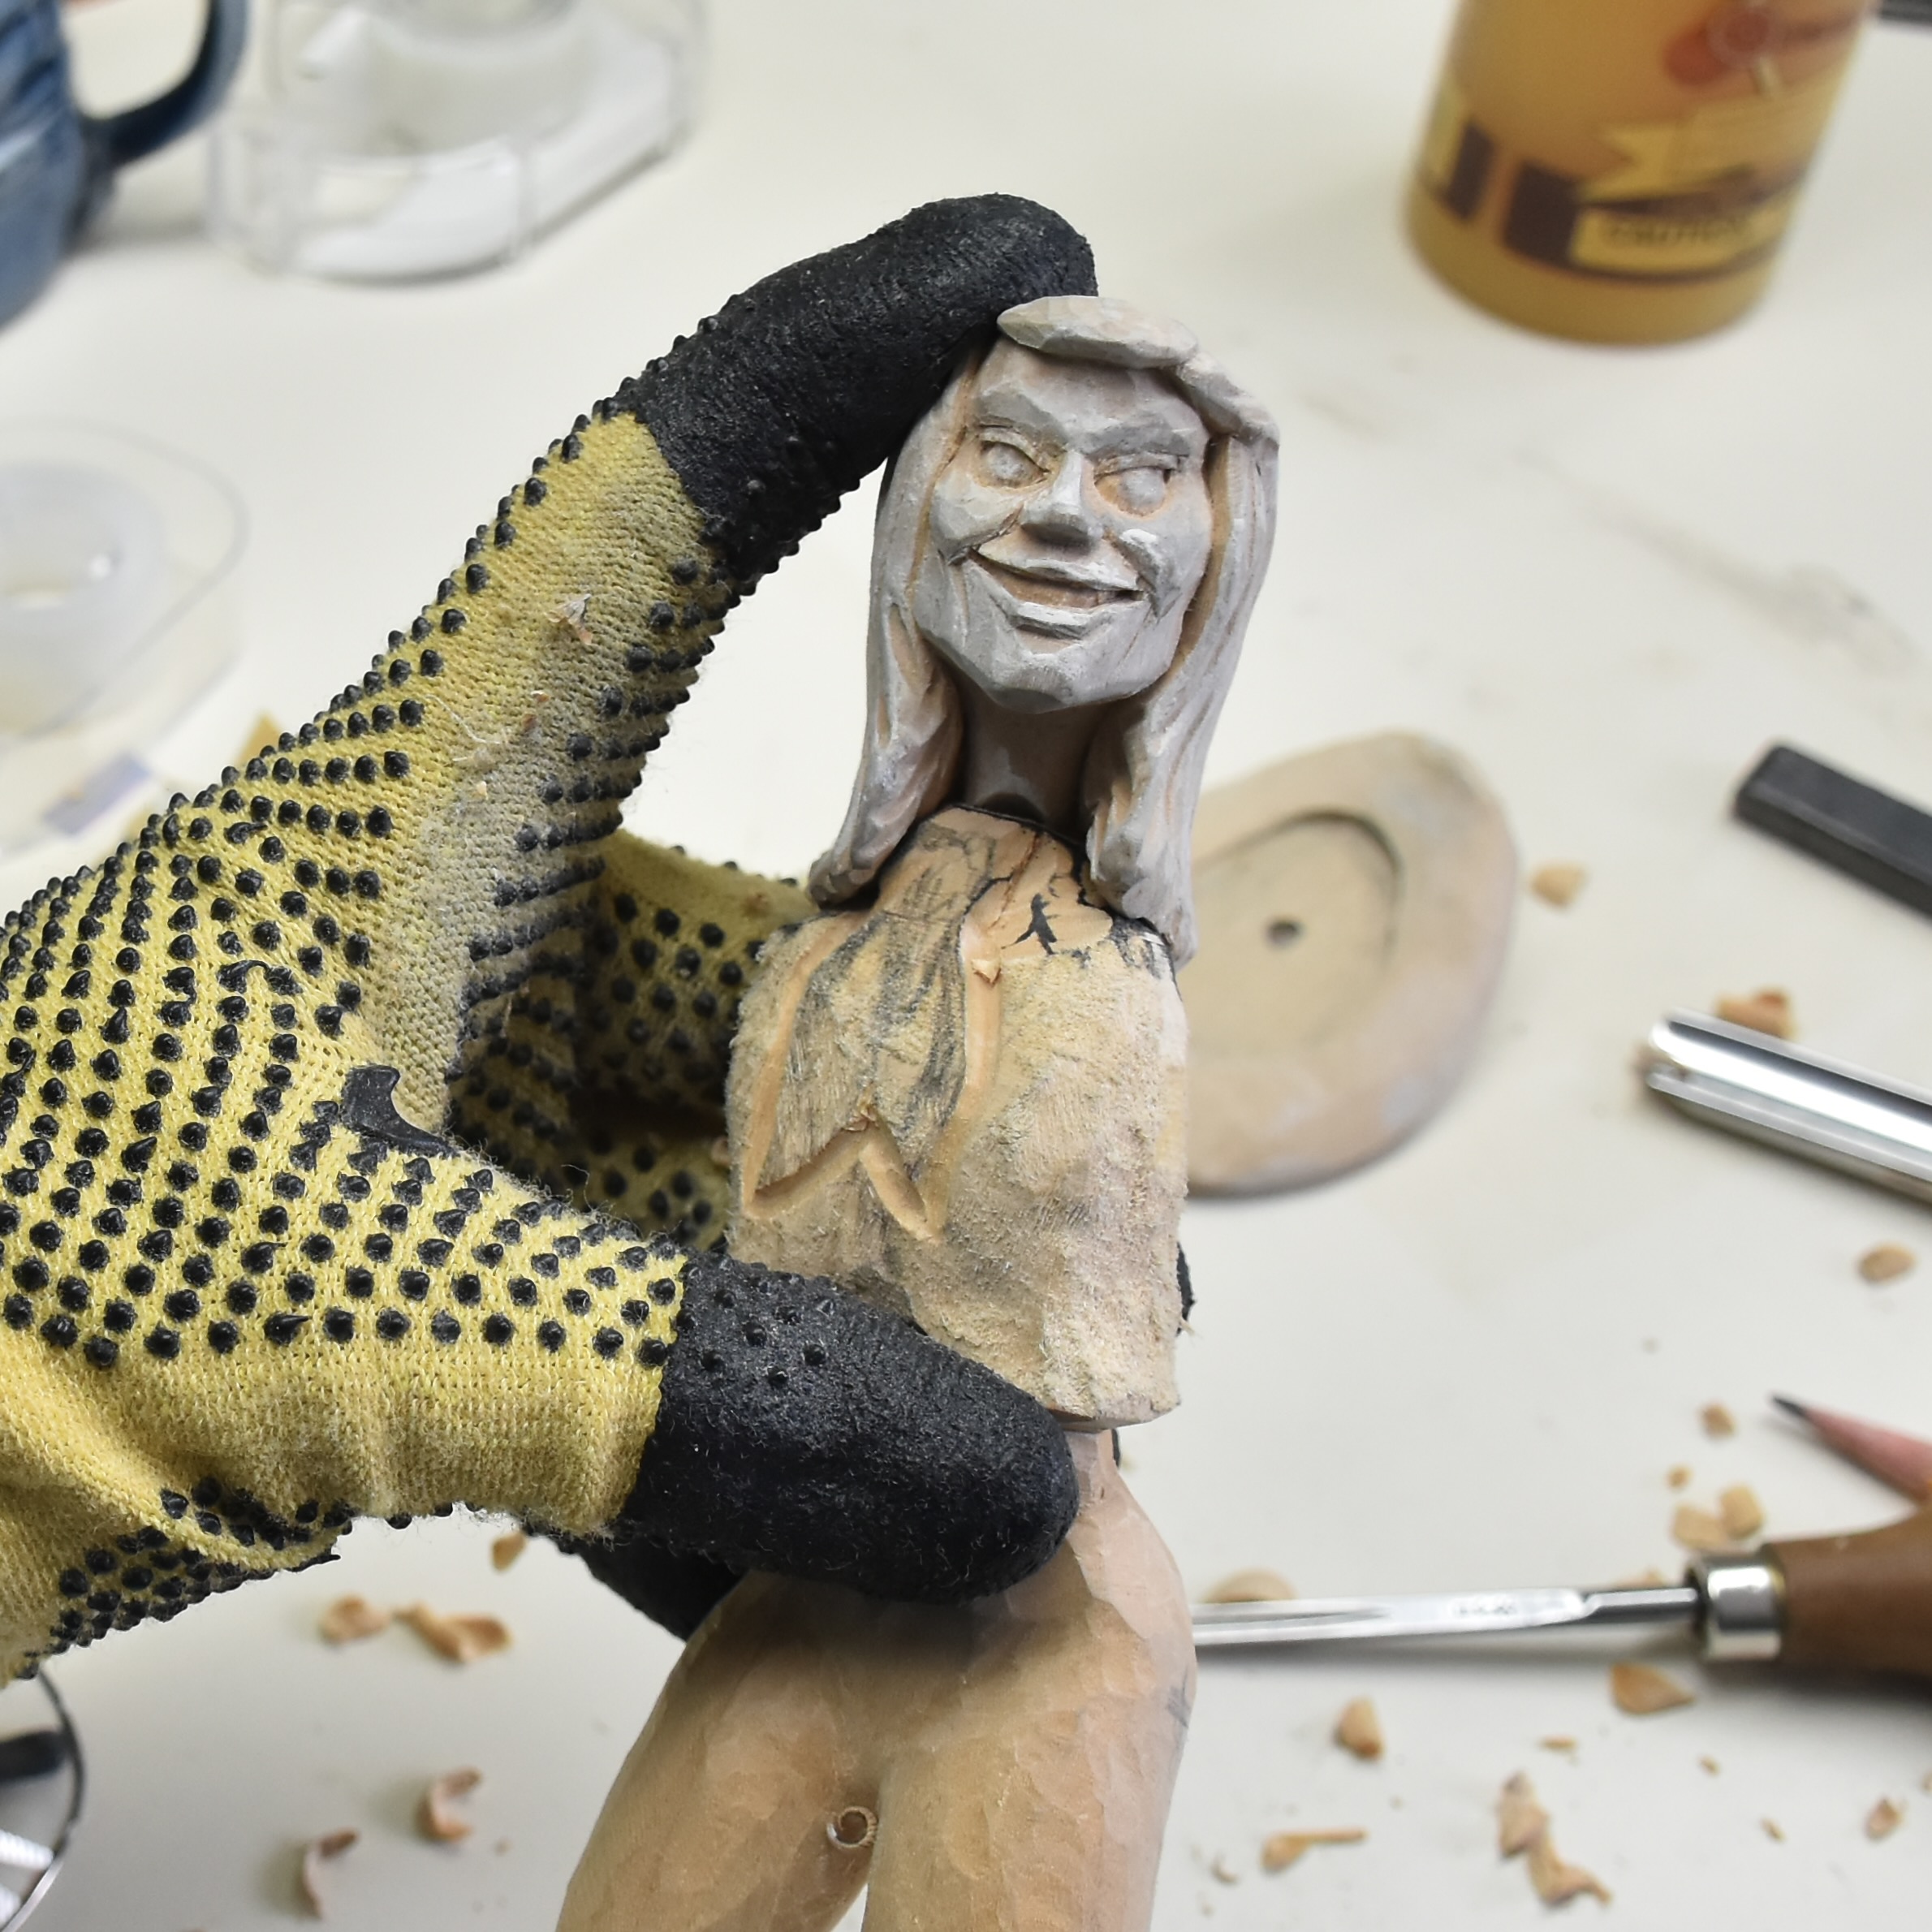
Because I wanted the head to rest at a bit of an angle and tight to the shoulders, I used the same graphite method of fitting as I did with the hat brim/crown and head carving. In this case, I knew that I didn’t have the shoulders in the final carved state but that I could go ahead and approximate what the shoulder would look like. By alternating between putting graphite on the shoulder and transferring those graphite marks to the underside of the hair ( and removing those marks ) and then doing the opposite…graphite on the underside of the hair and removing those marks left on the shoulder, I eventually got the head situated down and to the side. You’ll also see that I started to carve in a knot and scarf that would help hide the neck…and look nice, too.
With some carving, now with a knife and several sized gouges, I took away all of the roughened wood from the Typhoon process and started to get the shape that I wanted in the sculpture. In doing this, I took some measurements from the clay model that I had made as well as the paper patterns that I had developed and used those to make things fairly true to my original idea of sizings and shape. I didn’t try to absolutely replicate the clay model, but I did use it to refer to the general body position that I wanted.
Remember when you’re at this stage of your carving, be mindful of the direction of the grain and keep your tools extremely sharp so that your cuts will be accurate and crisp. Because the sculpture is becoming curved in different directions, the grain can fool you and all of a sudden you are cutting against the grain and wood is beginning to split rather than cleanly cut away.
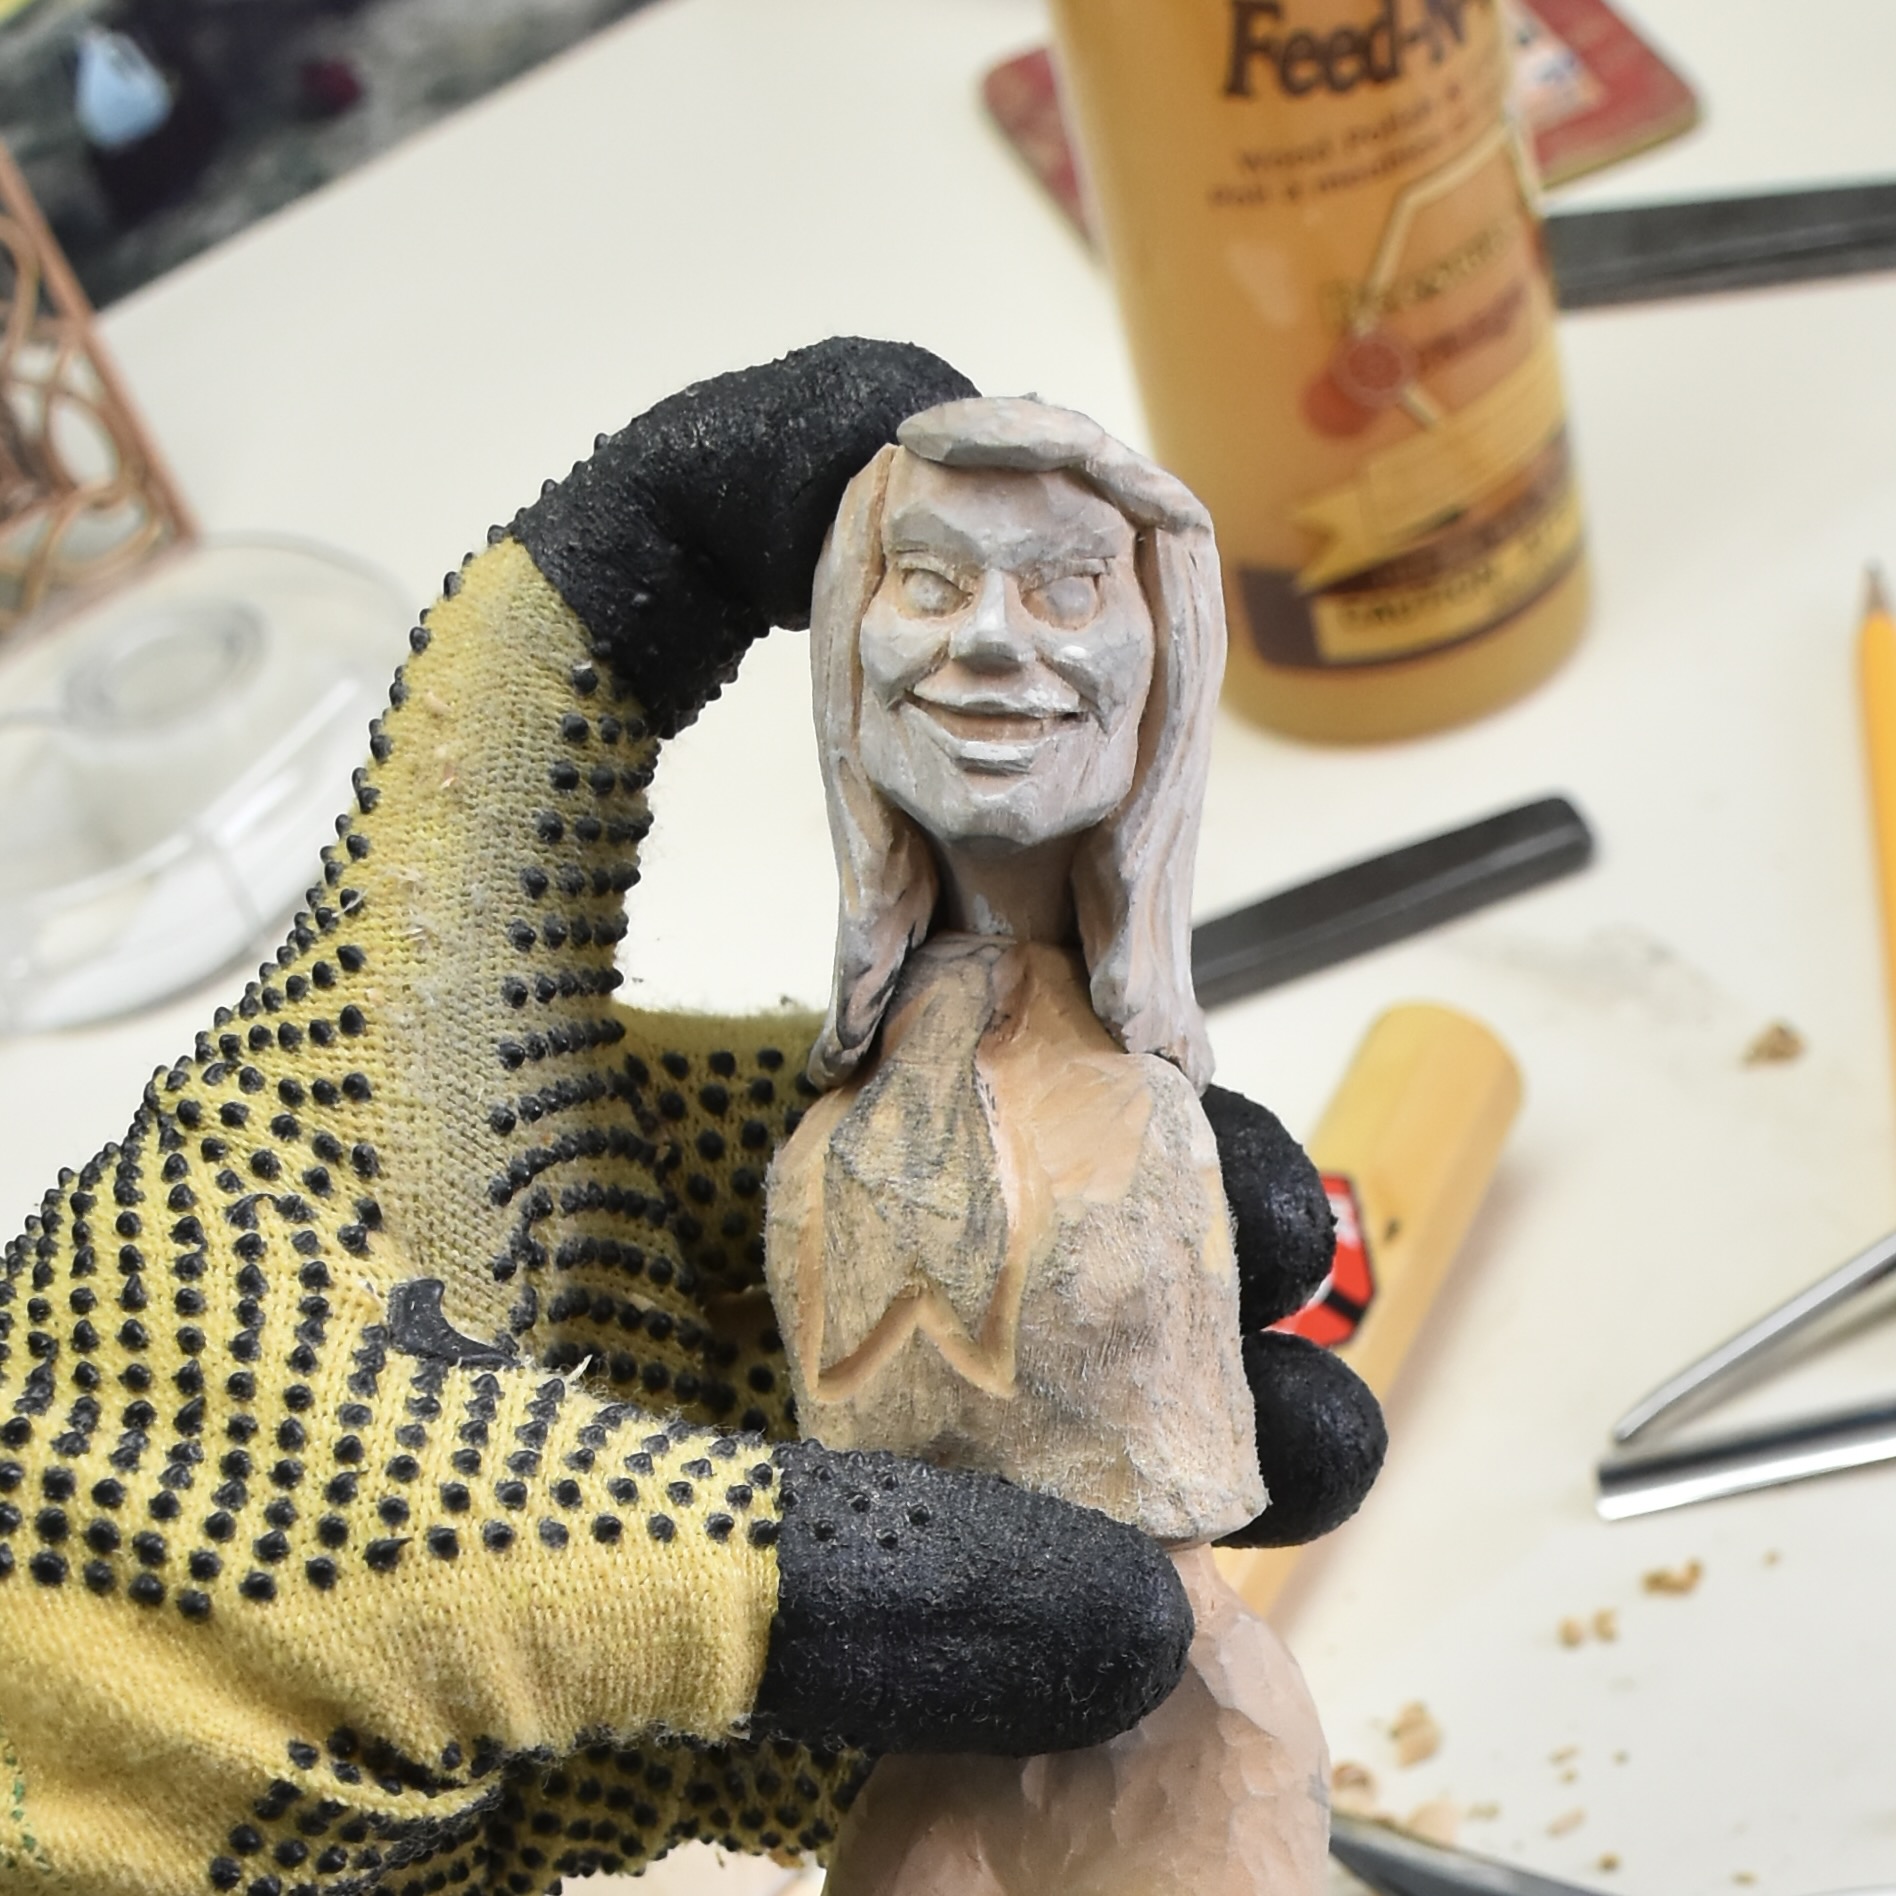
And here’s where I am at this point…

Very nice sofar!!! I look forward to seeing it finished
LikeLike
Thanks Peter. The problem that I always run into is that once the carving starts to take shape, I think of something else to add…so the finish line seems to always be moving away from me!
LikeLike
And just like that, you show back up in my email stream! Good to see you still at it. The female can be a little difficult to carve for me so I will be following with interest.
LikeLike
I’ve been busy carving some tiny things for my new granddaughter and haven’t put them up on the website. Now that I have another caricature on the go, I’ll keep everything up to date on my progress. This is only the second female caricature for me so I’m very much in the practice phase!
LikeLike