tributesinwood

Wood Carvings by Mark Sheridan

Archive for the tag “cowgirl”

Finishing Up

First off…to the individual who plagiarized my last post and placed it on his own website…you did a poor job but nonetheless managed to reach a new low. I’ve reported this and will be monitoring the outcome.

Now back to it…

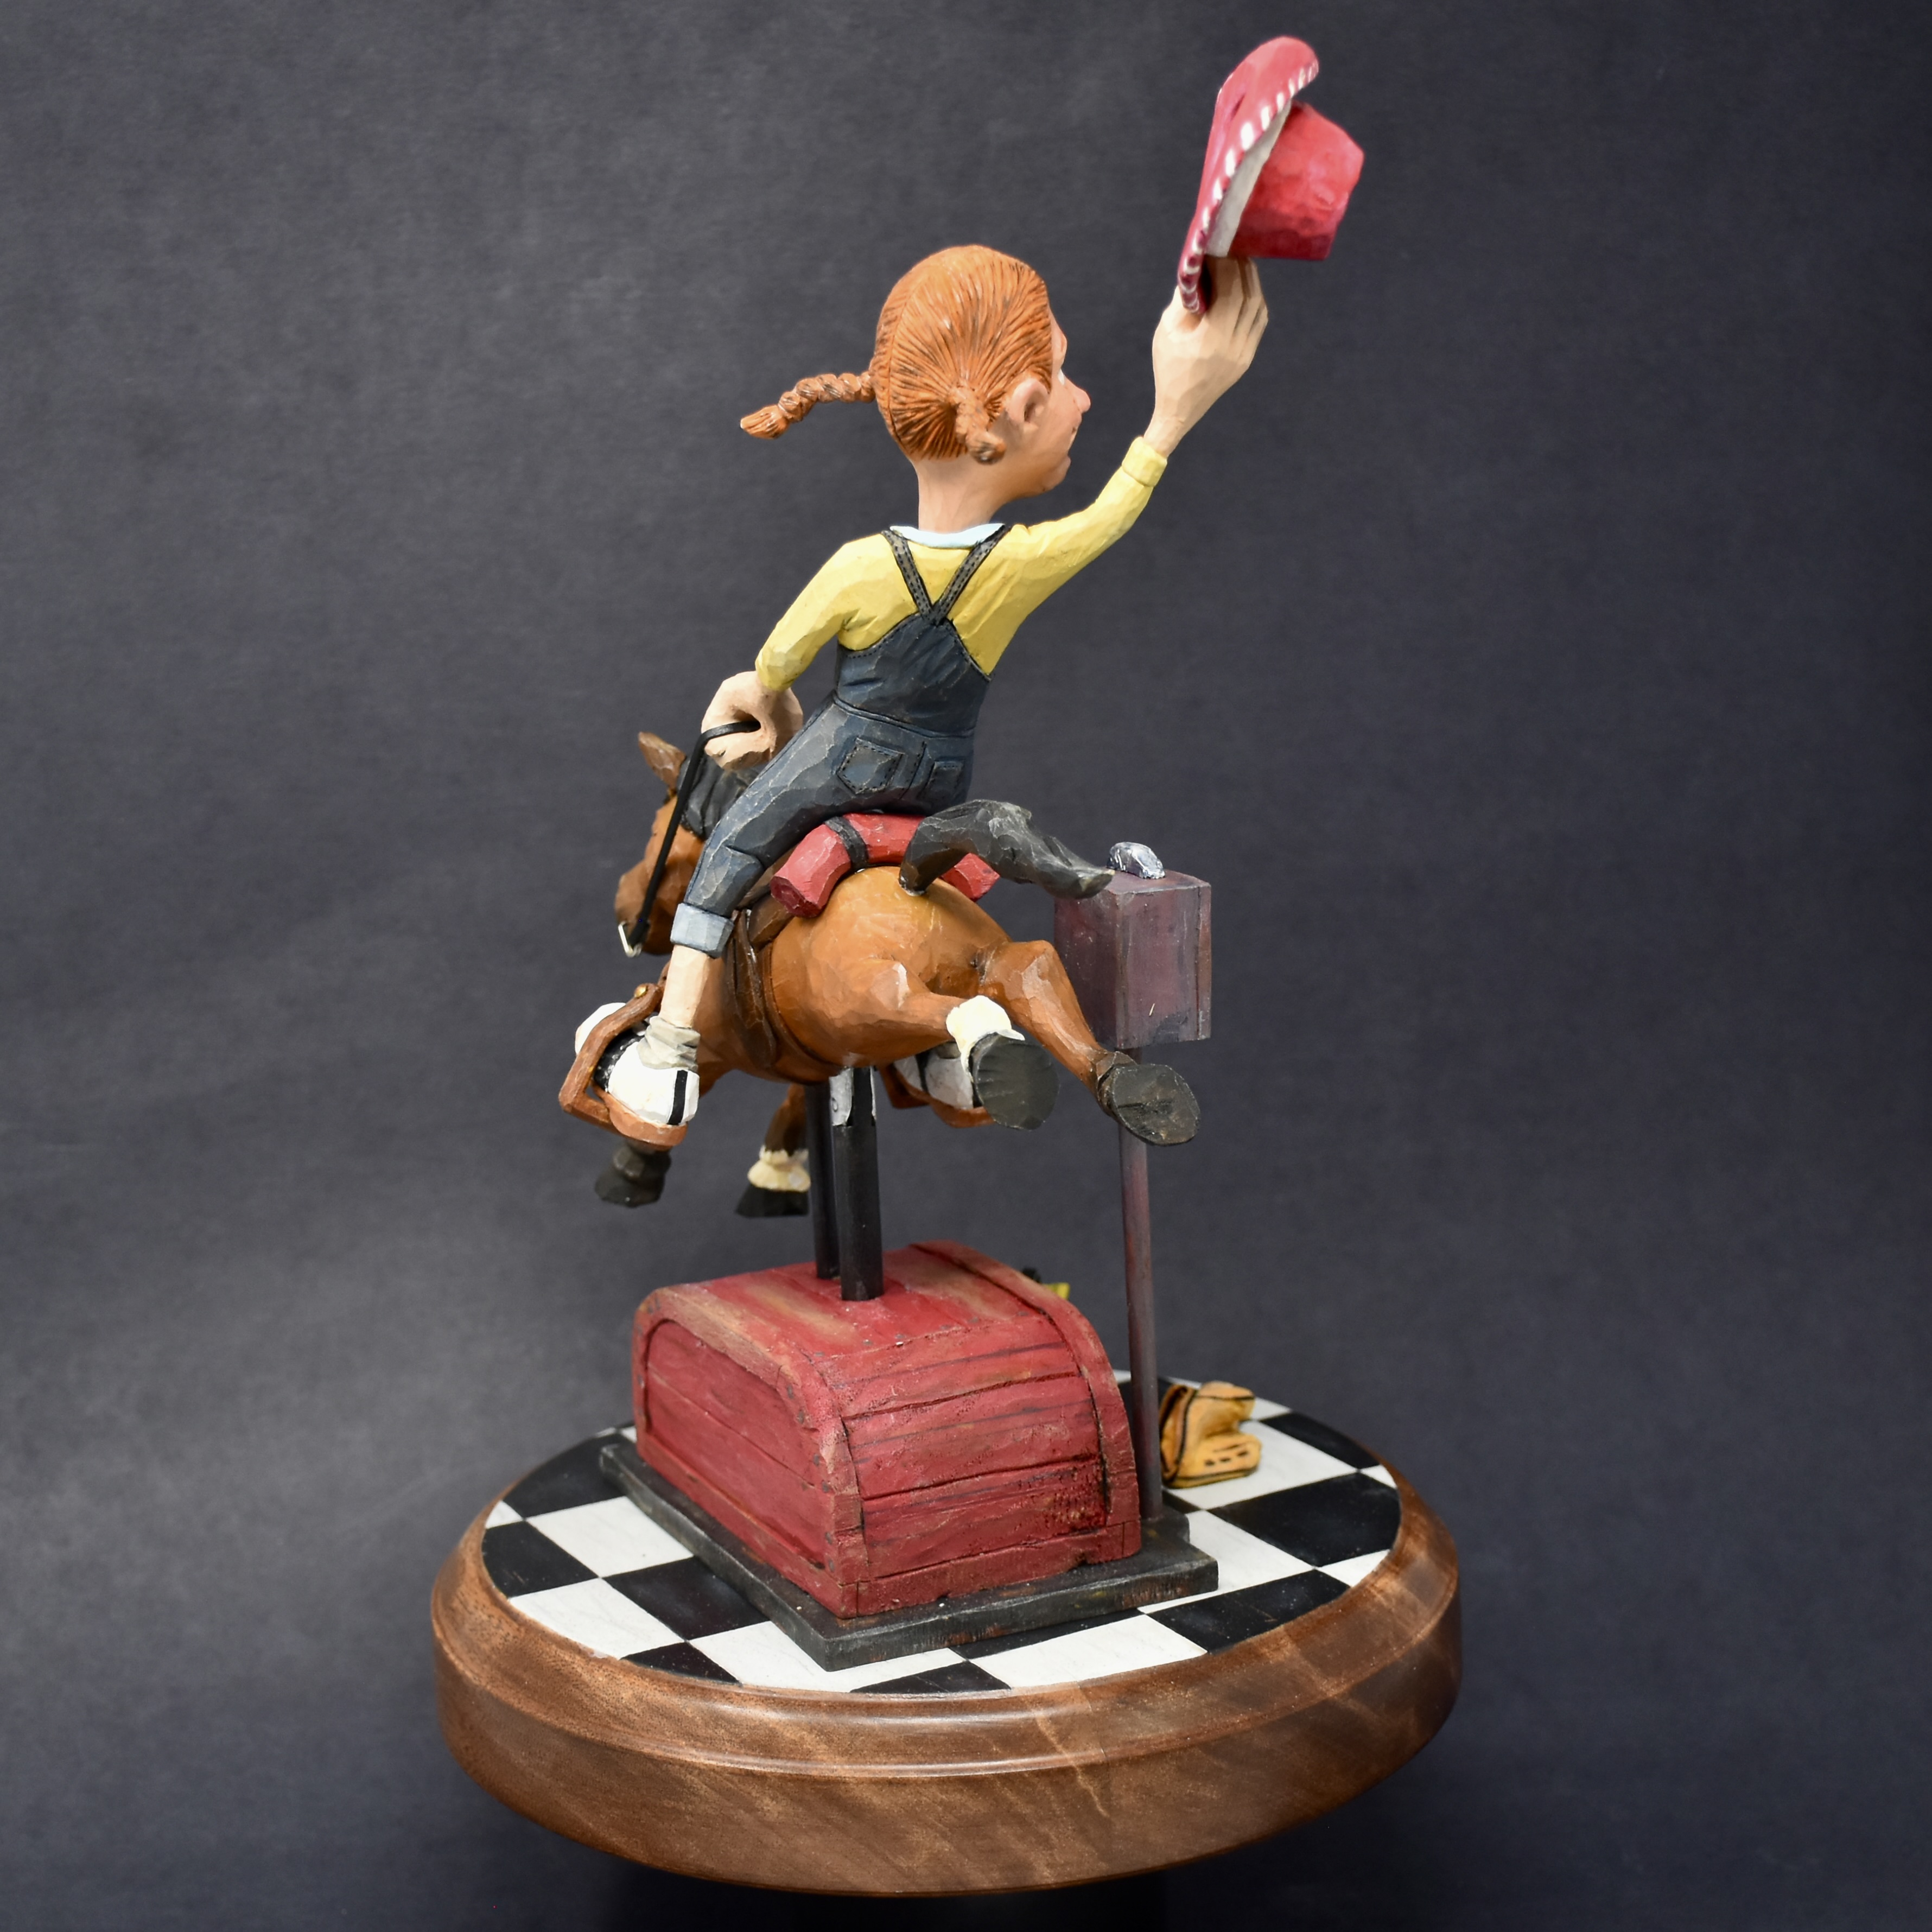
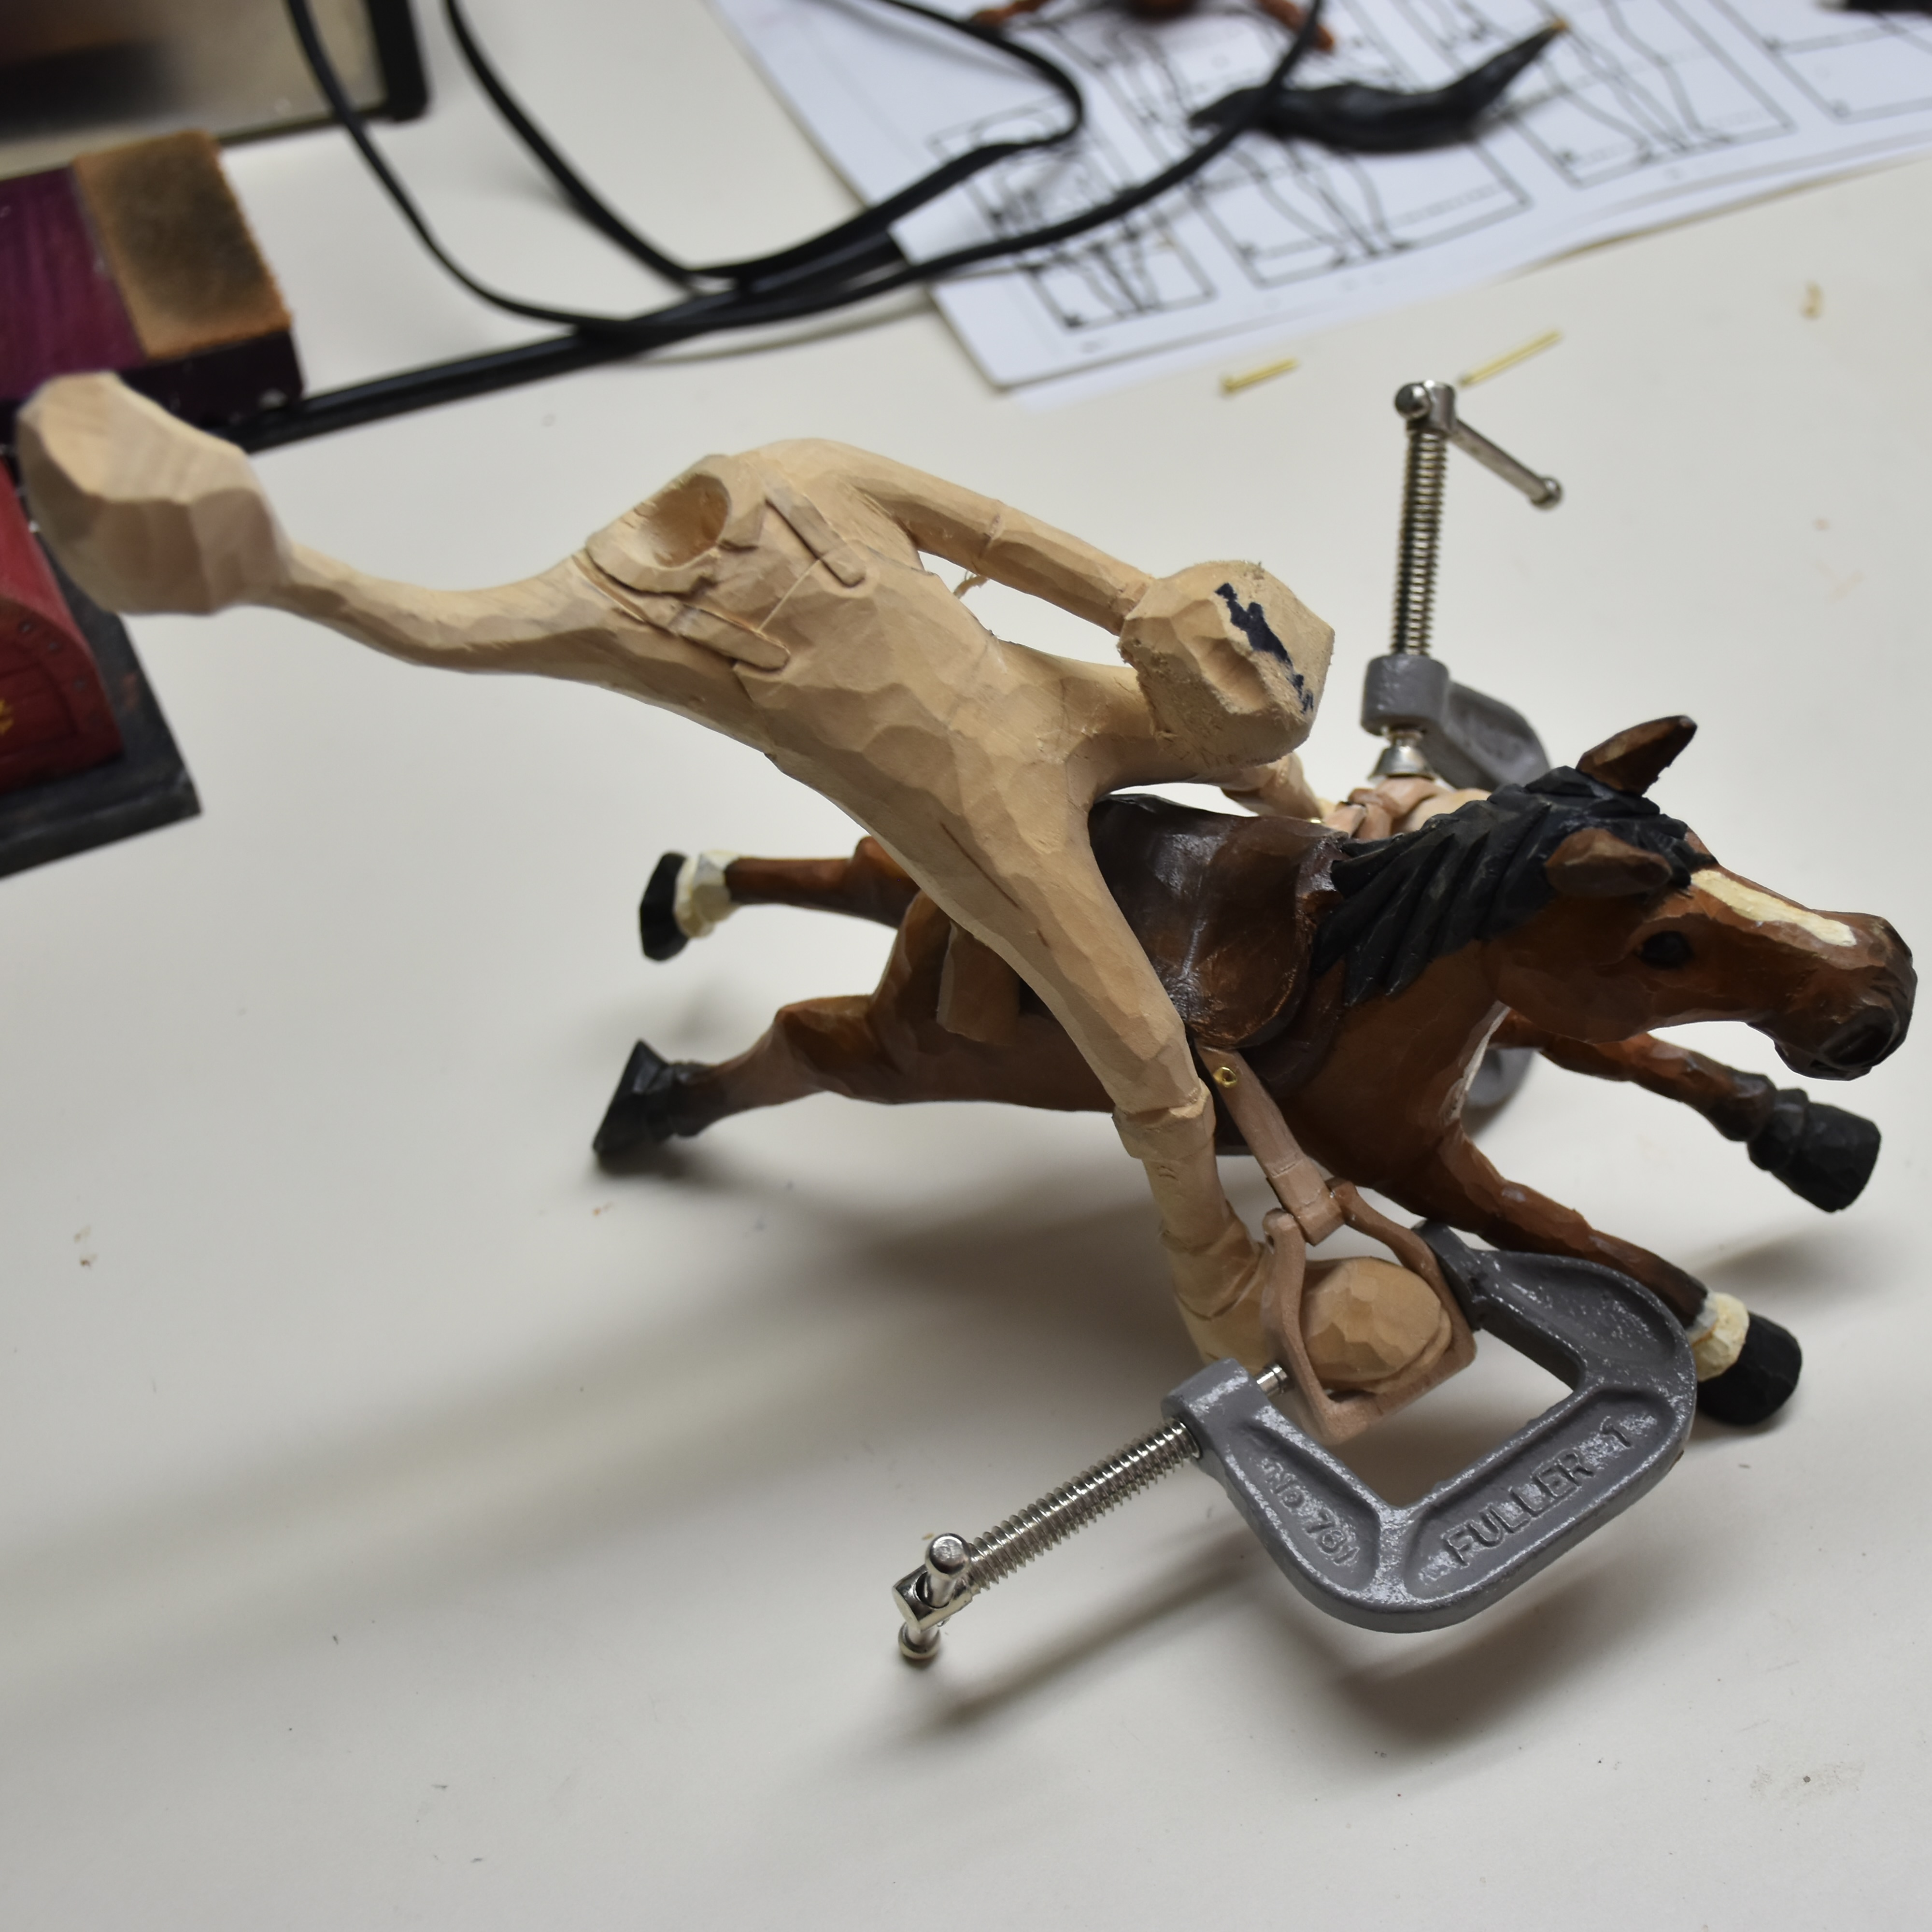
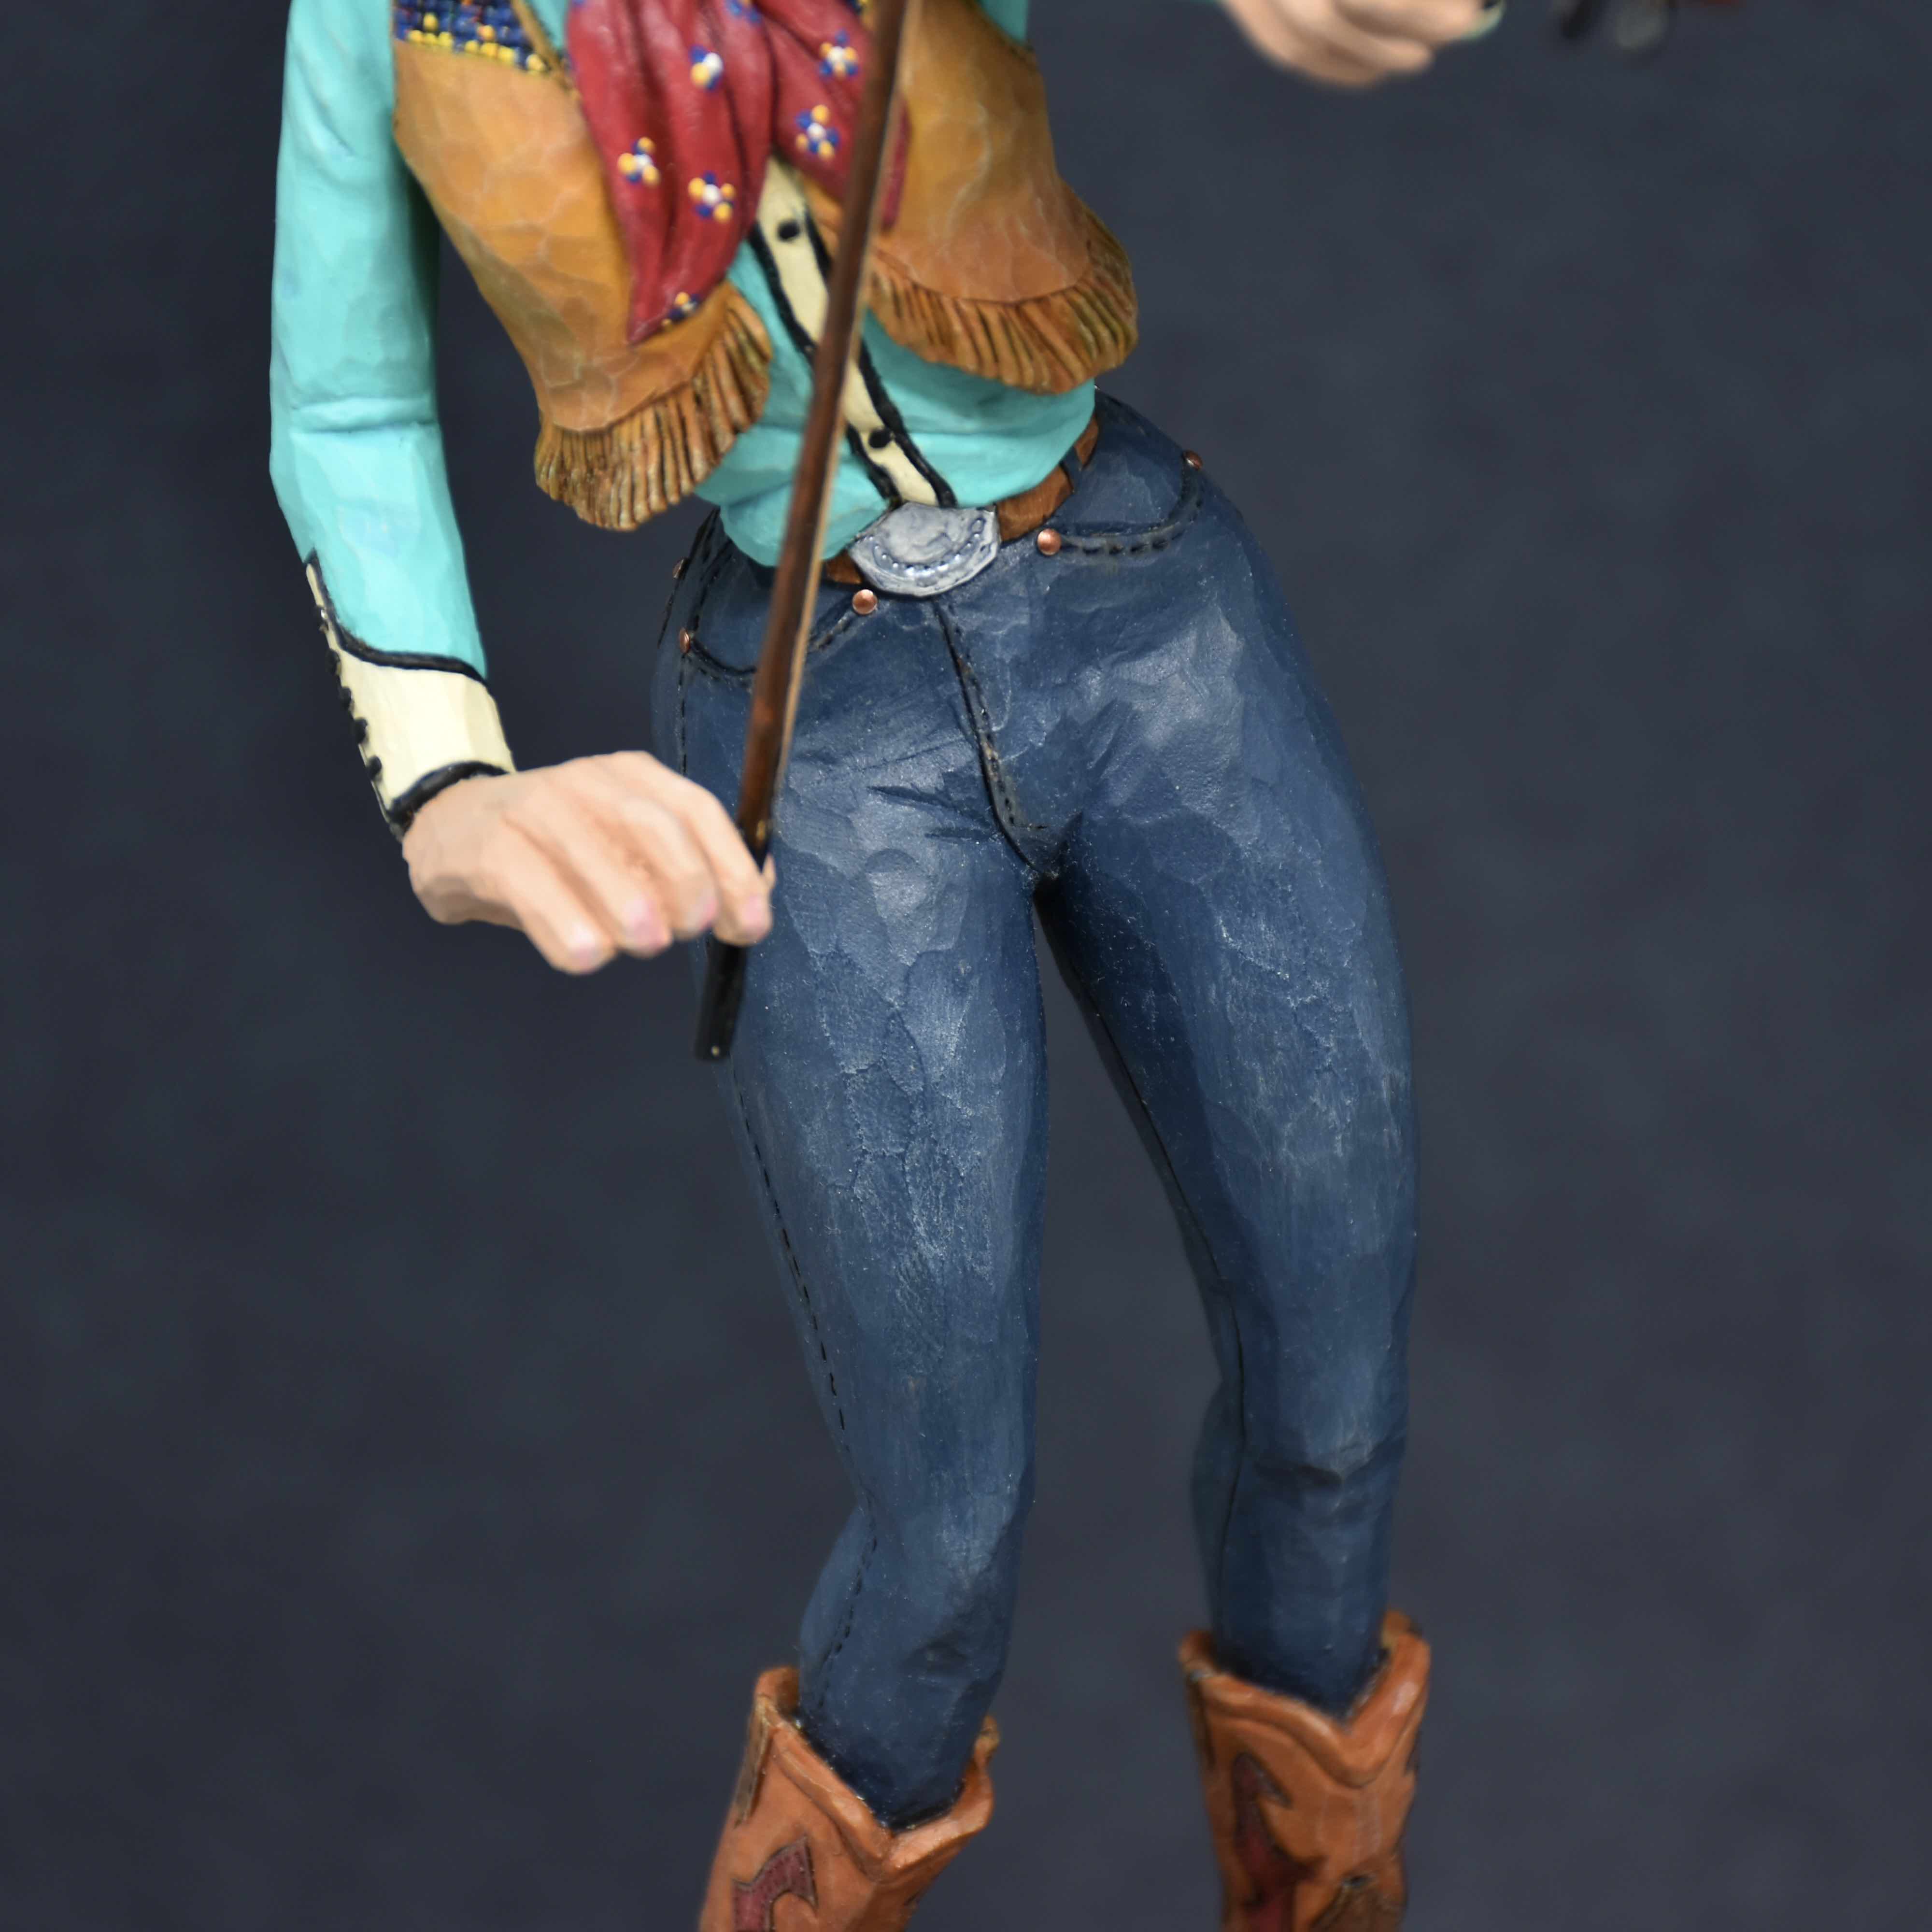
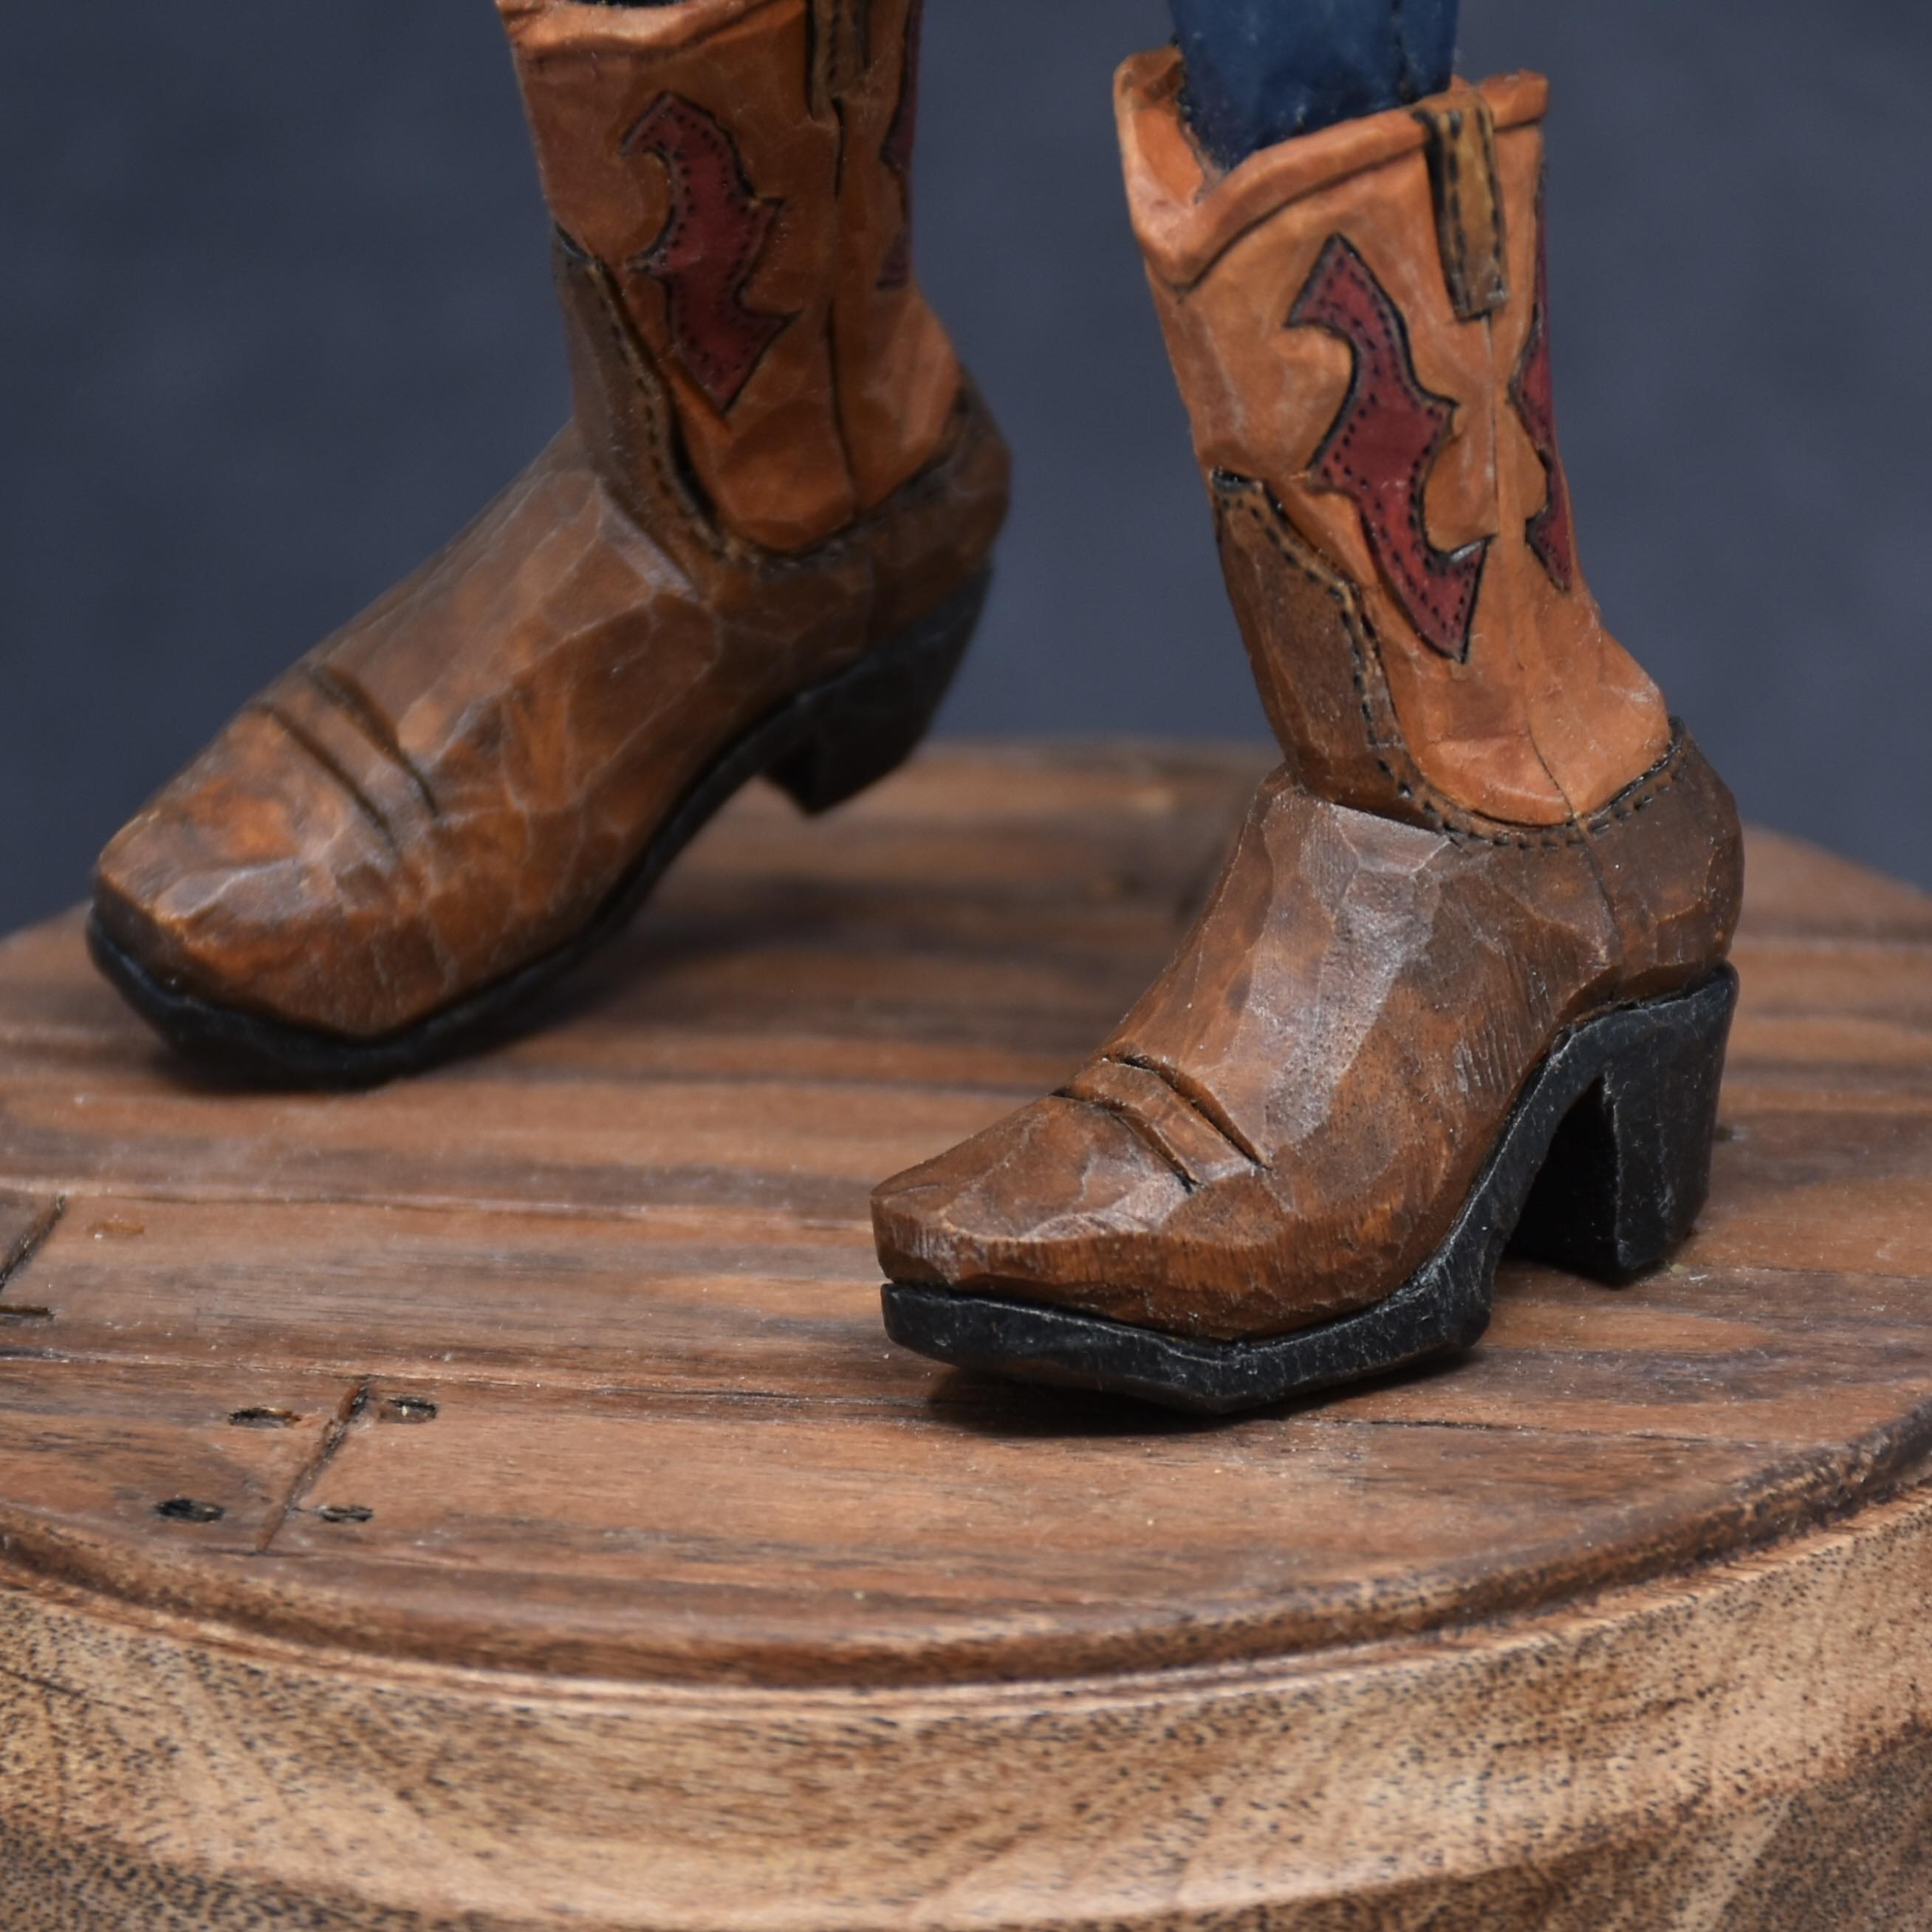
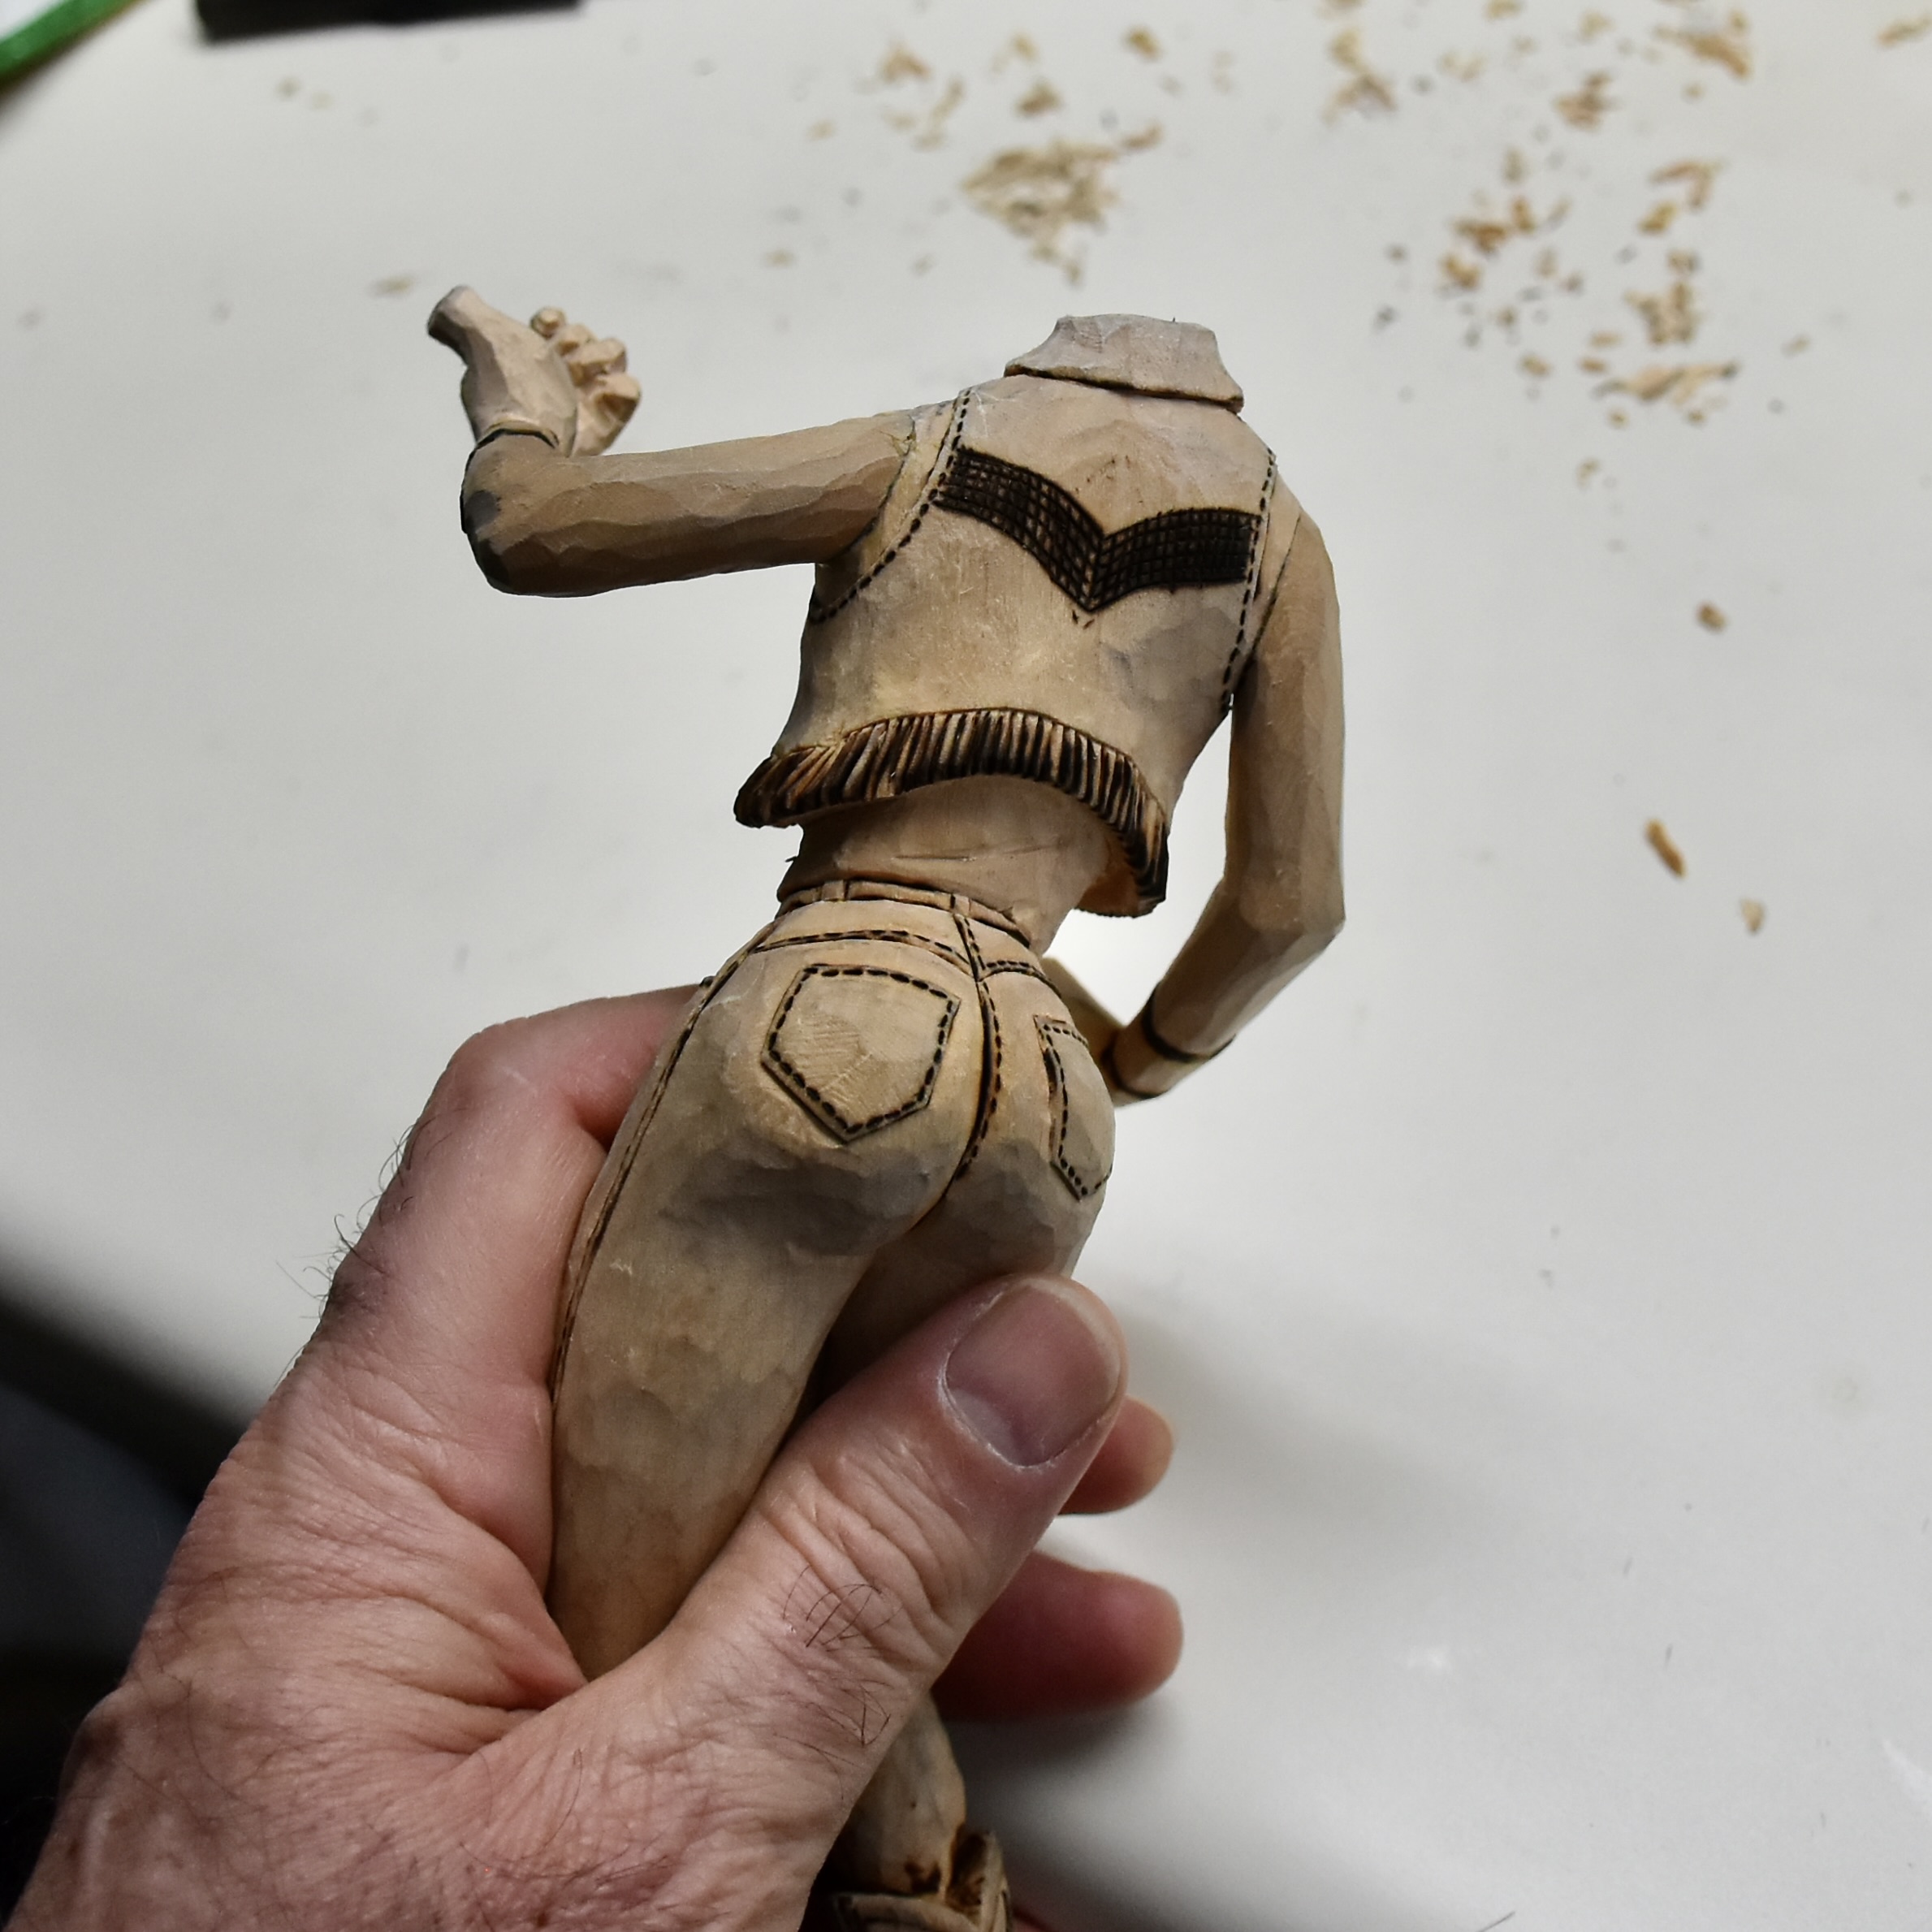
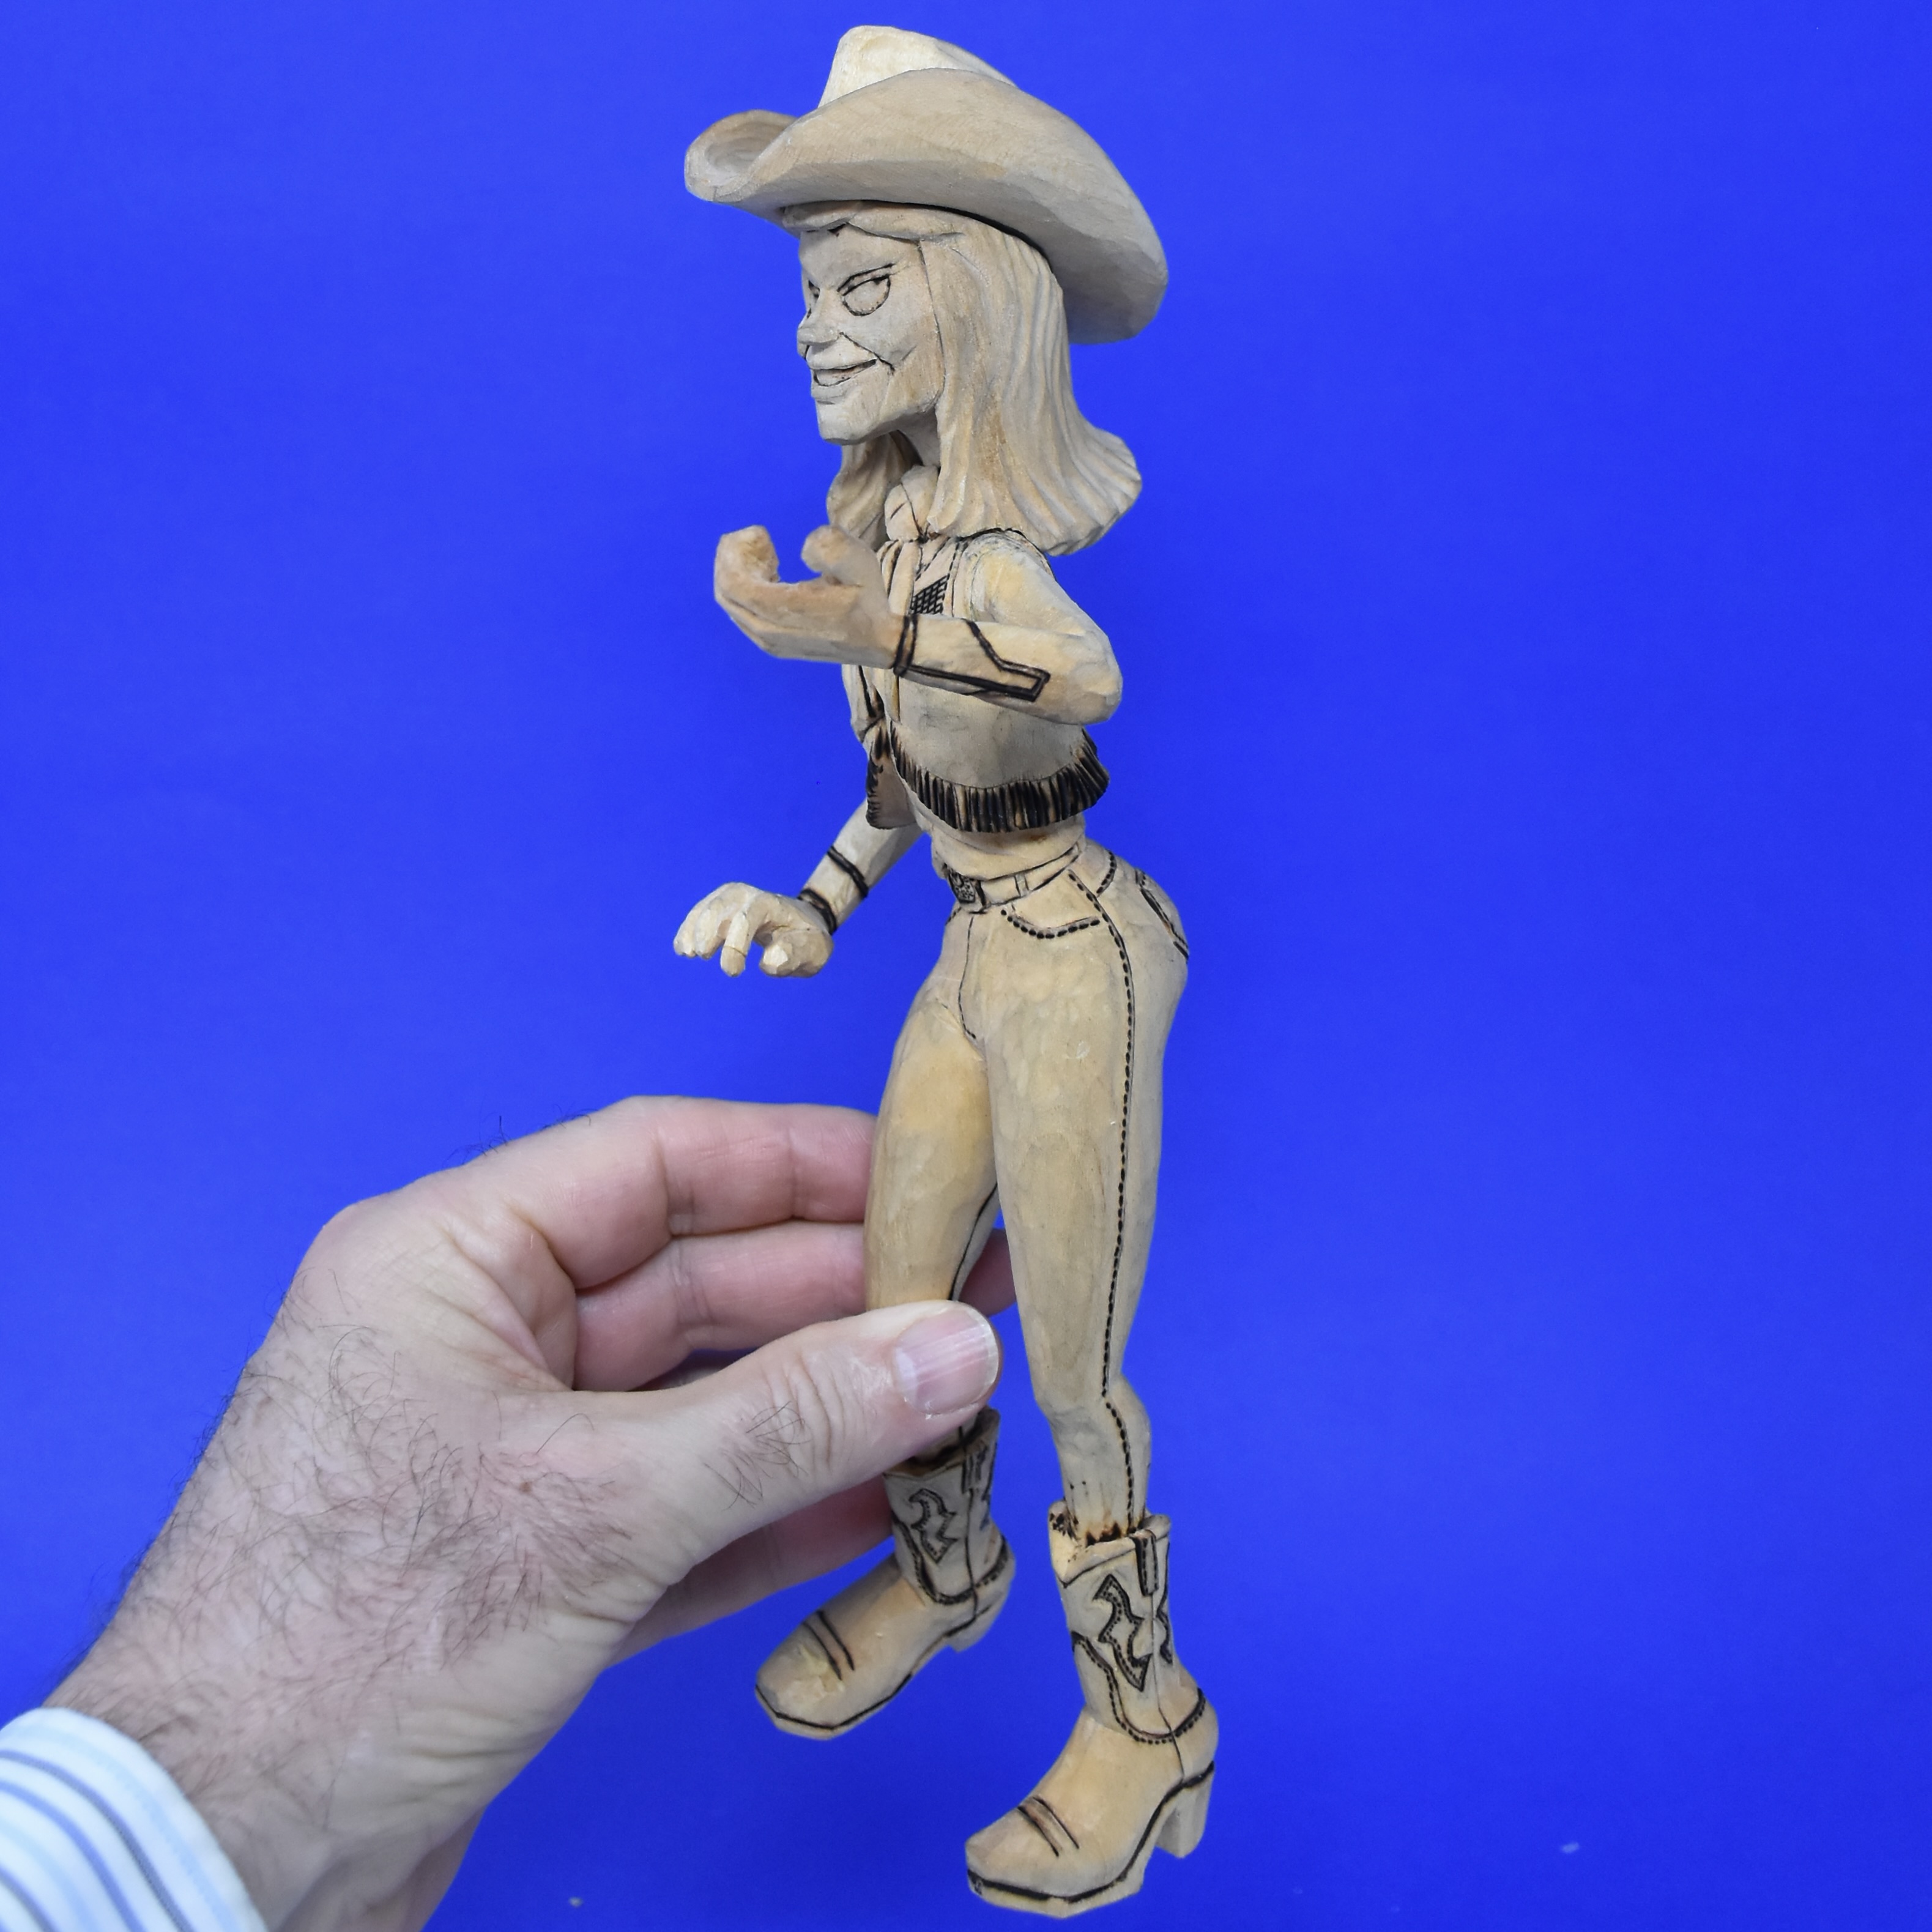
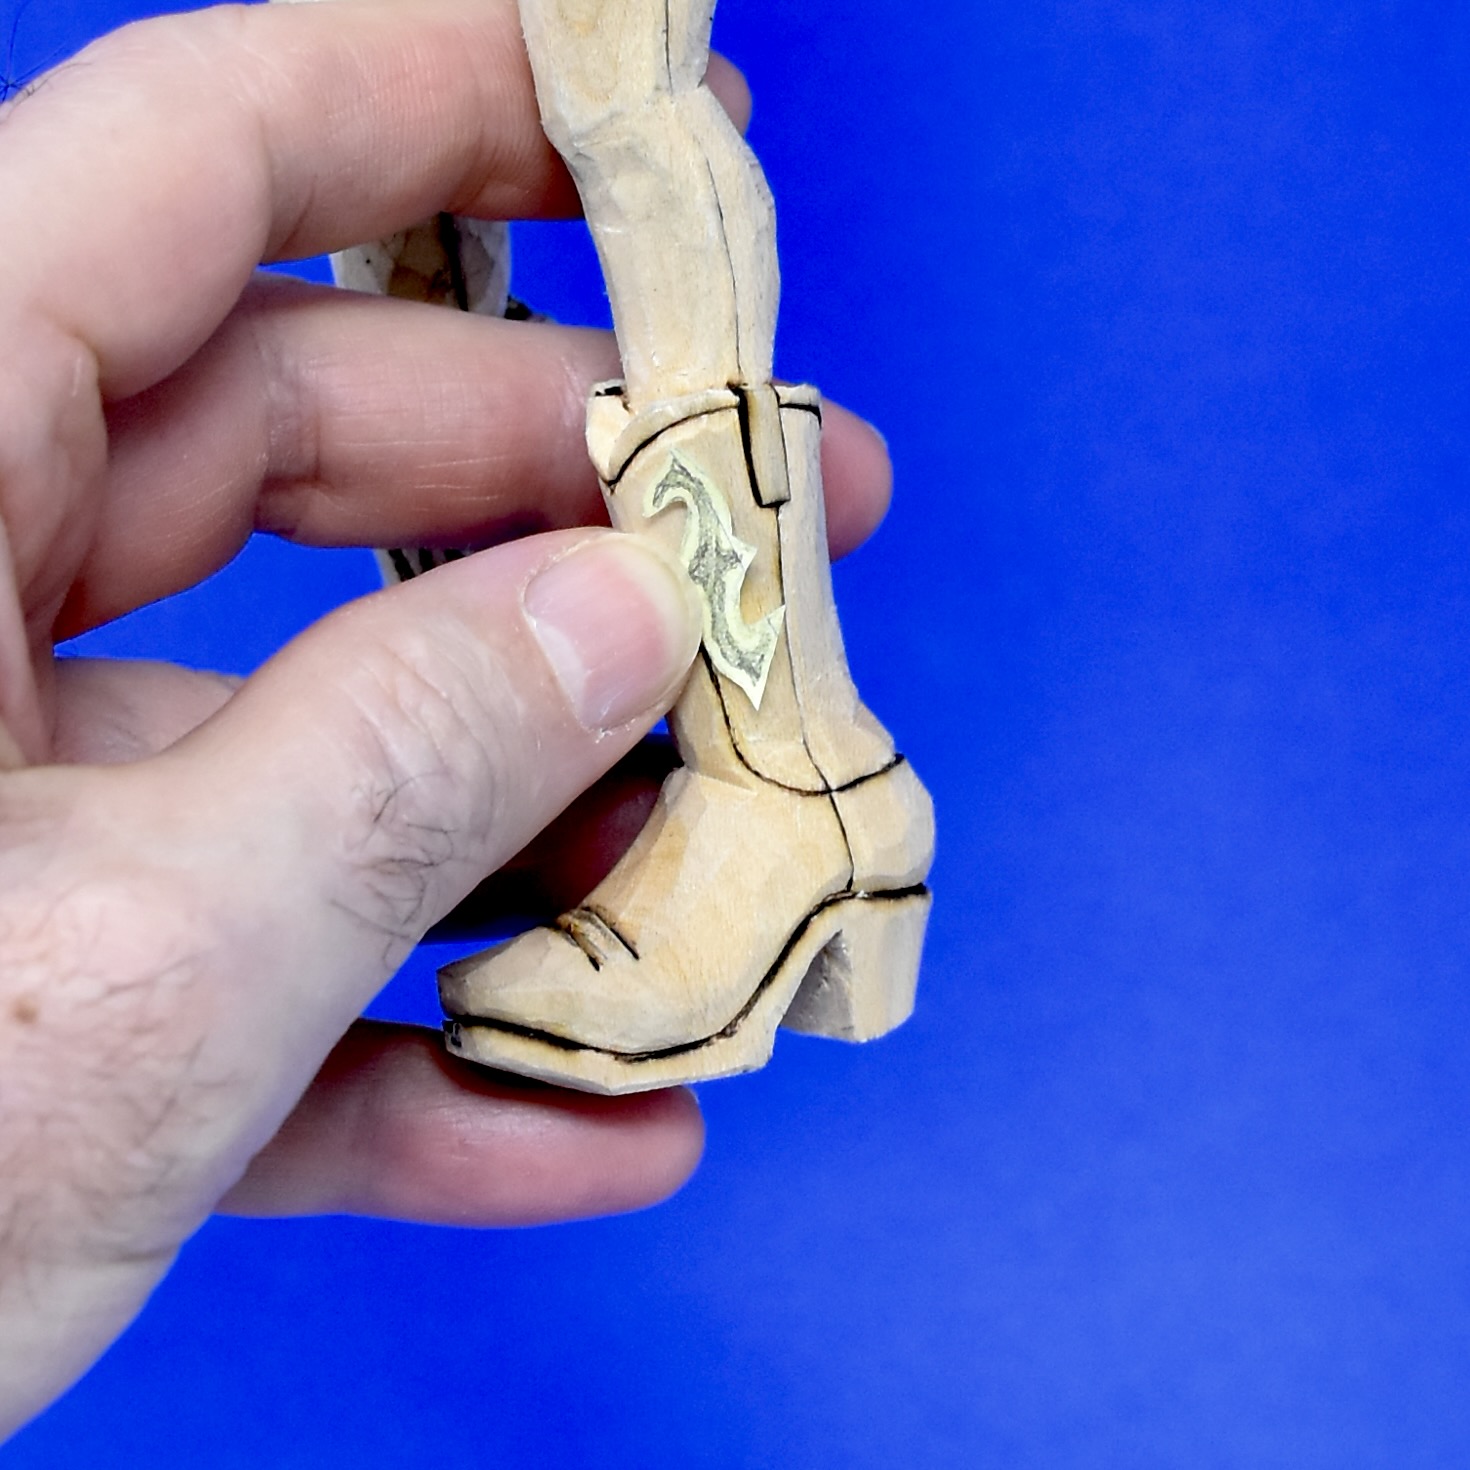
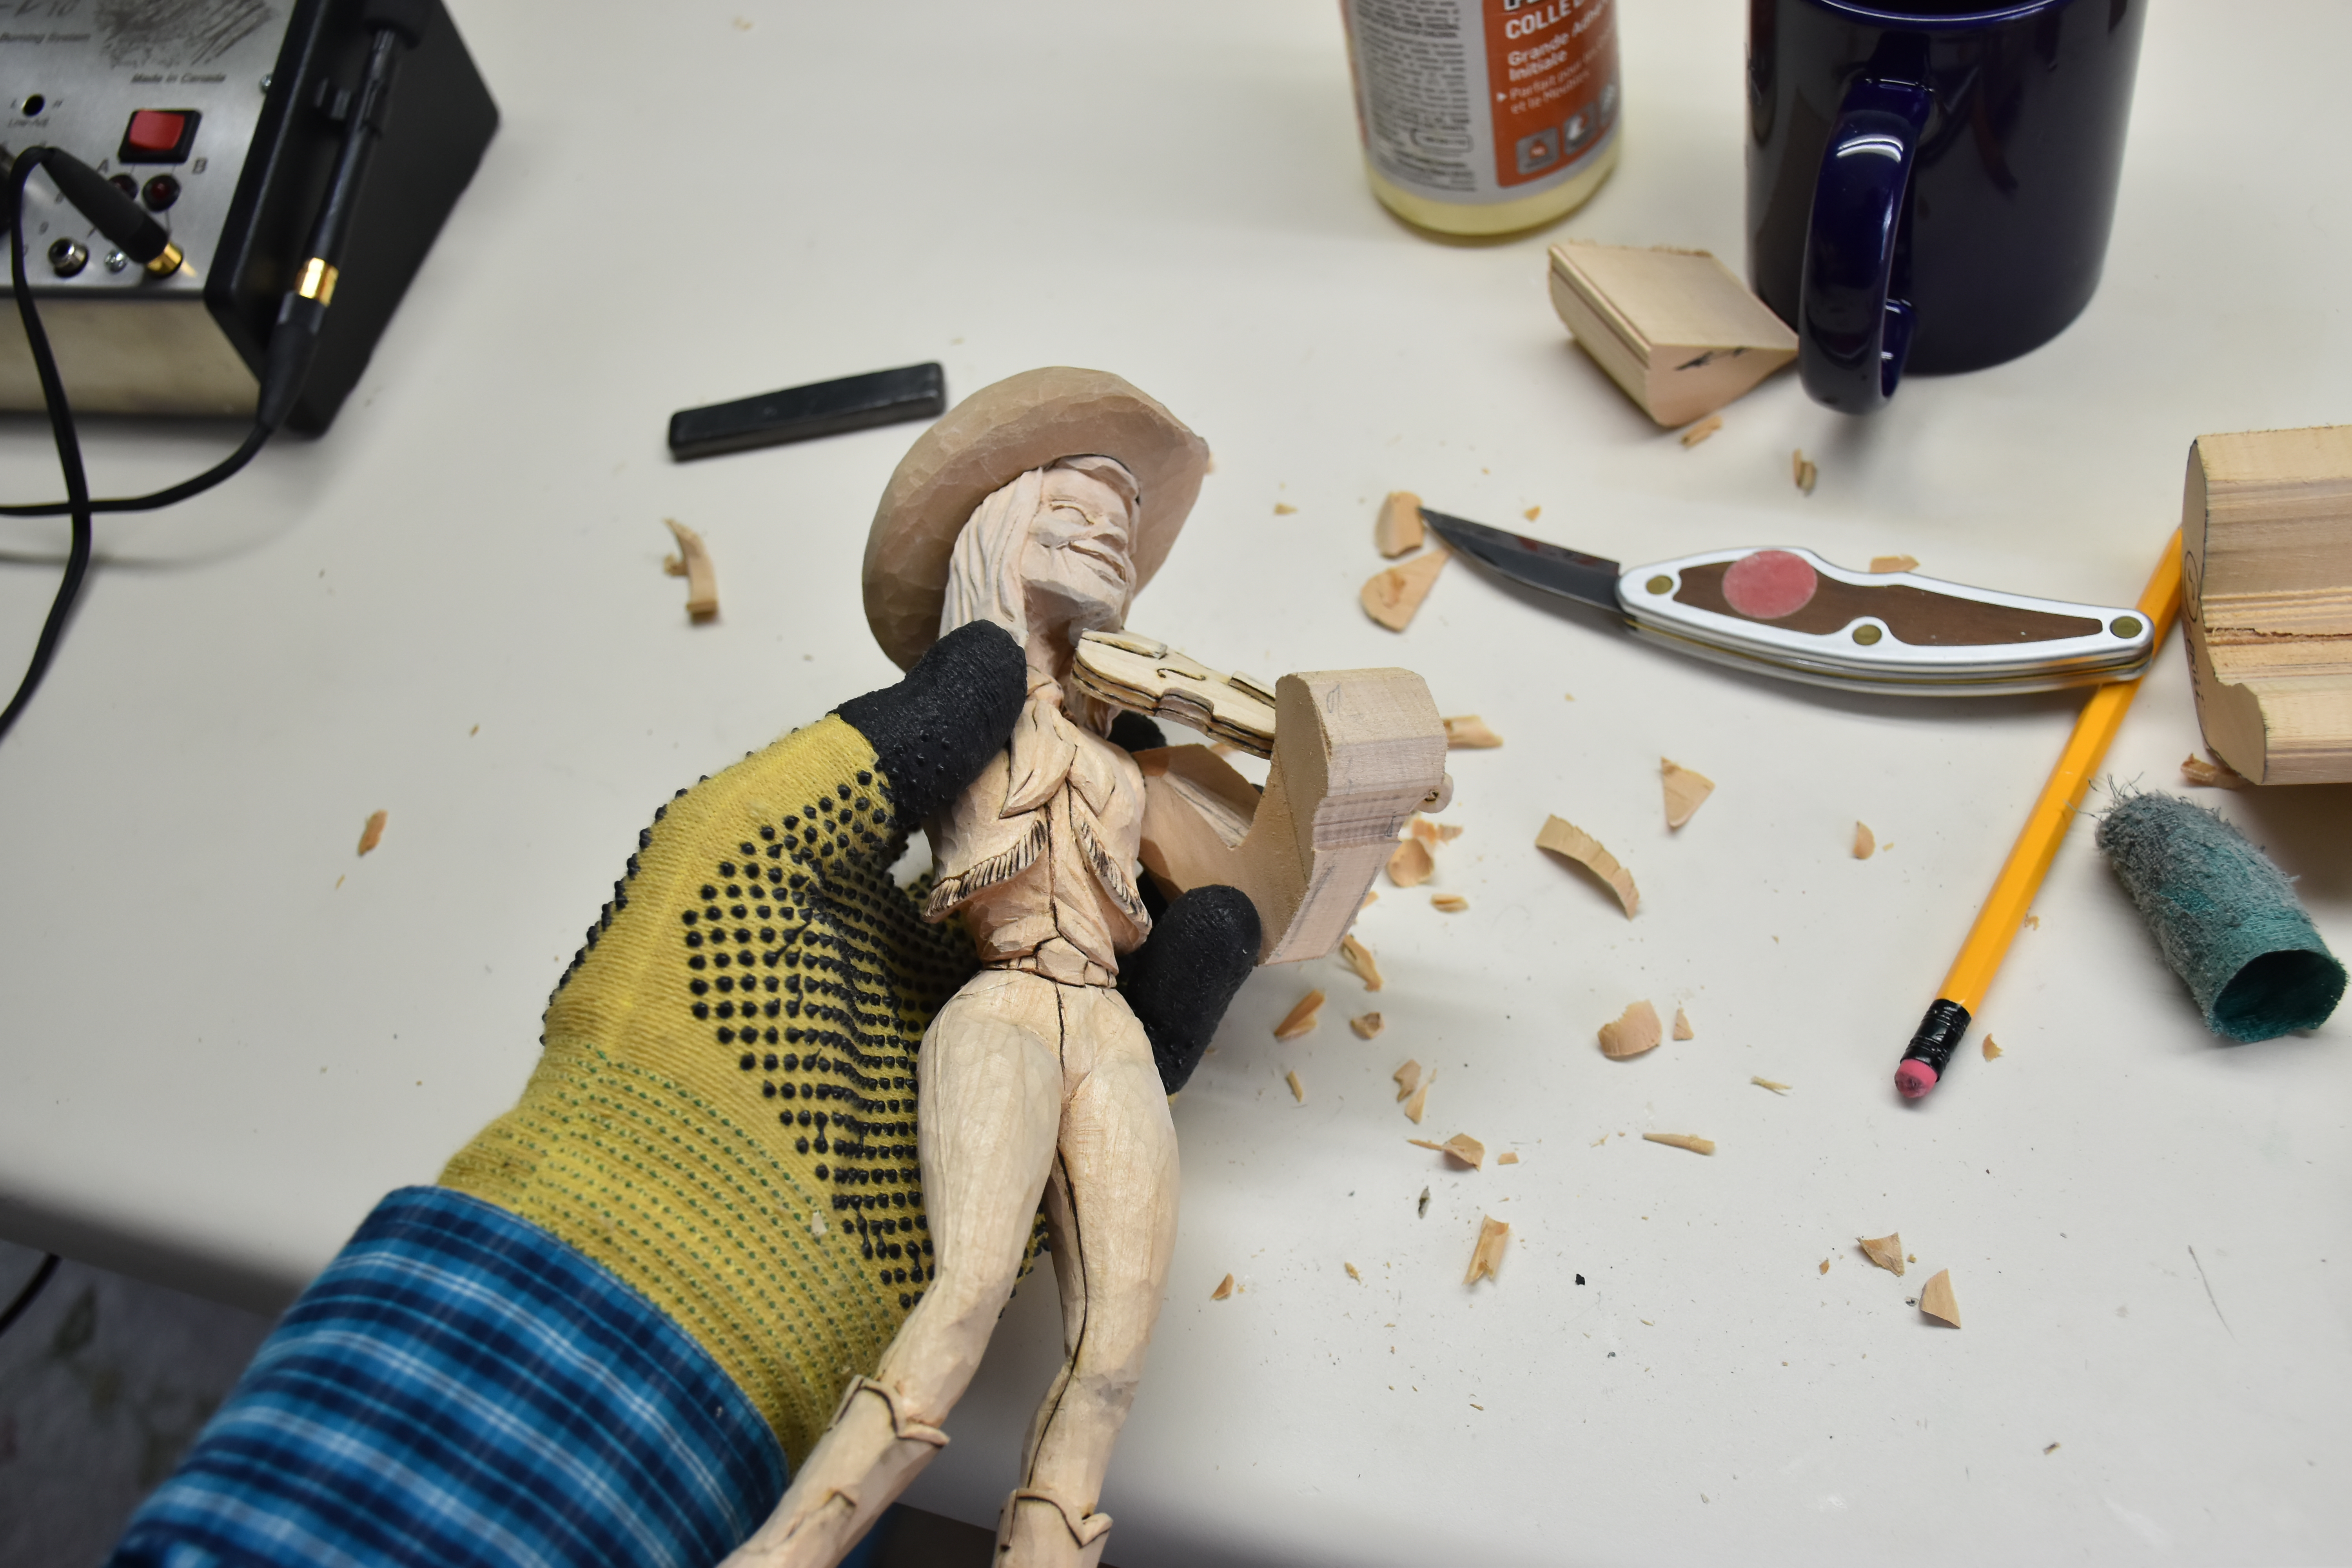
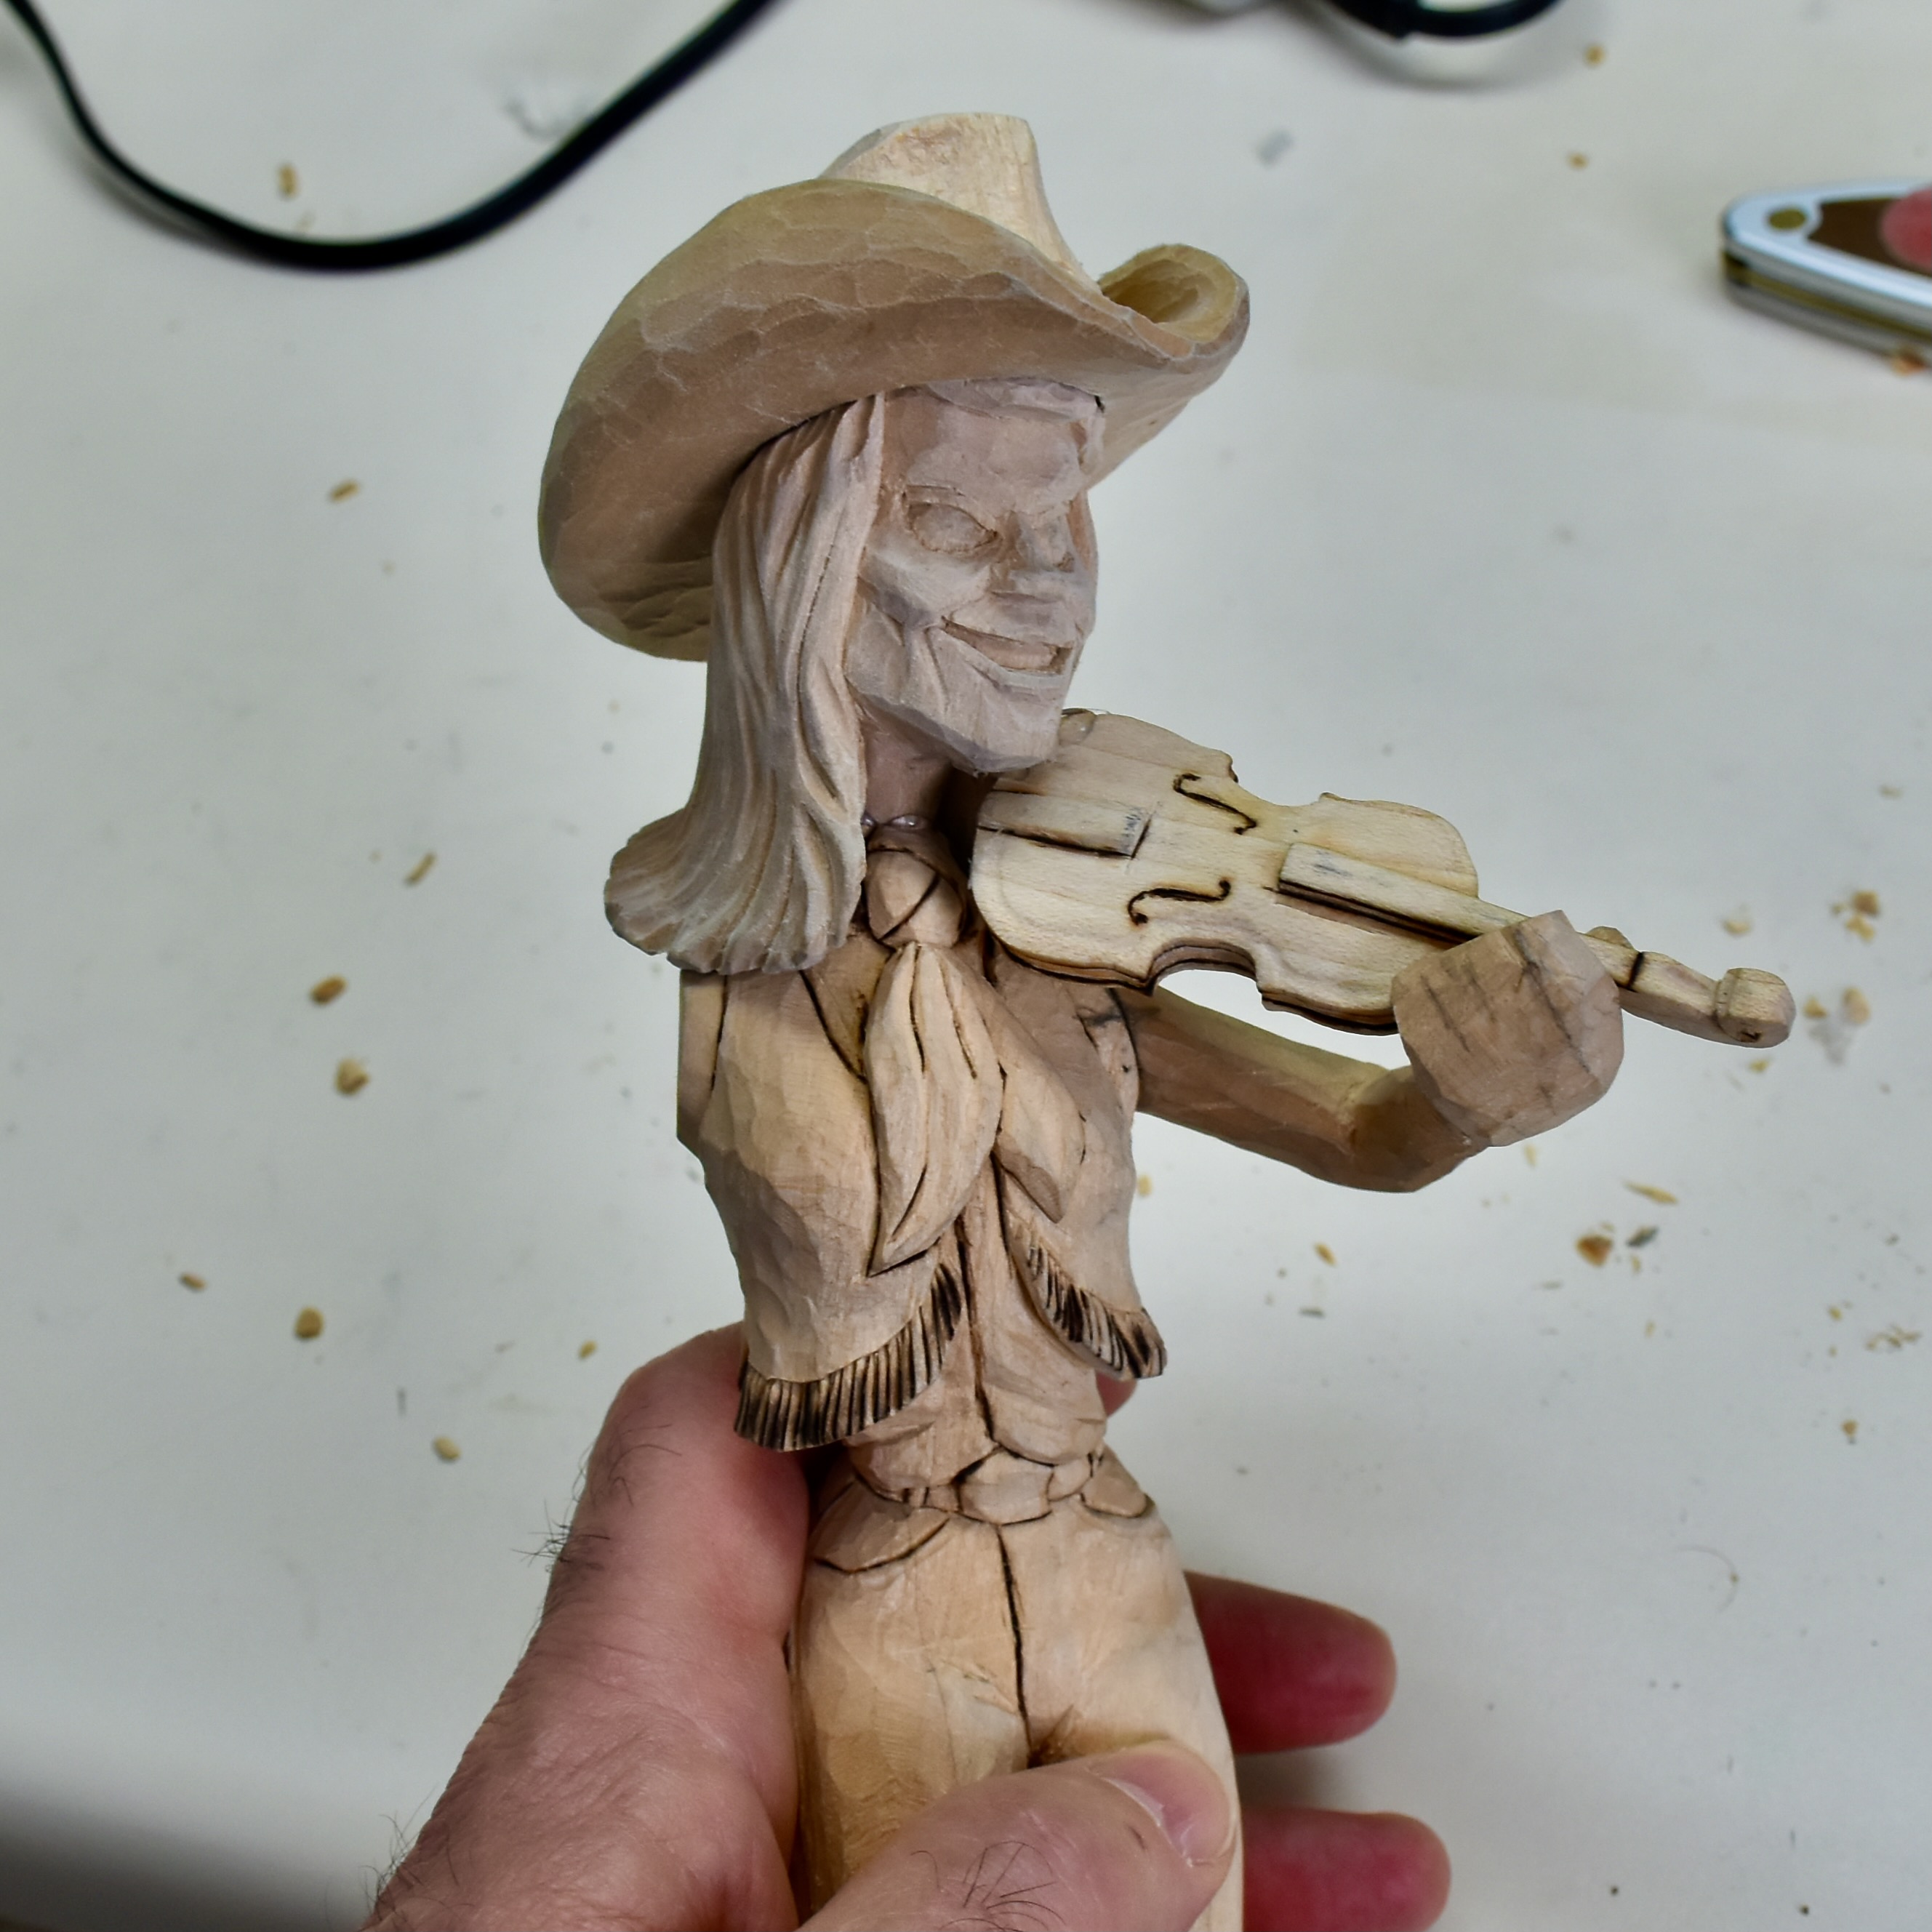
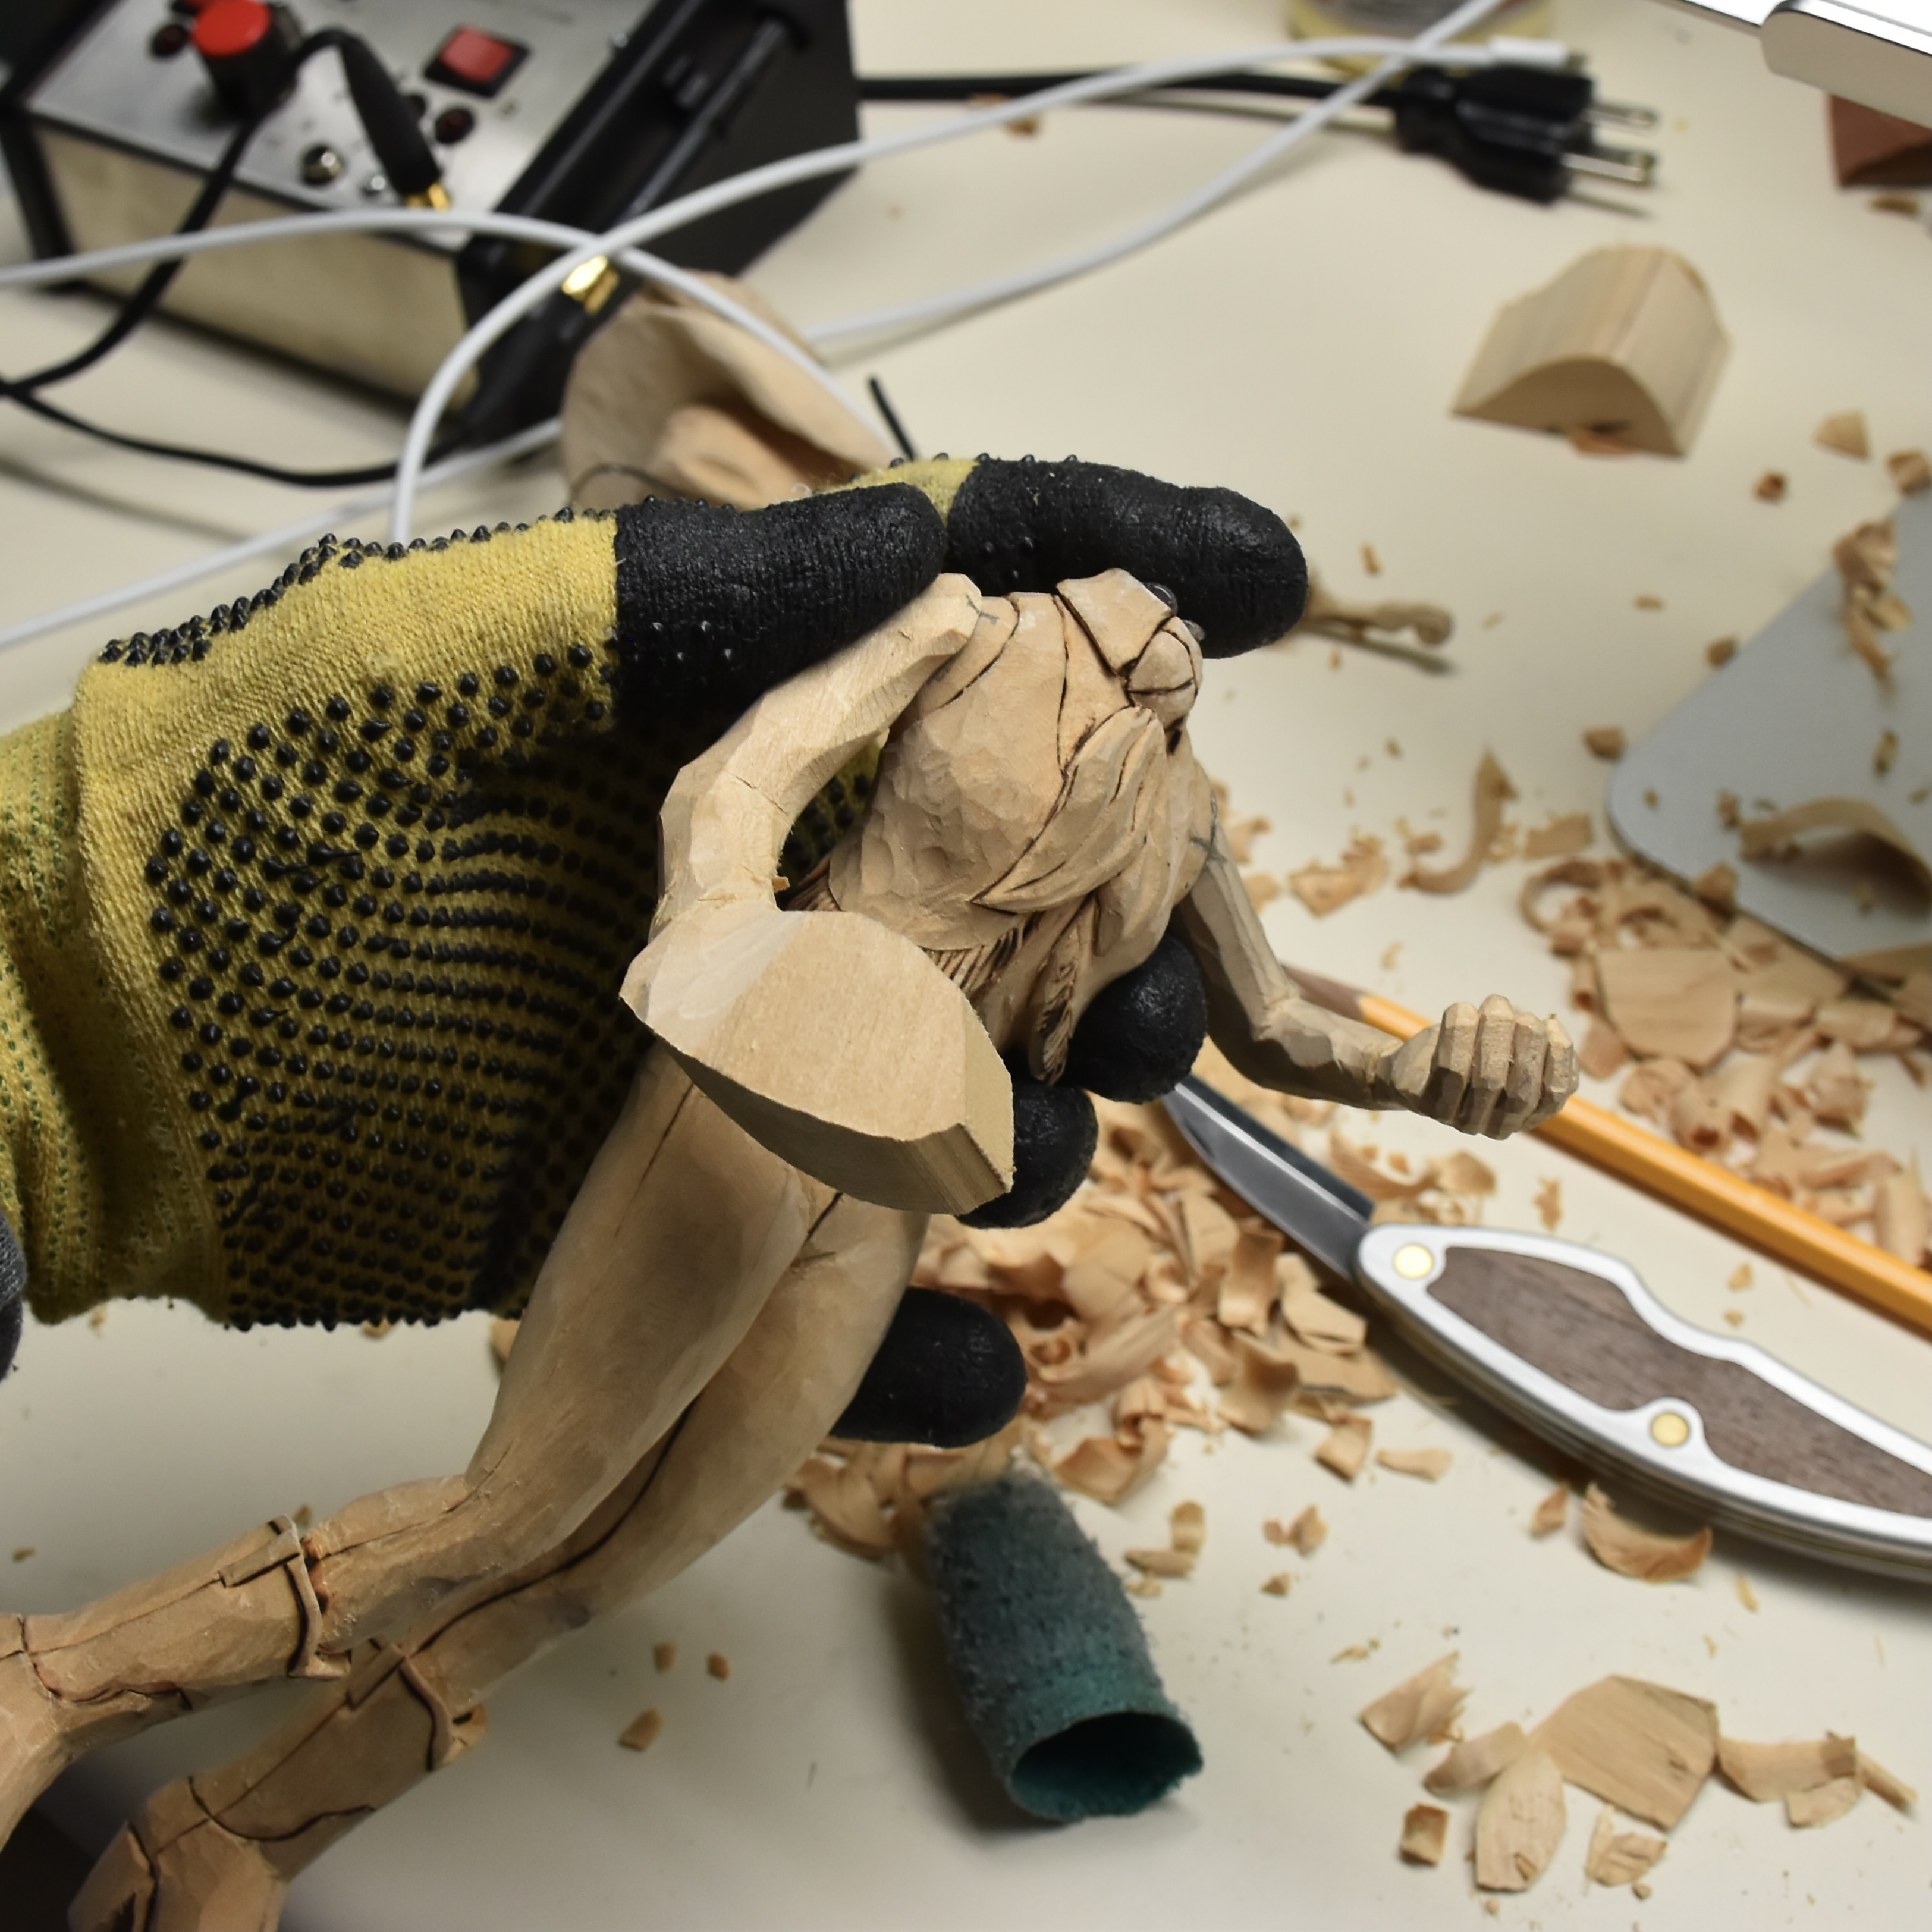
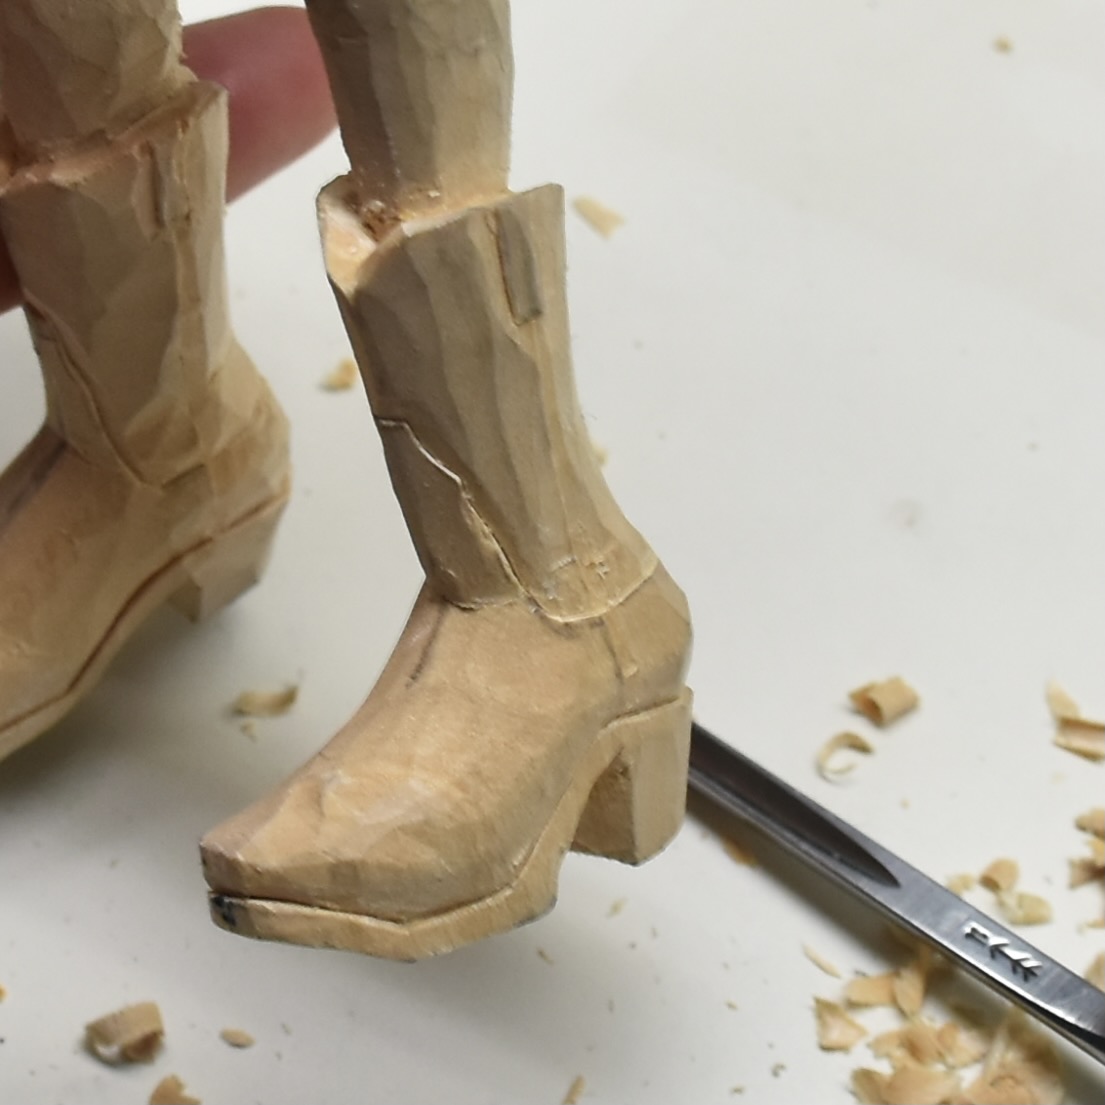
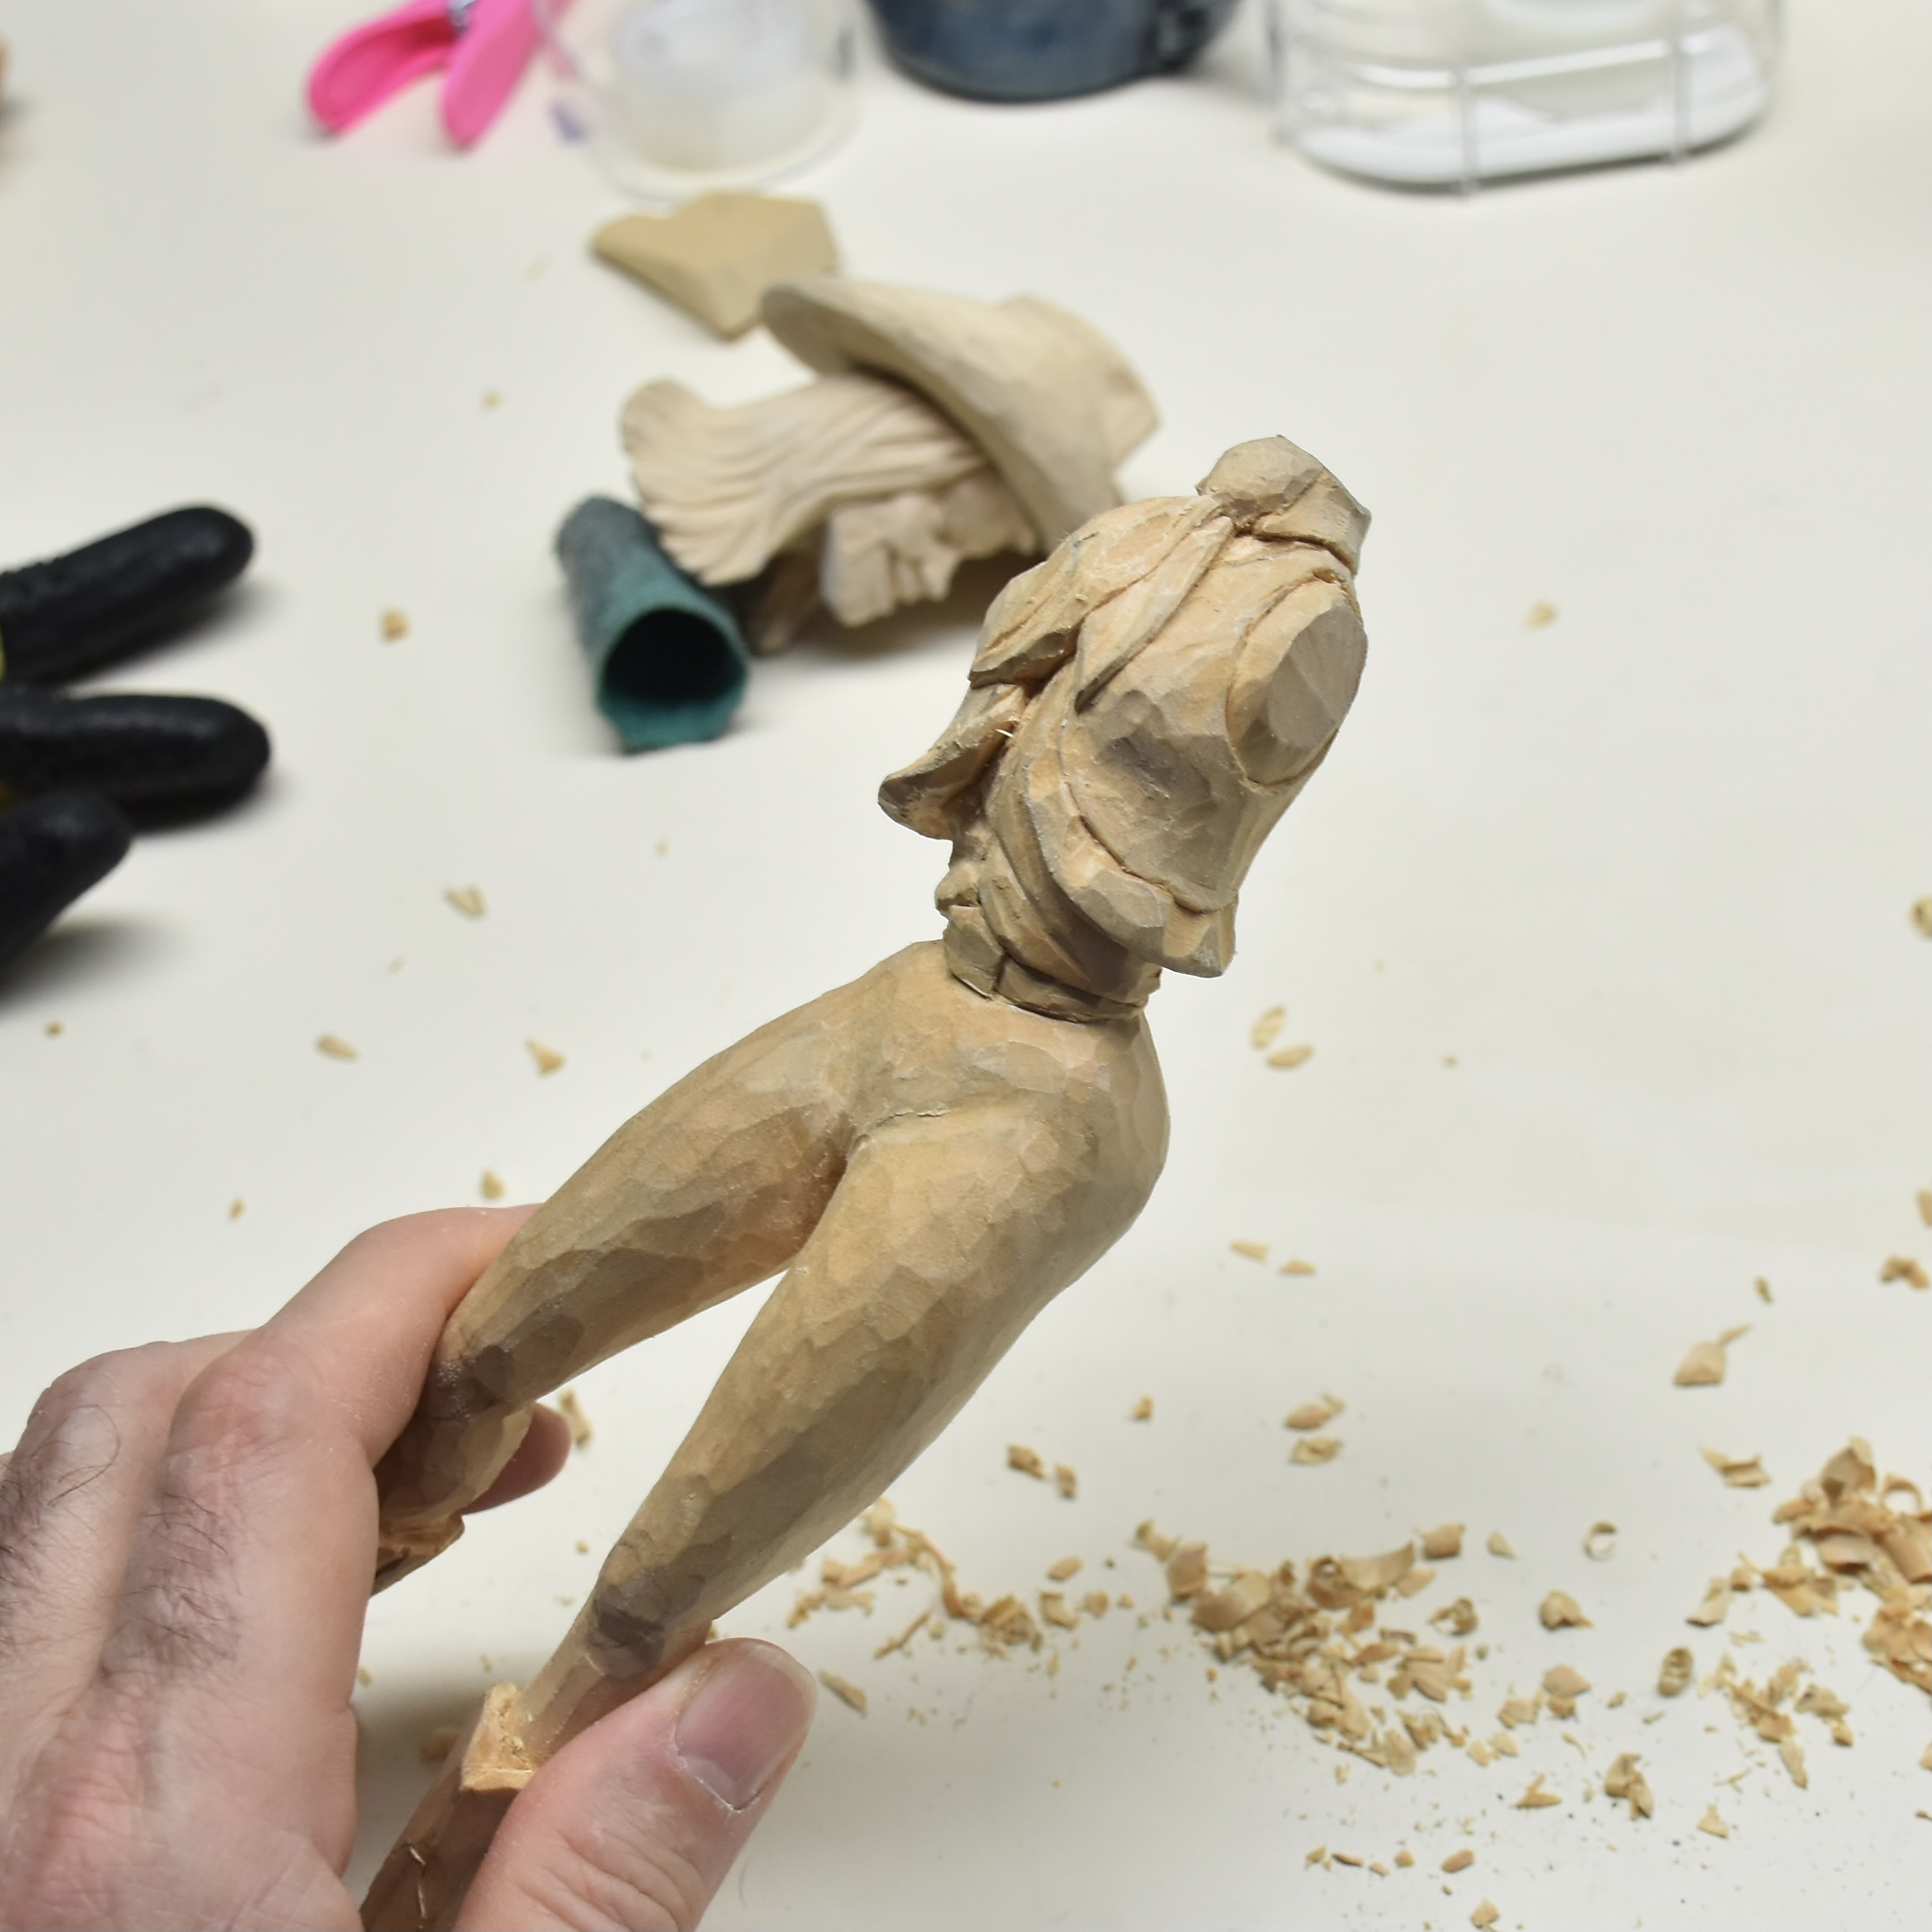
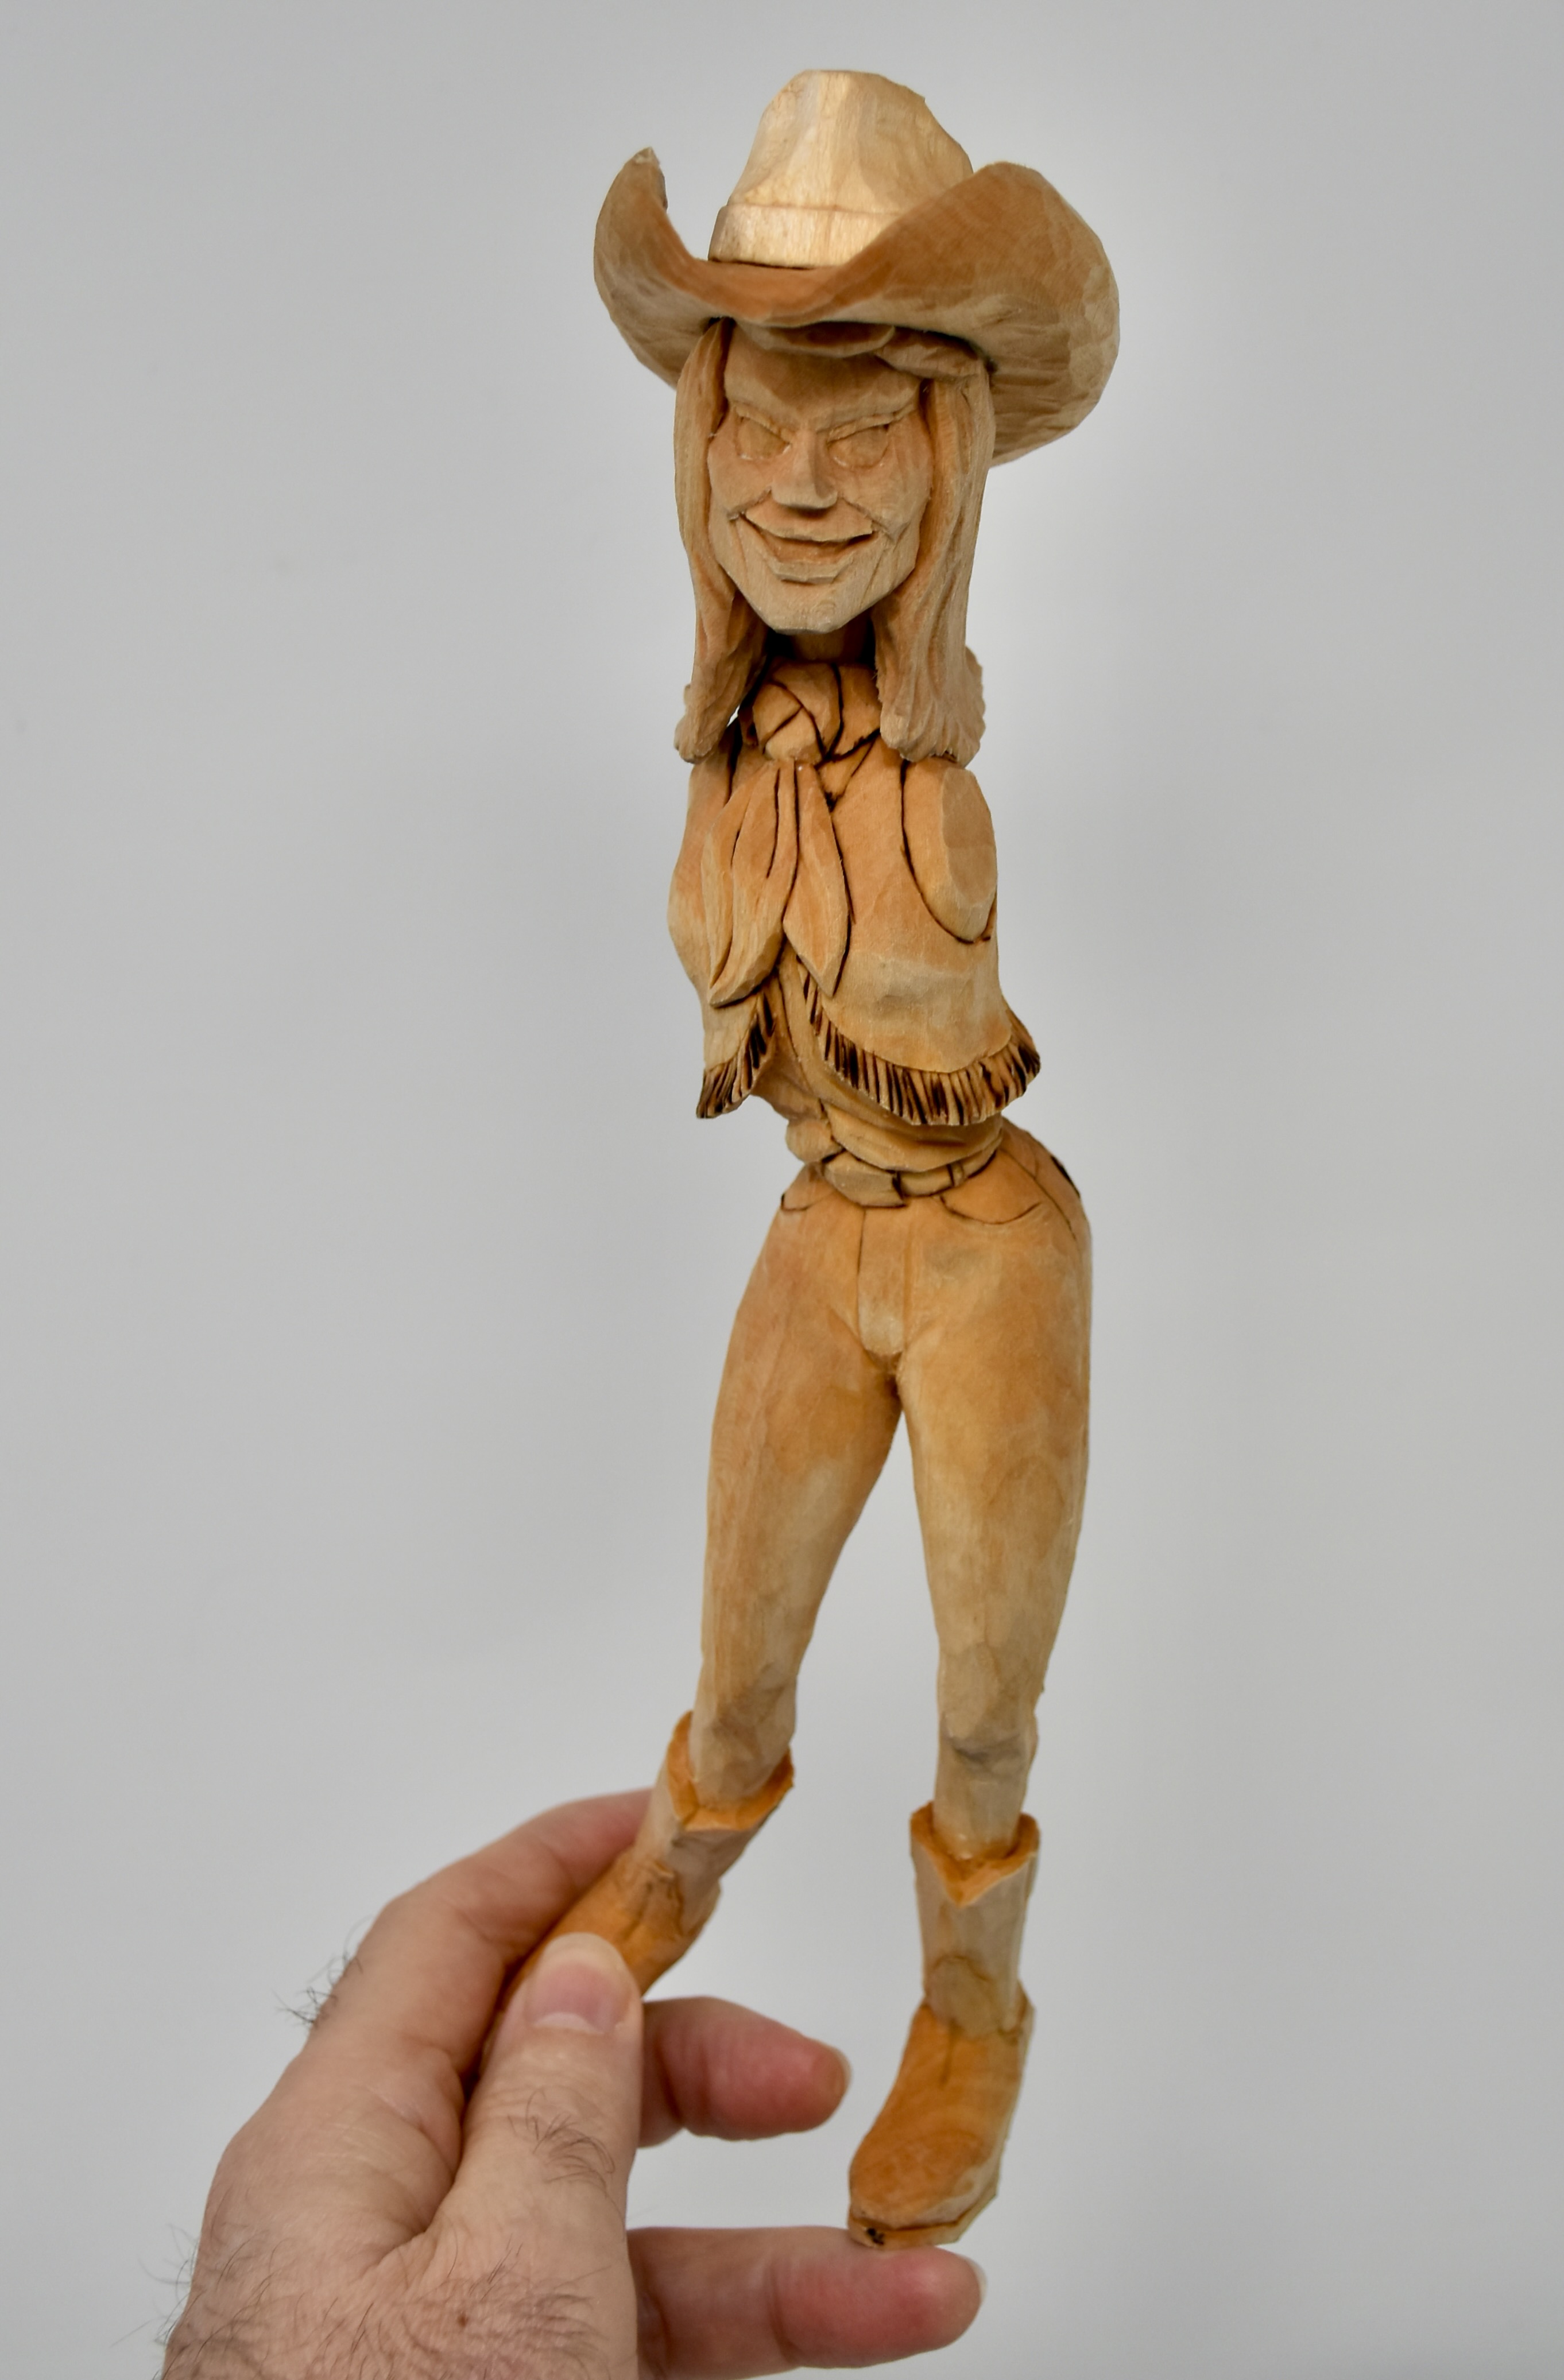
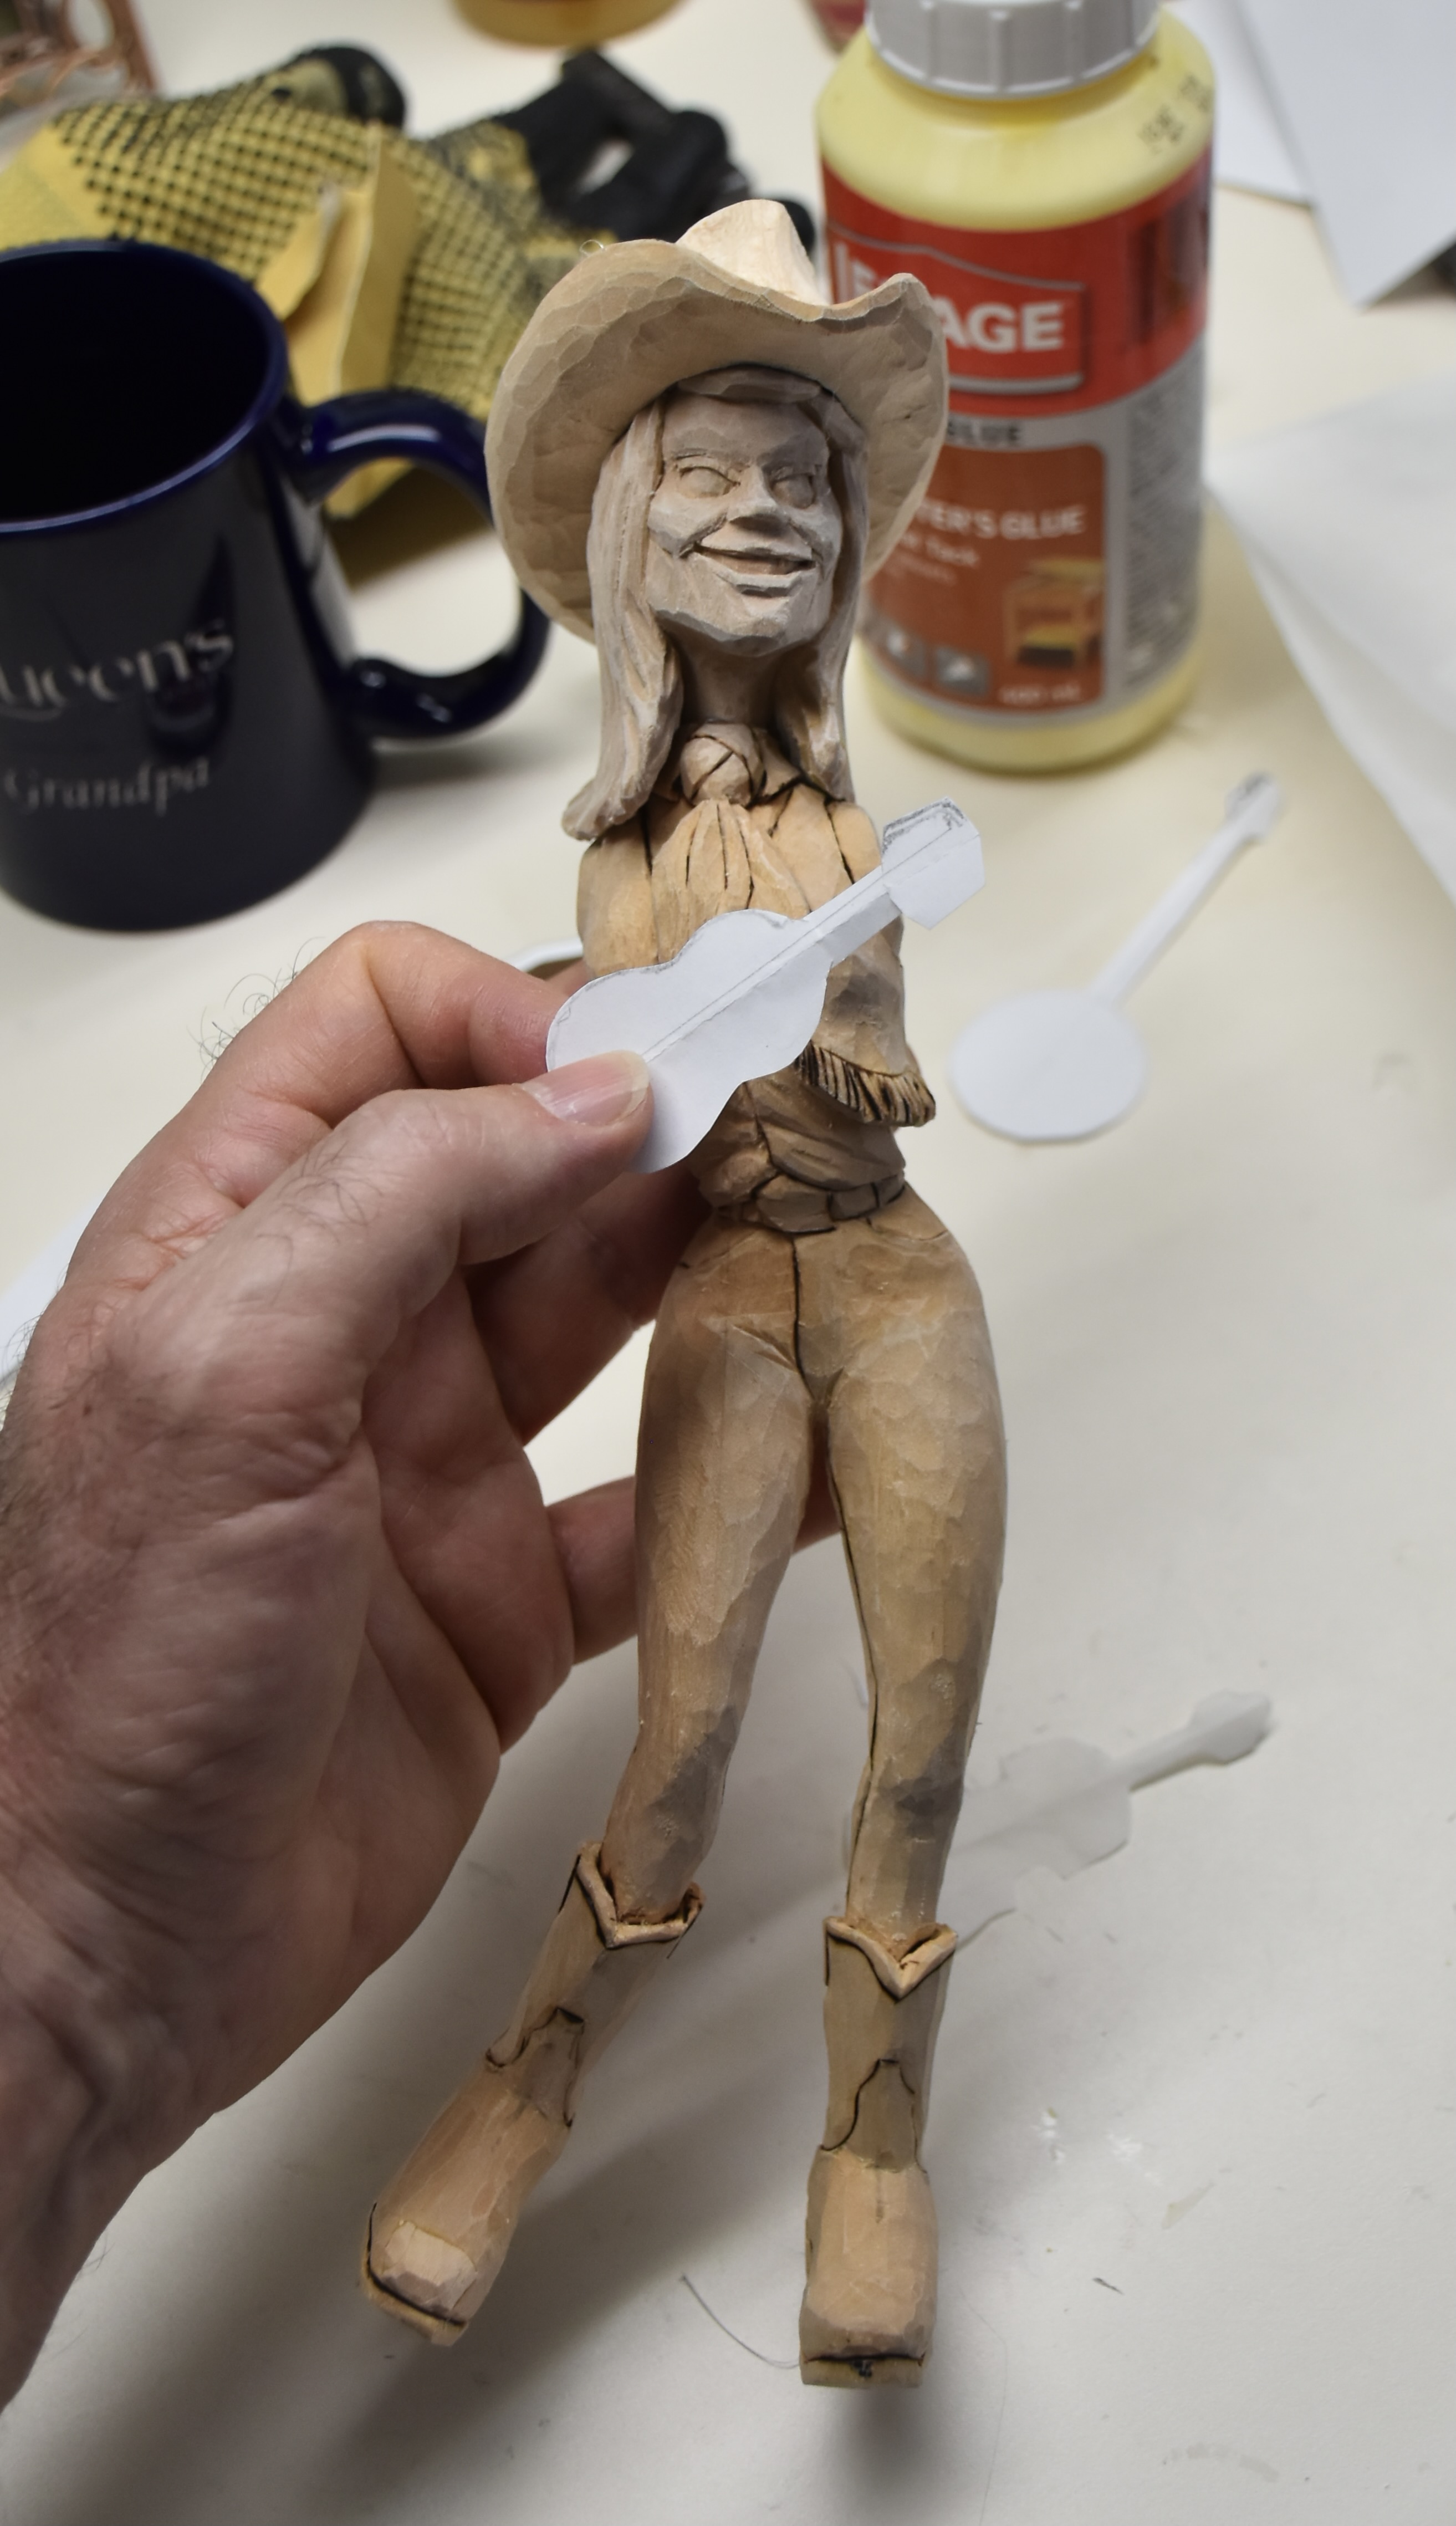
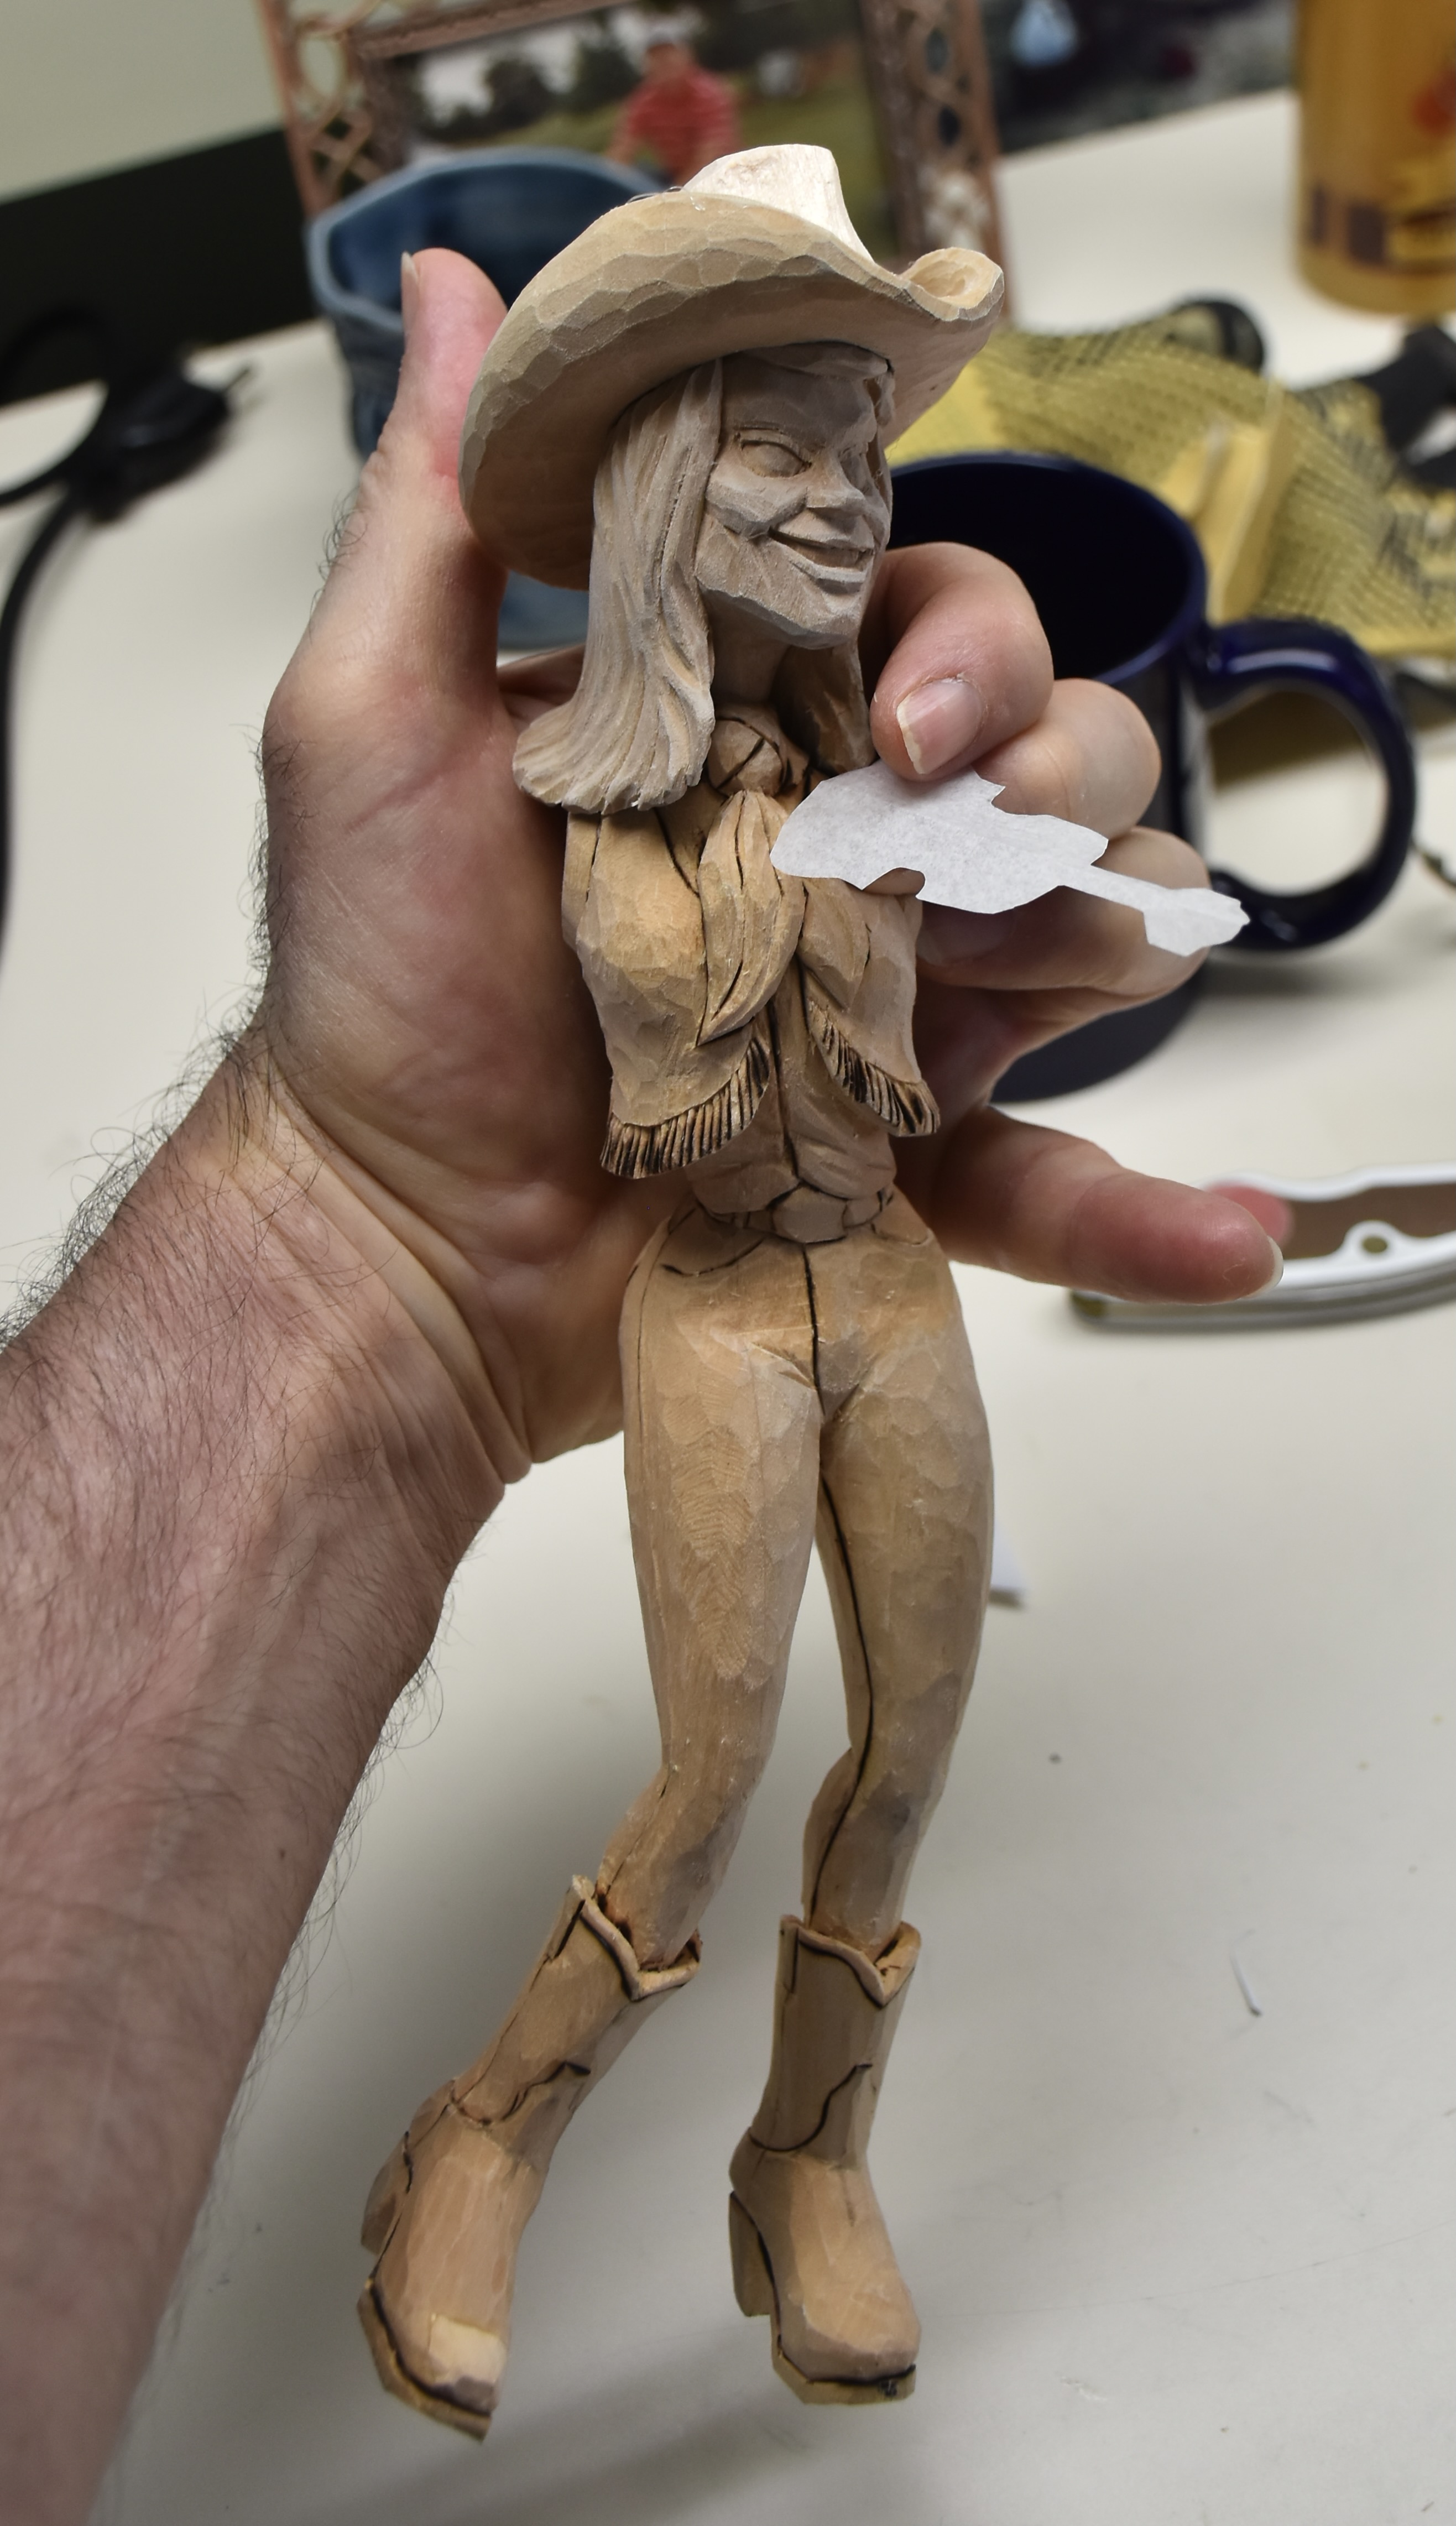
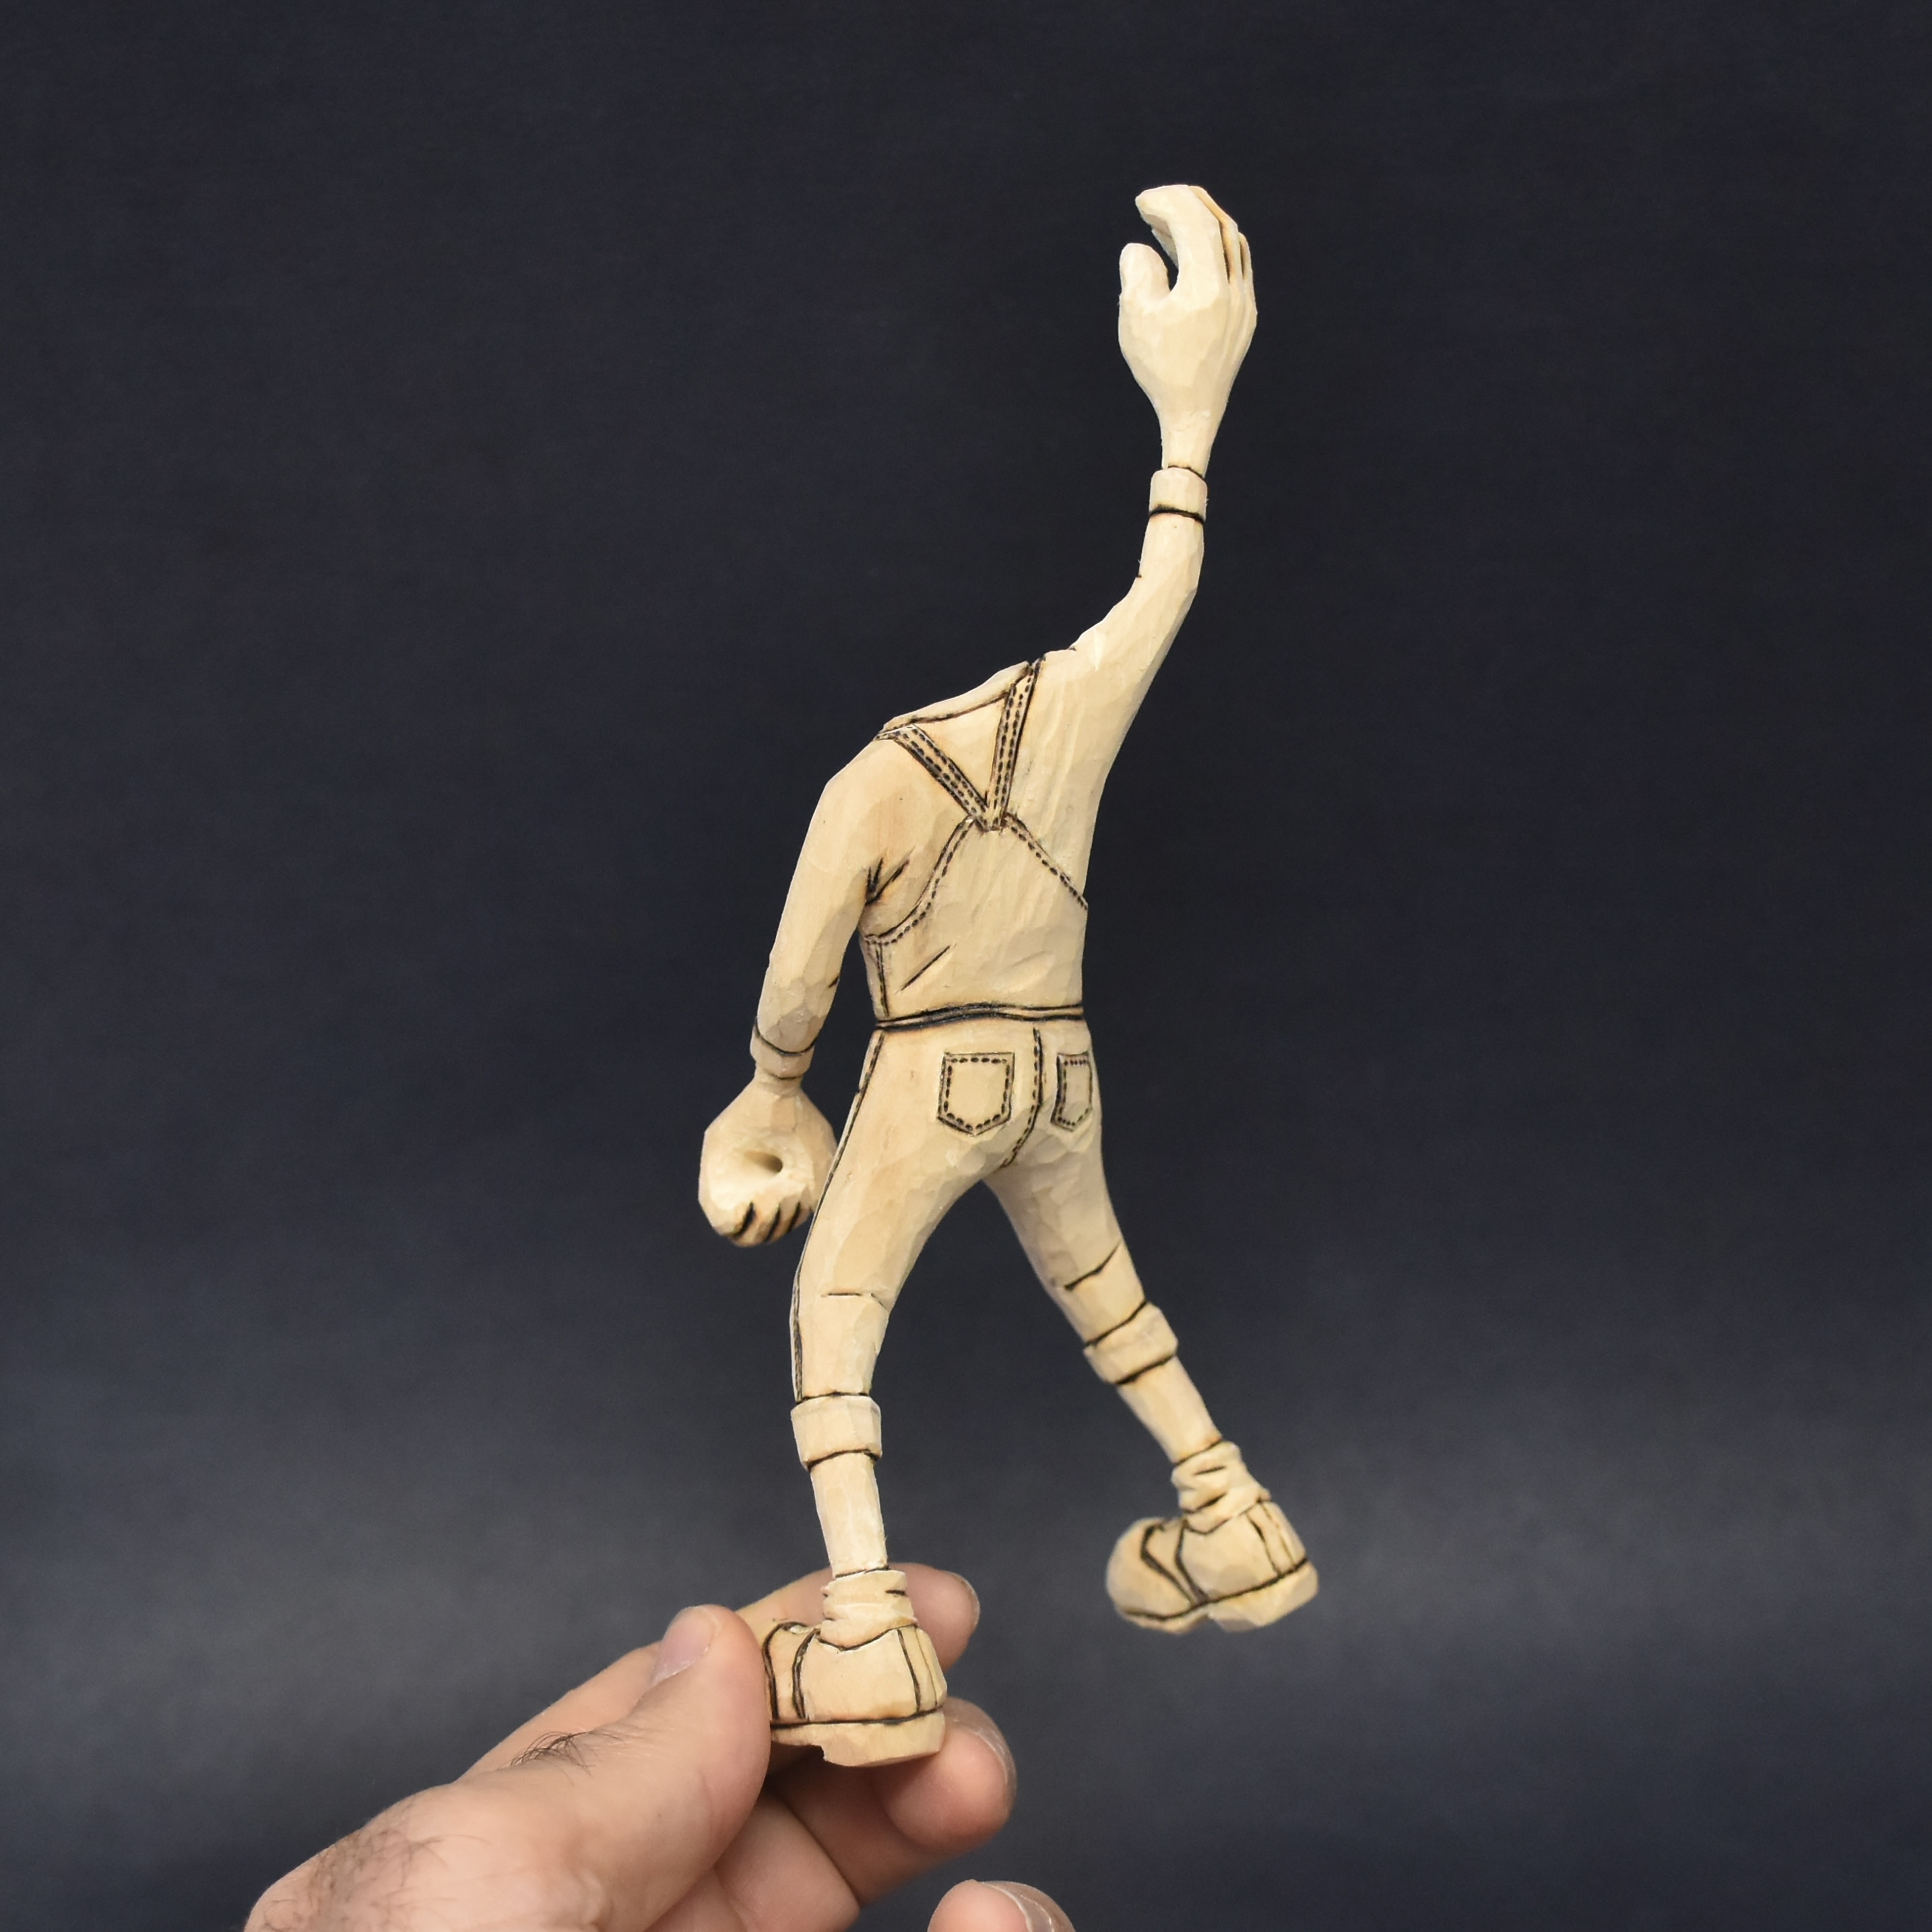
Once I had the body roughed in, it was time to start adding some detail. I decided on denim overalls cut high on the leg to show off her black and white saddle shoes. Some work with a knife and gouge followed up with some wood burning of clothing lines, stitches and deepening of wrinkles was all that was needed to get into painting. When you’re adding wrinkles, don’t leave things to guesswork…look at photos of similar poses or just look in the mirror as you pose for yourself and make sure that you’re getting the wrinkle lines going in the right directions.

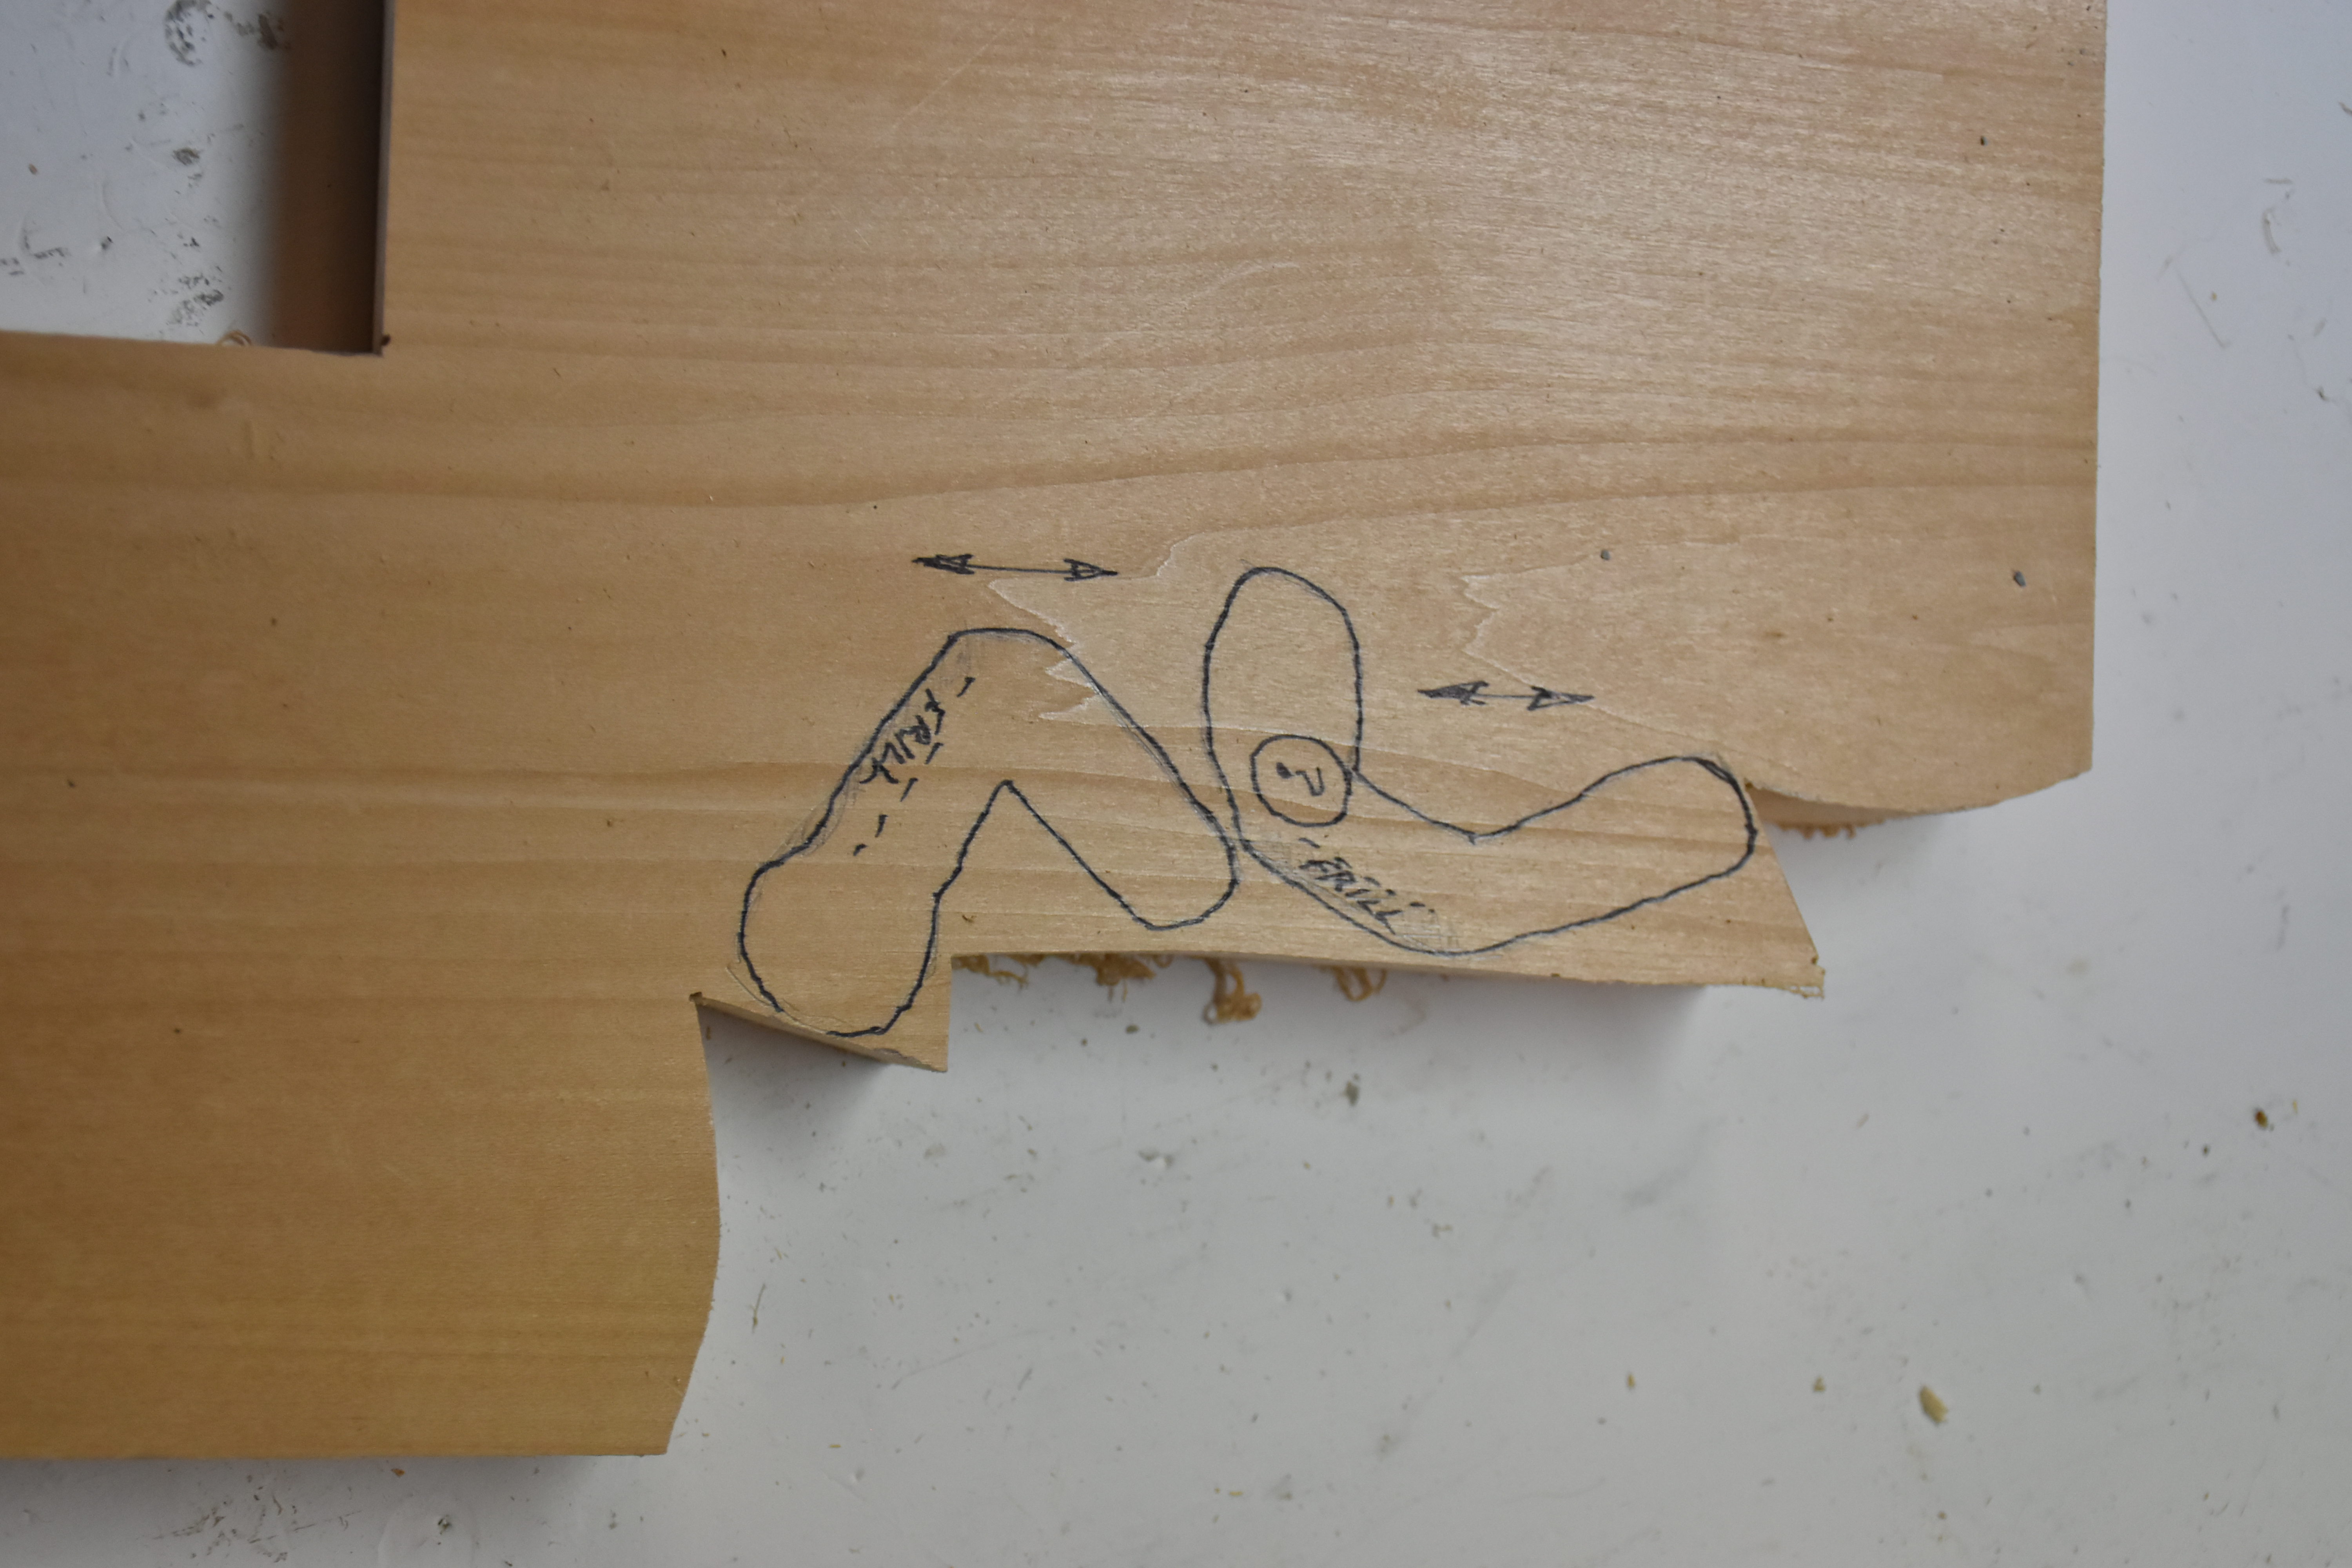
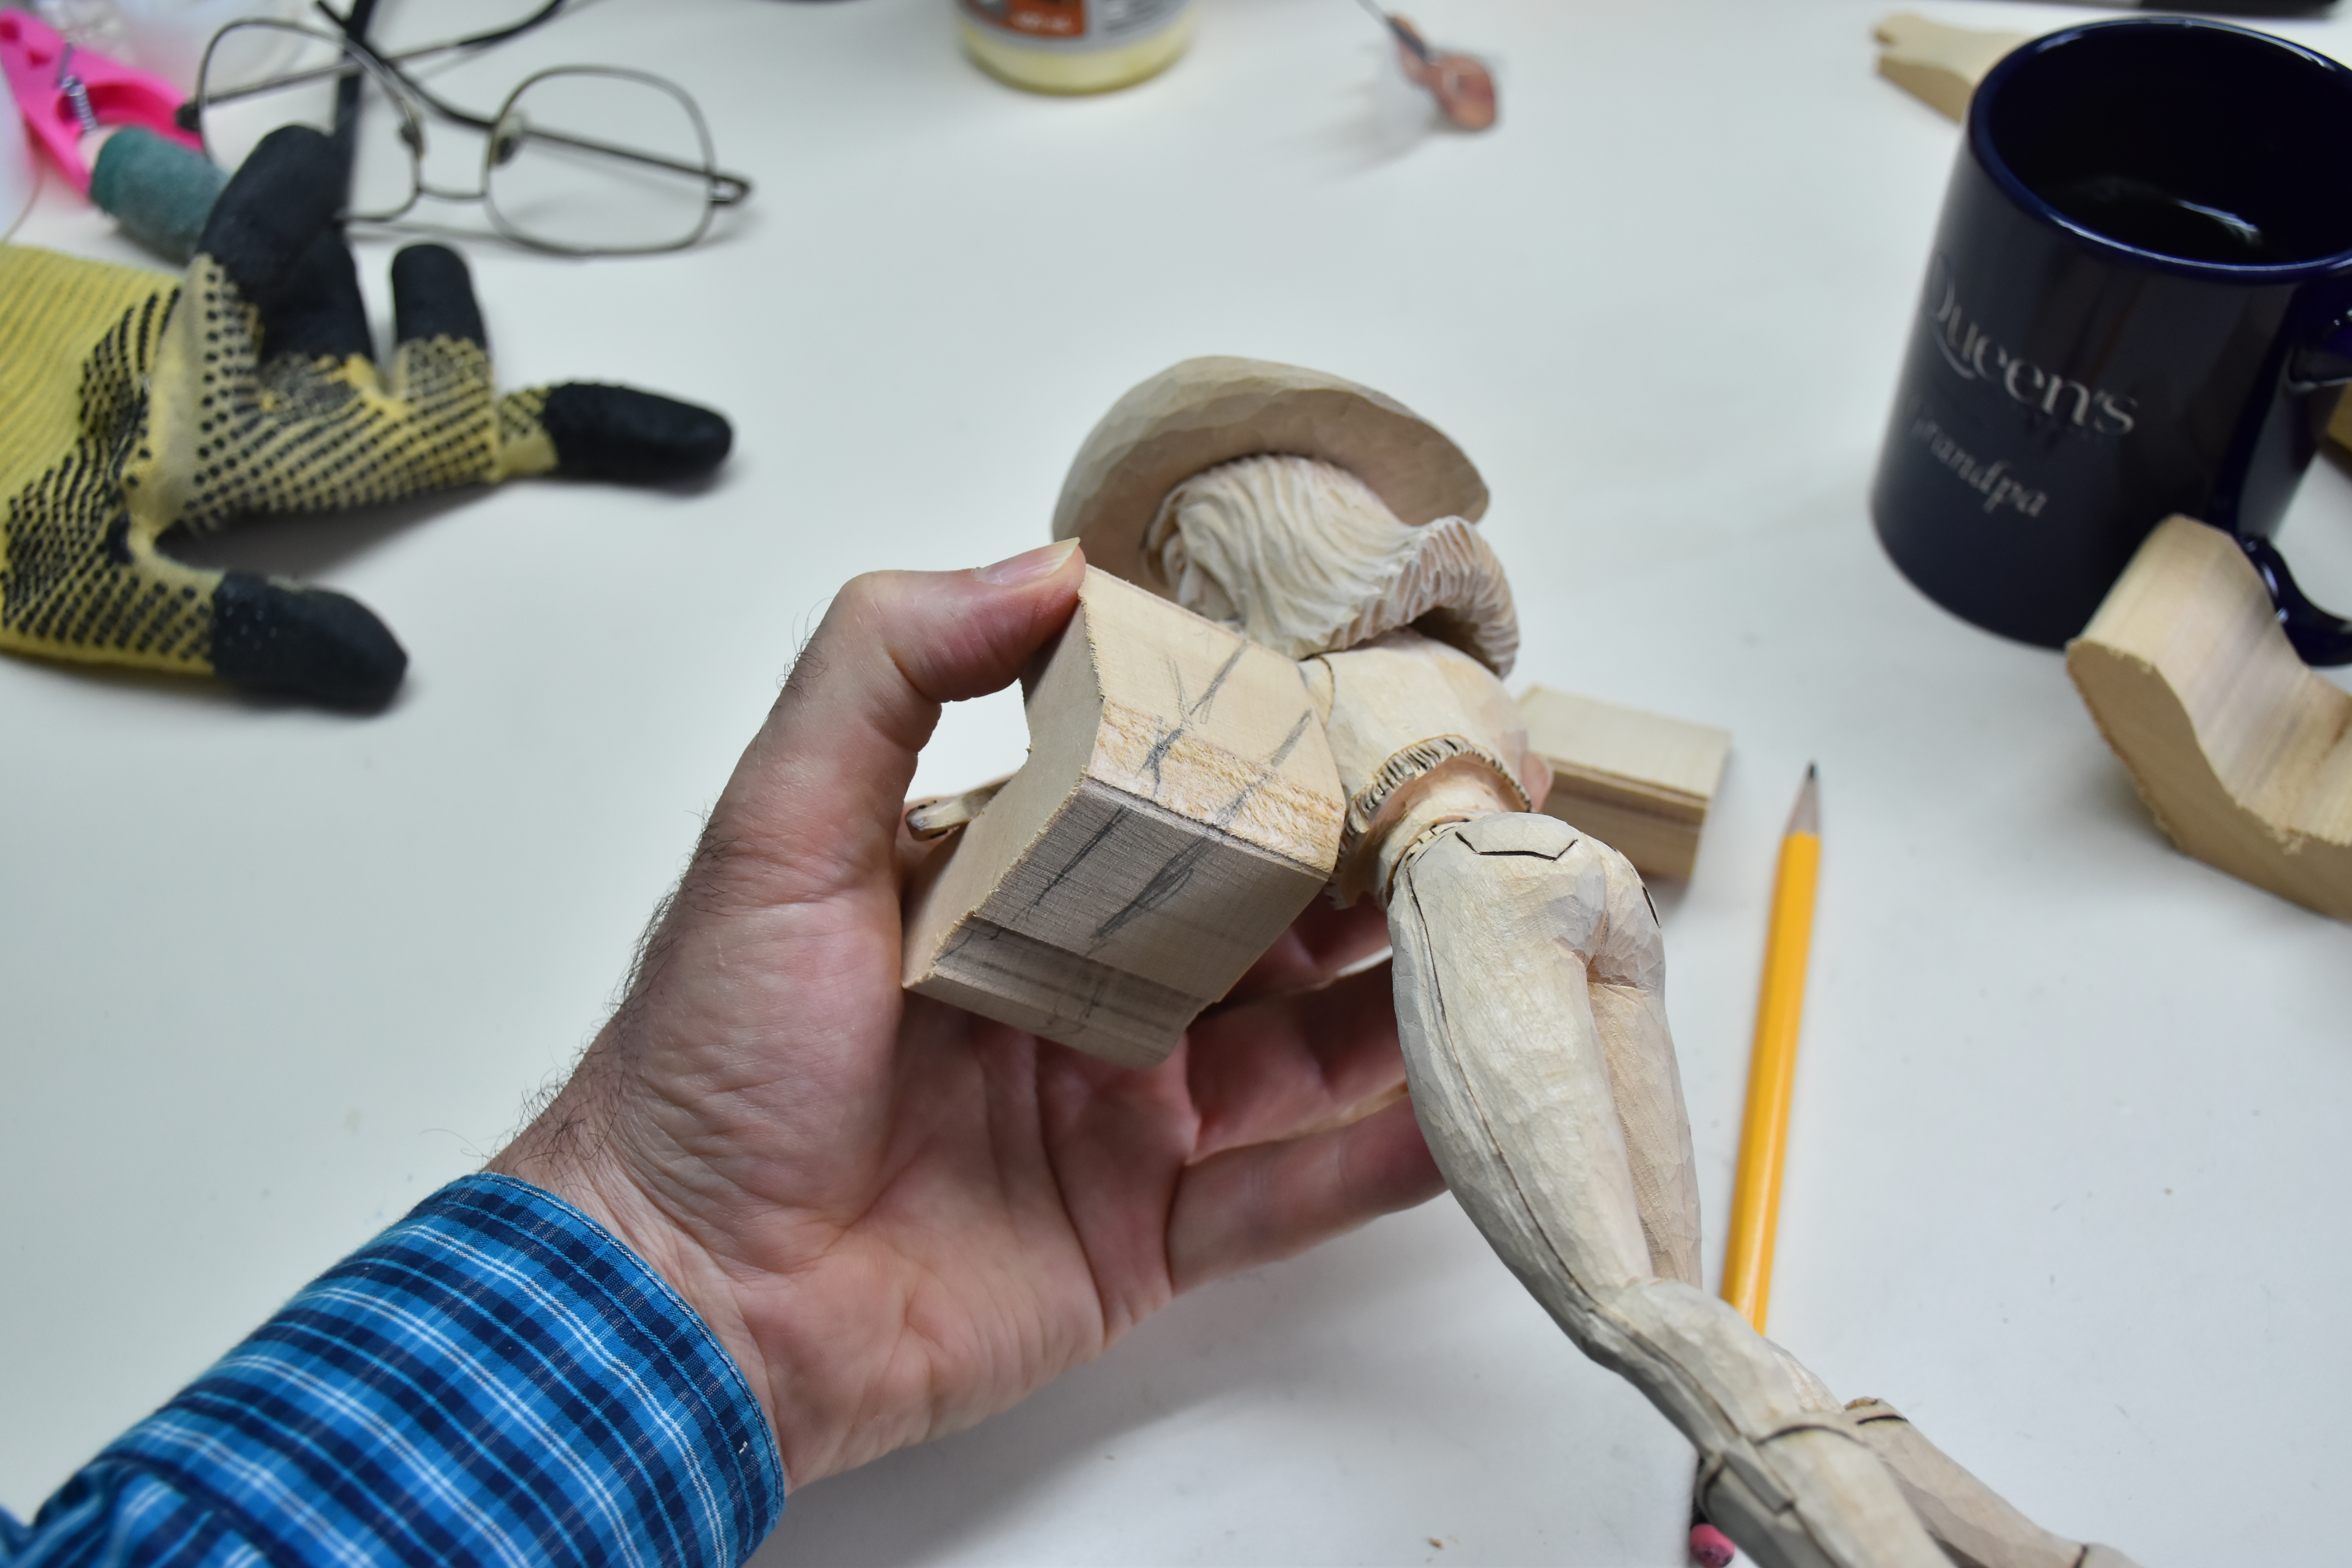
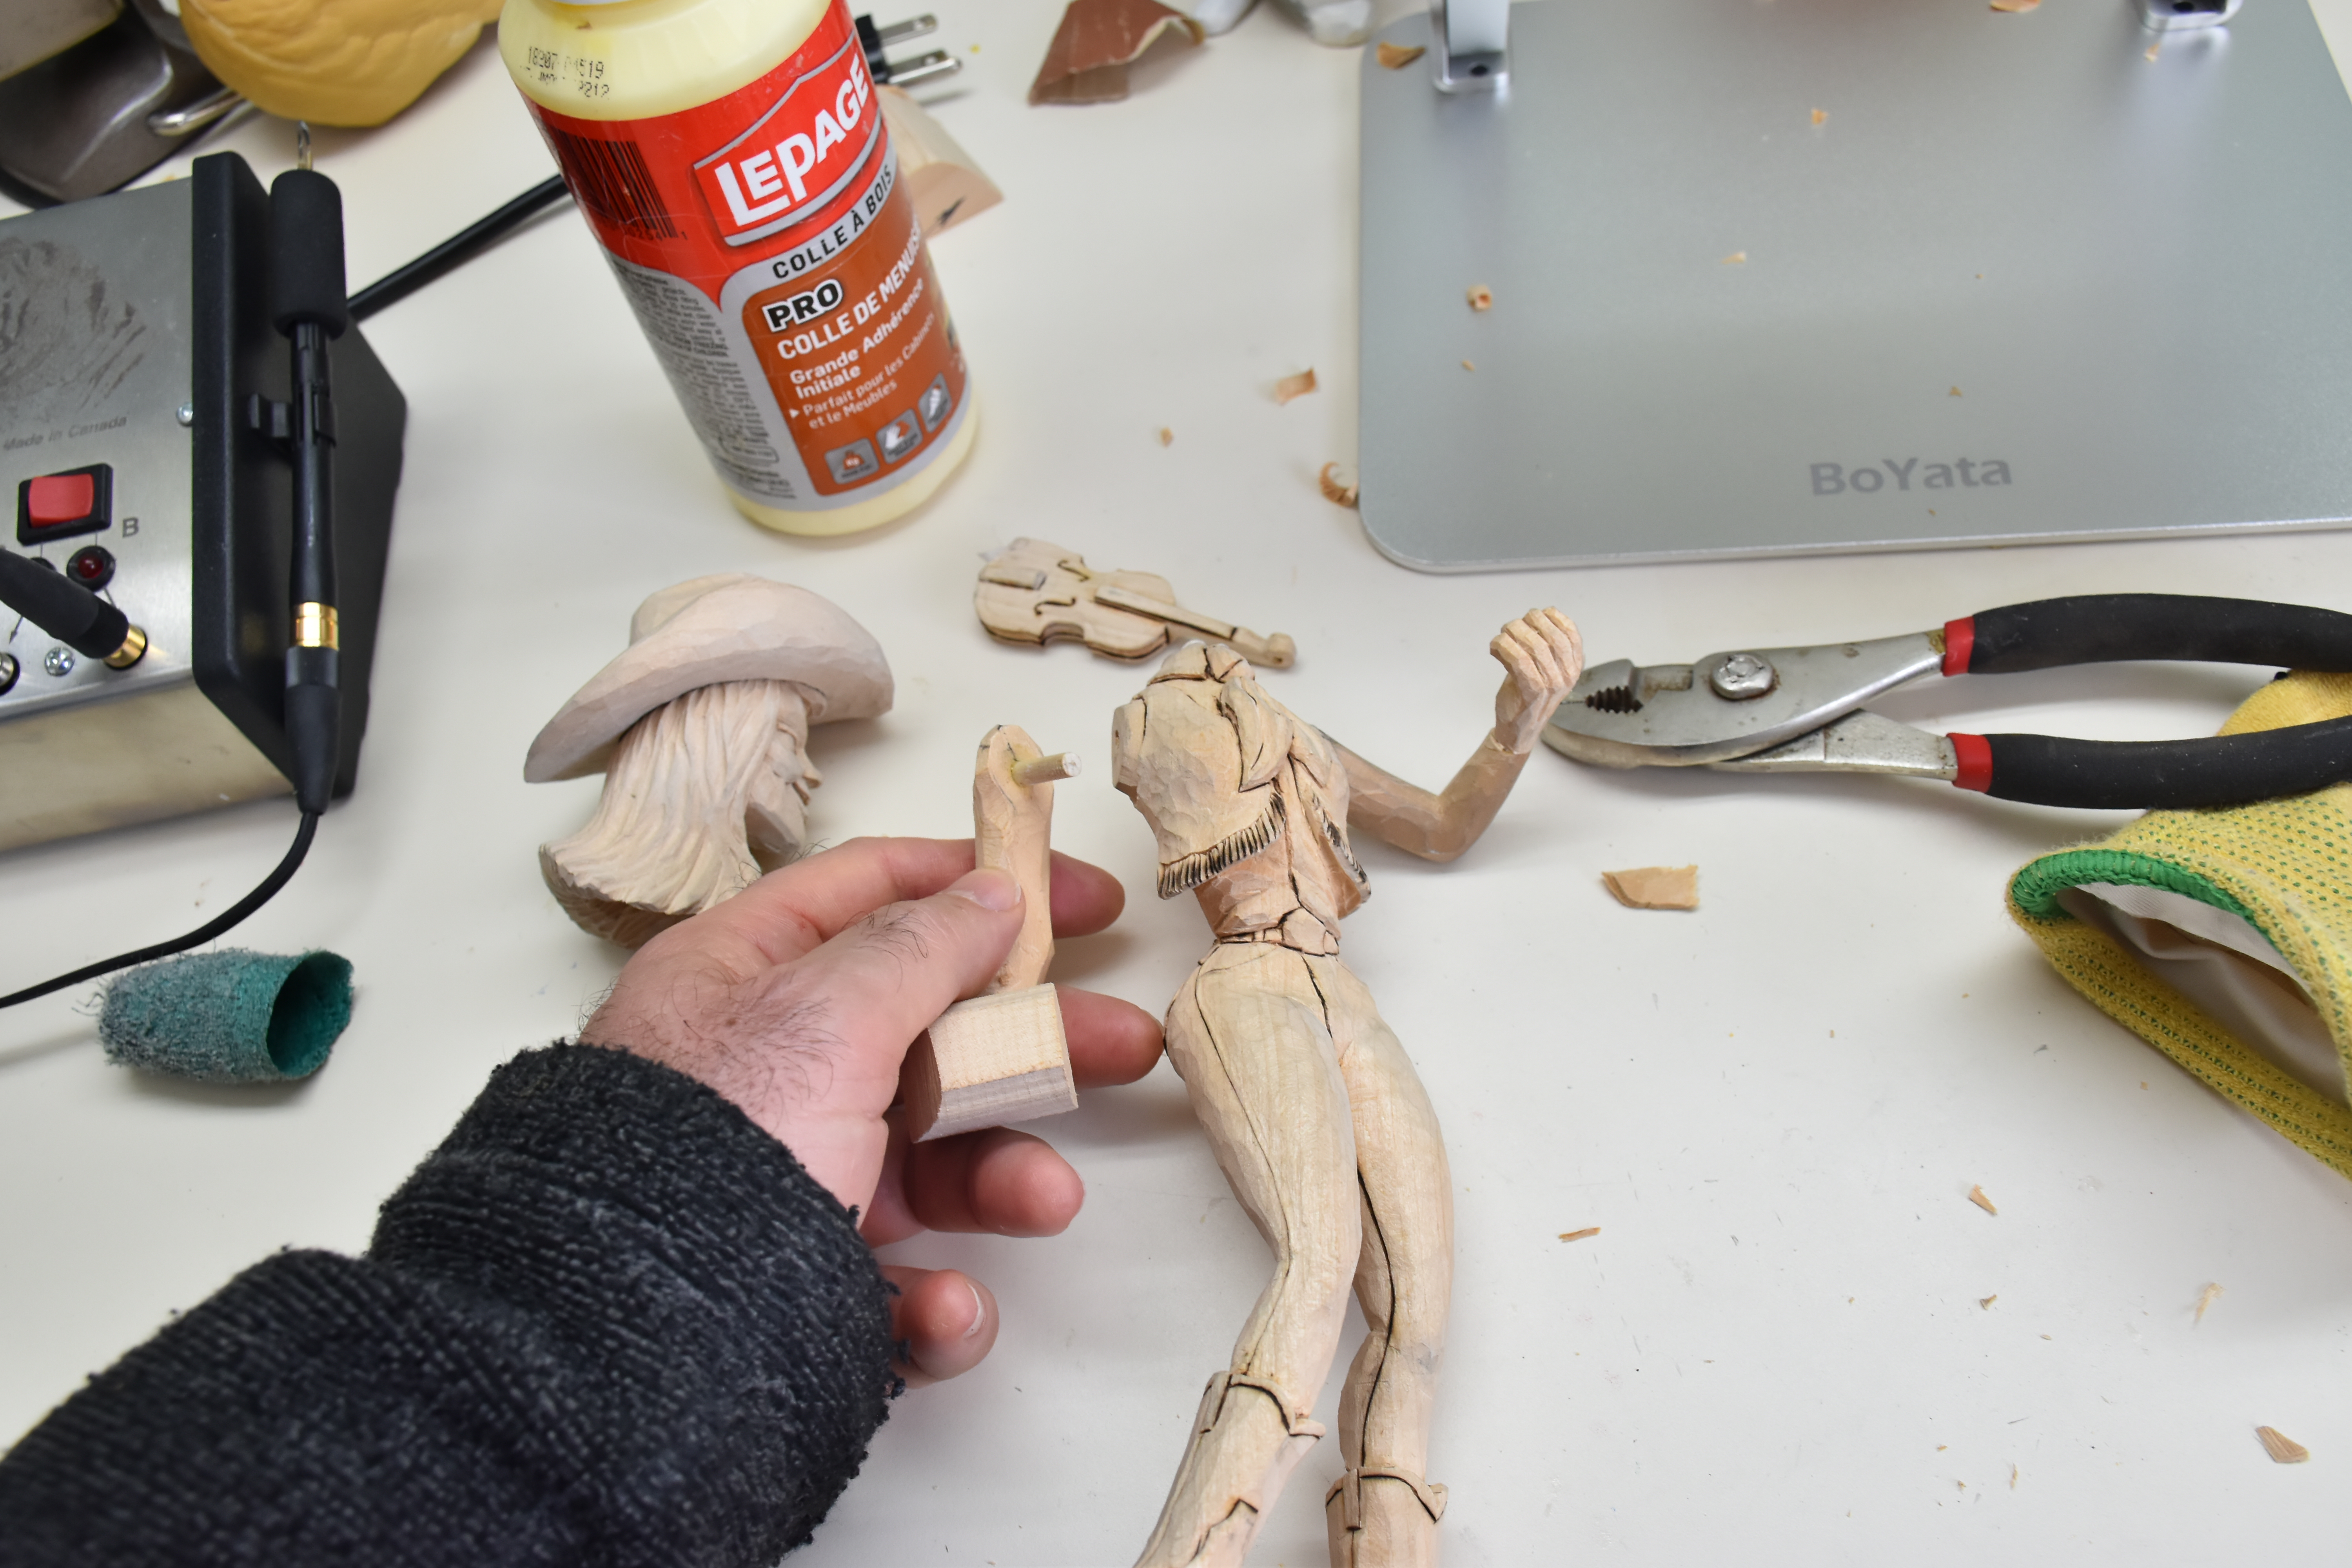
The hat and it’s placement was next in line and I approached it as I normally have in the past…brim and crown carved separately and then glued together. The only difference in this carving is that the hat would not be sitting on the head of the figure. So, a few things…I gave some thought to measuring the head of the figure so that the hat would look the right size…I made the side of the brim flatter where it would be held by the hand and I made the other side that would be high in the air have a greater curl…finally, I had to carve out the inside of the crown because you’d be able to see up into the hat when it was positioned on the girl’s outstretched hand.

I painted things up using my normal technique of washes, or thin coats, of acrylic paint followed with some darkening of recesses and wrinkles and then dry brushing for wear on clothing. The final dry brushing placed a very light “fanning” of a light beige colour to catch the peaks of the knife marks and provide another dimension of depth to the painting. Everything was topped off with a light coat of satin urethane for protection.

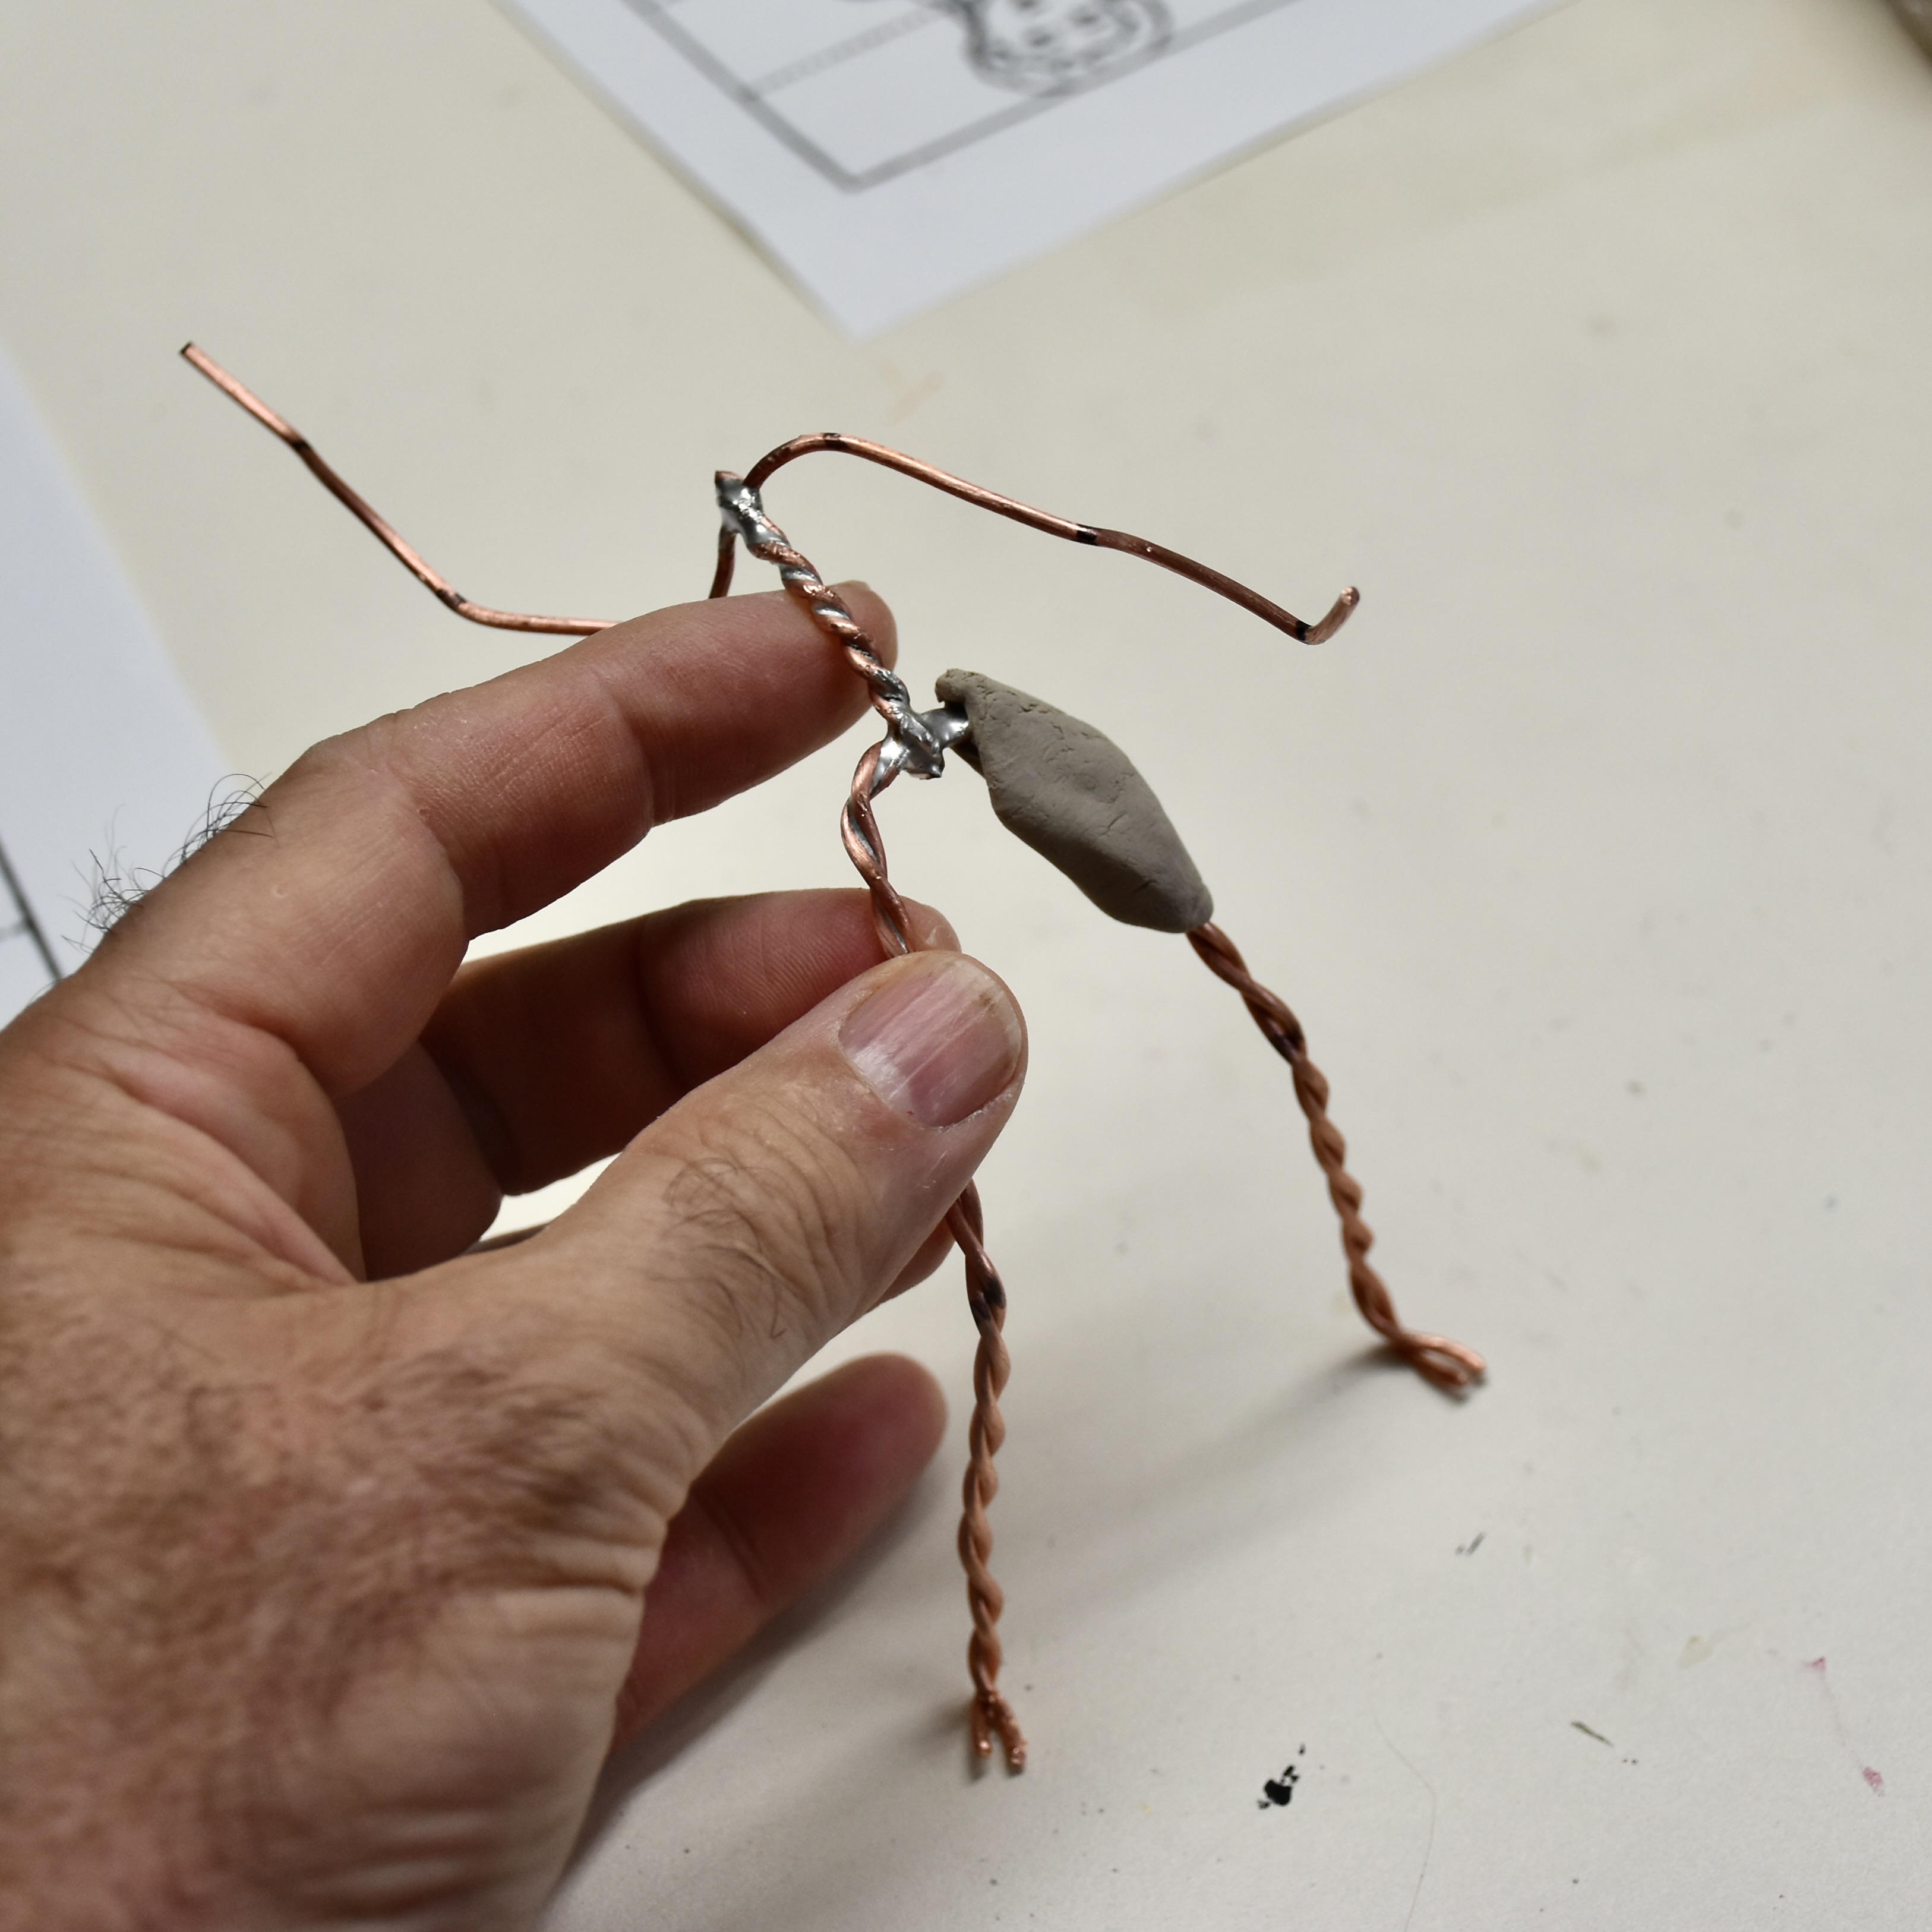
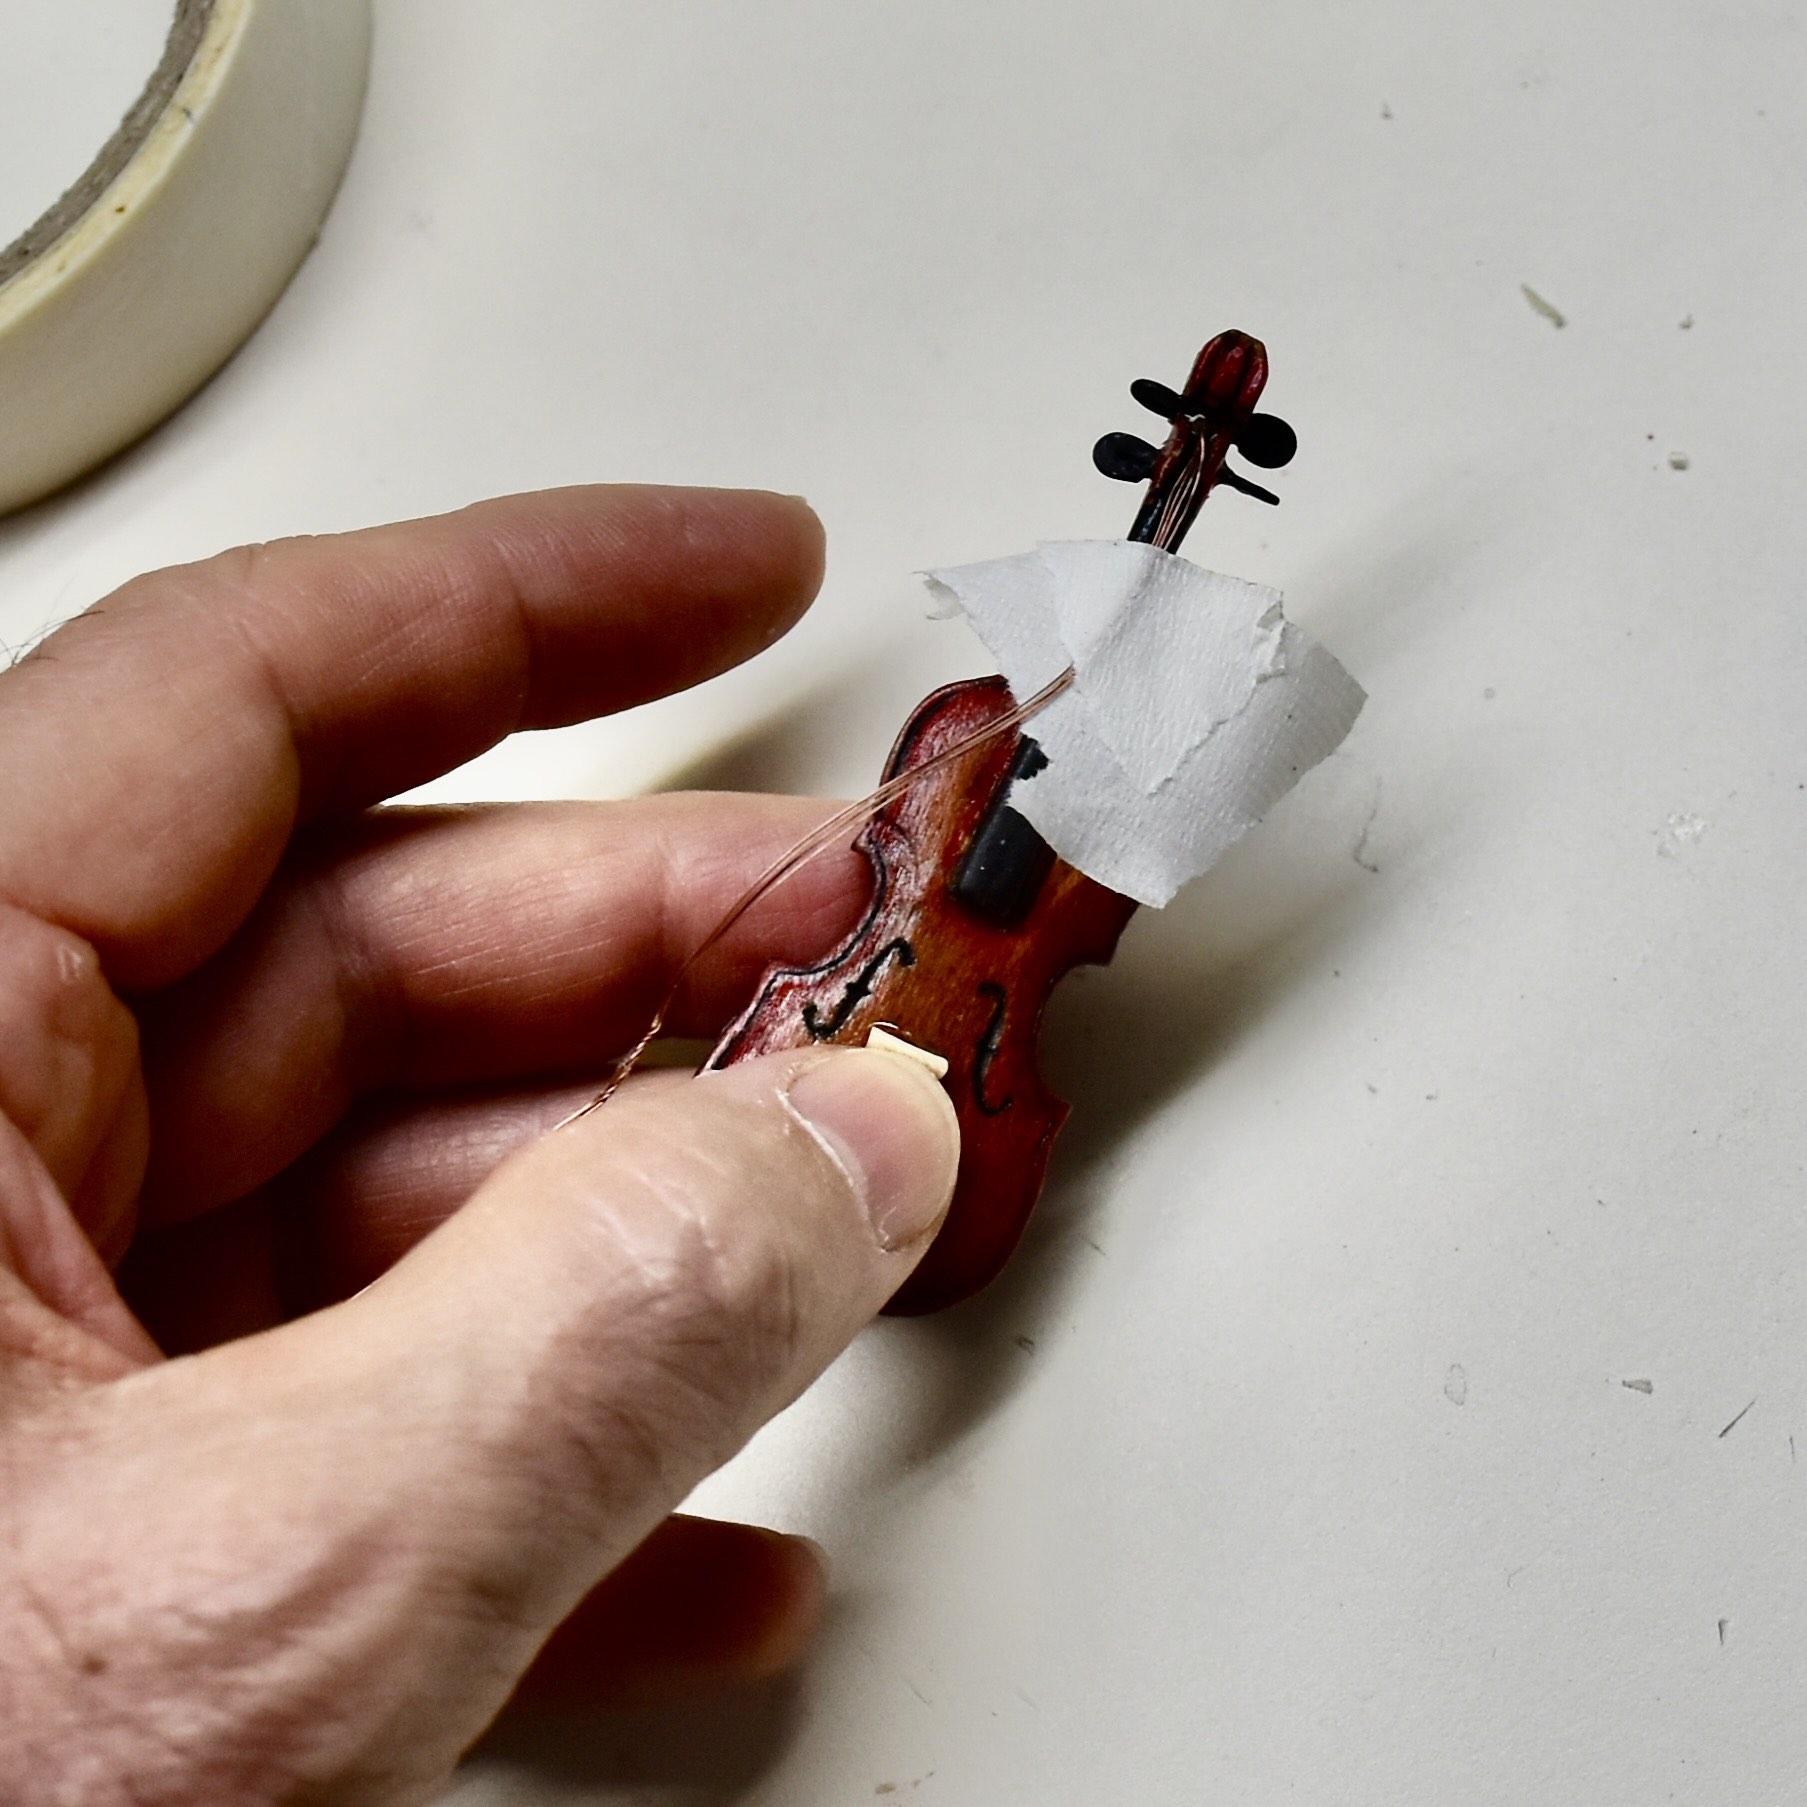
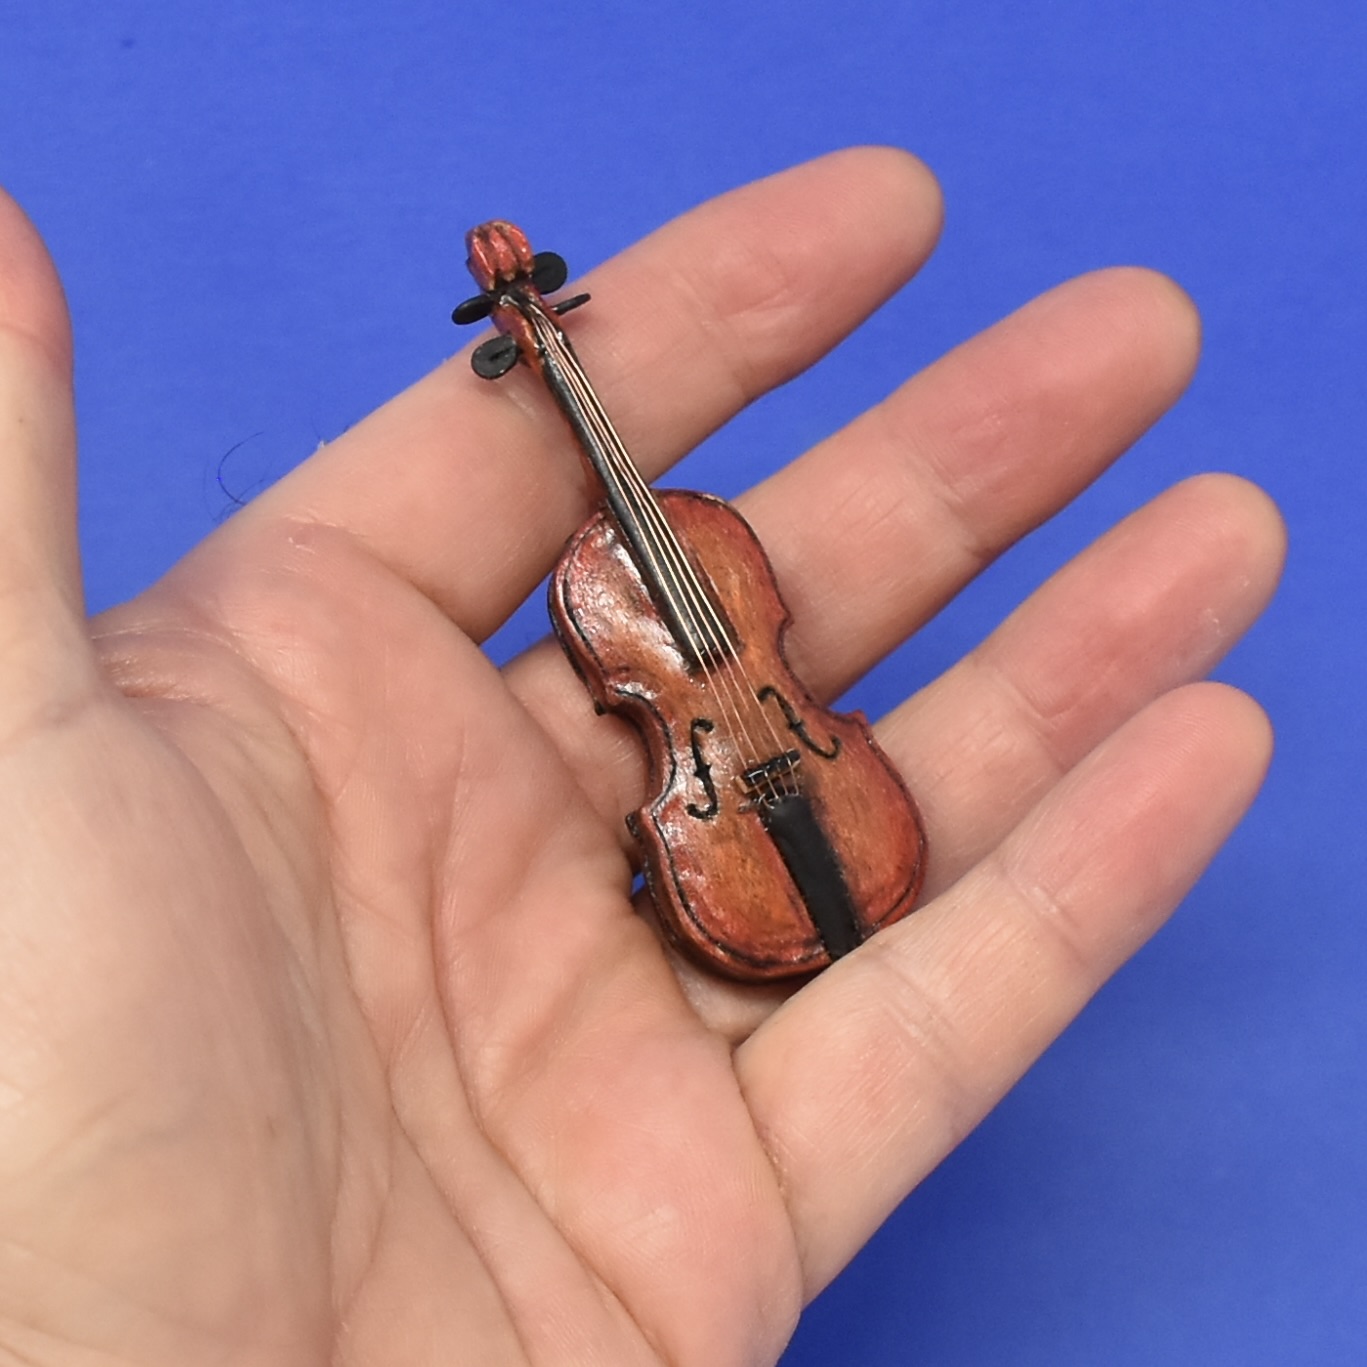
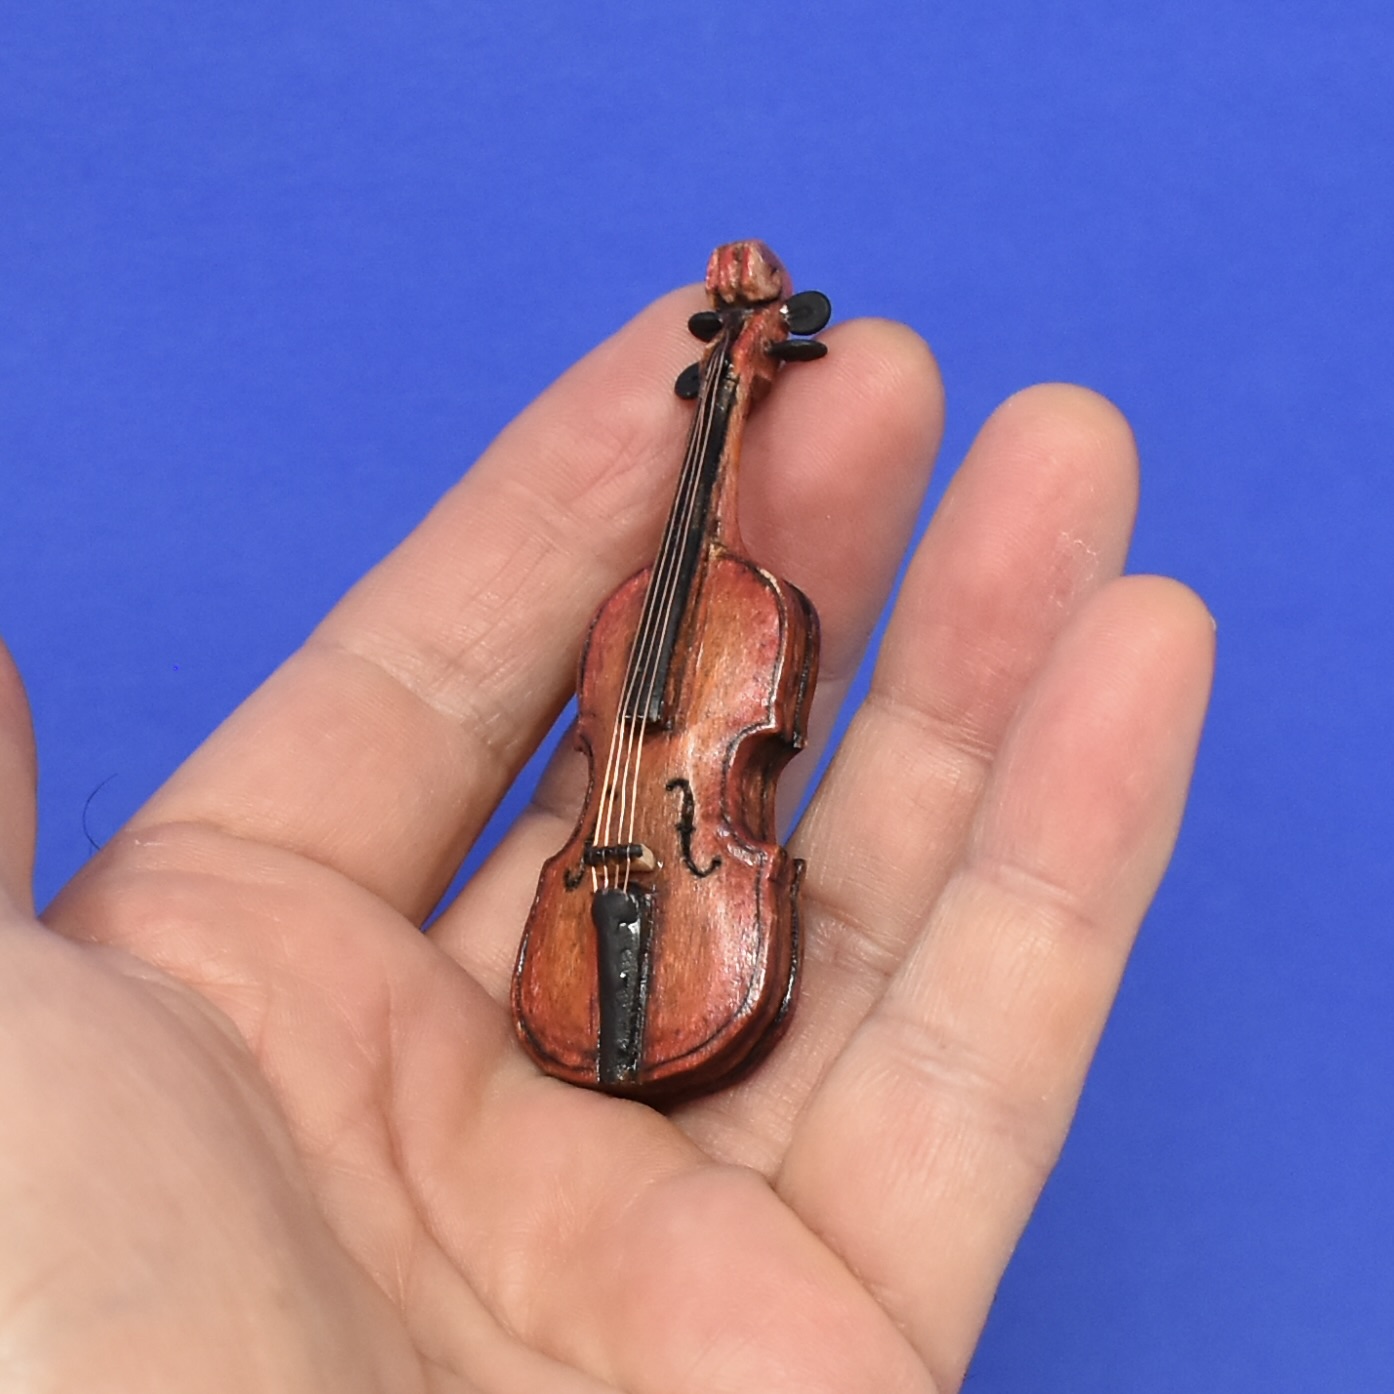
As I started gluing things together, I added metal pins here and there for positioning and extra strength. A good example is where the figure’s “behind” meets the rolled blanket. A couple of short pieces of copper wire ensured that I had a secure footing for the small dabs of epoxy that I placed.

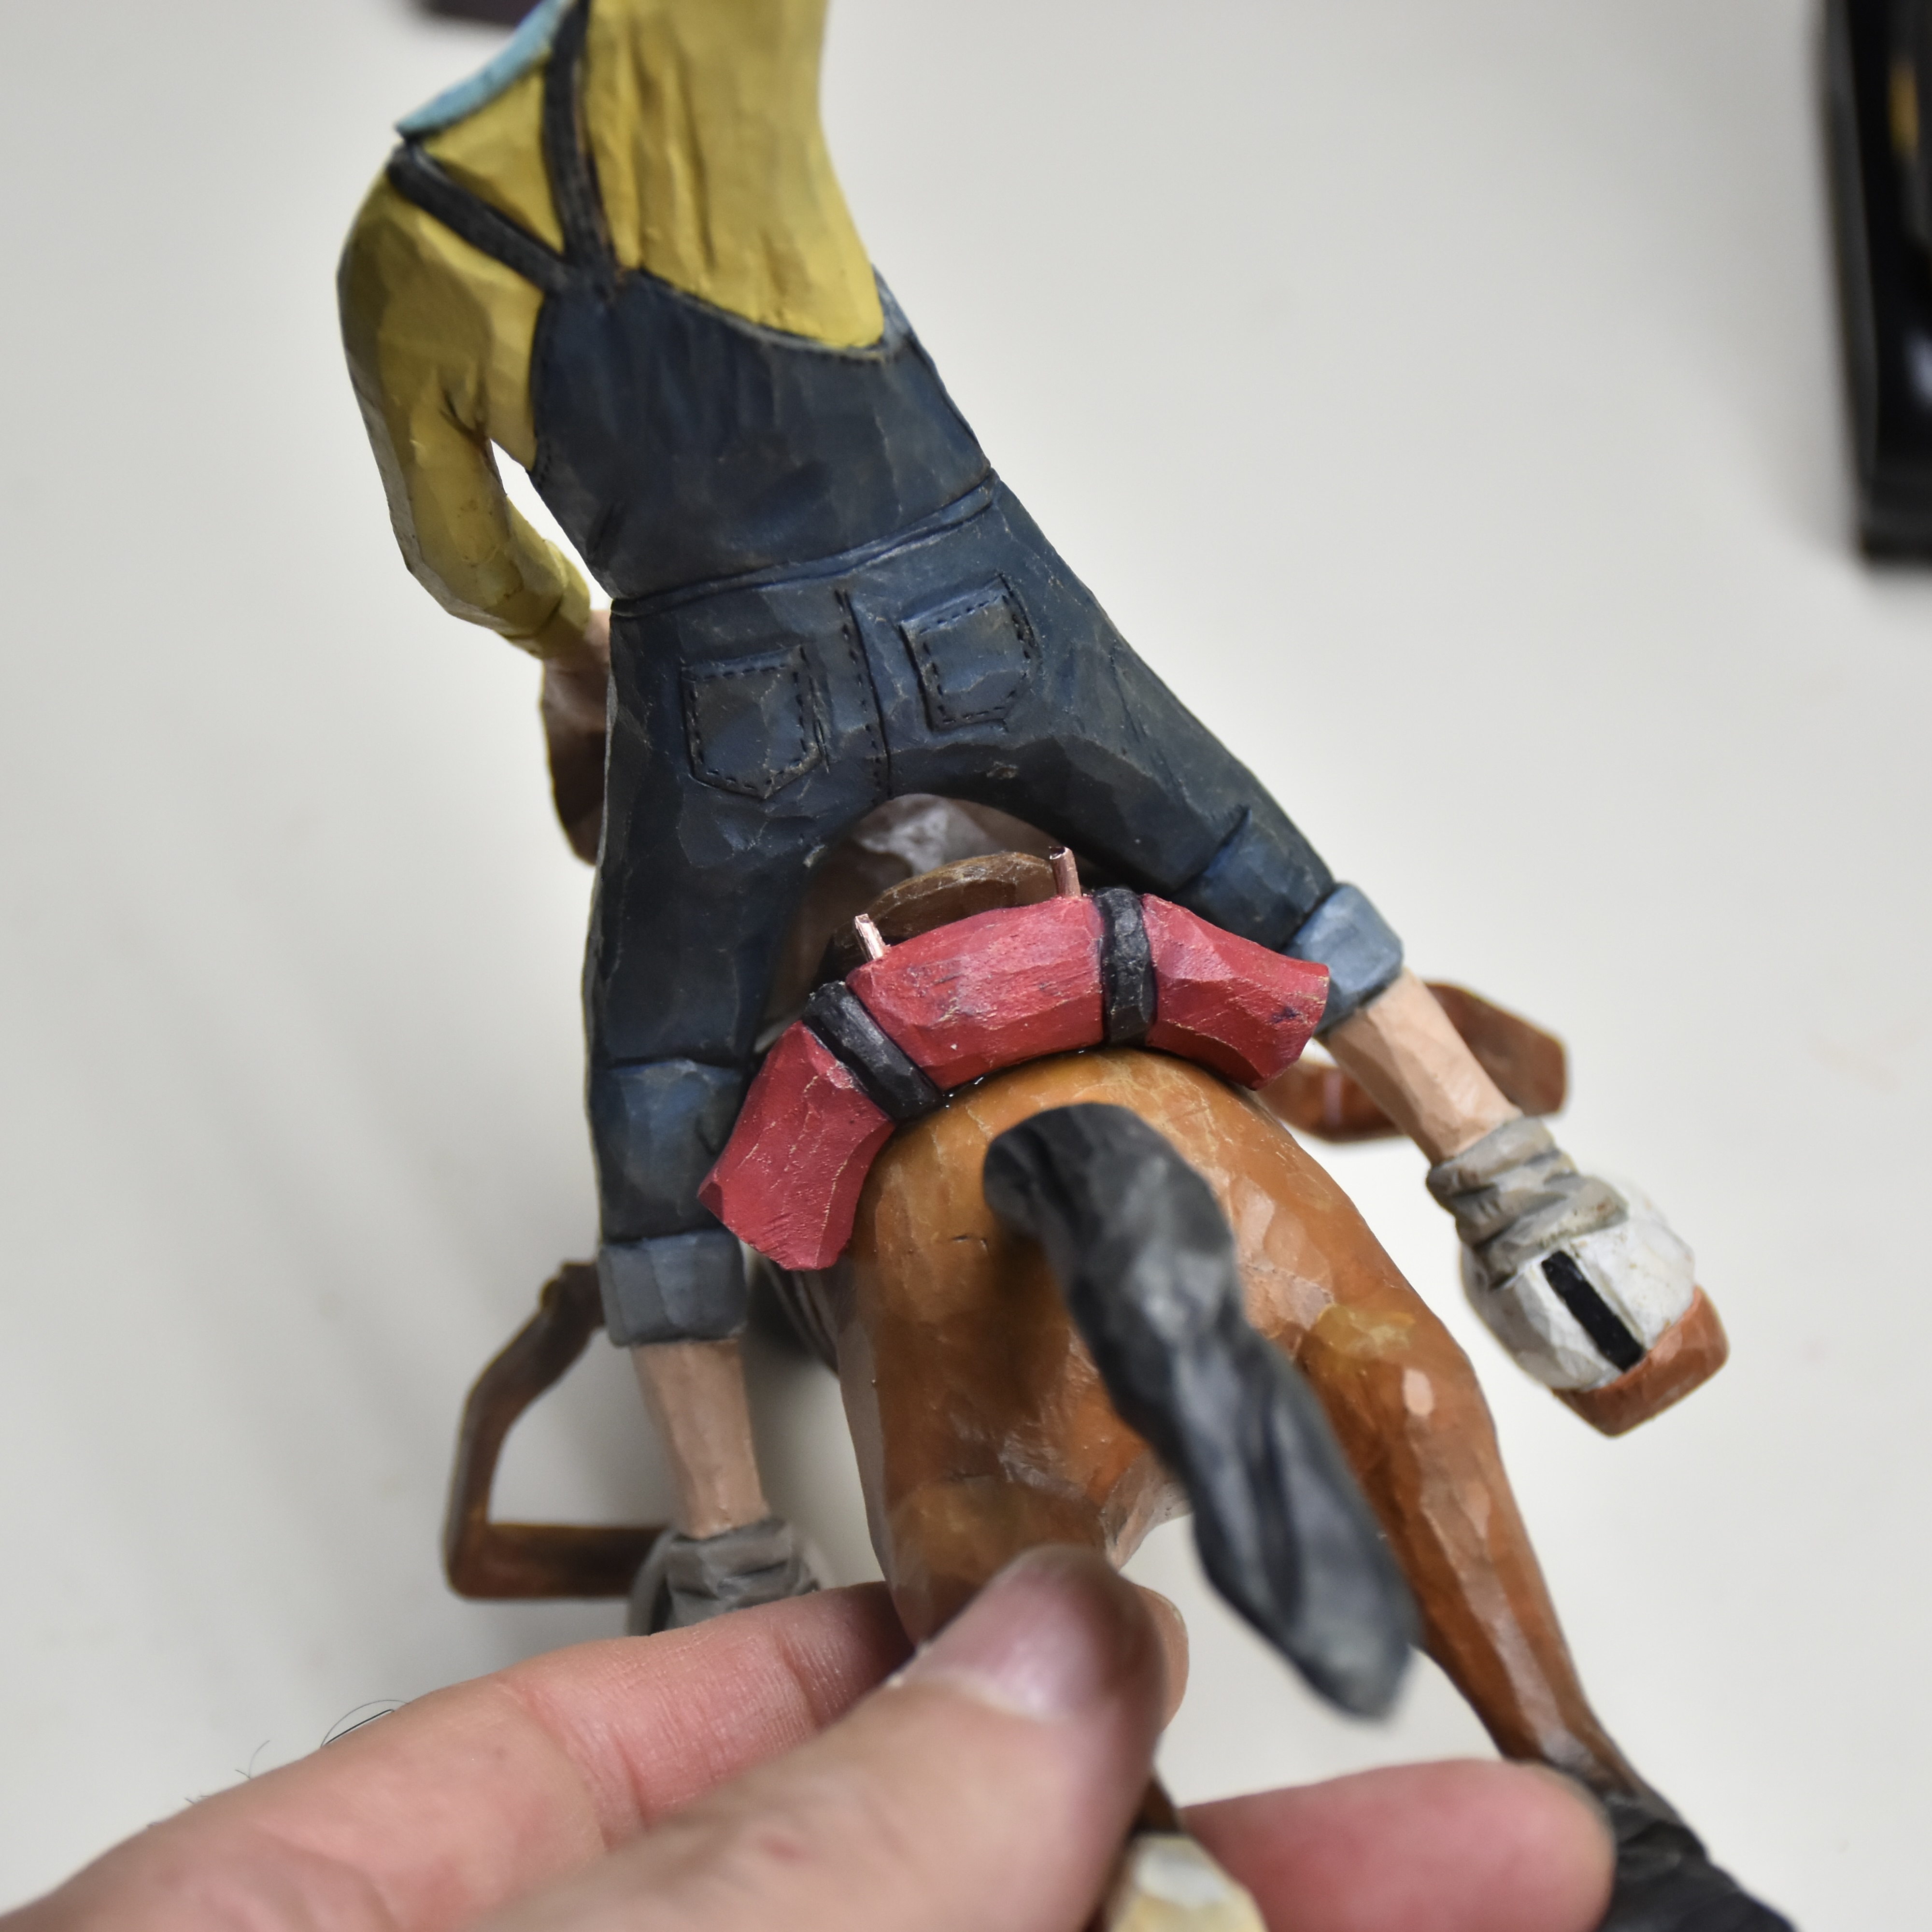
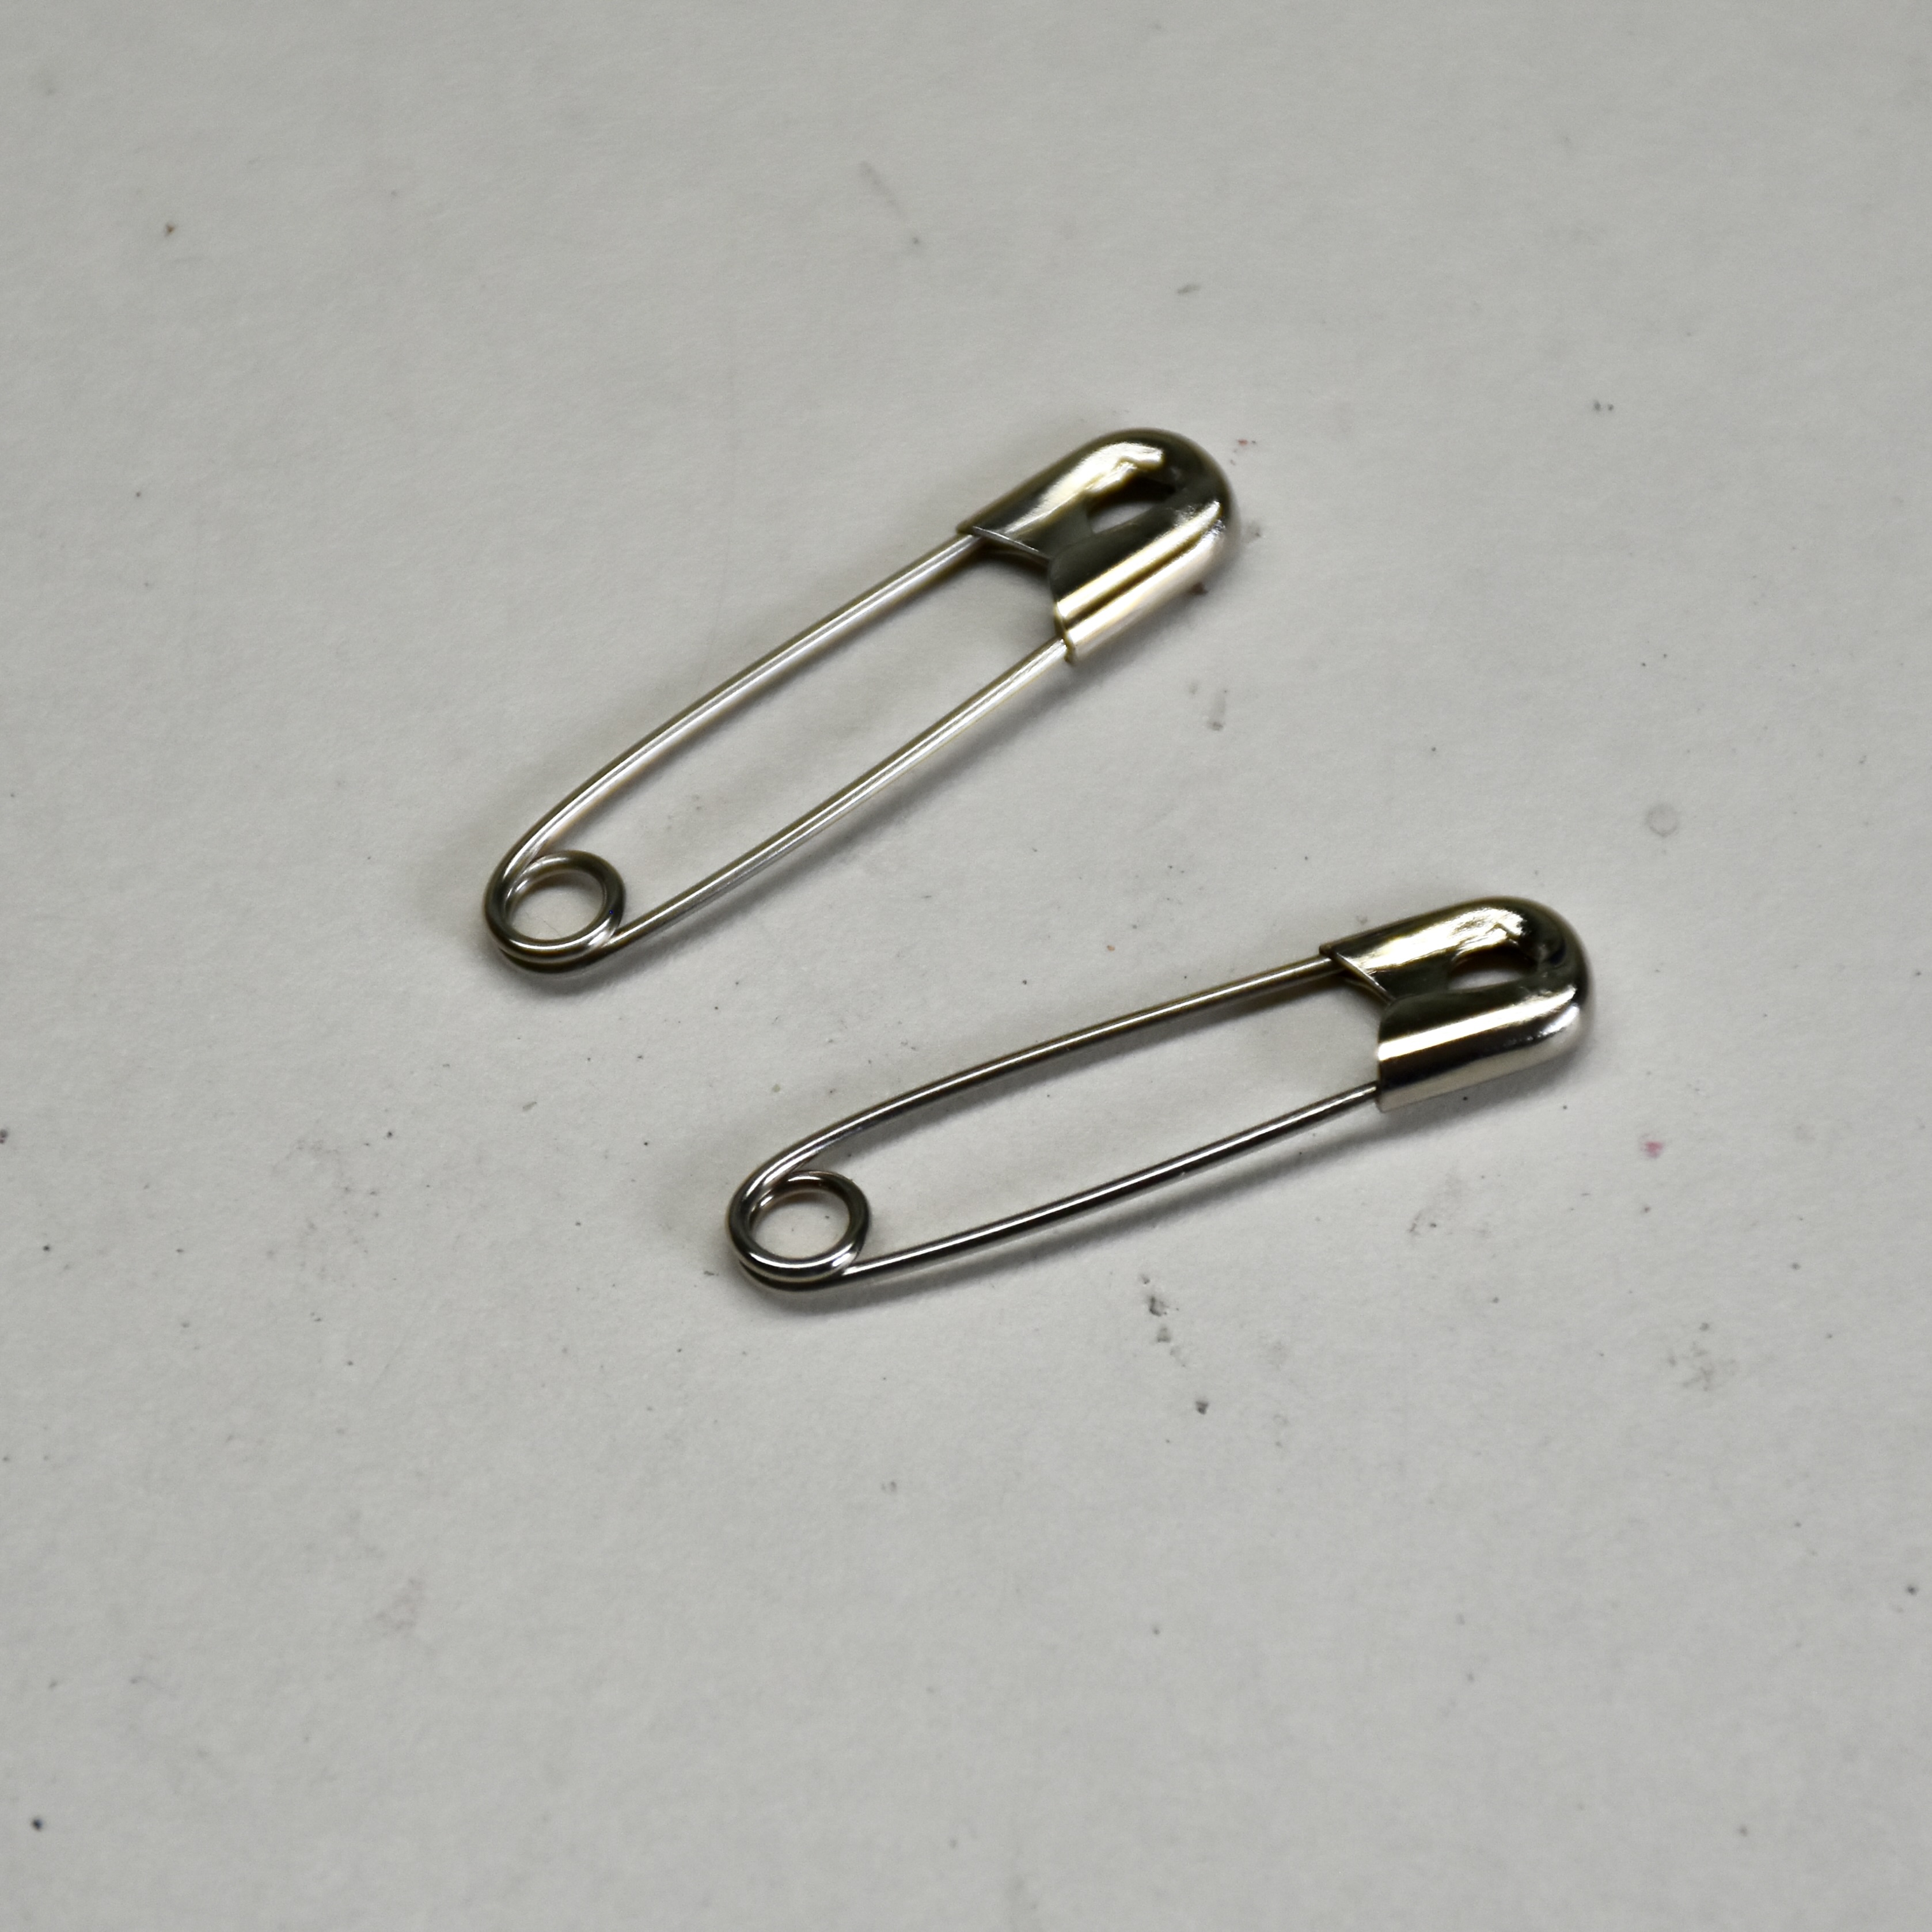
The bit for the horse’s mouth was fashioned from a safety pin after taking a look at how Lynn Doughty had created the bits that he had used for larger horse caricatures. I just snipped the ends of a safety pin, gave one end a ninety degree bend and epoxied them in place. The reins are leather and were sliced from an old wallet that I had laying around. I used a latex glue used for fabrics called “Tear Mender” to fold over and glue the rougher side of the leather.

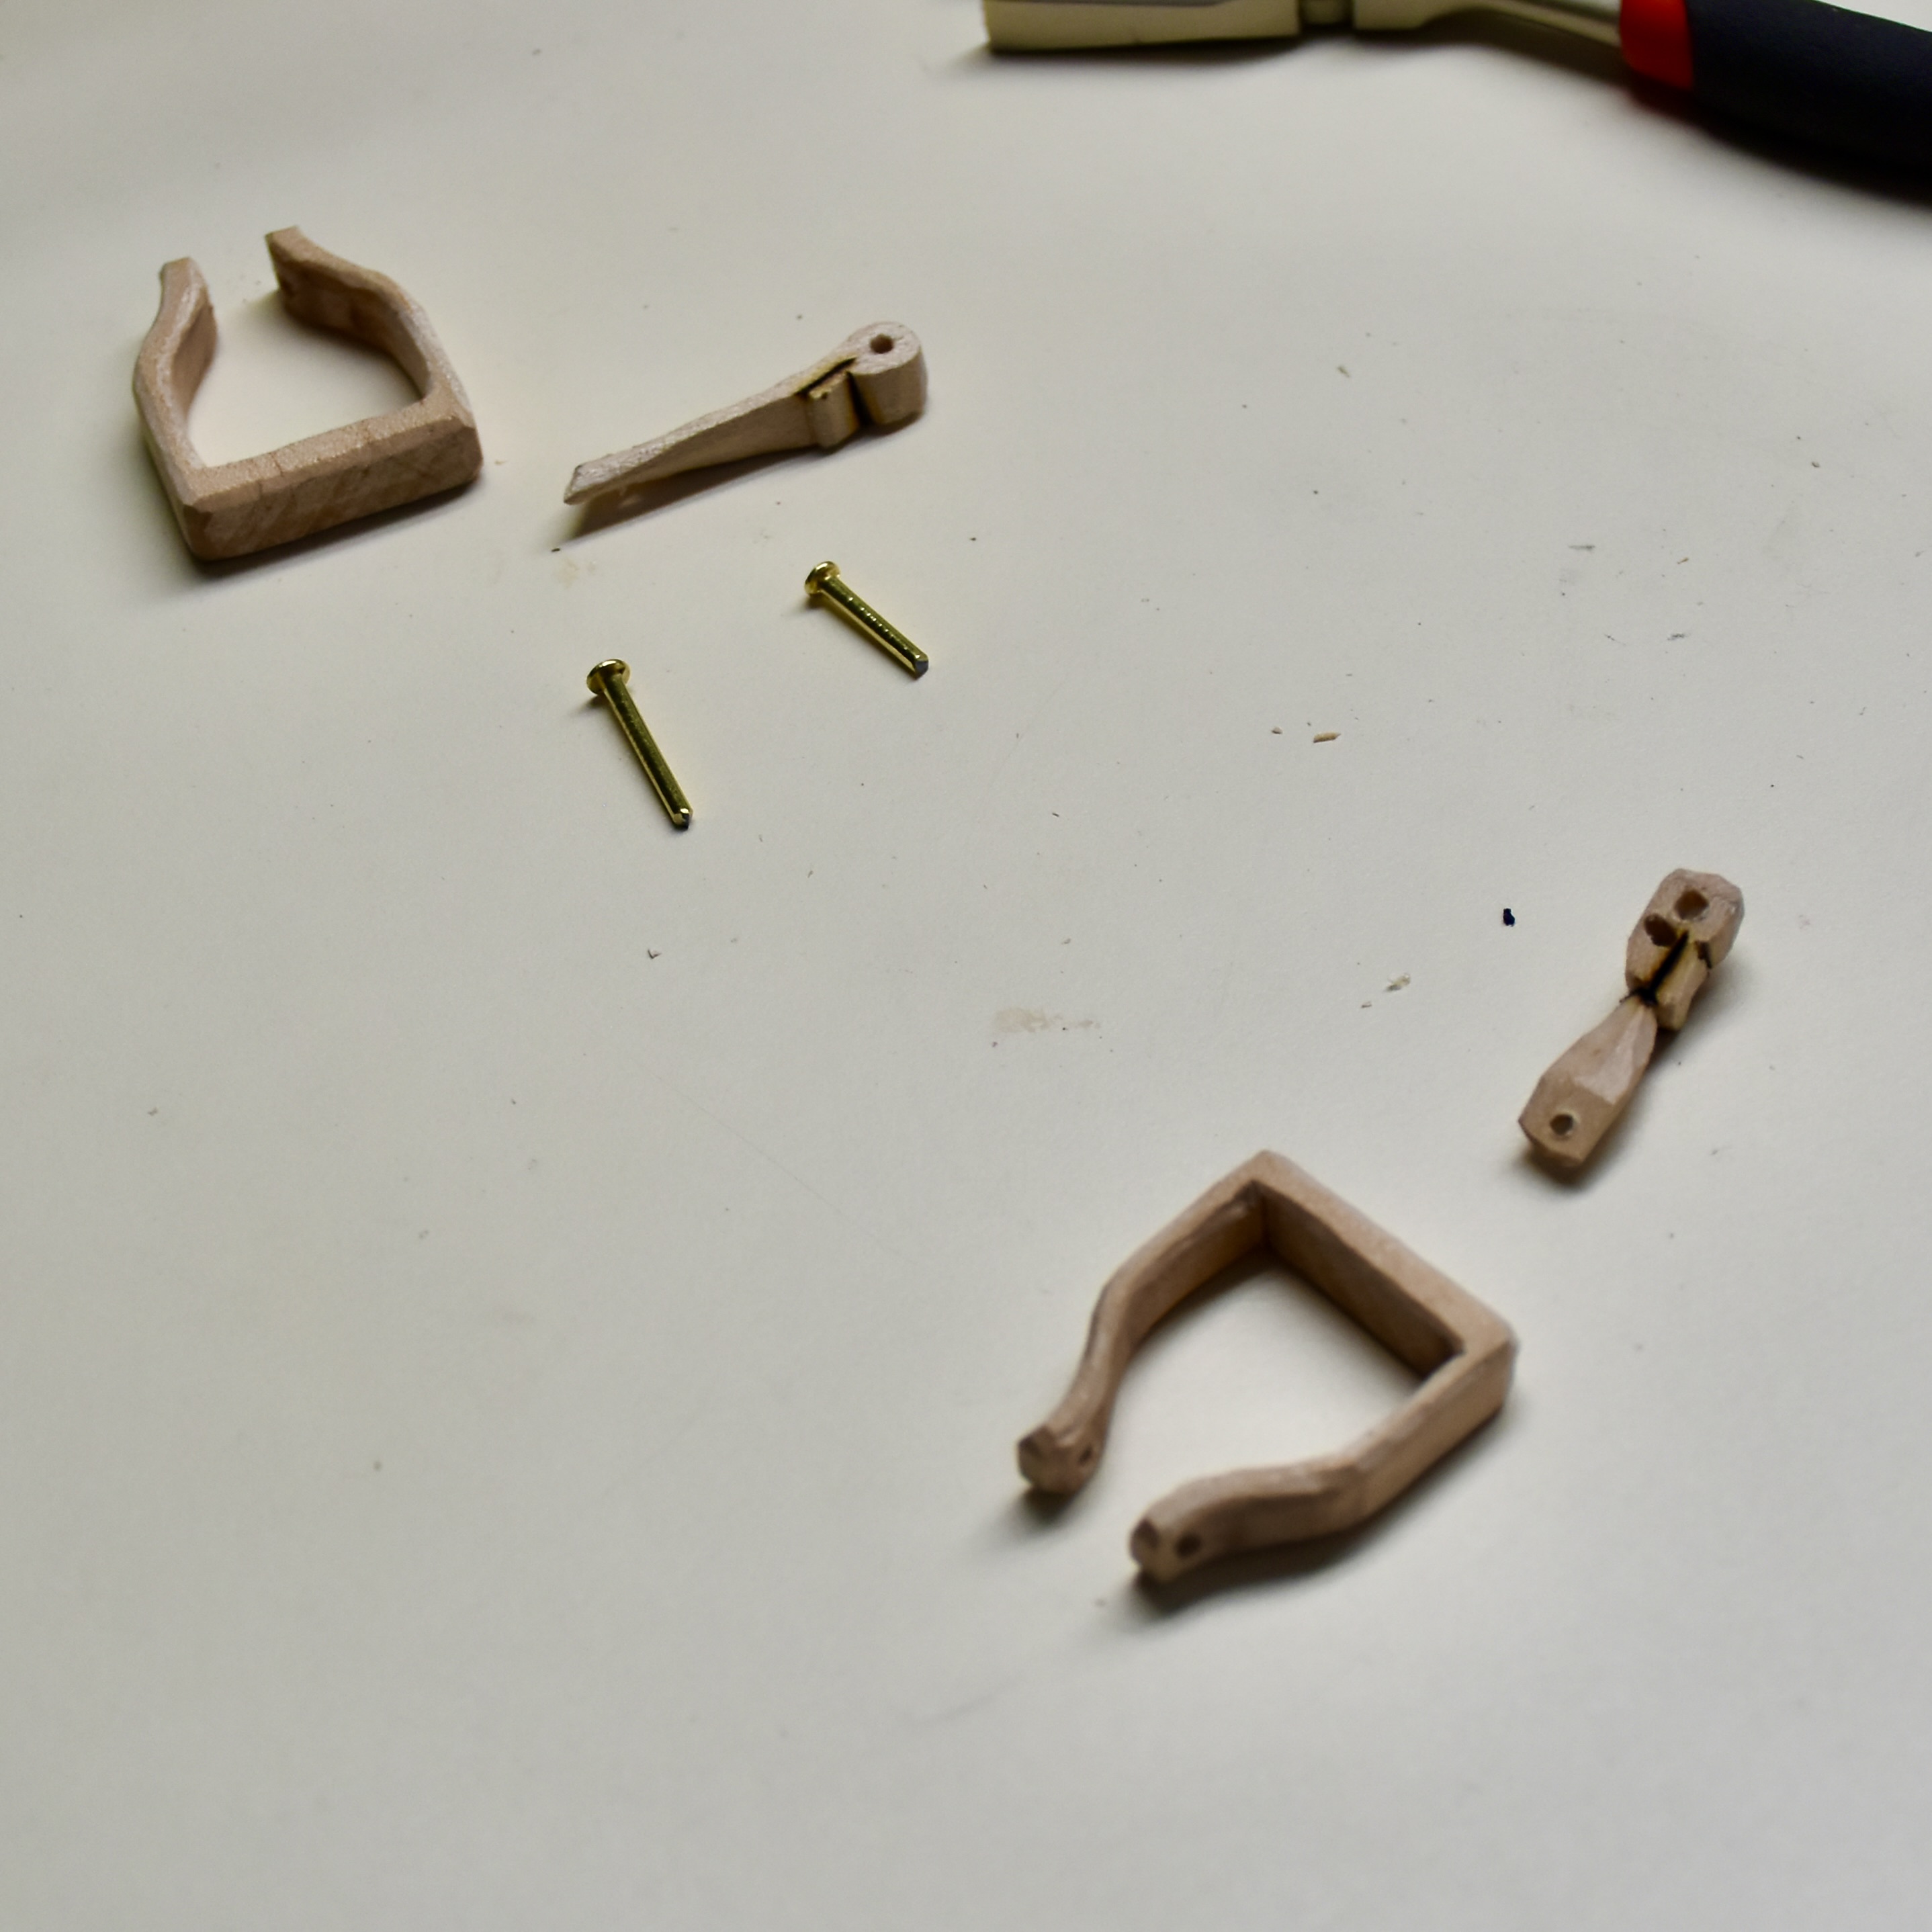
There’s nothing terribly noteworthy about the small add-ons that I carved…a baseball and glove…other than the child’s lunchbox. For the first time, I transferred an image to a piece of wood. There are all kinds of how-to Youtube videos on this subject that use a variety of methods, maybe the most popular being the use of Mod-Podge. I didn’t have any on hand, so I used white glue with pretty good results.

Basically, I printed an image of “Dudley Do-Right”, a 1960’s children’s cartoon, onto regular printer paper. Because their was text on the image, I printed it in its reverse image. After coating the wood with white glue, I squeegied the paper down. After everything was dry and a combination of peeling the paper back and adding a tiny bit of water to remove more paper, an image was left on the lunch box. A urethane finish took any cloudiness out of the transferred image.

I wanted the base to look like an old department store floor, so I went with black and light grey tiles. After marking the tiles with pencil, I burned the lines in place so that when I applied thin coats of paint, the alternating colours would not bleed into one another…the paint would only flow as far as the burned line. I then took grey and white and sprayed some droplets over the whole thing by running my finger along a flat brush just a couple of inches above the painted floor.

And after some gluing, that’s another very enjoyable project completed. I hope that you’ve enjoyed following along.

Advertisement

Positioning the Rider

Now I was at the point that I needed to start making some decisions as to the positioning for the body of the girl rider. I wanted to get as much motion in this carving as possible, so I went with a body position that you would see in a rodeo rider on a bucking bronco!

I found some body proportions measurements for a young girl off of the web and put together a copper wire wound skeleton that I could build a clay model around. I soldered the hip and shoulder connections so that it would be nice and strong and allow me to bend things around to my liking without the worry of something breaking or not holding its shape.

Adding clay and building up the body outline is done a “pinch” at a time. With a bit of practice, you’ll find that you can build the body outline, position it and bend it around to its best position within an hour. Following that, a couple of quick photos front and side, sizing on the printer and printing out a template to transfer to basswood…and you’re ready for the bandsaw. The last photo, below, was taken after I spent a few minutes very roughly shaping the square-ish cutout from the bandsaw.

As I began trimming down the girl’s outfit to a denim overalls look, I started to worry a bit about the strength of the carving. In particular, I wanted her standing and leaning way back on the stirrups and off of the saddle…and there was no way that I was going to make the stirrups rigid enough and rigidly attached enough to her feet and to the horse for that to work. What I arrived at was the need to have her bottom off of the saddle but attached to something. So, I stole an idea from Lynn Doughty’s caricature horses ( thanks Lynn ) and added a rolled up blanket which would be just large enough for her bottom to rest on. The bottom of the blanket roll fits the contour of the horse’s back and the back of the saddle nice and tightly so that I can be sure that I’ll have a good glue joint.

Now for the stirrups and the positioning of the somewhat carved body. I’ll start by saying that I’ll not make the stirrups in two pieces ever again. I had it in my mind that I’d need to articulate the stirrup and the stirrup leather to fit the position of the legs. After too much work in making the separate parts, drilling the stirrup for a nail “hinge” and then gluing everything together…I realized that I would have been just as well off by making the two pieces in one straight piece. I did enjoy carving the stirrup leather, though, as it had an interested half twist to transition from the saddle to the stirrup. When the girl’s feet are glued to the now solid stirrups and her bottom is glued to the blanket…things should be pretty strong.

A bit of painting with acrylics followed by a satin urethane finish and we’re ready to add the final detail to the girl’s body! Slow but sure…stay with me!

A Head Start

As is the case with most of my carvings, my ideas change as I go along. It seems that once I see a portion of the carving, a new idea or, at least, a modification of the original idea comes along that appears to be a better fit for the final project. I’m not sure if that’s a common approach or not but it’s certainly what happens in my brain.

With this one, although I started off thinking that a grown woman would be a comical candidate for riding the mechanical horse, I ended up with the idea that a little girl in cowboy dress would be nicer. So, because I had started some time ago on a head and face of a woman, I cheated a bit and made that original head more girl-like. Basically, I kept the big eyes but rounded the face considerably for some “baby-fat”, reduced the depth of the eye sockets, shortened the chin and changed the hairdo from something fairly stylish to something with pigtails.

The pigtails were done separately, again to ensure that the grain of the wood was running along the length of the pigtail for strength. Of course, a couple of shallow ( maybe 3/16″ ) holes were drilled in to the head where the pigtails would eventually be glued.

The pigtails started out as worm-like shapes being cylindrical with some random waves or curves. My intent was to make the pigtails look like they were jostling around from the motion of the horse ride but not necessarily pinned back like she was riding a real horse in the breeze.

Once the cylindrical shapes were carved, I drew in a herring-bone pattern on the front and back and alternated between carving and using a wood-burning tool to create the valleys. I’m not sure if I have some kind of spatial orientation problem, but was it ever hard for me to imagine how one side of the herring-bone pigtail would mate with and look like the other side. I ended up carving the one side and then struggling with matching the pigtail pattern with pencil before carving the other side. I don’t know why this was so hard to picture…I guess I shouldn’t have always left it to Peggy to make our daughter Emily’s pigtails when she was a little girl.

A bit of wood burning followed to accent the hair on the head and in the pony tail. An interesting thing that I noted, as I went along, was that I had originally carved the hair on the head very flat and when I drilled the hole for the pigtails and attached them, they just didn’t look right. So, I went back and dished out the head hair around the pigtail so that it looked like the hair was being pulled up from the head rather than looking like it was a sharp 90 degree angle from the head to the root of the pigtail. That looked better. Oh, I also added a band-aid to her forehead by carving out some relief shallow relief from her forehead. I figured that her trick riding skills didn’t come without some failed practice sessions.

Painting was done in my normal fashion using acrylic paints followed with a light coat of satin finish urethane ( polyurethane ). White eyes and teeth were first added followed by flesh tones in several washes ( thin coats ). I reddened the flesh colour for around her cheeks, her forehead, tops of the ears and end of her nose as a bit of a sunburn. I used Payne’s grey as a very, very light wash under her eyes, beneath her chin and inside of her ears. Lynn Doughty suggests this method on his cowboys to indicate shadow and a bit of a five-o’clock shadow. I chanced using it on the little girl’s face to indicate shadow and it worked well as long as I kept it very thin and light. I used a combination of burnt sienna and orange in washes for her hair and eyebrows and then used basically the same colour for her freckles. I chanced using a very, very light wash of orange over her cheeks and forehead to indicate a little girl’s freckled complexion and it worked out pretty well.

And, then, the best part…I dug into one of my several boxes of broken things that I keep even though I know that I’ll never use them…and pulled out a broken guitar “b” or, second string, and made a set of braces for her beautifully forming teeth! Ha!

Lots of fun…

Trick Ridin’

When I carved the female head for my last carving of the cowgirl with the fiddle, I had actually carved a second female head at the same time. I didn’t really have a plan for either of the heads, I just wanted to take on the challenge of carving something other than a male caricature.

So, that left me with a second female head and I enjoyed doing the cowgirl figure so much, I decided to come up with another little scene…and, what I’m picturing is a grown young woman wanna-be-cowgirl practicing her trick riding on an old store front mechanical riding pony! With that, here’s the start to the scene with the little pony well underway.

You all know by now how much I enjoy the artwork of Lynn Doughty, so I collected a few pictures of his caricatures of horses along with some photos of mechanical ponies from the web and came up with a bit of a pattern. As you can see, I went to the trouble of ensuring that the strongest orientation of the grain was along each leg and I used a Forstner bit to fit individual legs and glue them in place. To be clear, the round, flat bottomed bit allowed me to make a perfect semi-circle where the legs with the same semi-circle pattern cut on the bandsaw would fit tightly. Again, just click on the photos, below, to make them bigger for viewing.

After everything dried, I used a Foredom tool with a Typhoon bit to quickly remove the edges and get the rough form of the mechanical pony. Remember, if you do this…be careful…wear leather gloves, a leather apron, heavy sleeves, safety glasses and a dust mask…and work over a vacuum system.

With a bit of carving using mostly a knife but also small gouges, I added the detail that I wanted with the facial features, leg profiles and saddle…and, I only broke one ear off a single time during the whole process!

Then came the mechanical parts with a wooden base that would house the motor ( I didn’t carve a motor!), a baseplate with a coin box and the pylons that make the horse rock back and forth.

Placed all together, it’s starting to look like something…

More to come!

A Bit of Painting and We’re Done!

I won’t go into a lot of detail in regard to painting, but I’ll post some photos of the various sections of the carving showing the painting.

I use latex acrylic paints that you can buy at any store that sells art related items. I probably have something like thirty or forty small bottles of a variety of colours and spend some amount of time mixing various colours together to get the tone that I’m looking to achieve for a particular part of the carving.

In general, I try my best to apply “washes”, or very thin coats of paint. Too thick an application, like directly from the container, would hide all of the detail work that you carve and certainly obliterate the wood burning. A good example in this carving is the blue jeans that the little gal is wearing. You’ll notice that the several wash coats that I applied provided ample colour but never was thick enough to hide the stitching that I had burned with the wood burning tool.

Where there are wrinkles in clothing, I add a bit of a darker tone in the valleys of the folds and wrinkles to provide a darker contrast. This makes the carving look more realistic ( take a look at the folds in your own clothing and you’ll see the darker tones ) and it also makes the wrinkles and folds look deeper. I follow Lynn Doughty’s advice and keep away from using black to darken colours…I always use a darker tone of the same colour and avoid greying-out that colour with black.

An additional of a small amount of white to shoulders, elbows and knees make things look nicely worn. In this case, I wanted her clothes to look pretty crisp so I just added the whitening to the jeans wherever you’d expect her designer jeans to be worn! Once everything is painted, I added some light dusting / dry brushing using a beige to add another dimension to the painting. A light, clear, satin urethane was used as a final finish.

Just click on the photos, below, to expand them.

So, she’s complete! It was a fun carving project and I appreciate you following along with me.

Getting Ready for Paint

I used a wood burning tool with a razor sharp tip to add in some detail prior to painting.

The burning process is a really good way to get nice crisp lines and boundaries in your painting. As an example, I basically cross-hatched in some very fine squares to represent beading on this gal’s leather vest. Later, you’ll see how this cross-hatching basically made small valleys or boundaries for the painting process. Now just a drop of paint in any one of the tiny squares will flow no further than the boundary that was burned, making a nice crisp final painted pattern.

Similarly, a burned line around the belt loops, hat design and boot designs prevents the paint from bleeding from one section of the carving into the next.

Finally, the burning tool is great for adding detail lines representing seams and stitching. If you keep the paint thinned, the dark marking will show through the colour nicely for some added interest. With some very minimal burning, you can really enhance the painting process.

As usual, just click on the photo, below, to make it larger for viewing.

Final Details on the Fiddle

Much of the fiddle was finished on the previous step, but I did add some final touches.

The little gear/mechanism handles for tuning were made from household copper wire. I just curled the end of the copper wire over on itself and flattened those ends into a bit of a pancake shape. A very small gap would remain in the centre of the handle but, once I put some black paint on them, the little gap was filled. The other straight end of the copper wire got cemented with expoxy into four drilled holes in the head of the fiddle. The downside of cementing them in place is that our little gal will have to live with whatever tuning the original string arrangement produces!

Because the fiddle was carved from a piece of Maple, I started the painting by staining the wood with a Red Mahogany oil stain. I then followed up with red, orange and yellow acrylic paint to get the right colouring and shading that I was after. The fretboard and the backboard were painted black. It was all finished up with a couple of coats of gloss urethane to give it a shine.

The strings ended up being wire. I had considered a number of suggestions but I felt that fine wire was the way to go. I took some braided speaker wire and unwound four very fine wires. I twisted the four separate wires at both ends of the length that I needed, and epoxied one end into a hole drilled into the head of the fiddle. I cemented that with epoxy and spread the wires evenly across the fretboard by making small knife cuts into the end of the fret board and cementing the wires within those grooves.

I made a small channel into the backboard of the fiddle and cemented the opposite twisted end of wire strands into that channel. By stretching the wires reasonably and clamping them while the epoxy dried, it ended up being a nice, tight fit. A bit of black paint over the epoxied pieces finished up the fiddle.

Cowboy…err…Cowgirl Boots

Time for some detail on the boots.

I started by calling up some images on the computer and choosing a boot style that I thought would look nice on this carving. Some very minimal carving gave me the basic shape that I wanted and I carved in a bit of relief followed by some wood burning to show the upper boot from the lower boot leather as well as an indication of some boot straps. I basically used a ruler to make sure that I had the left and right boots the same height and width. Remember that the inside and outside of your footprint is different…take a look at the bottom of one of your dress shoes and copy that pattern for the bottoms of your boots. Making a pencil “etching” pattern of the bottom of one of the shoes, cutting it out from the paper and flipping it over to draw on to the other foot is a good way of ensuring that the boots are going to be the same size.

I drew up a little decorative pattern for the upper boot and cut that to make a paper pattern. Again, flipping it over and redrawing the pattern onto the boot created a uniform pattern completely around the boot. With a bit of initial wood burning followed by some slight and shallow carving around the wood burning, produced an elevated “leather” pattern. Some burned “stitches” and some very slight addition of creases in the leather completed the detail for the boots.

A Couple of Arms

Now that I had decided on the fiddle rather than the original banjo idea, I had to reconfigure what I needed to do with the arm position. Using a combination of the anatomical sketch of the girl that I started with for determining overall size of the limbs as well as the clay model that was still pliable, I sketched out a couple of arms and cut them out on the bandsaw. I made sure to add in some extra material as I wasn’t quite sure about the hand position…plus, I was thinking about adding a “frill” along the arms ( which I later decided against ).

I used the same method to attach the arm to the shoulder as I did with attaching the crown of the hat to the brim. I drilled a shallow 3/16″ hole in the arm and glued a dowel in place. I drilled the mating hole in the shoulder, marked the position of the arm that I wanted against the shoulder and then with some graphite “colouring” and mating of the two surfaces by cutting away the transferred “high spots”, starting mating the two surfaces to a tight fit. Following that, it was a matter a temporarily attaching the arm and fiddle with a hot-glue gun and working away at the arm and hand positions and detail.

The arm holding the bow was carved in the exact same way. Note the little pencil marking on the arm and shoulder. This helps you make sure that you’re positioning the arm in the same place every time you remove it to carve away a bit of the transferred graphite. This is a method that I learned from watching Lynn Doughty’s videos…check them out on Youtube and you’ll get a better sense of how this works.

Following this, I once again hot-glue gunned the parts in place to double check for positioning and fit. A bamboo meat skewer was my make-shift fiddle bow at this point. Next step will be some more detailing. I’m pretty happy with the way it’s looking at this point.

Adding Some Finer Detail

Now that I had the cowgirl form smoothed out with some “rough” detail, it was time to add in some finer detail.

I started with the boots and added in the heel and sole followed by some leather pattern at the front and top and a boot strap. I also added a more pronounced “v” shape to the front and back of the very top of the boot. None of this was done from my memory of what a cowboy boot looks like. I went to the computer and searched for “women’s cowboy boots” and selected one to model my carving after. Remember, also, to get the bottom of the sole right. Pick up one of your dress shoes from the closet and take a look at the bottom noting how the instep of the shoe curves differently from the outer side of the shoe. Once you carve the boot in a similar fashion, etch that onto a piece of paper and transfer the identical but opposite profile to the other boot. Now you have two boots of the same size!

My daughter, Emily, came up with the idea of some frill ( cowgirls surely use a better word than frill ) on the vest. So I marked where the frill would go, cut in a line to indicate the border between the frill and the vest and then used a gouge to make some random vertical cuts in the frill section to make it look like it was wavy rather than just hanging straight down. I could have used a v-tool, I suppose, to cut the individual frill but I used a knife instead. I eventually followed up with some undercutting with a gouge and will probably do a bit more later on to make the fringe look nice and thin. I think that it ended up looking kinda nice.

From there, I used a combination of some shallow knife cuts and a light use of a burning tool to add pockets, seams, folds in the scarf, belt line, etc.

At this point, I started to think about the exact placement of the arms. Of course, I had the clay model to refer to but I had to get the exact measurements for the arms to fit and look right against the banjo that she’d be playing.

So, I cut out a paper banjo to hold up to her…and, I hated it. No matter how I placed that darn banjo…I hated the way it blocked out her waist and the detail of the vest and frills. I had to go for something smaller…a ukulele! I cut out a paper ukulele…and, I hated it too. Whew! A fiddle then…and, bingo, the fiddle looked great to me and it only blocked out a bit of her scarf and shoulder.

So, back to the computer search to find a fiddle ( by the way, I learned that a violin and a fiddle are the exact same instrument ). I printed out the fiddle this time to the exact size that I wanted and cut that out as a pattern to bring to the bandsaw. After a bit a carving, it was ready to place under her chin temporarily with a dab from a hot glue gun.

I’ll note a couple of things. Because the fiddle will be eventually permanently glued to the head and arm as well as the hand, it represents a “structural” part of the carving to me…it has to be strong. For this reason, I made it from maple rather than basswood. Probably overkill, but that’s me. Also, note that I replaced a section of her right foot. I just didn’t like the way it originally turned out so I carefully cut out a chunk and even more carefully fitted and glued another piece of basswood in as a tight fit. Some carvers don’t like that sort of thing and view it as a bit of cheating some how. I think that it’s the only reasonable thing to do…if you don’t like something, why let the whole carving suffer when you can just make a quick change that you’ll never see?

Next step…create that arm holding the fiddle. I’m having fun with this carving.

Post Navigation

%d bloggers like this: