tributesinwood

Wood Carvings by Mark Sheridan

Archive for the category “Wrangler Hound”

A Pretty Serious Wrangler

I’m having some fun with this little hound.  He’s turning out to be a pretty serious looking wrangler…someone’s who has seen his share of cow thieves.

With one eyebrow raised higher than the other in a suspicious gesture, eyes rolled off to one side looking for banditos and a thinner, more weather worn, face than I’ve carved for Bassets…he’s clearly a working, and hard working, dawg.

Oh…did I mention the droopy smoke hanging out of his mouth?  This carving is going to make a nice scene.

OLYMPUS DIGITAL CAMERA

The Cowboy Hat

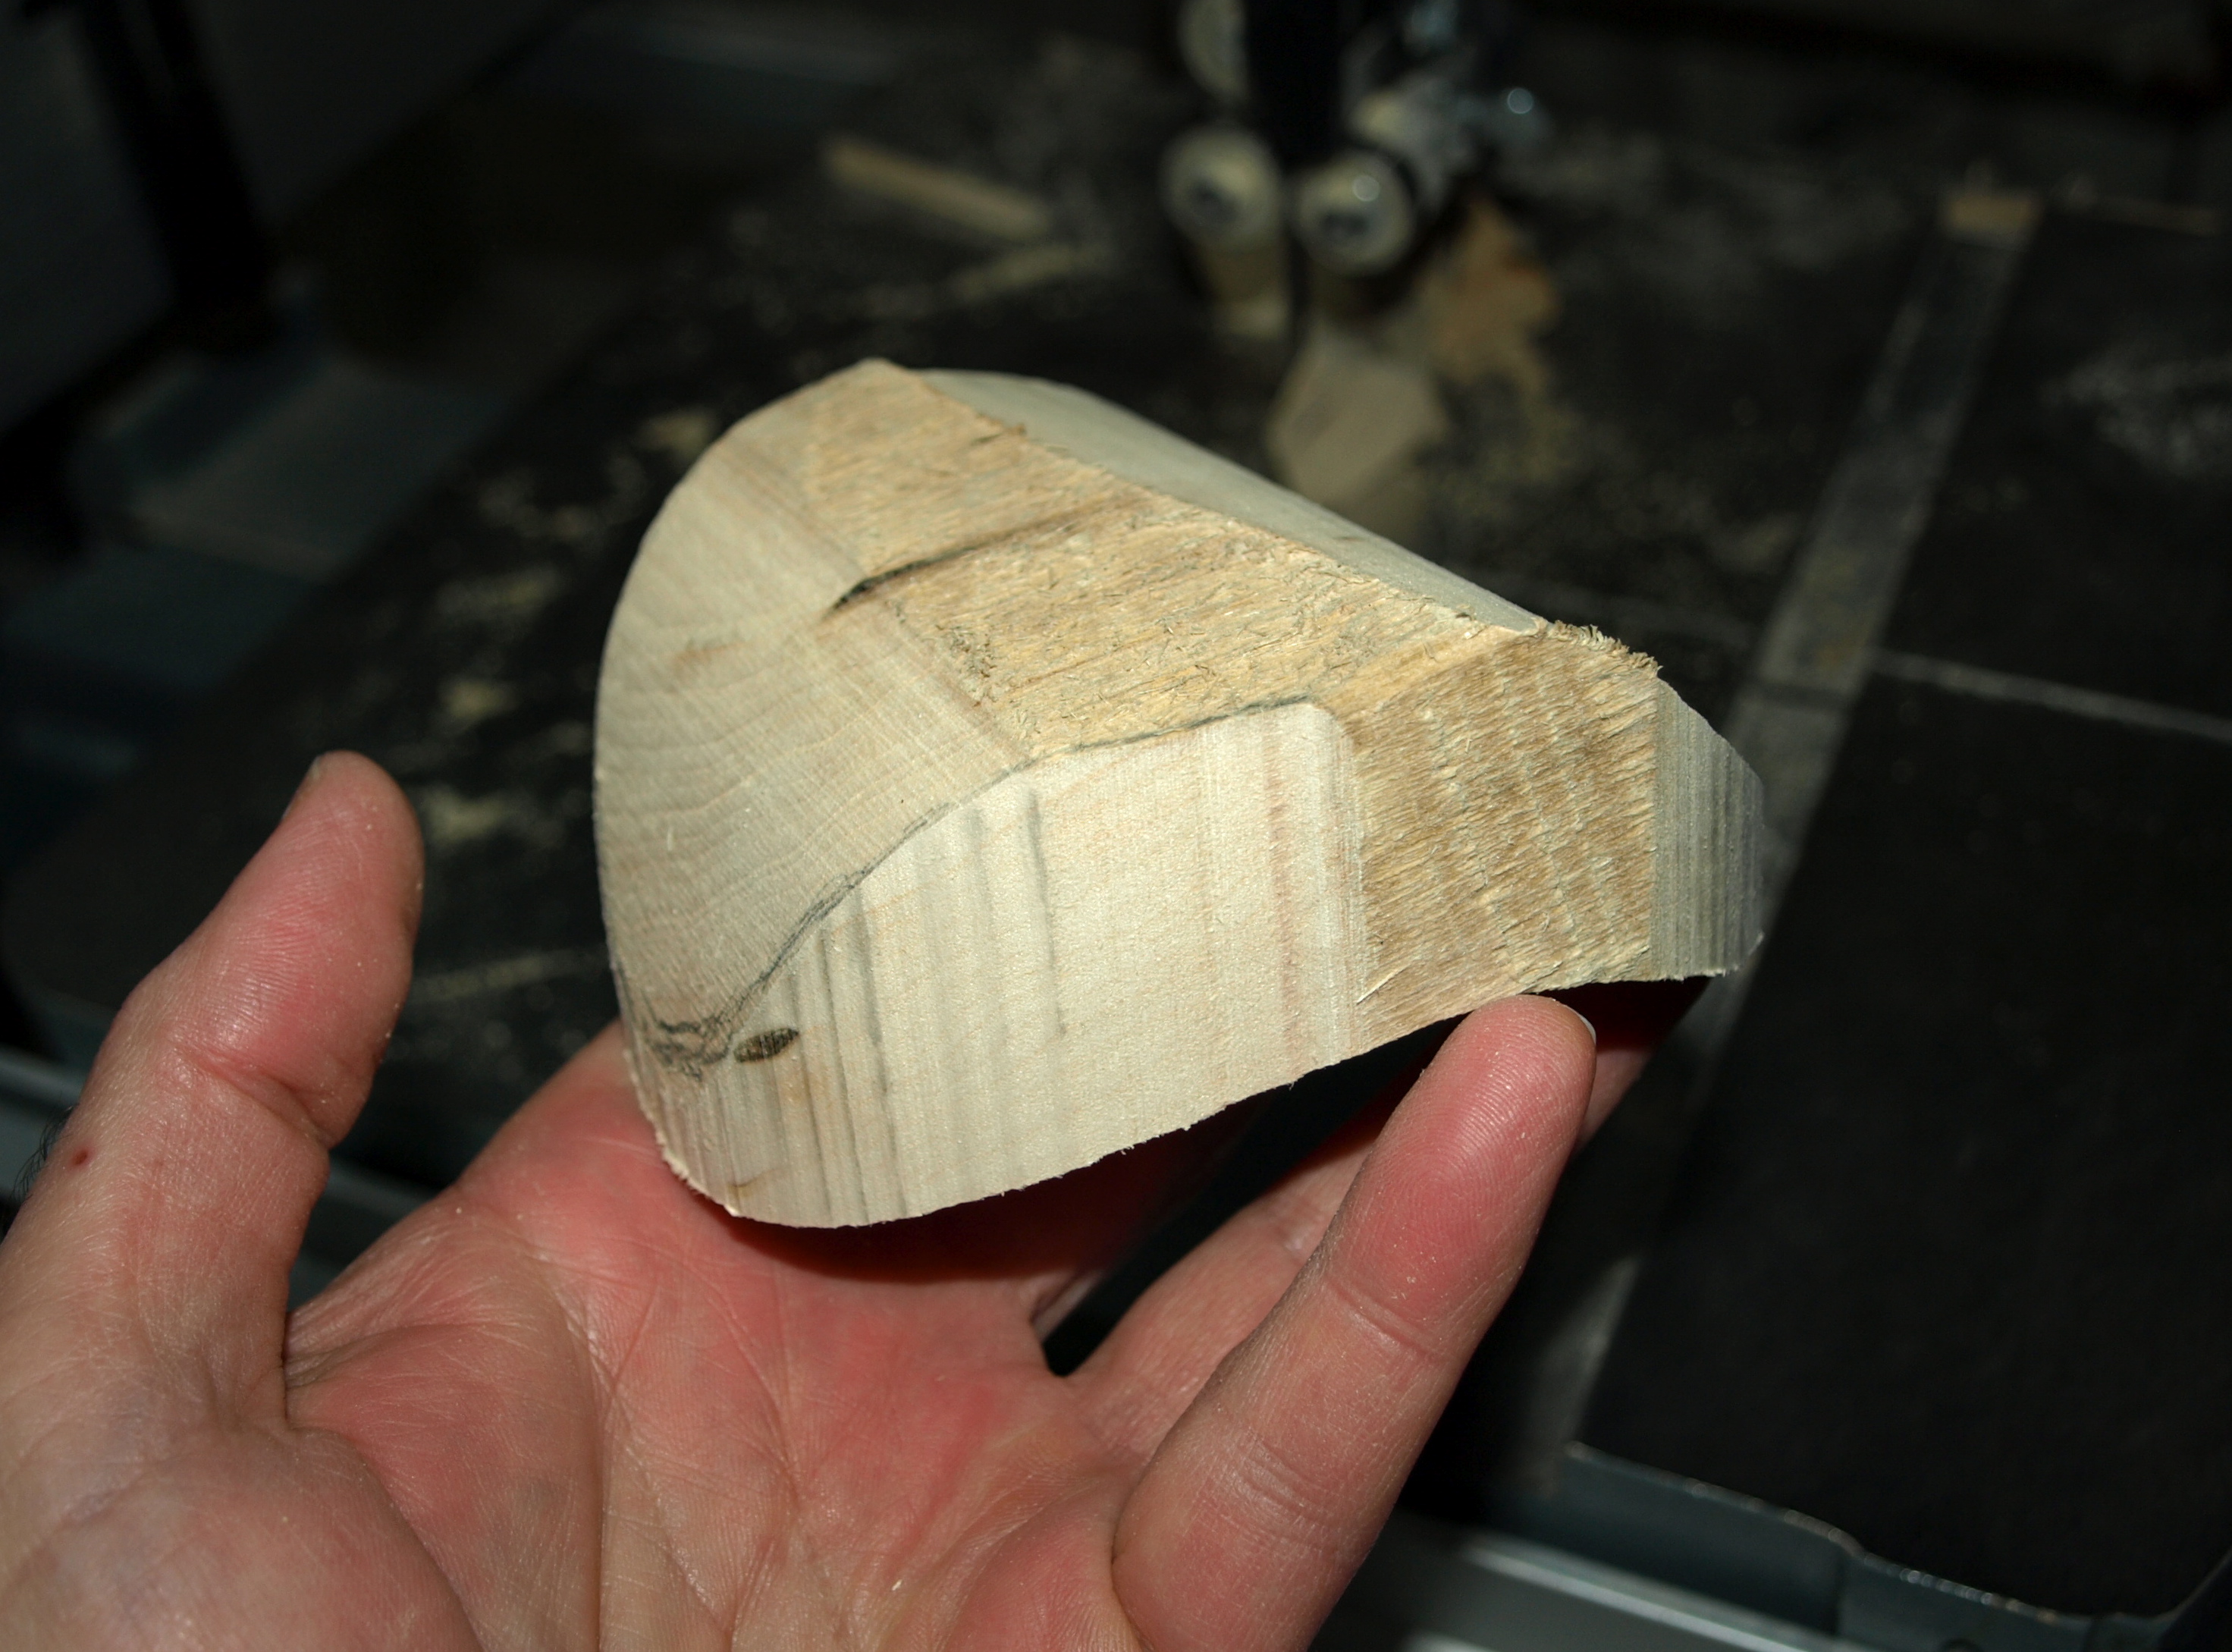
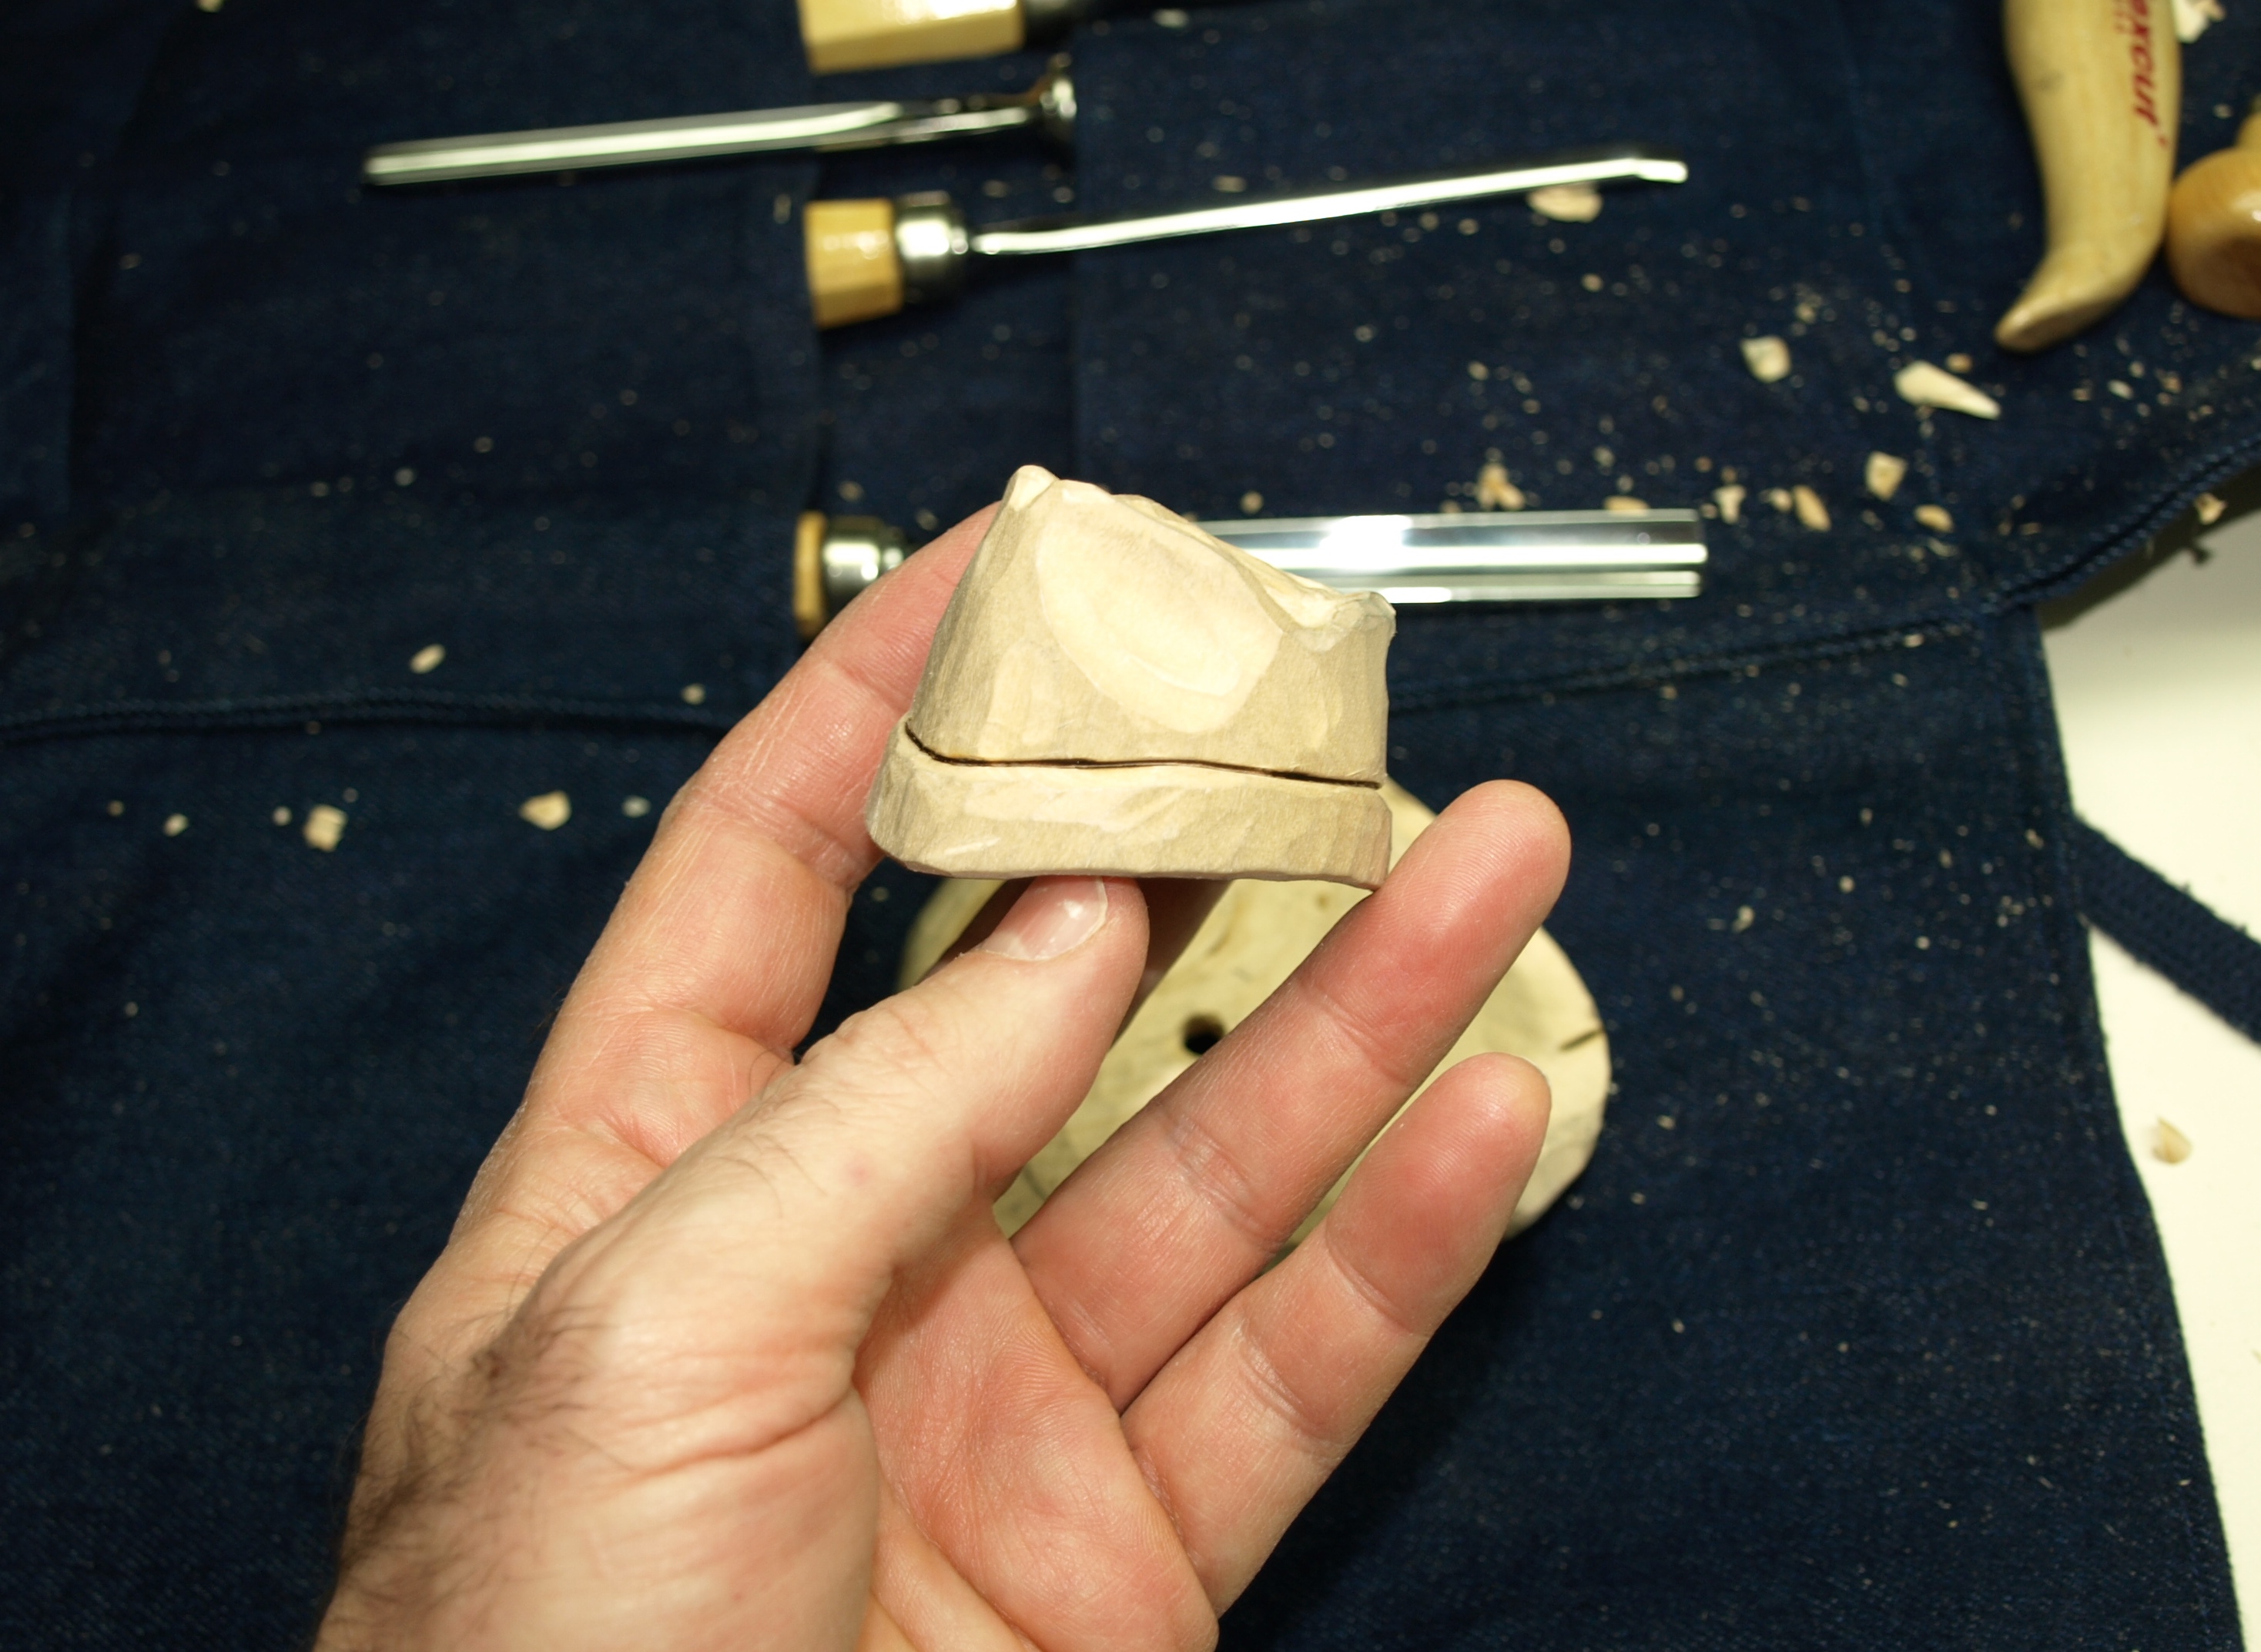
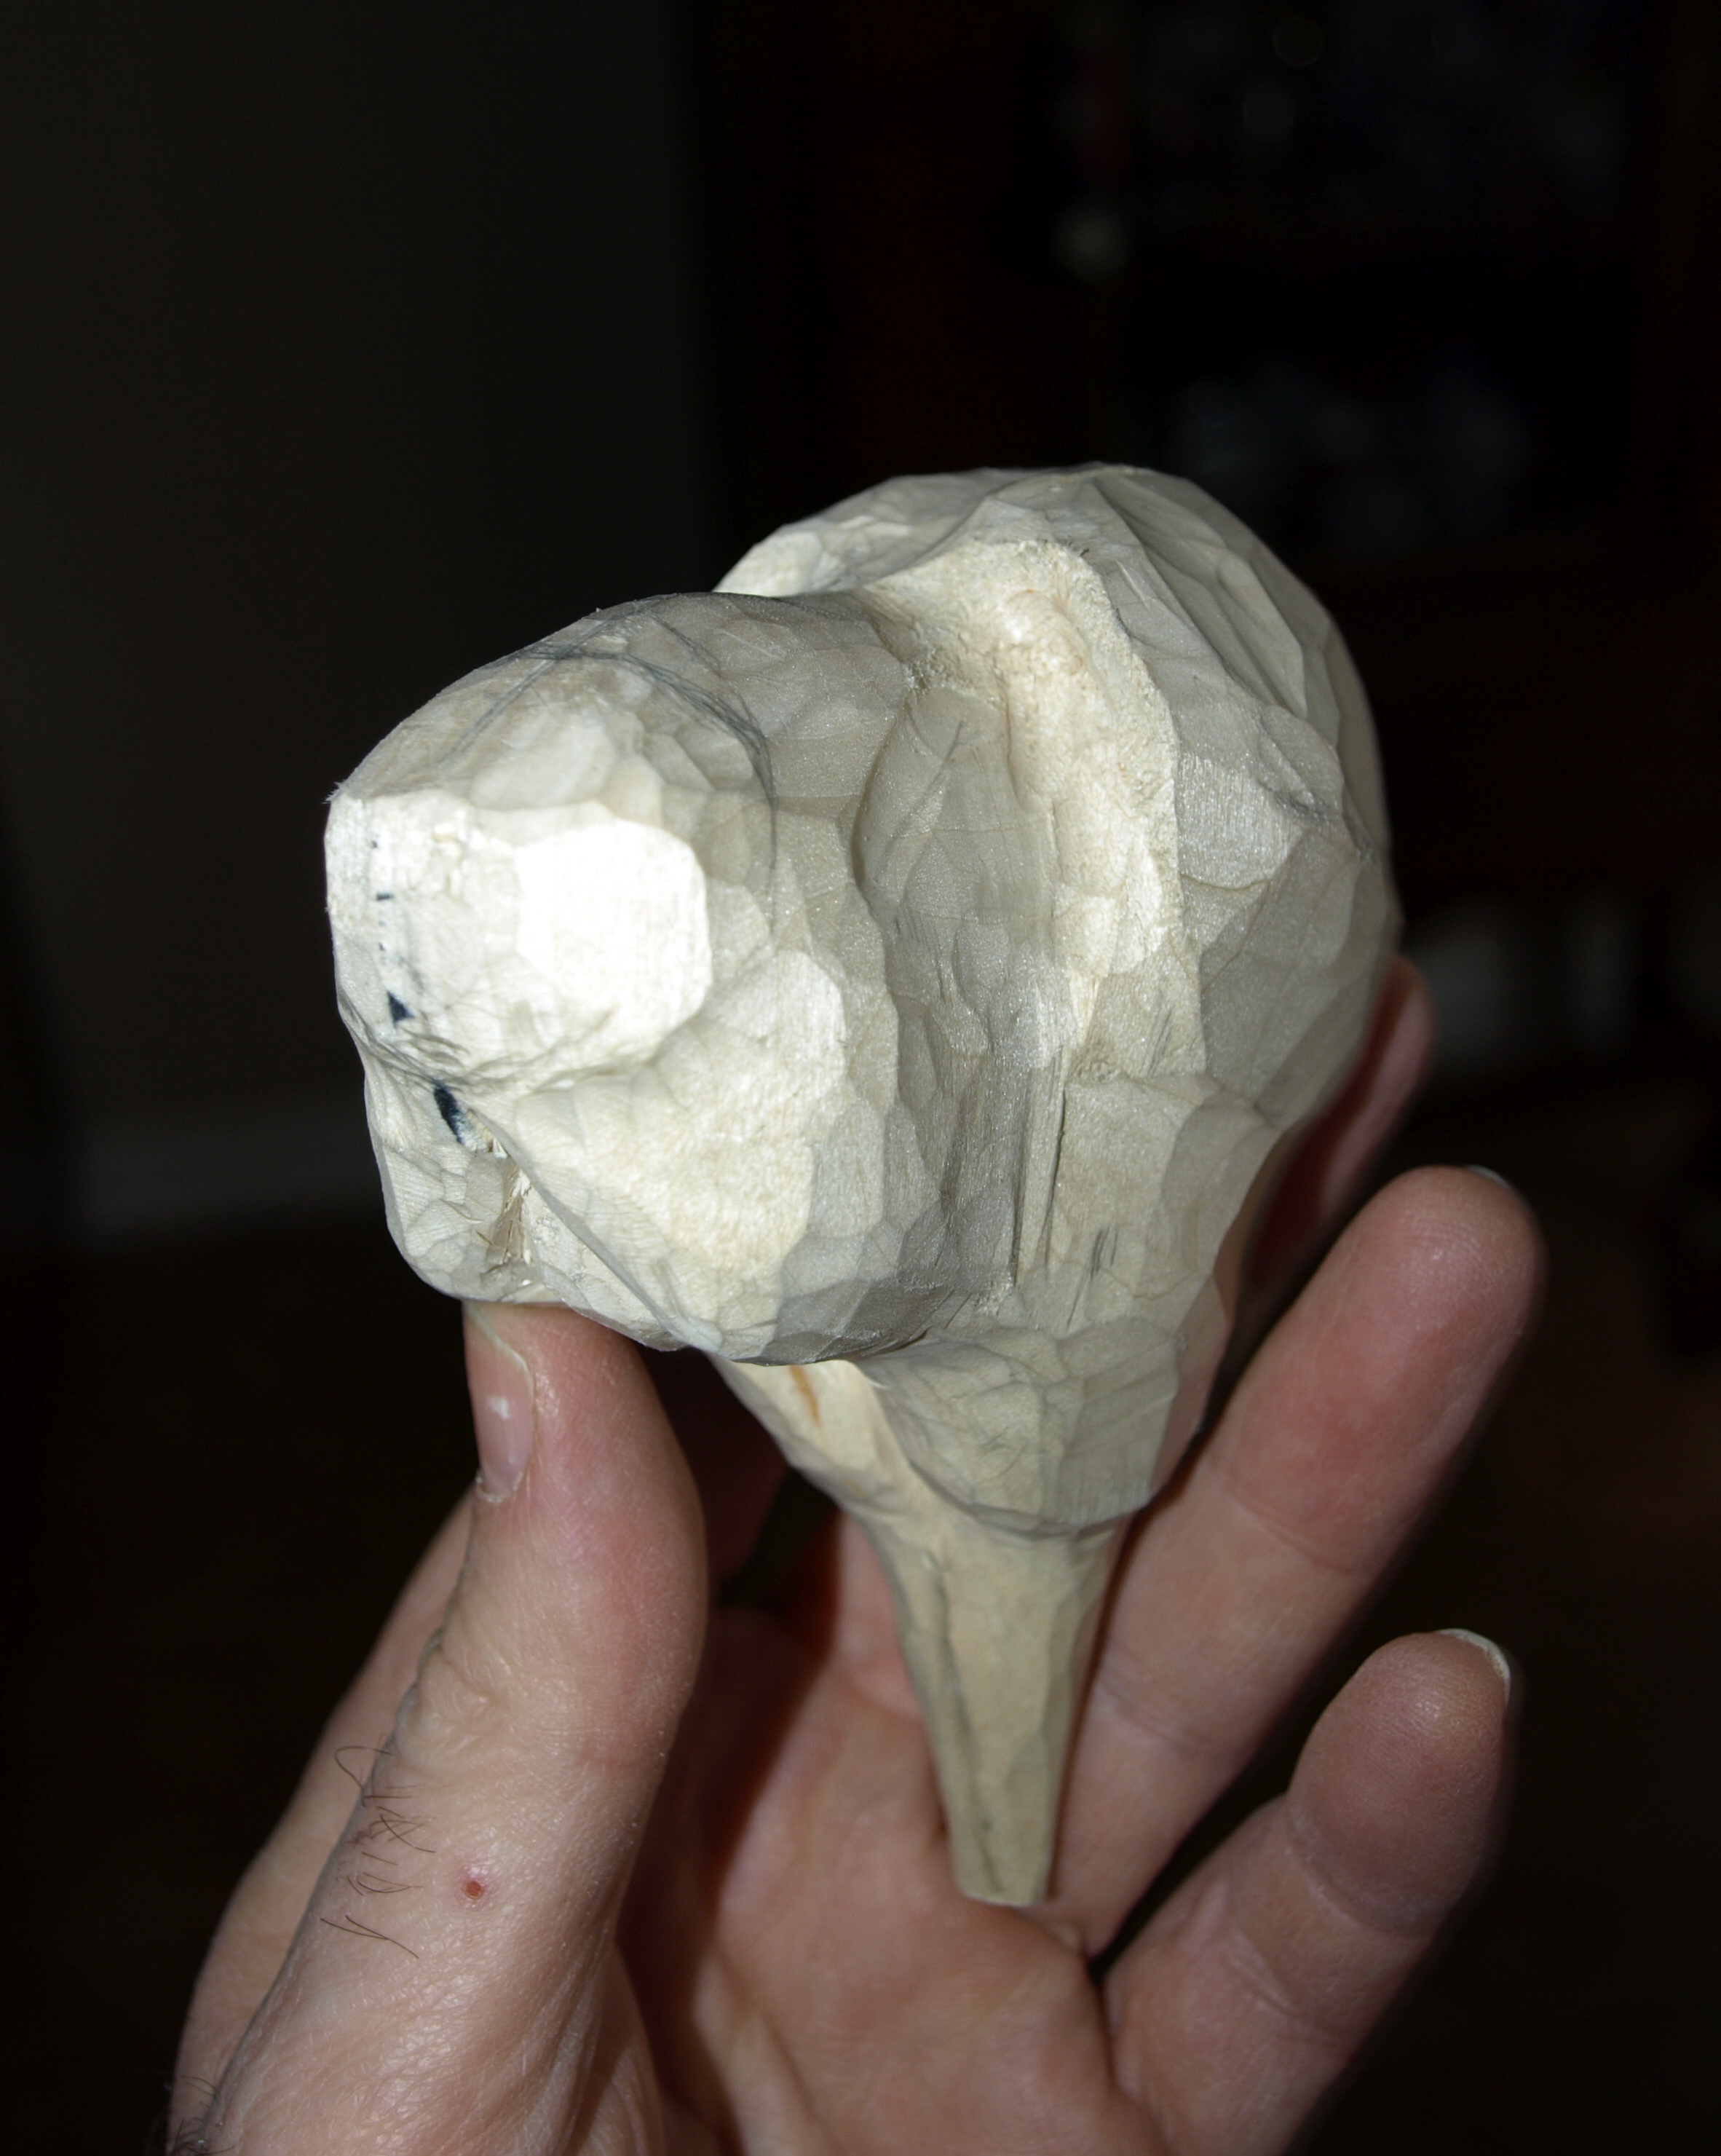
Now that the head is at least roughed in for our little cowboy hound, it’s time to start thinking about a hat.  The hat is made in two pieces along the same lines as described by Lynn Doughty on his website OutWestWoodcarving.  Basically, the side view of the brim was outlined on a piece of basswood with the grain of the wood running from the front to the back of the brim.  After cutting out this profile, an elongated oval was cut ( looking from the top of the hat ) so that I ended up with the cut-out shown in the second photo, below.
OLYMPUS DIGITAL CAMERA

OLYMPUS DIGITAL CAMERA


Following that, I took a little bit off of the top of the hound’s head to make a flat area to sit the hat upon.  Using the method of applying some pencil lead to the top of the head and slowly chiseling away the impression of the lead that’s left on the hat, I ended up with a depression on the bottom of the hat brim that made a nice tight fit on the head.  This might seem a bit unnecessary to you, but you’ll find that having this depression makes the hat sit nicely on the head in a way that leaves you with the impression that the hat is fully covering the head and not just sitting on top of it.

OLYMPUS DIGITAL CAMERA


The crown of the hat was pretty simply made…just a quick cut out of an almost rectangle on the bandsaw and then some knife carving to get the rounded shape from the top view.  I say, rounded, but it actually is round with a bit of a point at the front.  That just seemed to look about right to me.  Then, I just used the same method of applying pencil lead to the brim and let it rub off onto the bottom of the crown so that all of the high points were highlighted by the lead markings.  A few ( actually, quite a few ) swipes with a shallow gouge removed those lead marks and ended up with the crown sitting nicely on the brim.  I should also mention that I added a hat band using a carving knife and a quick pass with a burning tool.

Hope you like things so far.


OLYMPUS DIGITAL CAMERA


OLYMPUS DIGITAL CAMERA

Roughing in the Head

The Wrangler Hound is starting to take some shape.  The general outline of his head was marked out on a piece of basswood and cut away on the bandsaw.  I intentionally cut the outline a little bit larger than I expect the carving to be when it’s completely so that I have room to cut in some deep wrinkles and folds that these little Basset Hound carvings end up having.

OLYMPUS DIGITAL CAMERA

I started off using a Typhoon bit and the Foredom tool to move some wood away quickly and do some general shaping.  I’ve mentioned before that Typhoon bits are very aggressive carbide tipped bits.  If you decide to use this method of blocking in your carving, you need to wear the appropriate protective gear…safety glasses, gloves, leather apron and either leather or very heavy sleeves.  Of course, you can use your regular knife to accomplish the same thing.

The roughed-in surface after the shaping with the Foredom tool and a bit of refining with a carving knife is looking like this.  Next step will be to cut a flat section along the top of the head and add in a weathered, droopy, cowboy hat.

OLYMPUS DIGITAL CAMERA


OLYMPUS DIGITAL CAMERA


Post Navigation