Getting Ready for Paint
I used a wood burning tool with a razor sharp tip to add in some detail prior to painting.
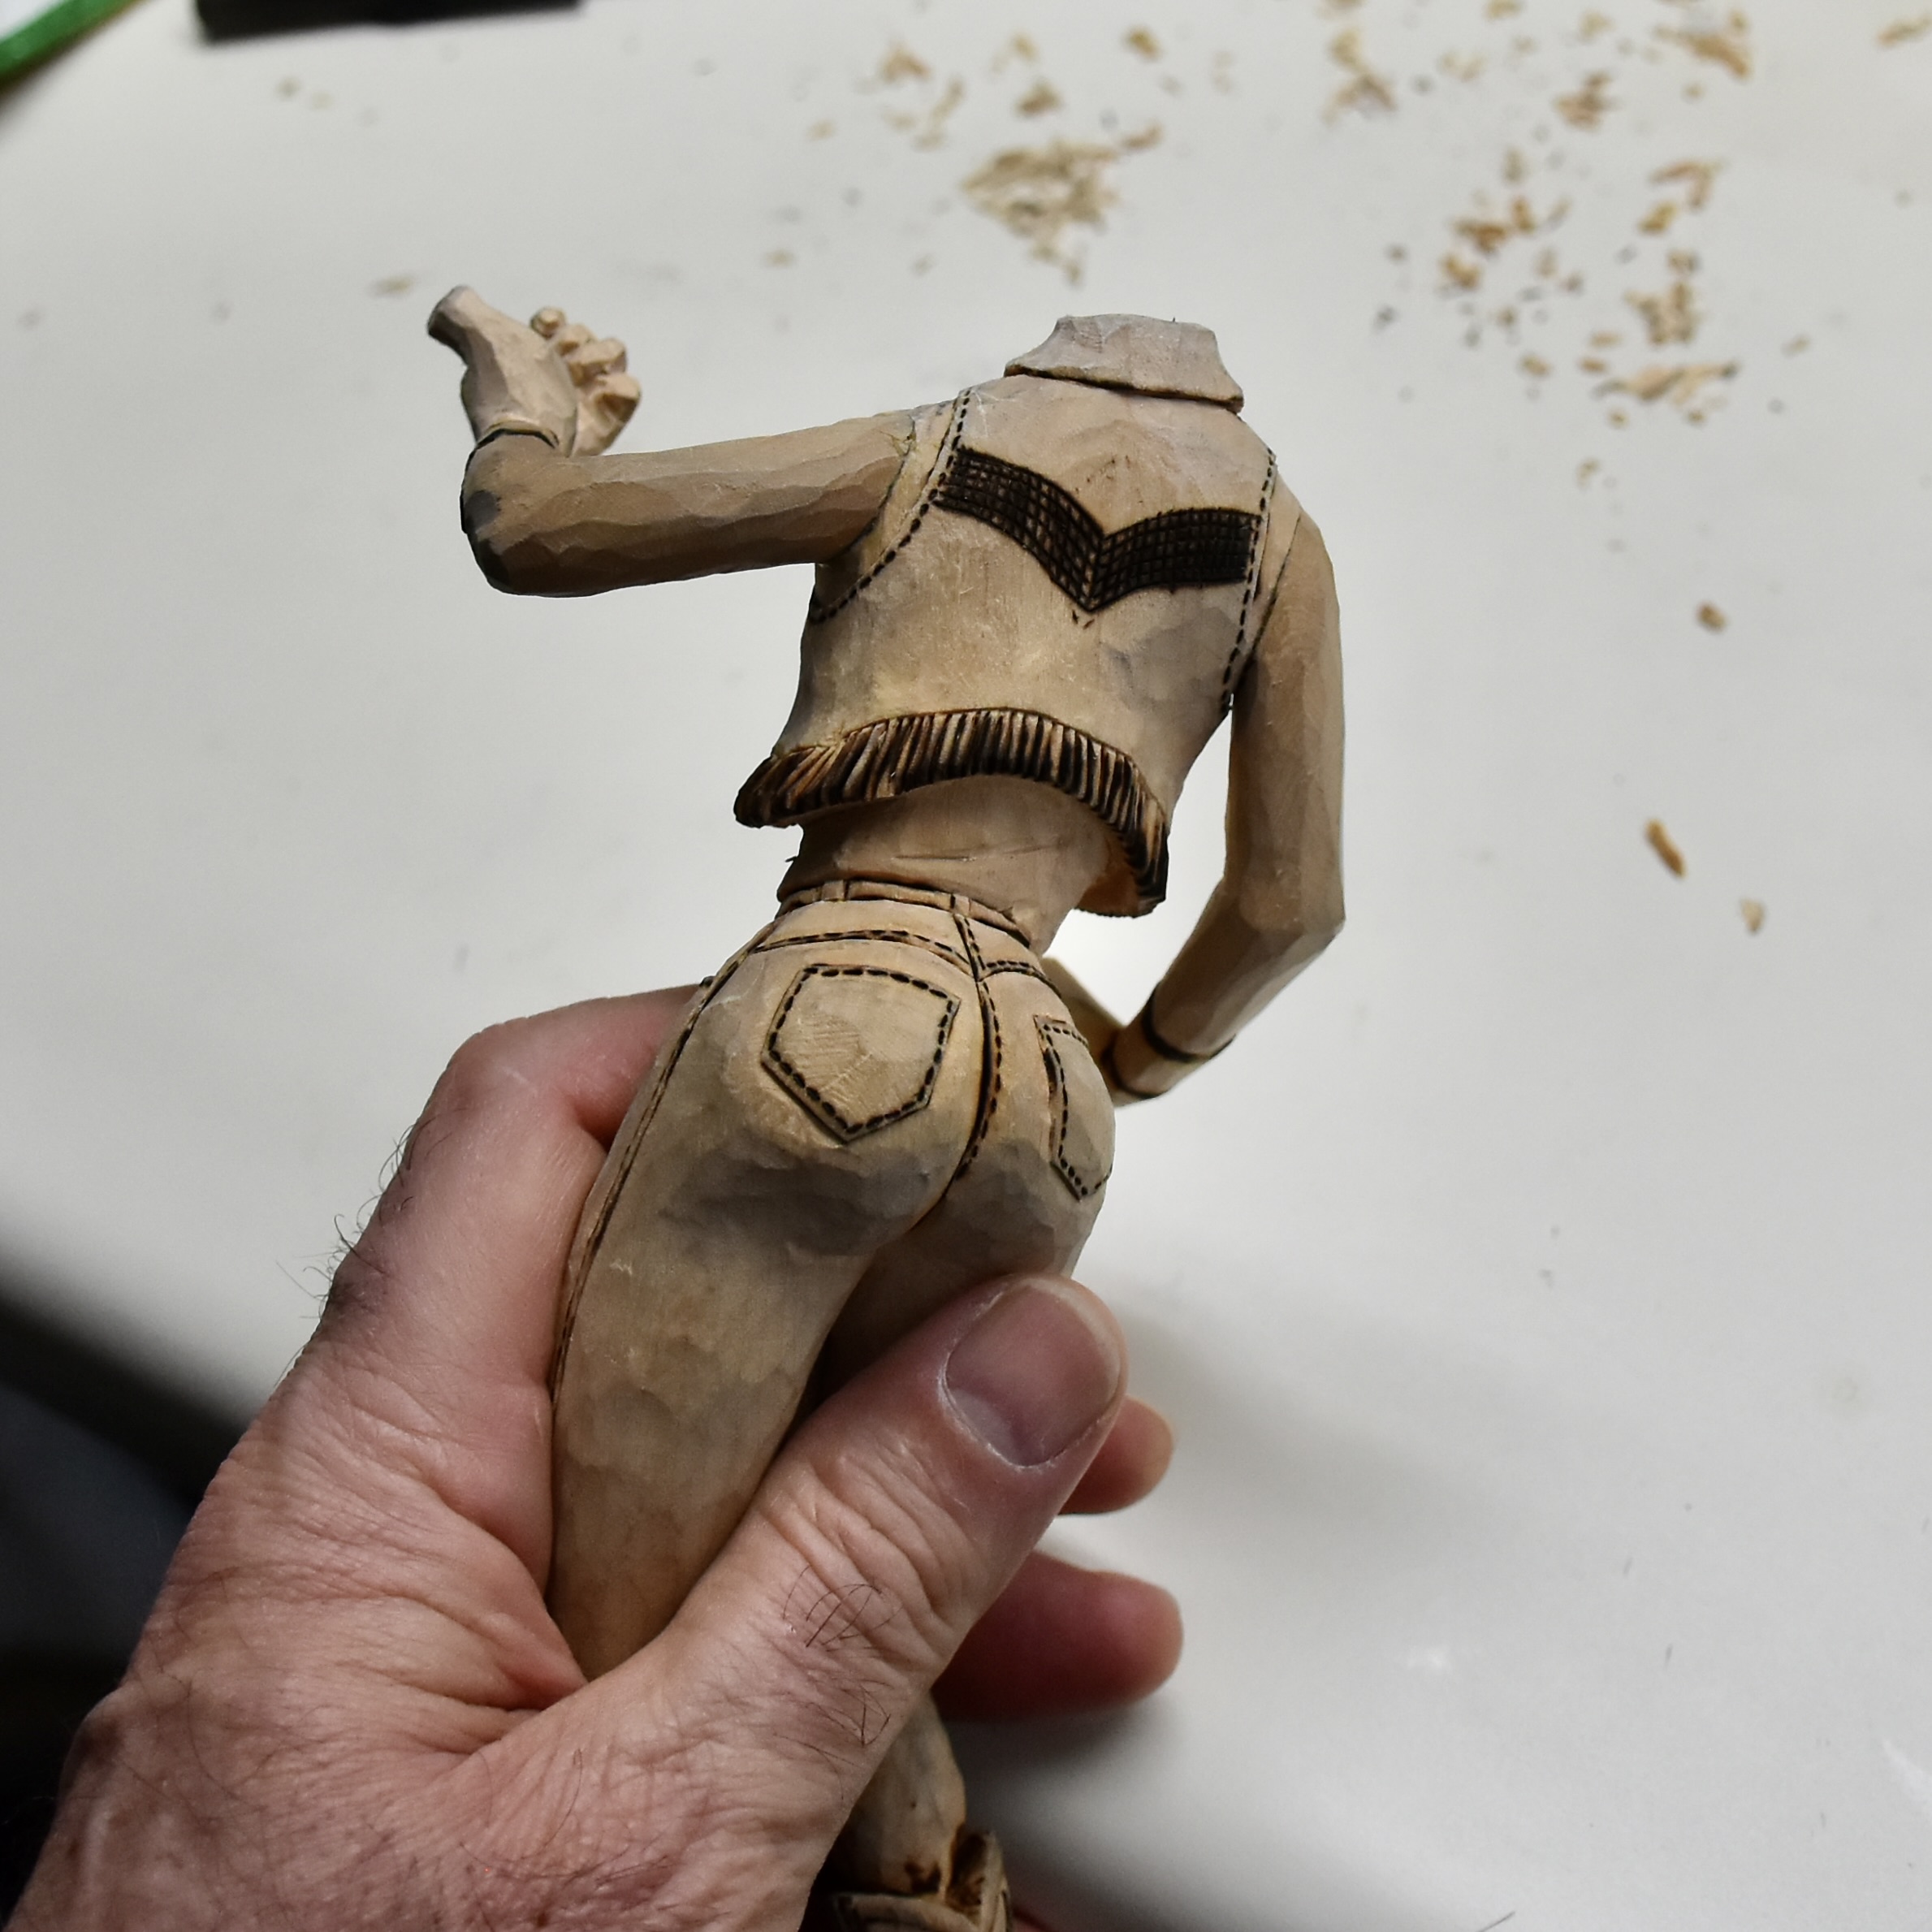
The burning process is a really good way to get nice crisp lines and boundaries in your painting. As an example, I basically cross-hatched in some very fine squares to represent beading on this gal’s leather vest. Later, you’ll see how this cross-hatching basically made small valleys or boundaries for the painting process. Now just a drop of paint in any one of the tiny squares will flow no further than the boundary that was burned, making a nice crisp final painted pattern.
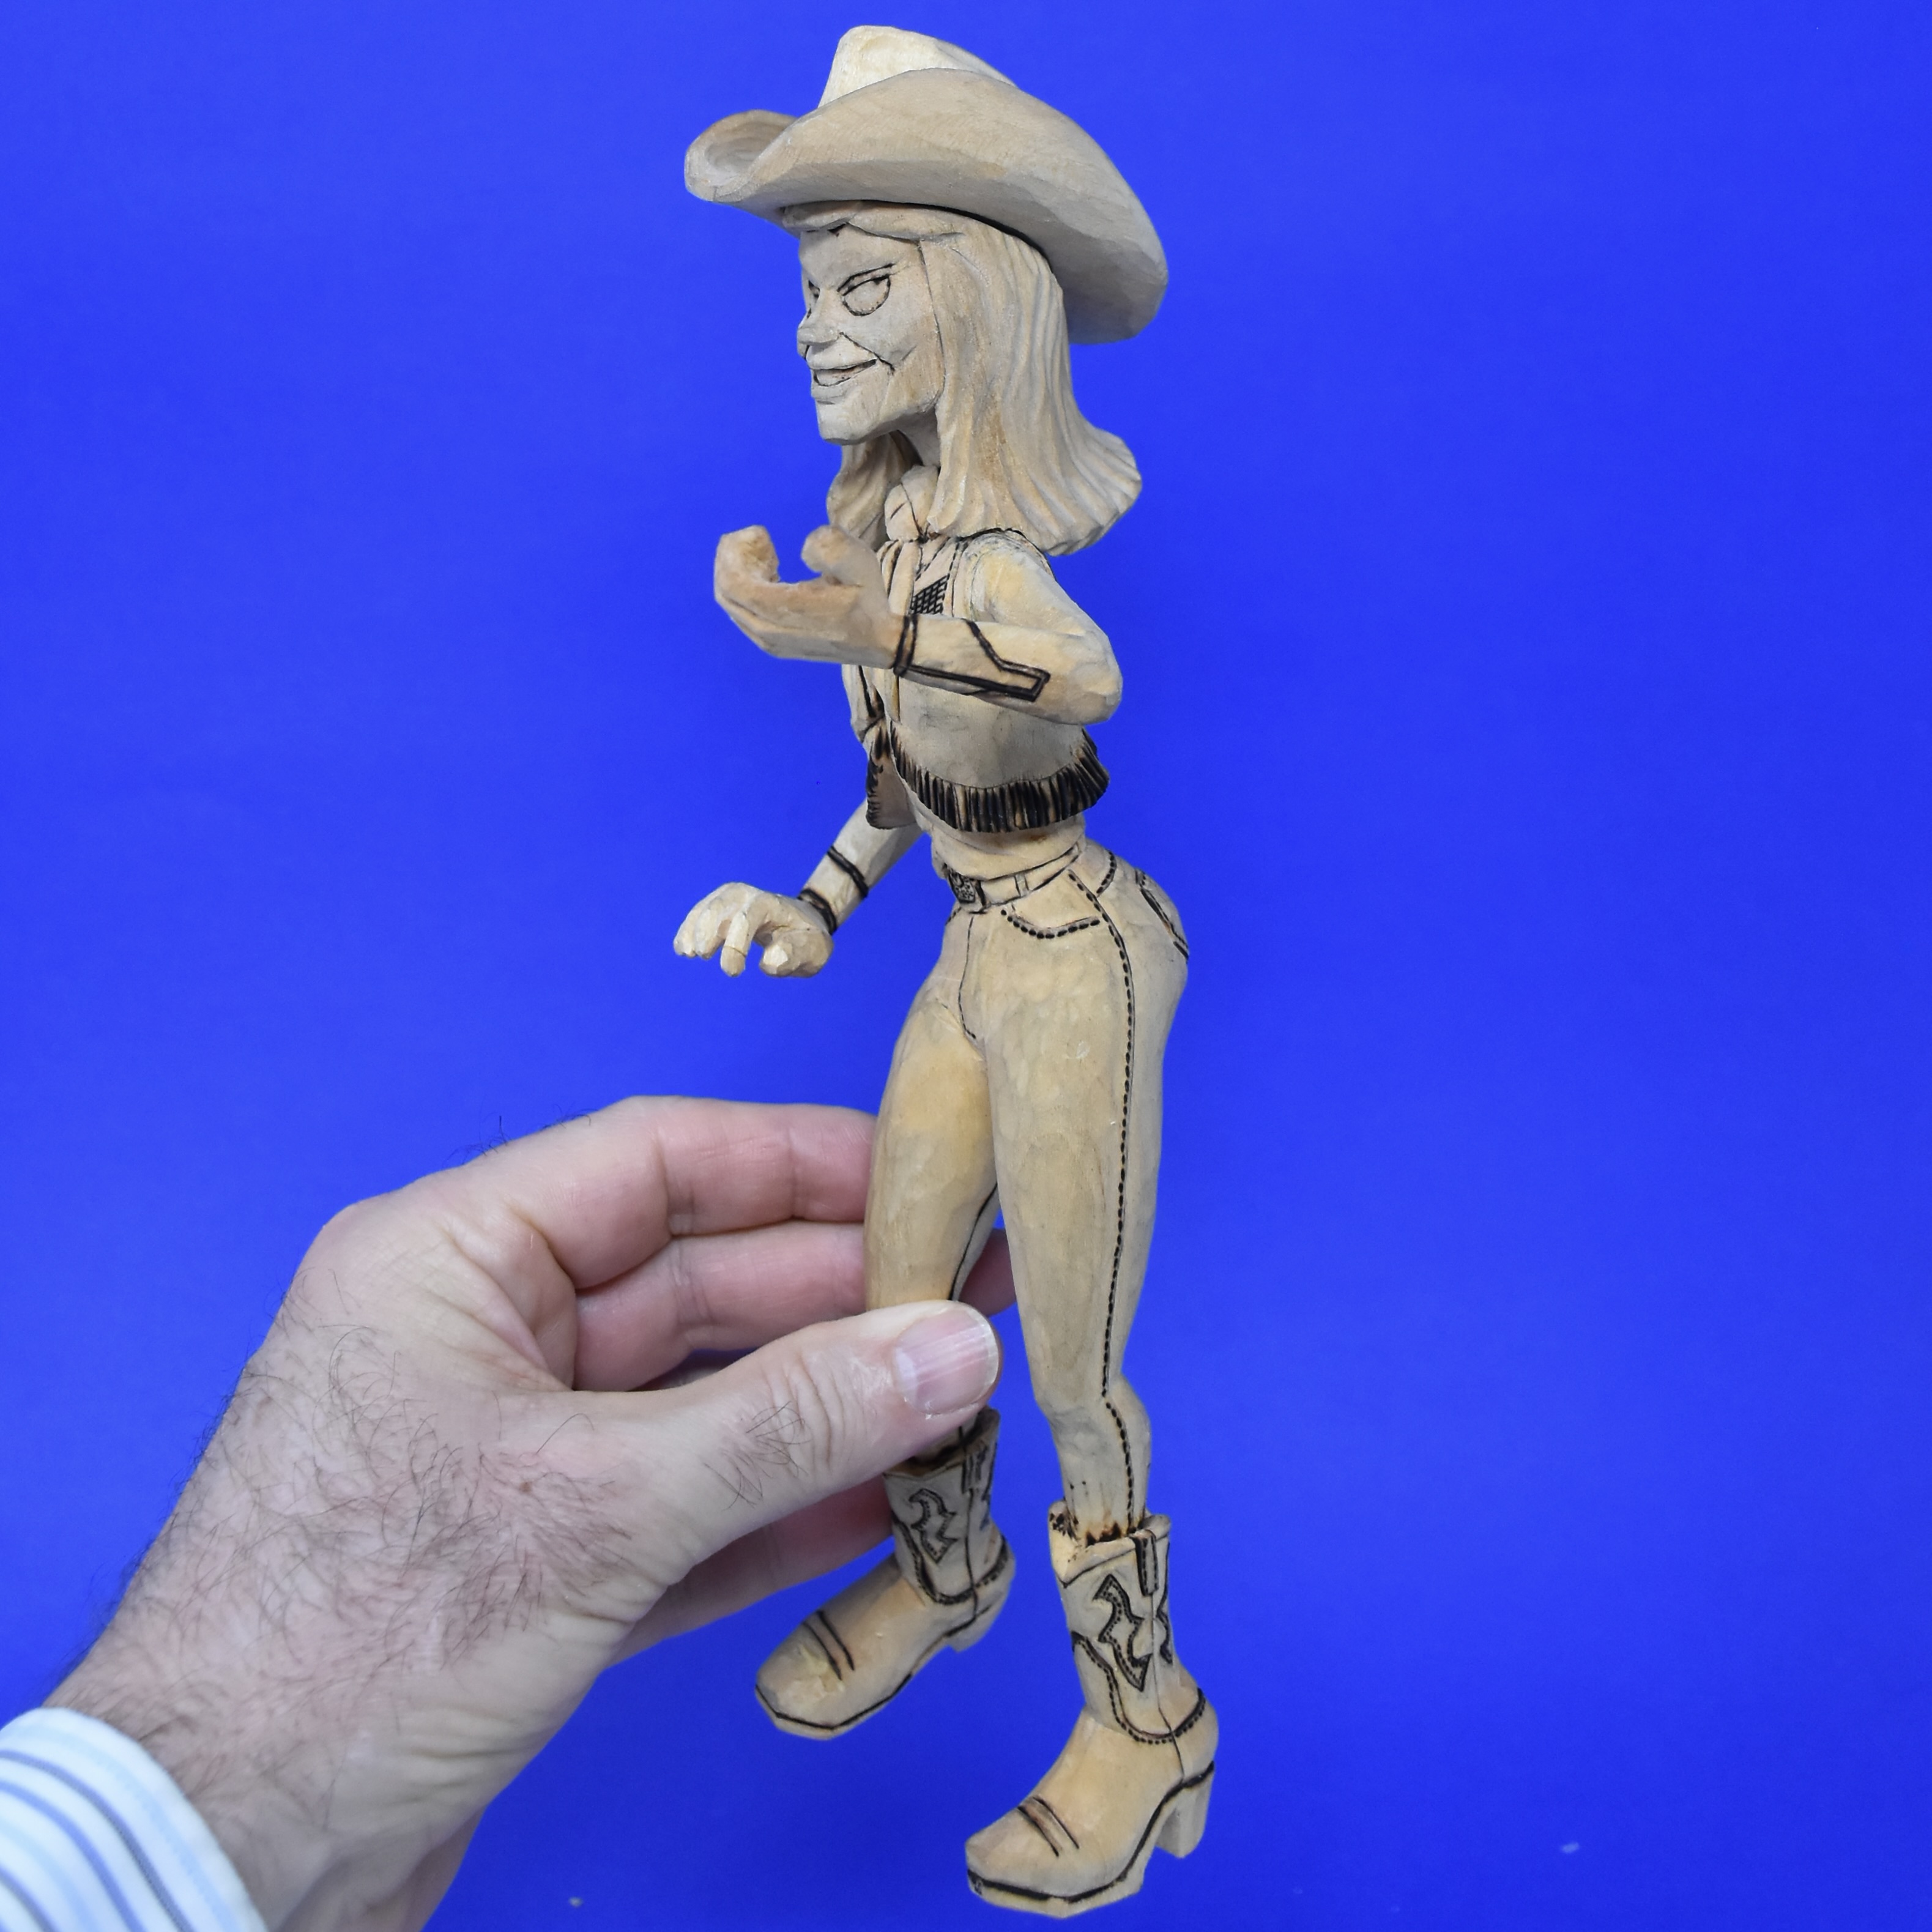
Similarly, a burned line around the belt loops, hat design and boot designs prevents the paint from bleeding from one section of the carving into the next.
Finally, the burning tool is great for adding detail lines representing seams and stitching. If you keep the paint thinned, the dark marking will show through the colour nicely for some added interest. With some very minimal burning, you can really enhance the painting process.
As usual, just click on the photo, below, to make it larger for viewing.