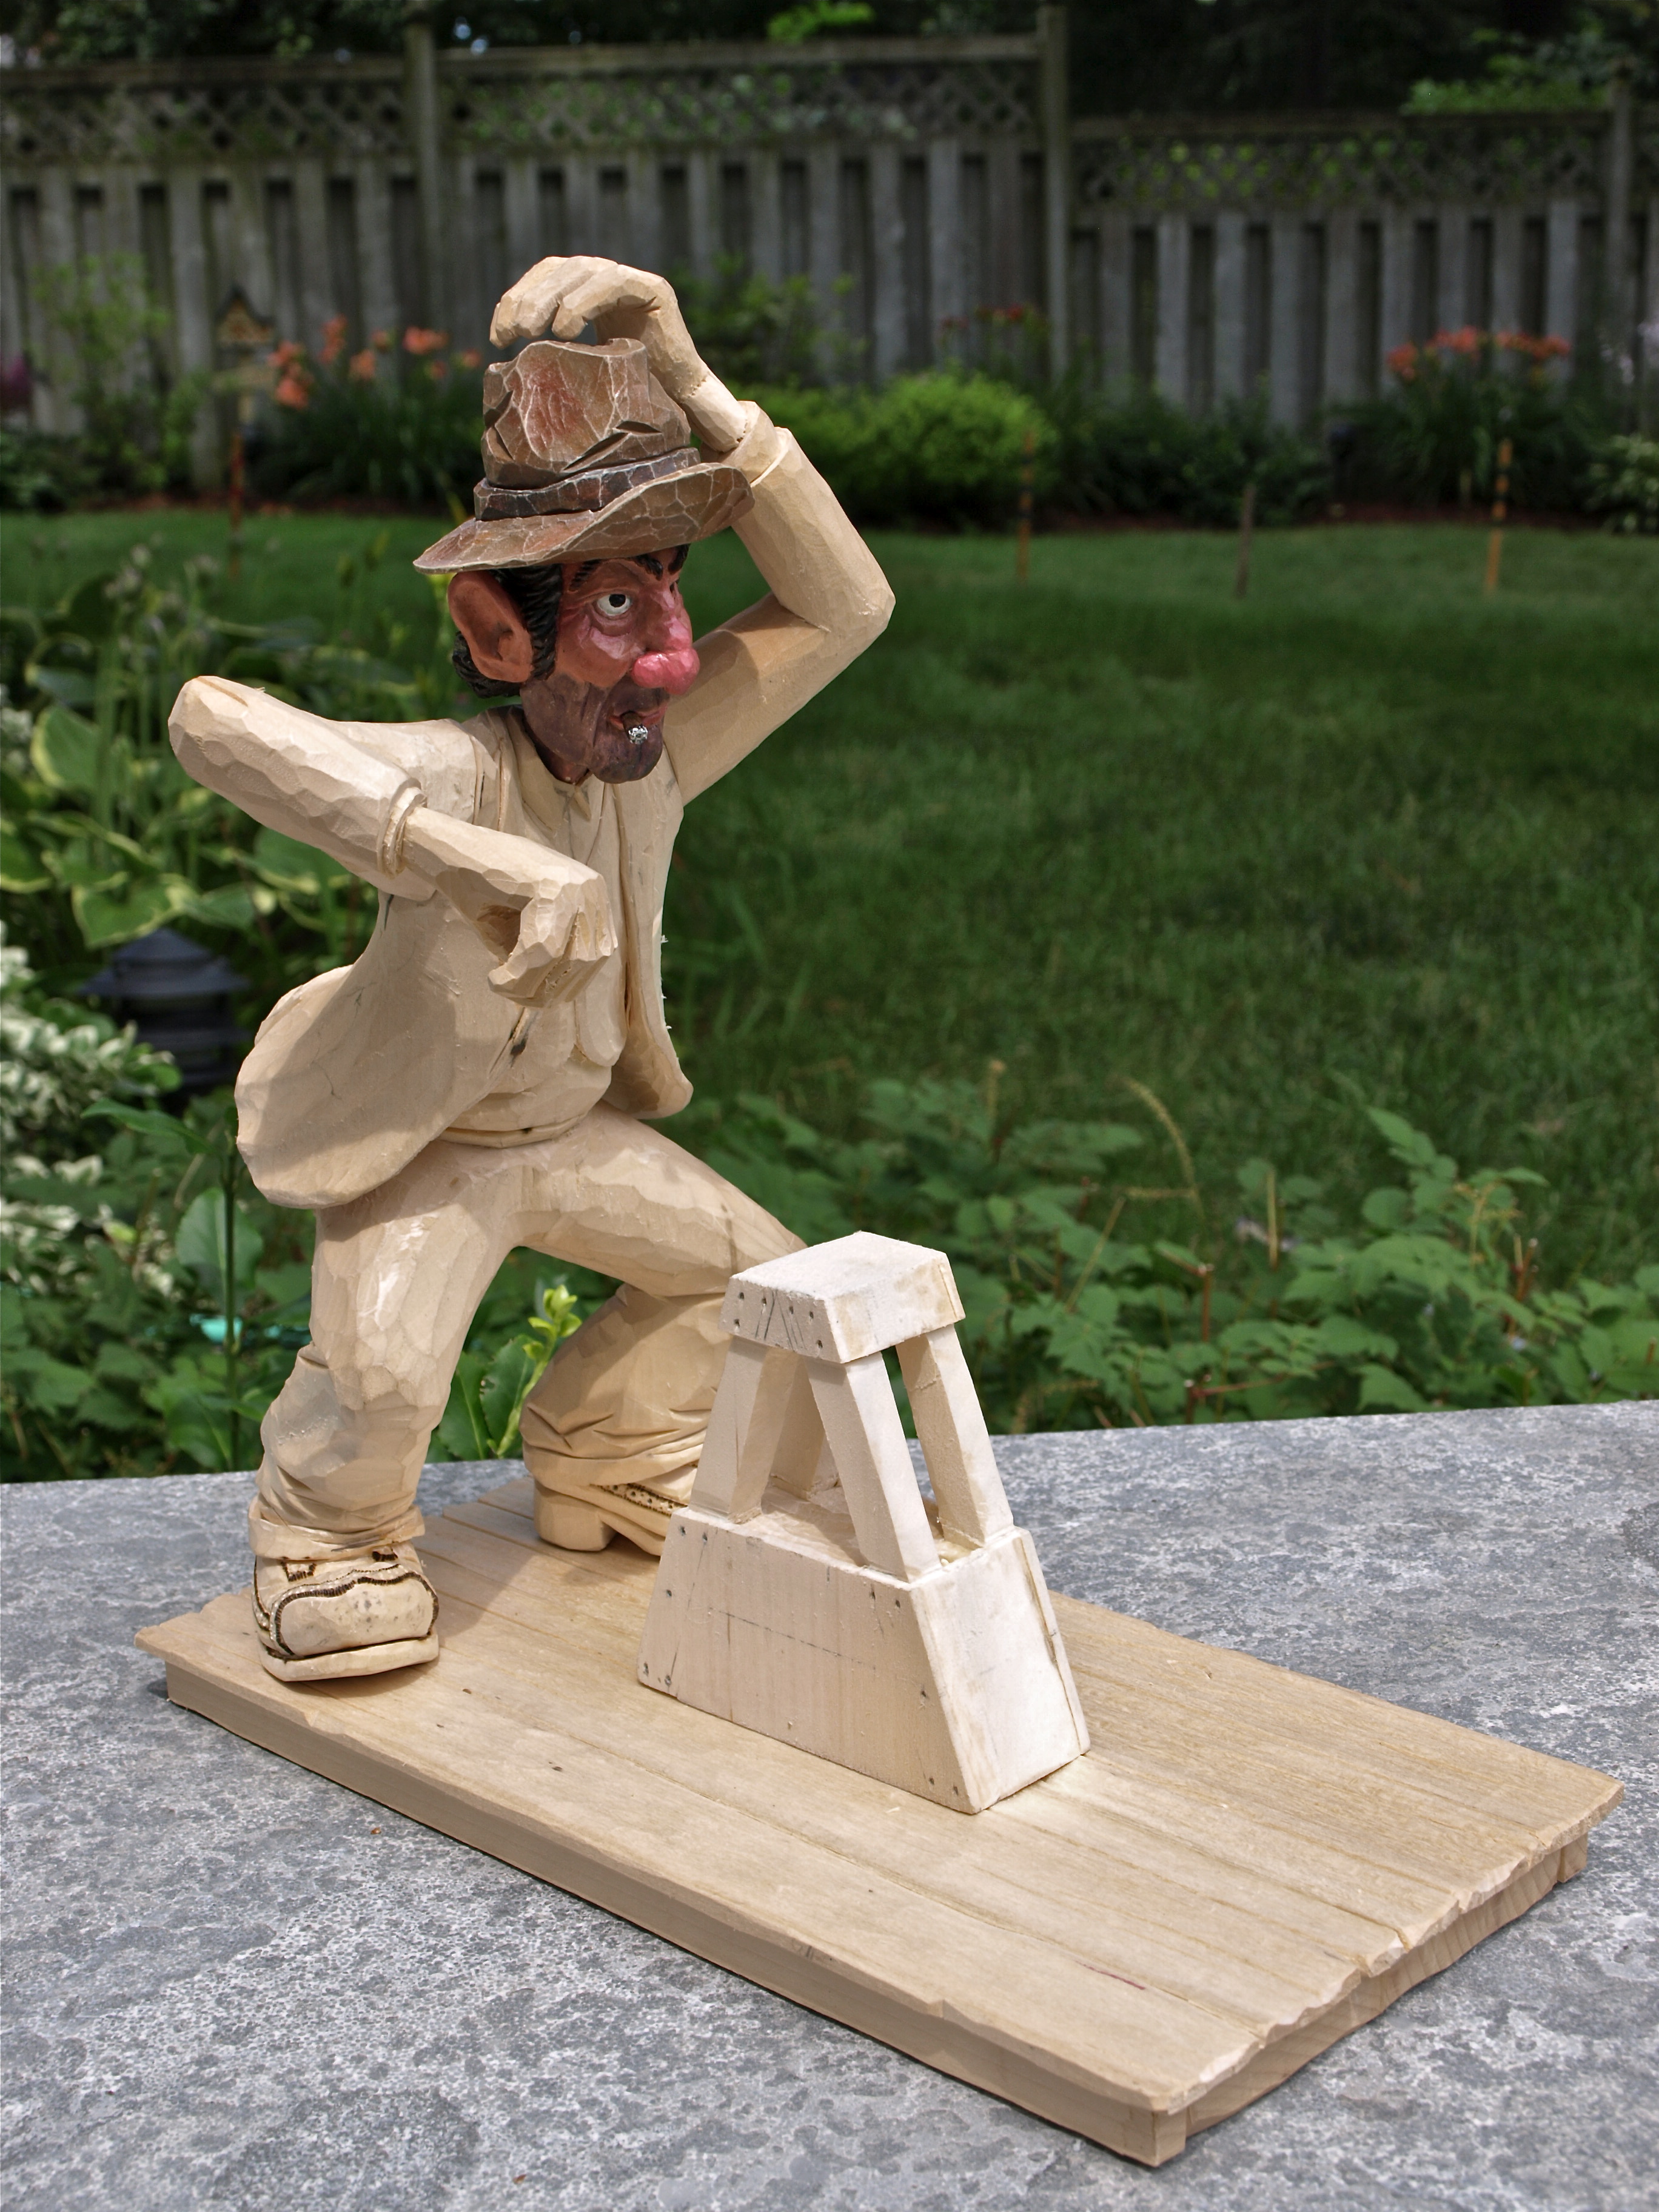
tributesinwood

Wood Carvings by Mark Sheridan

Pump-Car Wheels

I wasn’t exactly sure how to go about making the flanged rail car wheels for the pump car.  At first, I was thinking about using a lathe to make an accurate version of a flanged wheel, even though I knew that it wasn’t going to be much fun making four wheels with duplicate dimensions.  After a quick e-mail conversation with Lynn Doughty ( OutWestWoodcarving…you can find the link on the right-hand side of this page ), my thinking on this went in a different direction.

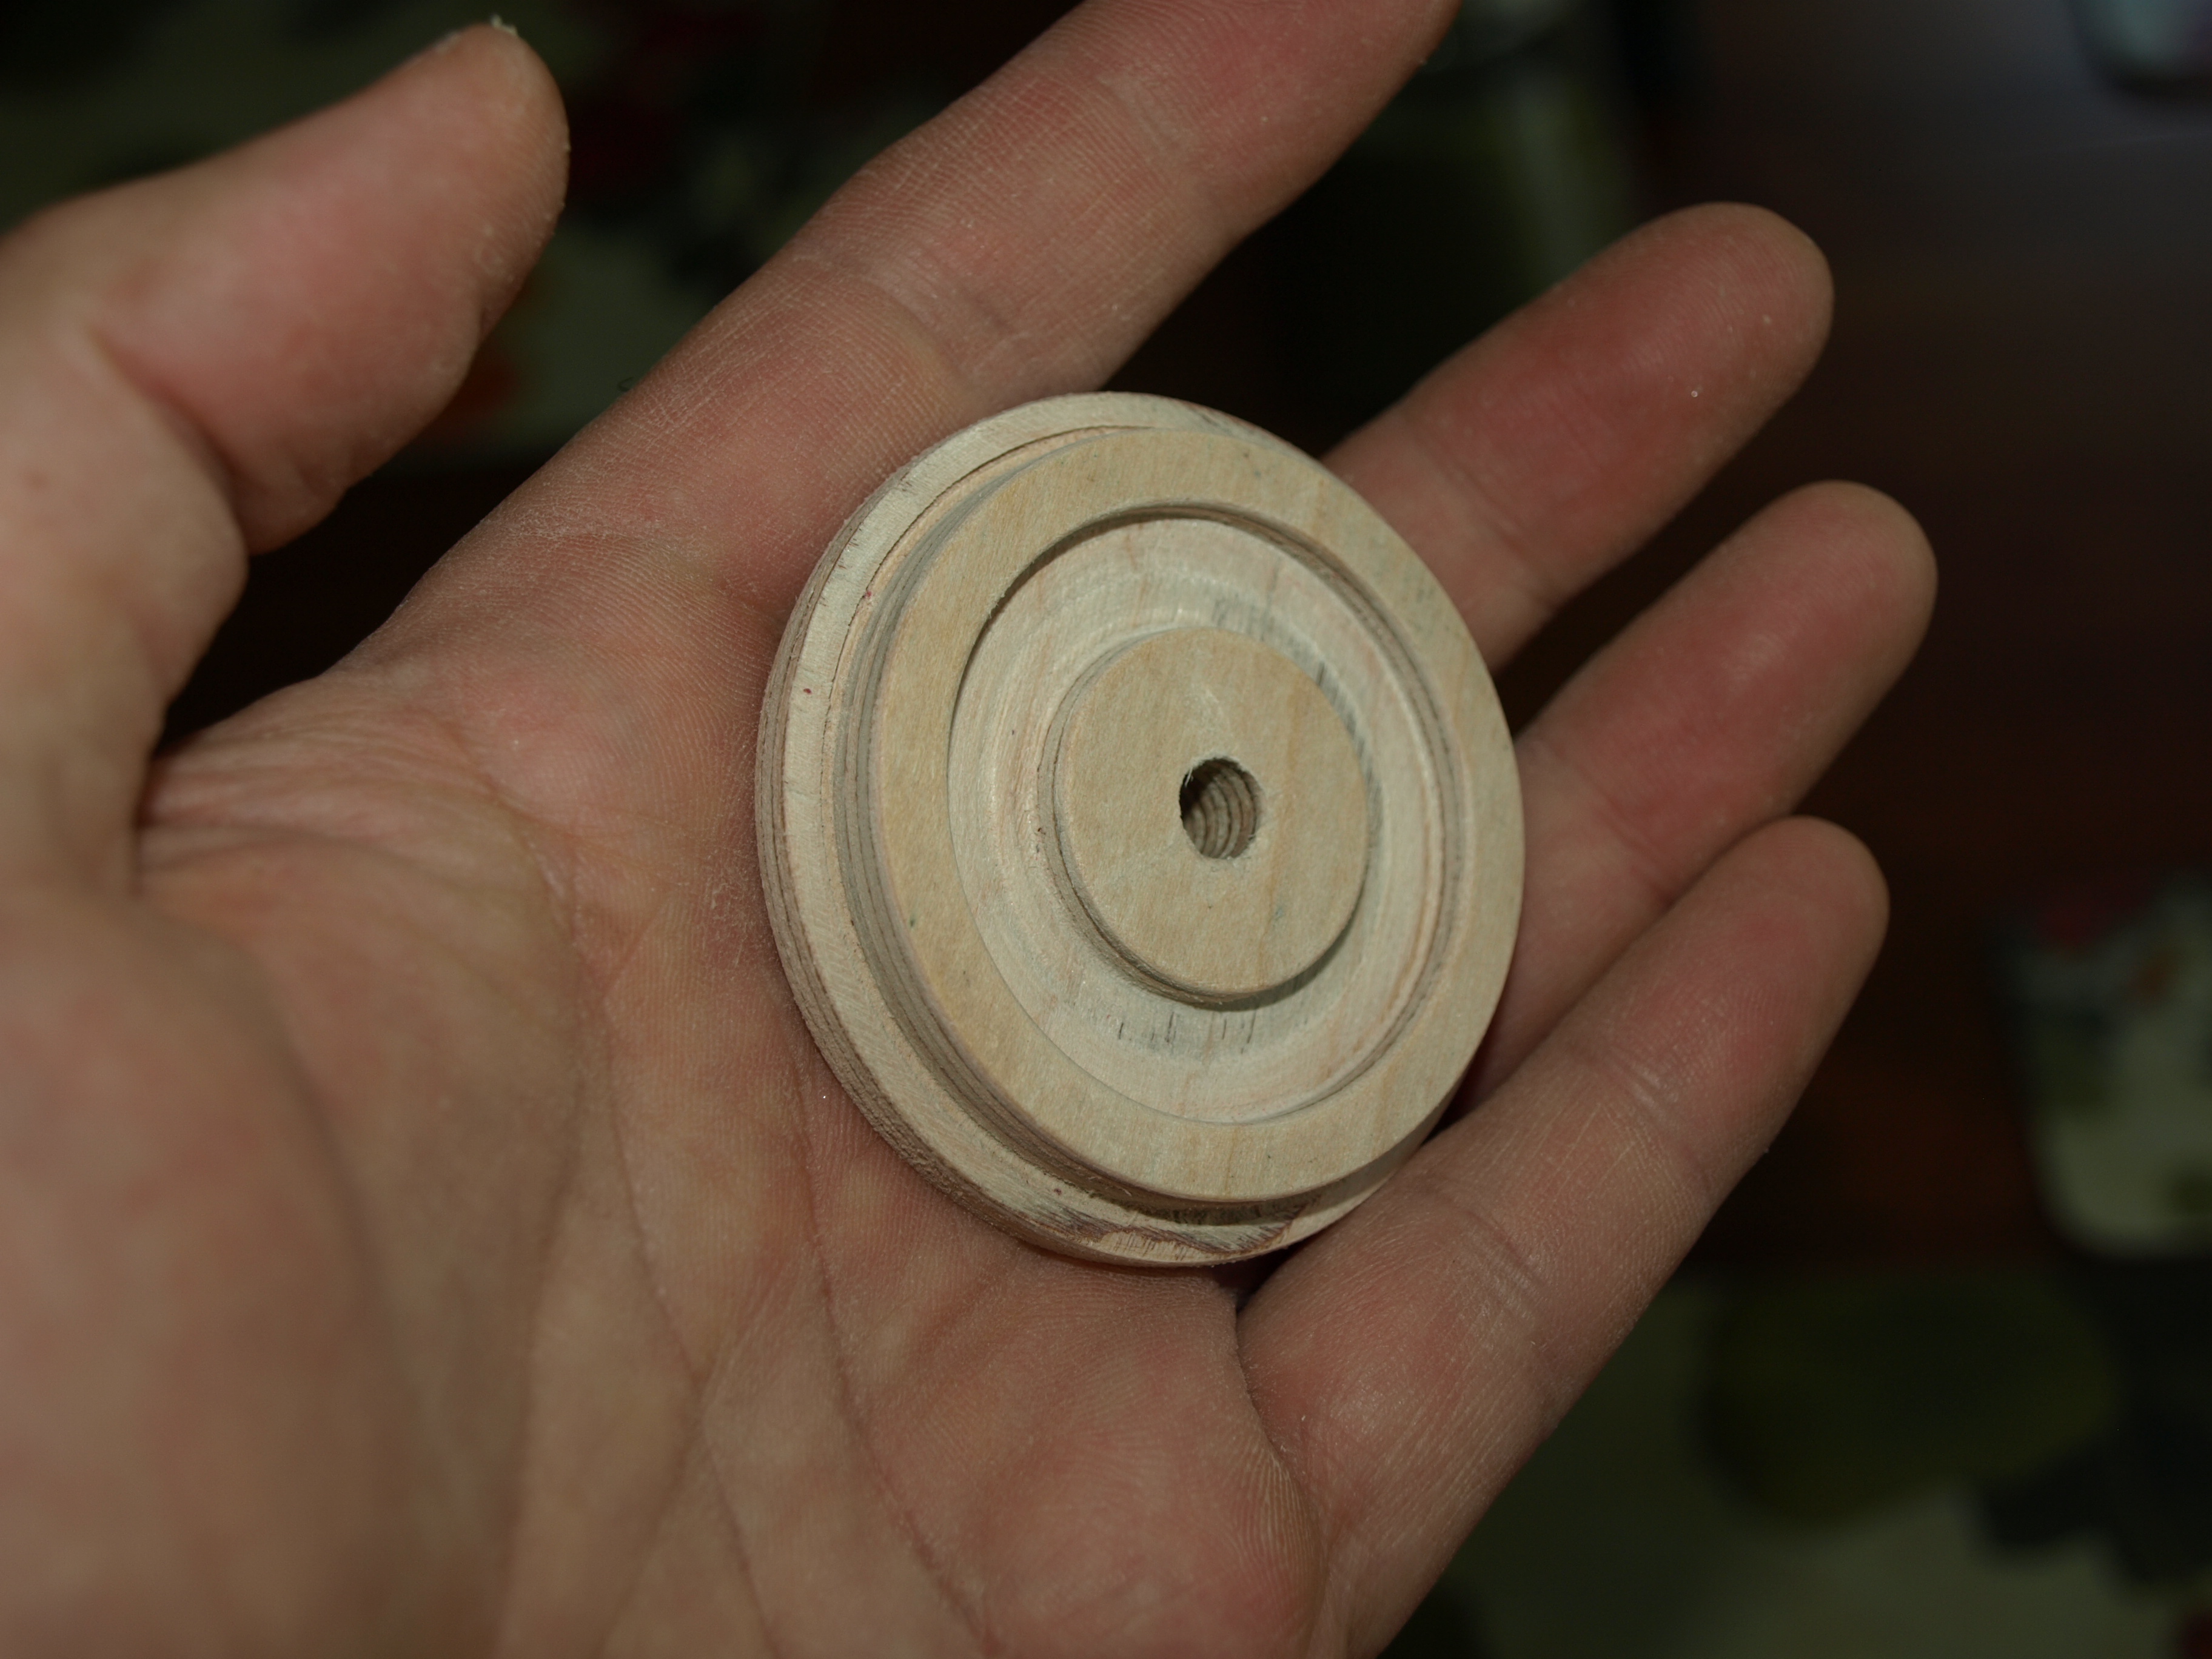
I ended up using a hole saw to make various depth cuts of concentric circles.  I think I ended up with a fairly decent looking flanged wheel.

Image

This was a little bit of trial-and-error and I first started by making a variety of cuts into some 7-ply plywood that I had laying around.  Basically, I inserted some of the smaller cutting rings and bored into the wood to a shallow depth to make a hub around an axle, then I removed those inner rings and replaced them with some outer rings to cut a raised lip around the flange, and then finally took out those cutting rings and replaced it with the outermost cutting ring and cut completely through the plywood, releasing the wheel.

Image

Image

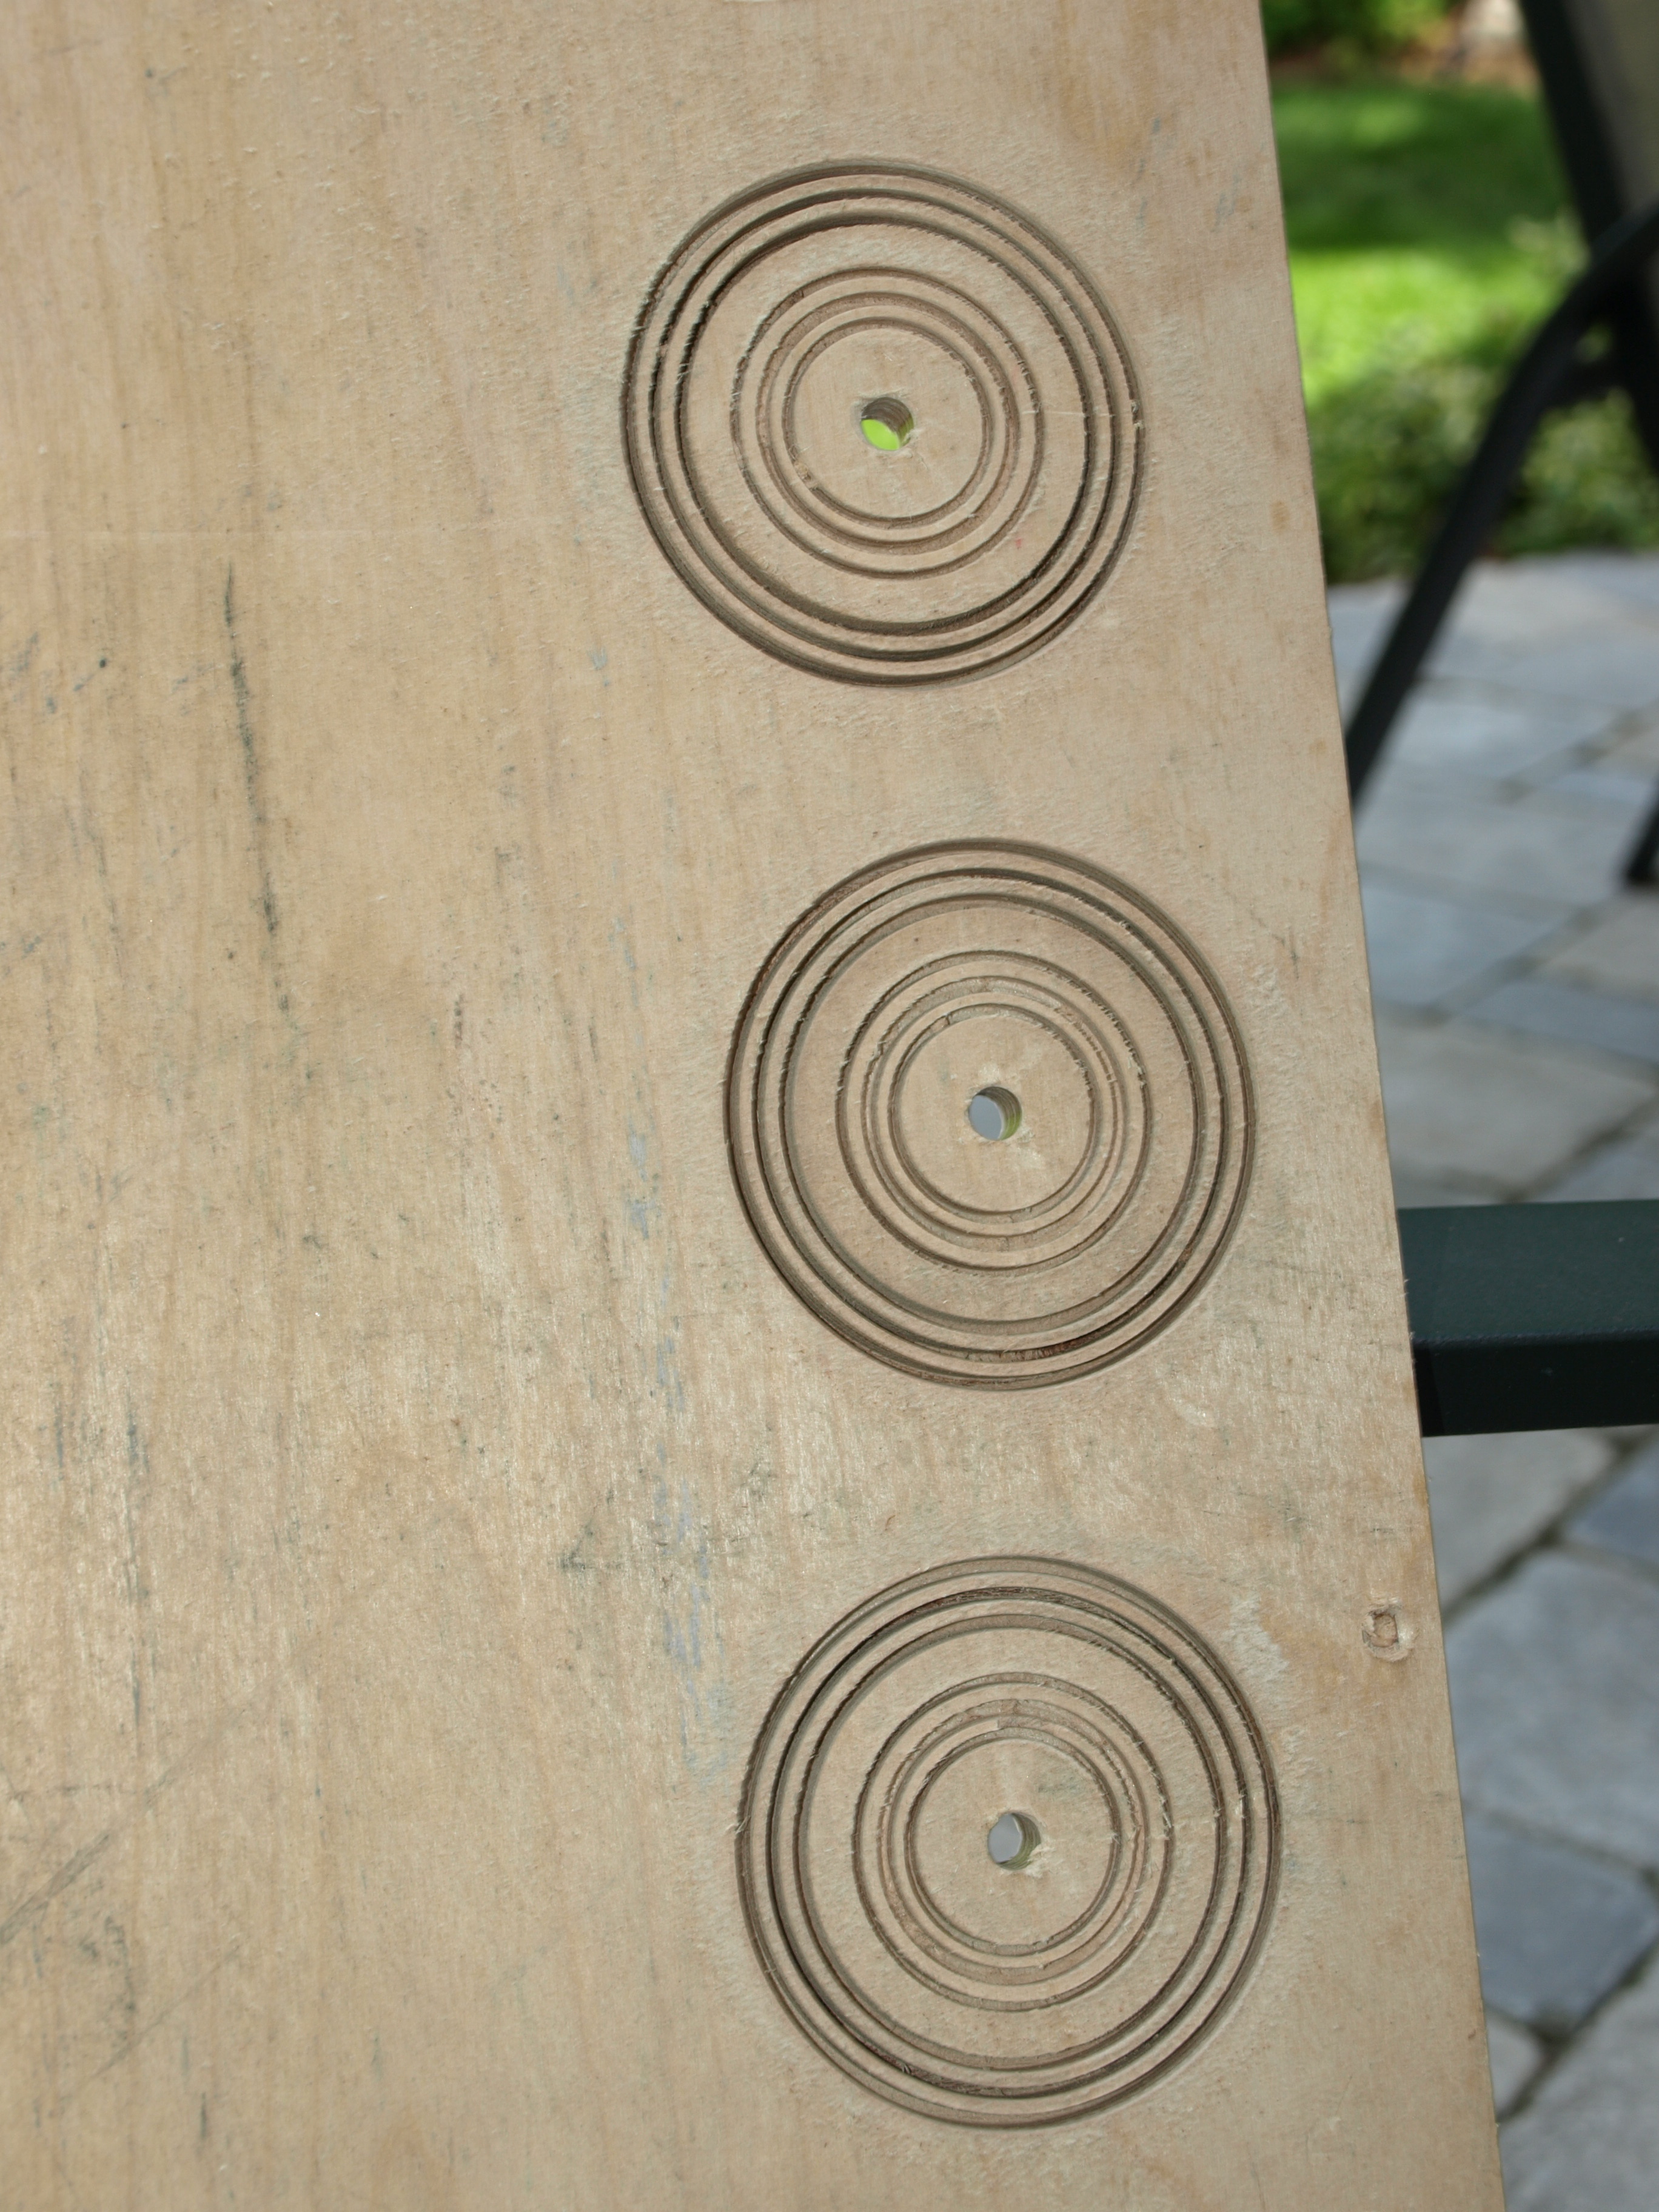
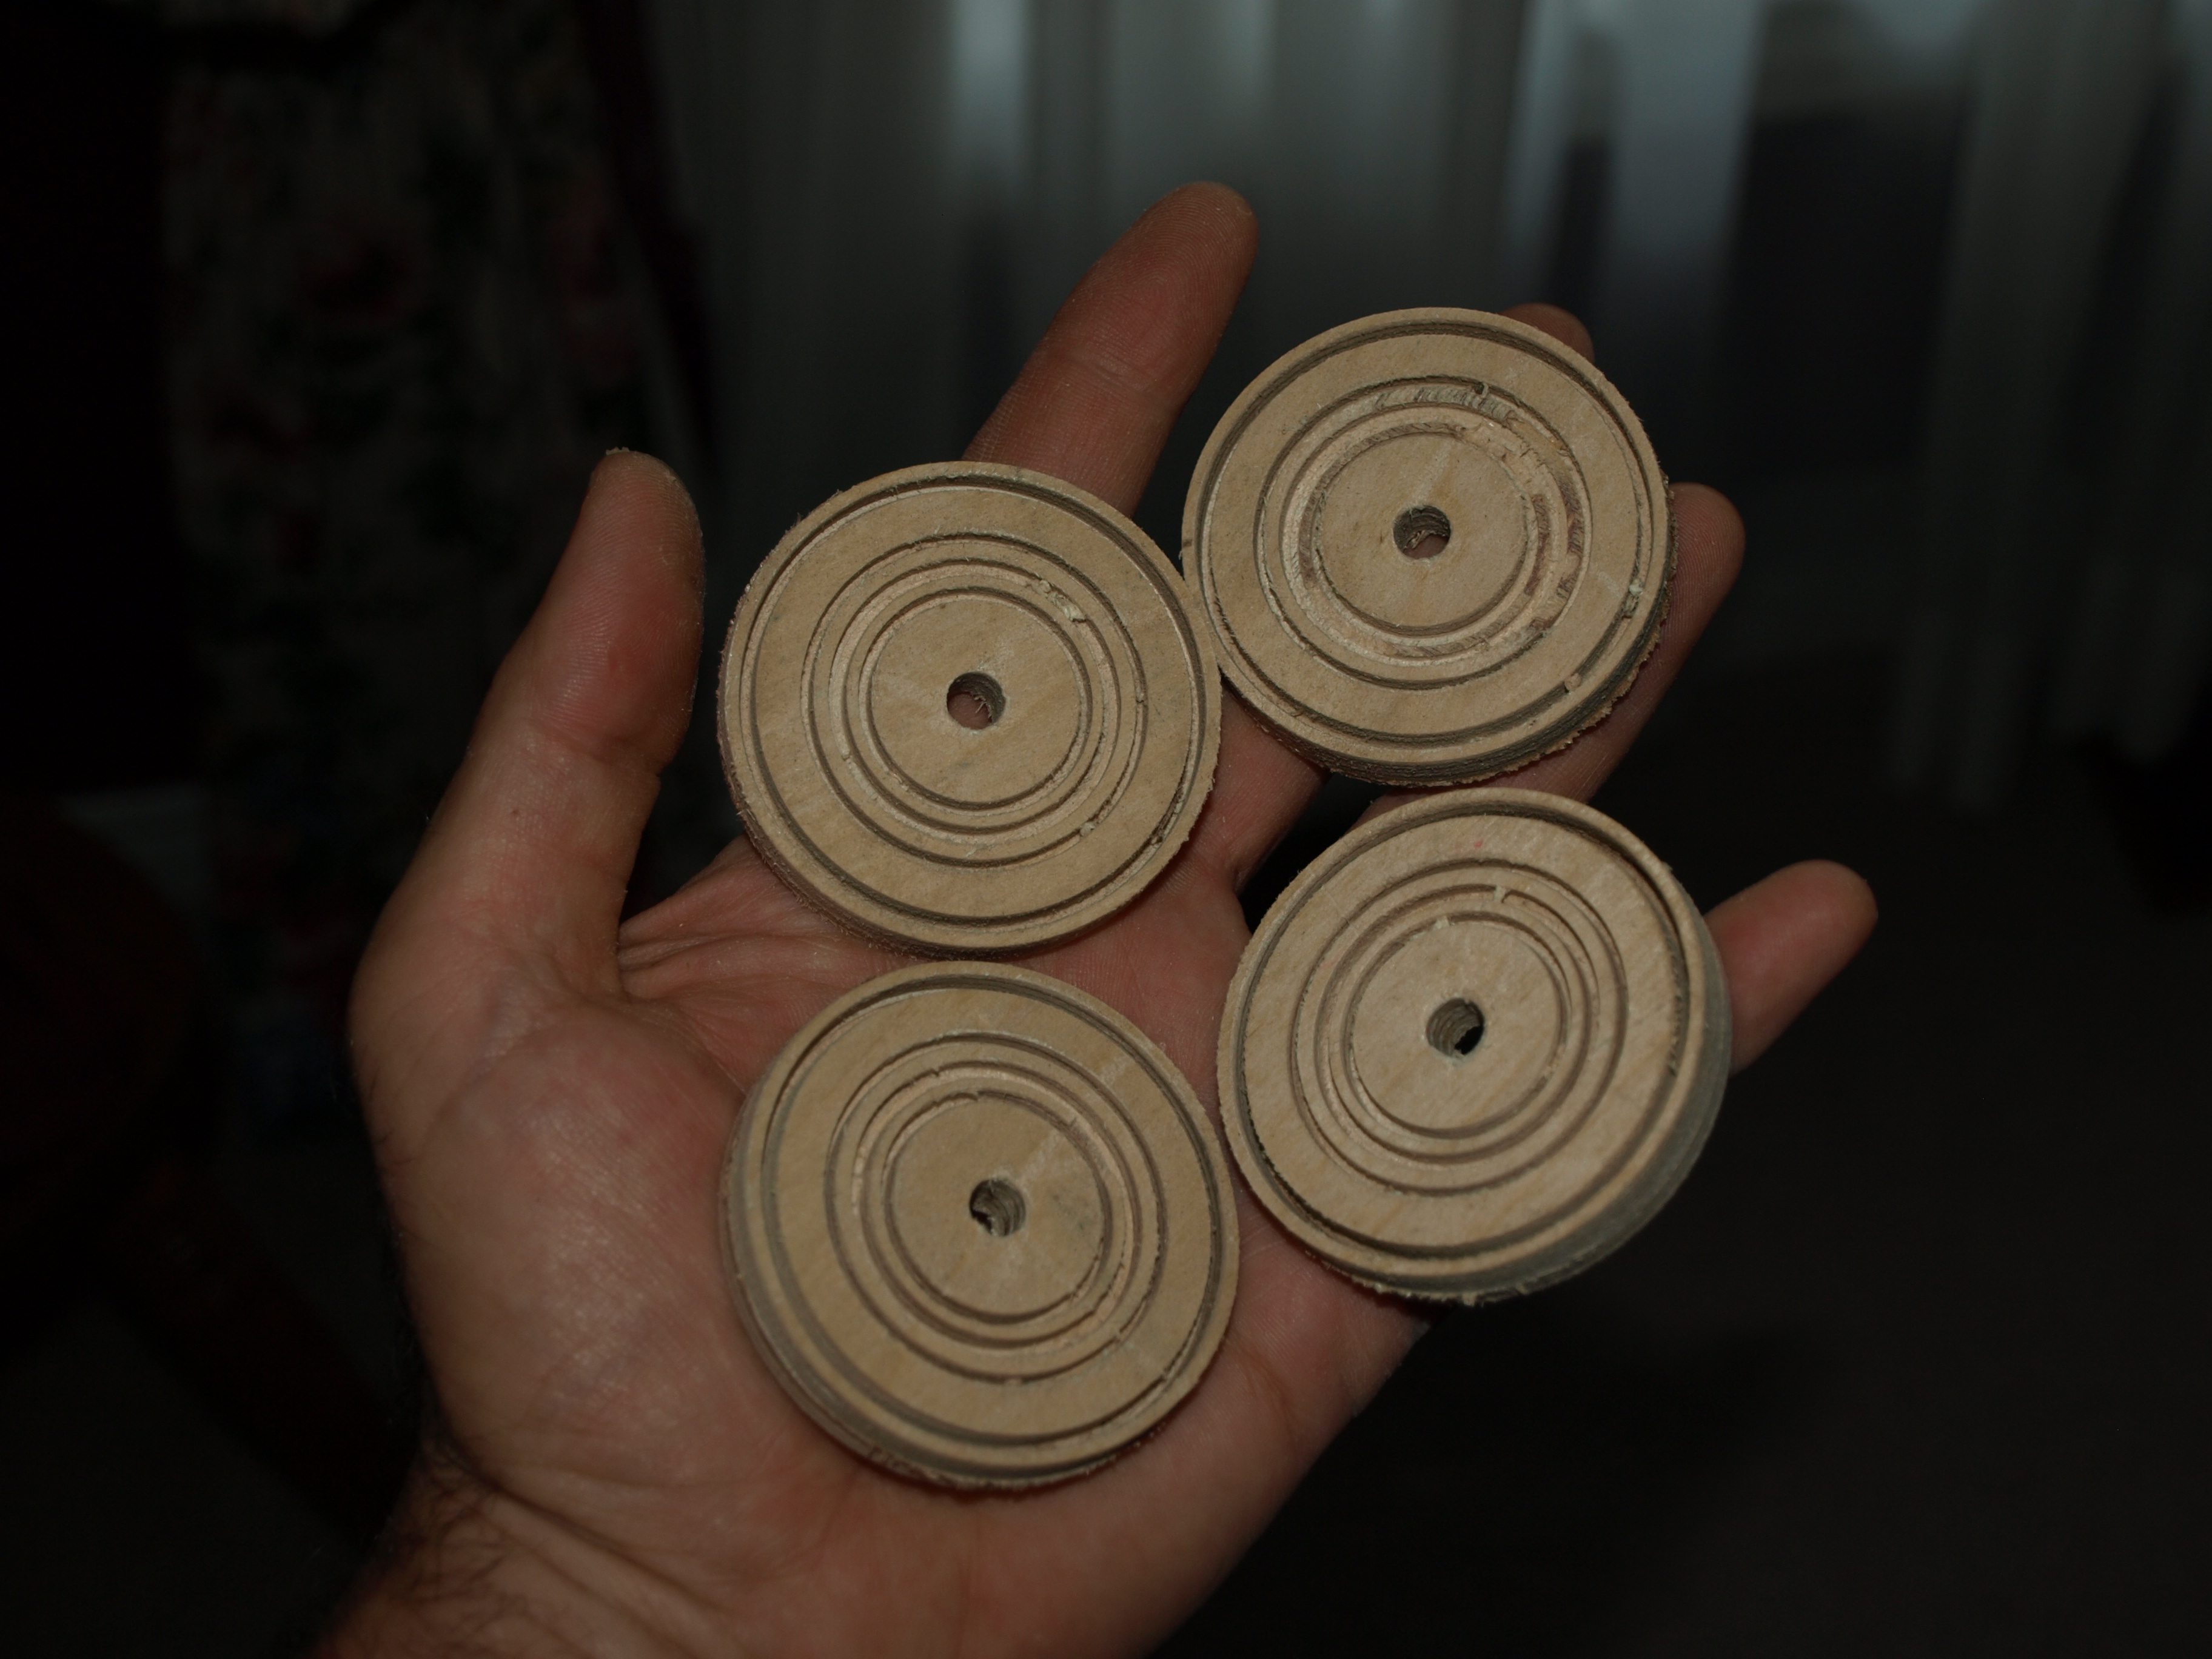
Once I cleaned out the raised rings, it started to look like a flanged wheel but it looked just too thin for me.

OLYMPUS DIGITAL CAMERA

So I took the wheels and glued the flat backs of the wheels to the plywood sheet again and began the boring process again so that I’d end up with a thicker end product.

Image

Image

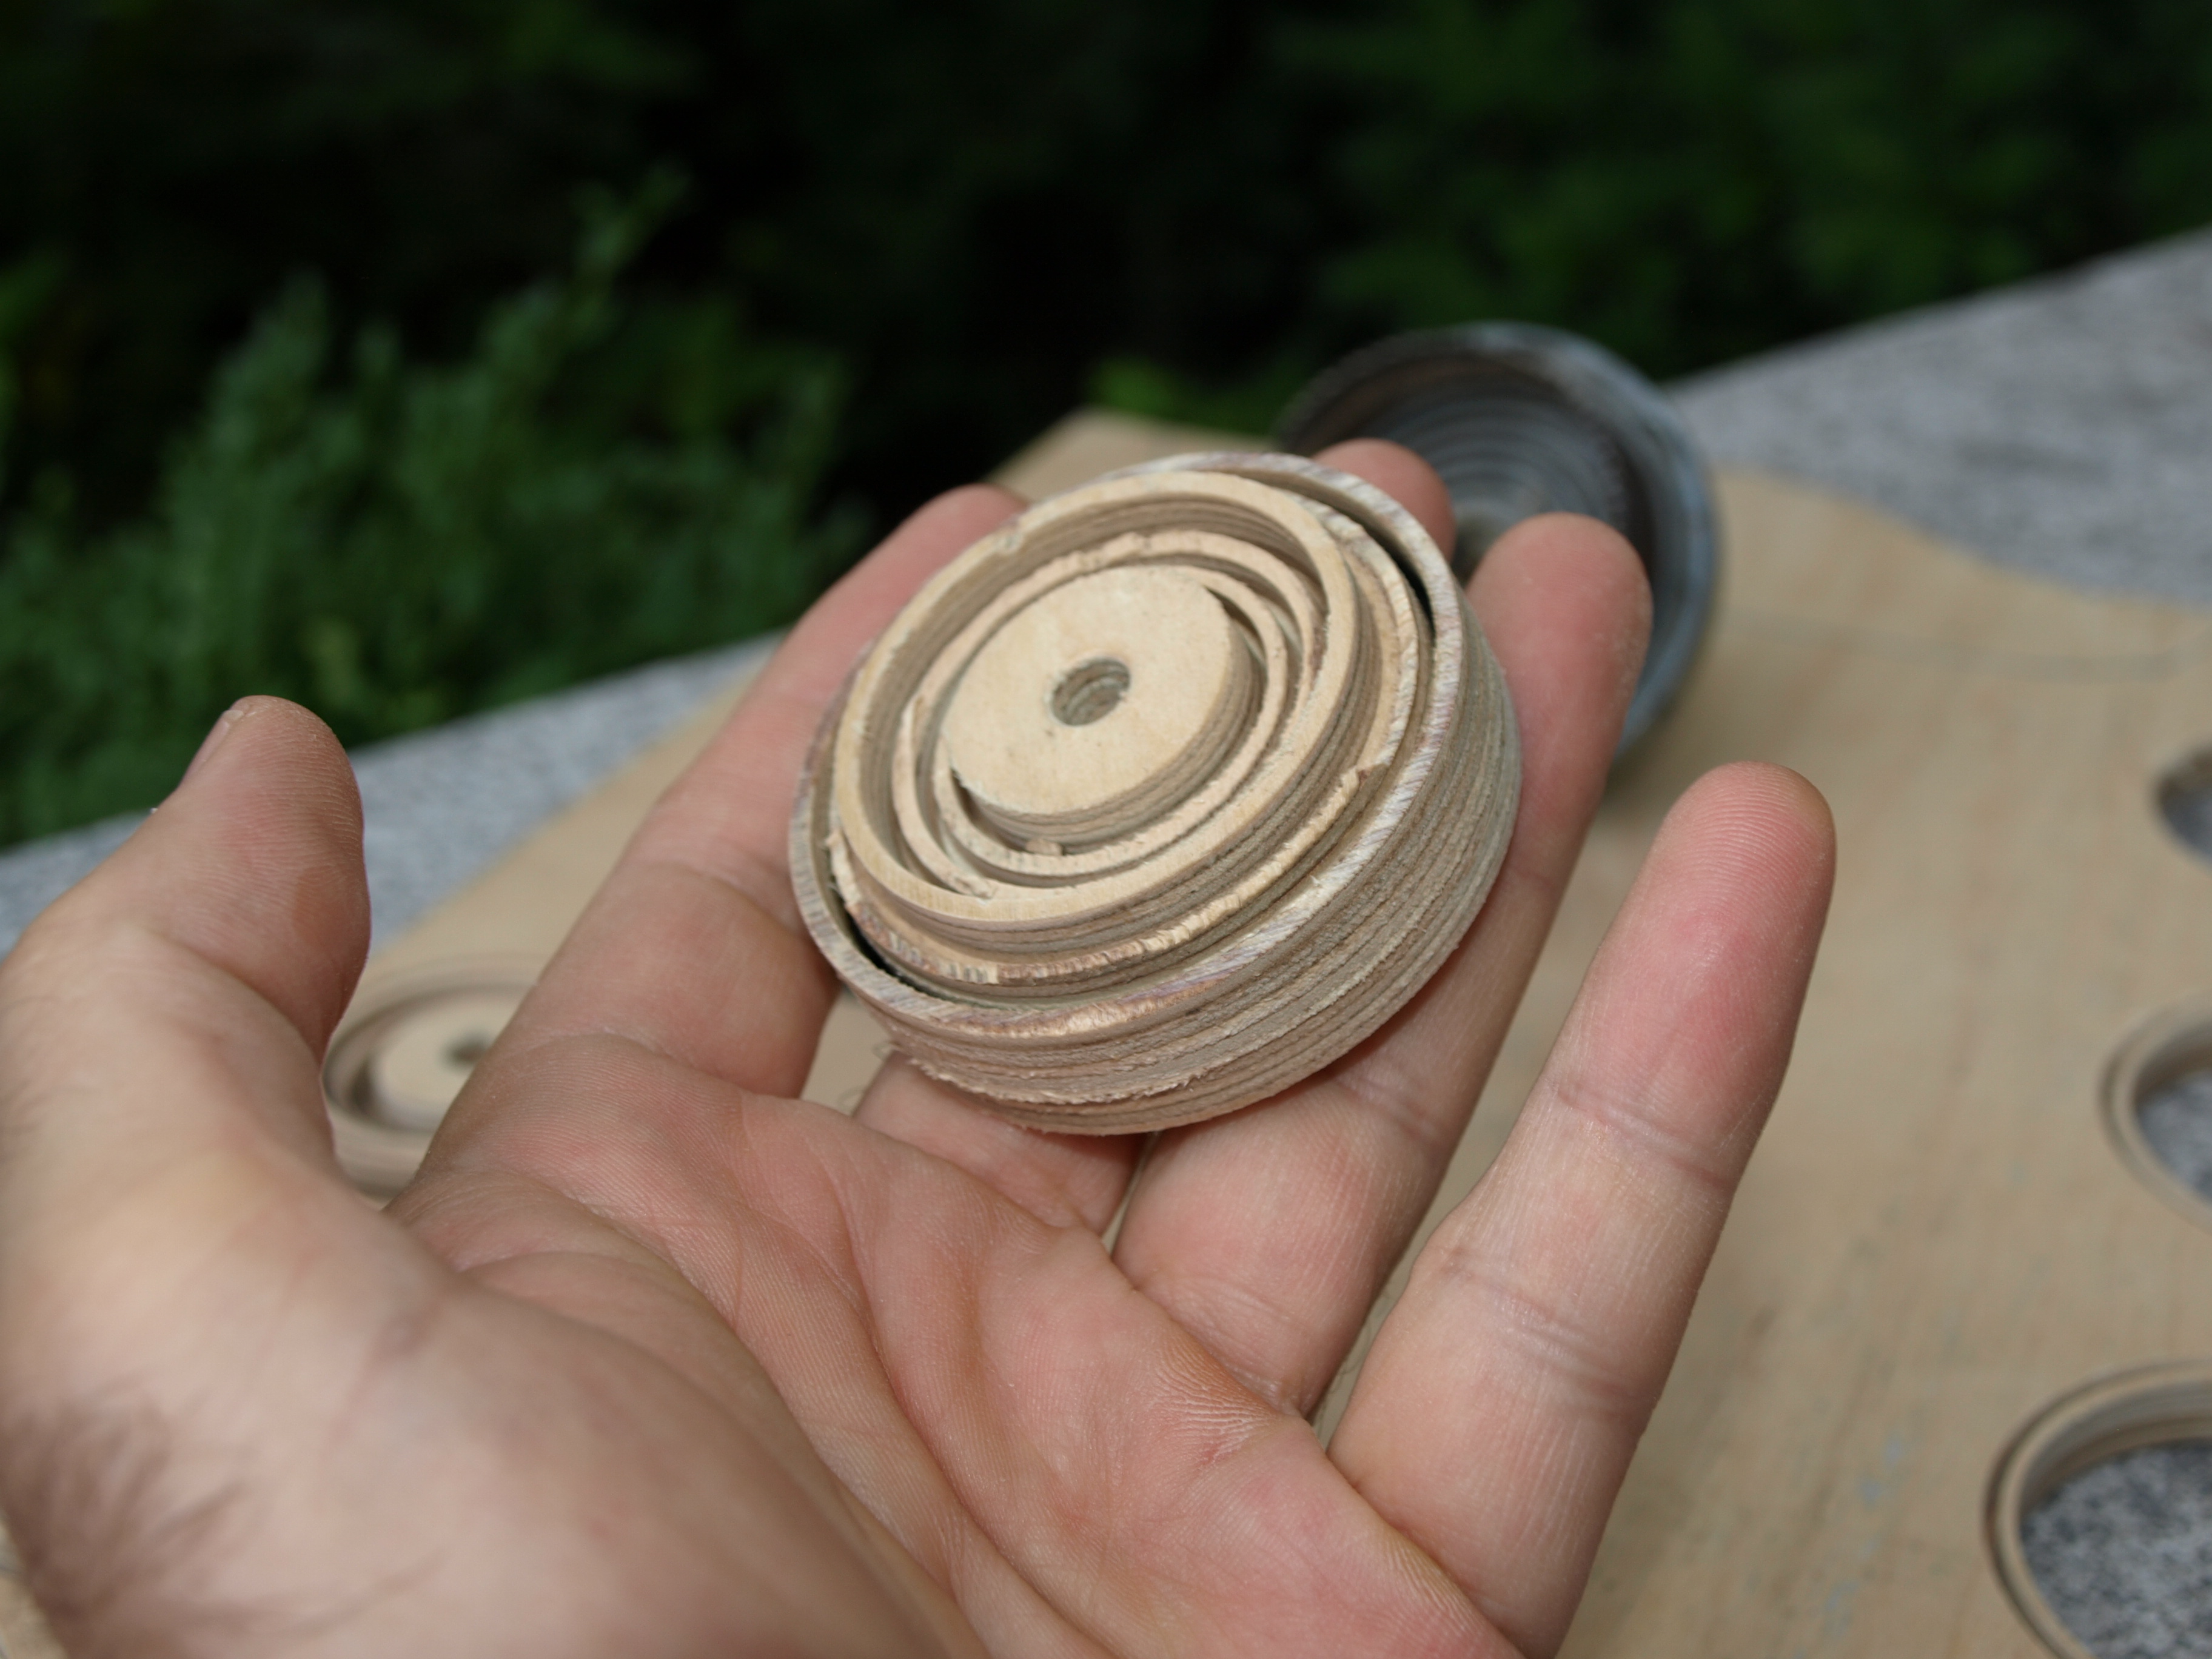
After some cleaning out of the cut ridges, I ended up with the wheel in the first picture.  Hope that this wasn’t too confusing.  If you give it a try, you’ll quickly understand how it comes together.

Clear The Tracks!

Well, not quite yet…we need wheels.  But, once those wheels are on you’ll want to stand clear.

The pump handle is made from oak and is in three pieces to make best use of the strength of the wood grain.  I think his position on the pump car turned out just right.

The second photo is Ned with Rosie…just to give you a sense of Ned’s size.  Ha!  Well, let’s just say that Rosie is small and Ned is smaller.

Image

Image

Ned’s New Ride

I’ve turned my attention to the pump-car this weekend.  So far the platform for the wheels and the tower for the pump mechanism are taking shape.  Lots more to do…but, this is a good start.

Both pieces are carved from a single piece of wood and I’ll glue the tower to the platform once I have both finished and painted.  If you look hard you can see that each plank on the platform is dished from age and has plenty of cracks.

What do you think?

Image

Hold On To Your Hat!

Yes, he better hold on, because the wind’s blowing.

Ned now has a couple of roughed-in arms…one holding his hat on and the other positioned to pump the handle of the pump rail-car that he’ll be piloting.  I think he’s coming along nicely.

I’ll include a photo on this blog of the pattern that I drew up for the arms to go along with the patterns that I posted earlier for his body and hat/head.

If you’ve been following some of my posts, you might recall that I had Peggy pose for the arm position of “Chief Dan Turtle-Rock.”  Well, because I never posted those photos, she agreed to also pose in a suit jacket of mine for Ned’s arm position.  I still don’t have the courage to post these photos.

Hope you enjoy Ned’s new look.

Image

Roughing Out Ned’s Body

My neighbour, Ian, and I bandsawed out Ned’s body yesterday.  I just about immediately began carving in the back yard. Remember, that I’ve left a lot of wood for his jacket so that I can show it blowing in the wind as he pumps along on his railroad pump-car.

I won’t go too far with the detailing before I begin roughing out the arm and hand locations.  Remember, that his left arm is going to be up and holding his hat down from blowing off in the wind…and, his right arm will be up in position to pump the rail car.

I also came across a very good caricature of a basset hound and modified it a bit.  Once the little dog is bandsawed out, I’ll post that along with the drawing template that I created.

OLYMPUS DIGITAL CAMERA

Image

Image

Castle Cottonwood is Finished!

The castle is now finished!  My Dad would have got a kick out of this carving.  About 25 years ago I gave my Dad a carving for Father’s Day and here we are on Father’s Day again and I’ve finished a carving for my daughter.  I miss my Dad a lot and wish he was here to enjoy this hobby with me.

You’ll notice a few additions from the last  post on this carving.  An additional tree has sprouted to hold up the castle turret.  I’ve carved out some windows, a little waterfall that is filling the moat and added some interesting items like the roots on the one tree wrapping around some rocks.  Just above the moat is a network of caves…perhaps, secret entrances to the castle!

This carving will hang in my daughter’s new house by the end of this week.

Image

Image

Image

Castle Cottonwood

Had a nice piece of Cottonwood bark delivered to me the other day.  Once again, like the Cottonwood Mill that I carved earlier, the bark was generally white and light grey.  This time, instead of being rounded in shape, it was much more angular and I had to take a few days to look at it to decide what it was going to be.

Image

I’ve been wanting to carve up another bark carving for my Mom and my Daughter ( Peggy kept the Cottonwood Mill and it’s already hanging on our wall ).  As I looked at the wood, it felt like a castle of some sort was in there, and as my daughter is a big fan of “Game of Thrones”, the decision was made.

Here’s the progress that I’ve made so far.

Image

Image

Those trees on either side are “holding up” some part of the castle structure.  They were particularly fun to do.  I’ll be carving some caves at the bottom of the carving.  The waterfall that I’ve left will feed a little moat.

I have a few more photos on the Flickr Photos in my Links off to the right of this page.

It all starts with a block of wood…

It does all start with a block of wood.  In this case, basswood.  I’ve sketched out my hobo’s body from the front and side, being careful that the dimensions line up…what I mean is that the side view of the knee lines up with the front view of the knee, etc.

I’ve cut these rough-outs by hand, but it’s much easier if you have a small bandsaw.  And, it’s even easier when you have a good neighbour who owns a big bandsaw.  So, Ian, is going to cut this out for me this week.

You probably can see from the cut-out that the little hobo will be bent over considerably and have his legs apart as he’s pumping away at that rail car.  The tail of his suit jacket will be sailing in the wind a bit, if you can tell from the side view of the cut-out.

This will make a nice summer project to take my time on.

Image

Ned’s Head…cont’d

Here’s the painted version of Ned.  I like the way that he turned out, especially that two day growth of beard.  I can almost picture him on that railroad pump car already.

To date I’ve used a piece of wire for any cigarette that I’ve added to a caricature.  In this one, I just carved it quickly out of a piece of basswood.  The “stogey” is short enough that it has some strength and I can’t imagine it breaking easily.

As usual, the hat is separate from the head.  I simply carve the head and then saw off a top portion on an angle.  The carved hat sits on this flat portion with a bit of fitting.  It will be epoxied in place for the final version.

I’m not sure if I went too far with the 5 o’clock shadow.  I wanted him to look like he’s been out-and-about for some time.  The shadow is a wash of Payne’s Grey over the skin colour.  That is a great hint that I picked up from Lynn Doughty’s site.

One of the things that I’m trying to do a better job on is the eye placement.  When I look back at my carving of Zeke, although I like the way that he turned out, I see now that the eyes are not set far enough back into the head.  A very good carving judge, Neil Cox, gave me that feedback and advice at the last Pickering Carving Show and I found it very valuable.

Image

Image

Ned’s Head

Yup, my little hobo has been named Ned.  You’ll see that I’ve detailed a bit more since the last post.  In particular, you might notice that I went with a different hat brim.  I felt that the hat brim that was upturned by the wind at the back of the head ended up looking too “starched” for a good hobo hat.  So, I carved up a new brim that is lower at the back and sides but still, I think, gives the impression that a good stiff wind is acting on it.  Remember, my idea is to put him on a rail line rocketing along on a pump car.

Gardening is competing a bit with carving, so we might not advance on Ned too quickly.

Image

Image

Post Navigation