tributesinwood

Wood Carvings by Mark Sheridan

Archive for the tag “soldier”

Hamilton Woodcarving Show 2014

The Canadian Carving Show was held again this year in Hamilton, Ontario at the War Heritage Museum adjacent to the International Airport.  Again, my daughter, Emily, and I were able to get together for a day to take in the show and also enjoy a visit to our favourite Indian restaurant and a bit of a shopping spree at IKEA.  A lot of fun.

Image

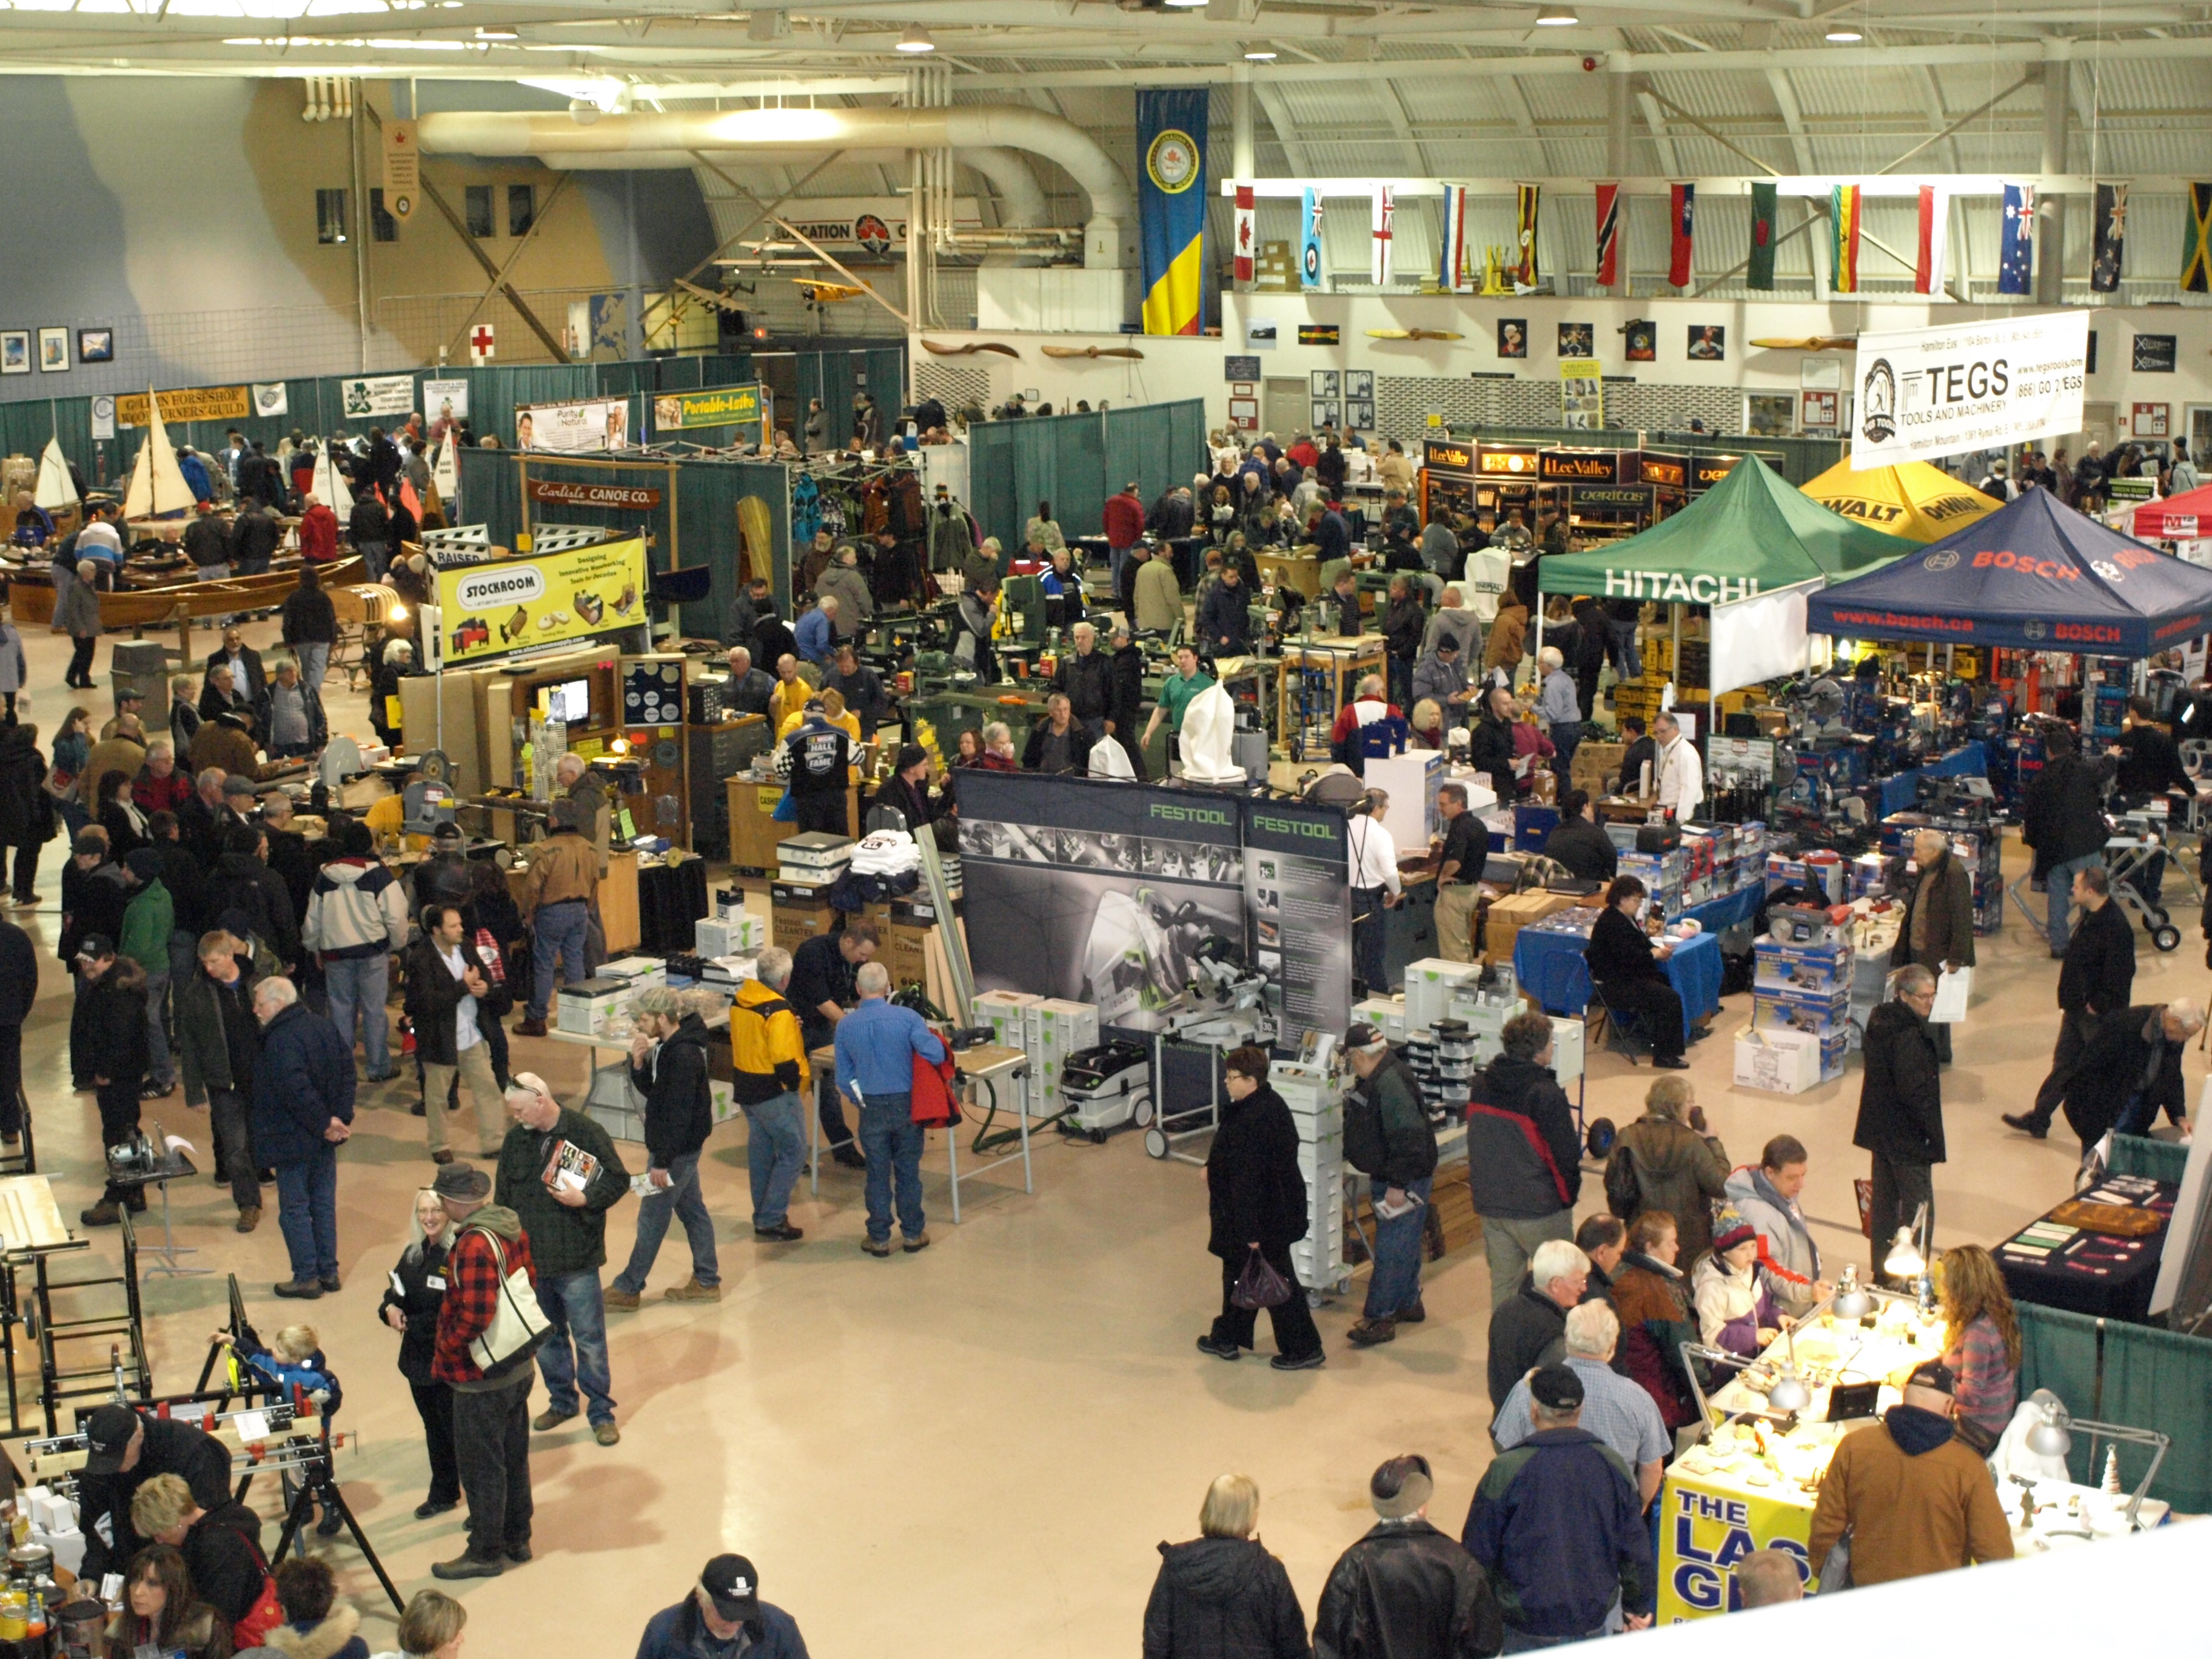
We attended together on Saturday, and I returned on Sunday to take in more of the show.  The event was very well attended in  spite of some extreme snow and ice conditions that hampered travel that weekend.  Being a combination of wood-working and wood-carving, the show attracted in a lot of suppliers and craftspeople with common interests.  There were some very good deals to be had on supplies and equipment as well as some excellent demonstrations to take in.

Image

Image

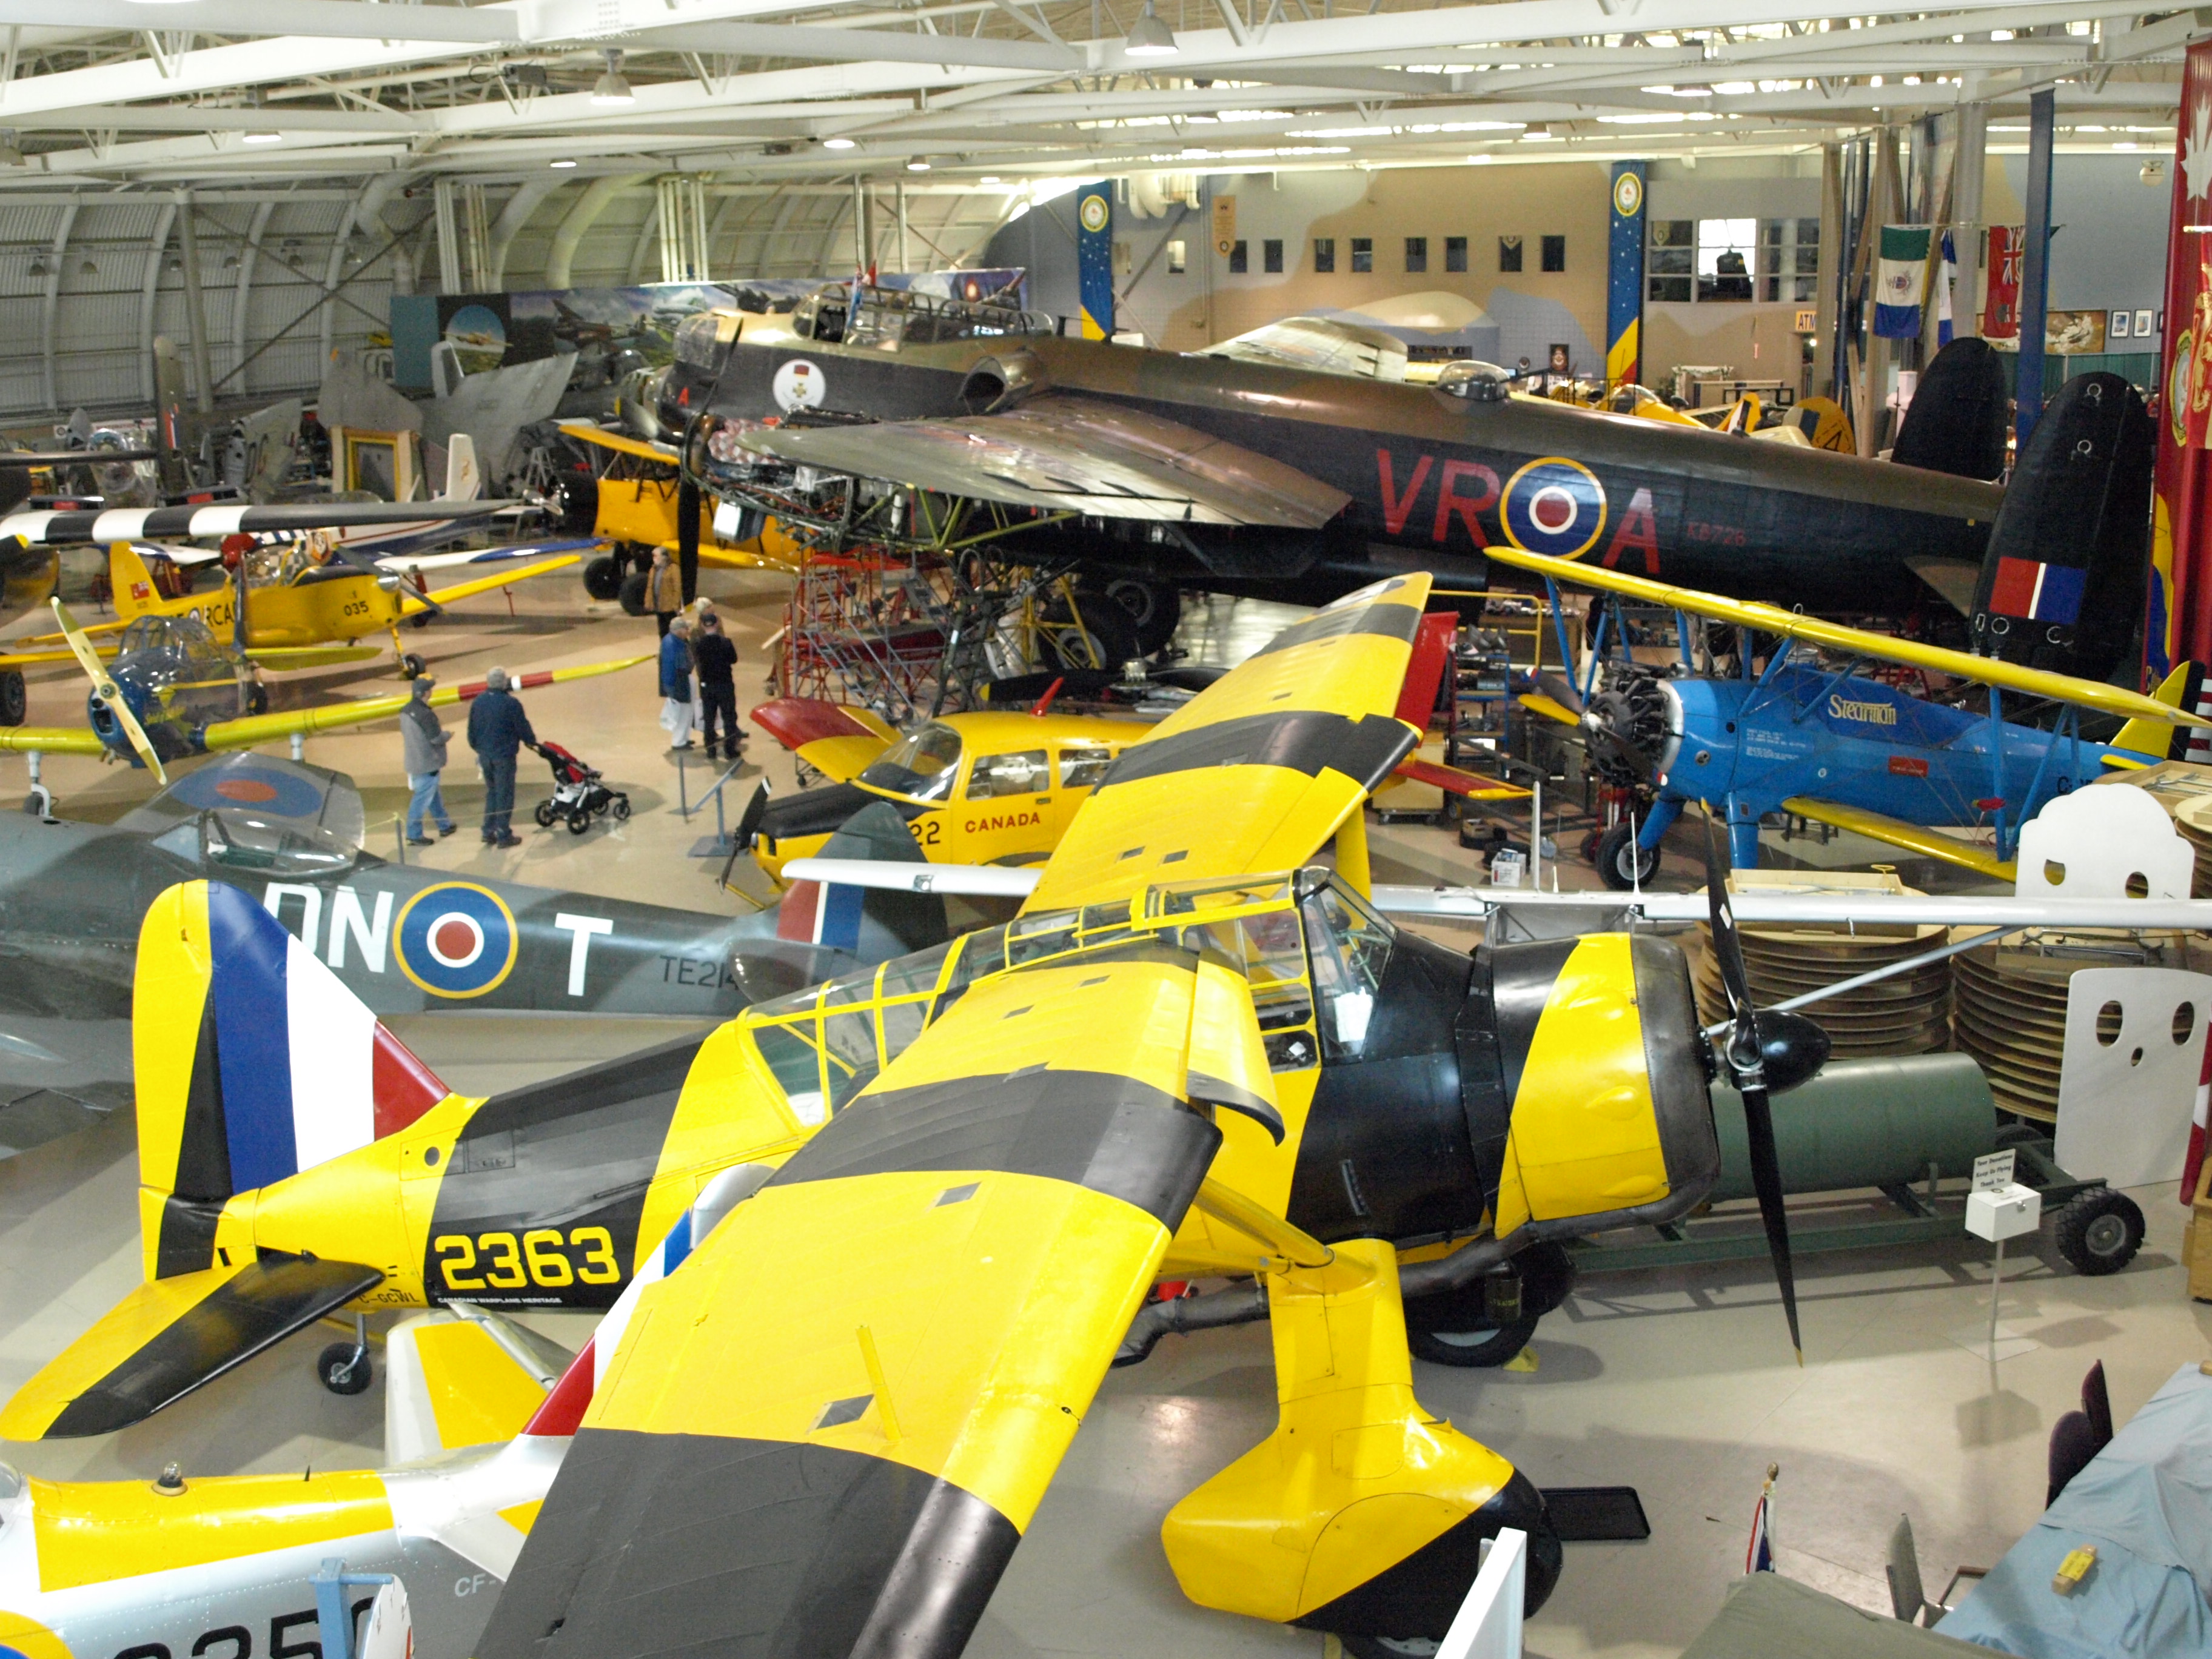
The museum was also available to all wood show participants, and Emily and I made good use of that.  95% of the aircraft, of which only a few are shown in the photo below, are airworthy.  I believe that the Lancaster, shown here, is one of only two airworthy Lancasters left in the world.  I know that I’ve seen this Lanc fly overhead several times when I’ve visited my hometown of Niagara Falls.

Image

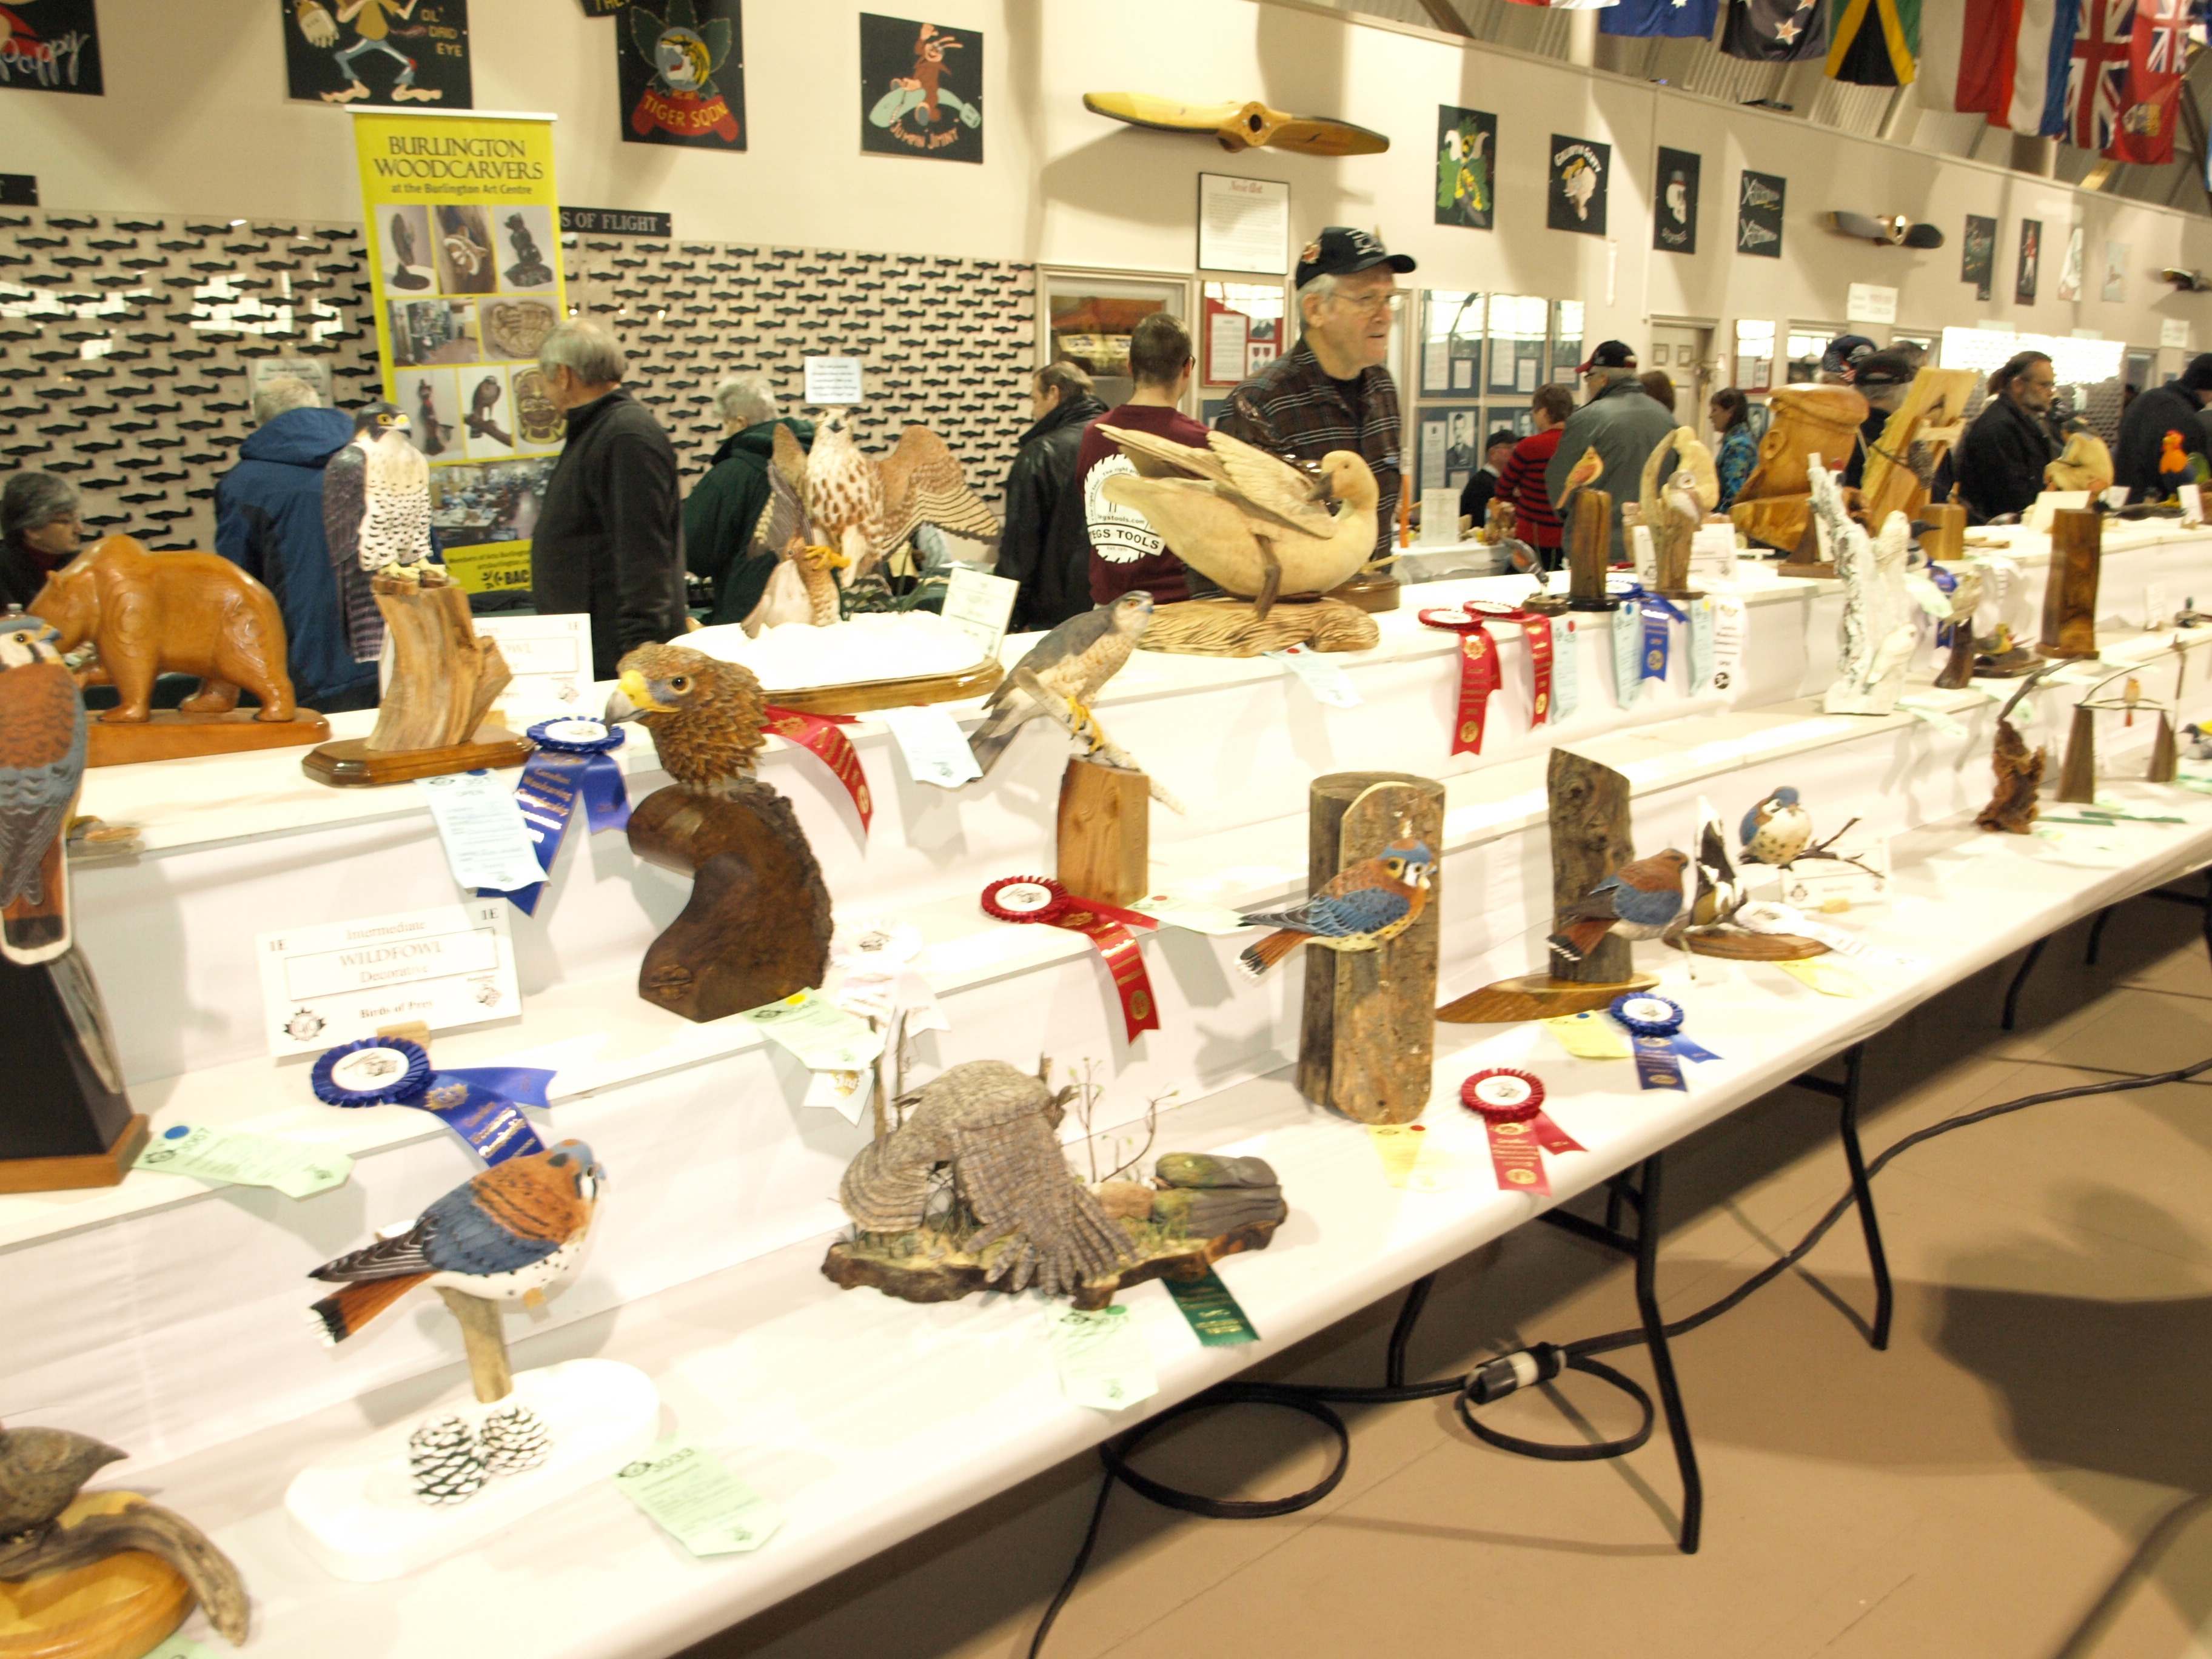
I’m not exactly sure how many carvers brought carvings to the show…but, there were a lot of beautifully crafted items in all categories.  I wish that I had recorded the individual’s name, but, one craftsman brought a cello that he had made.

Image

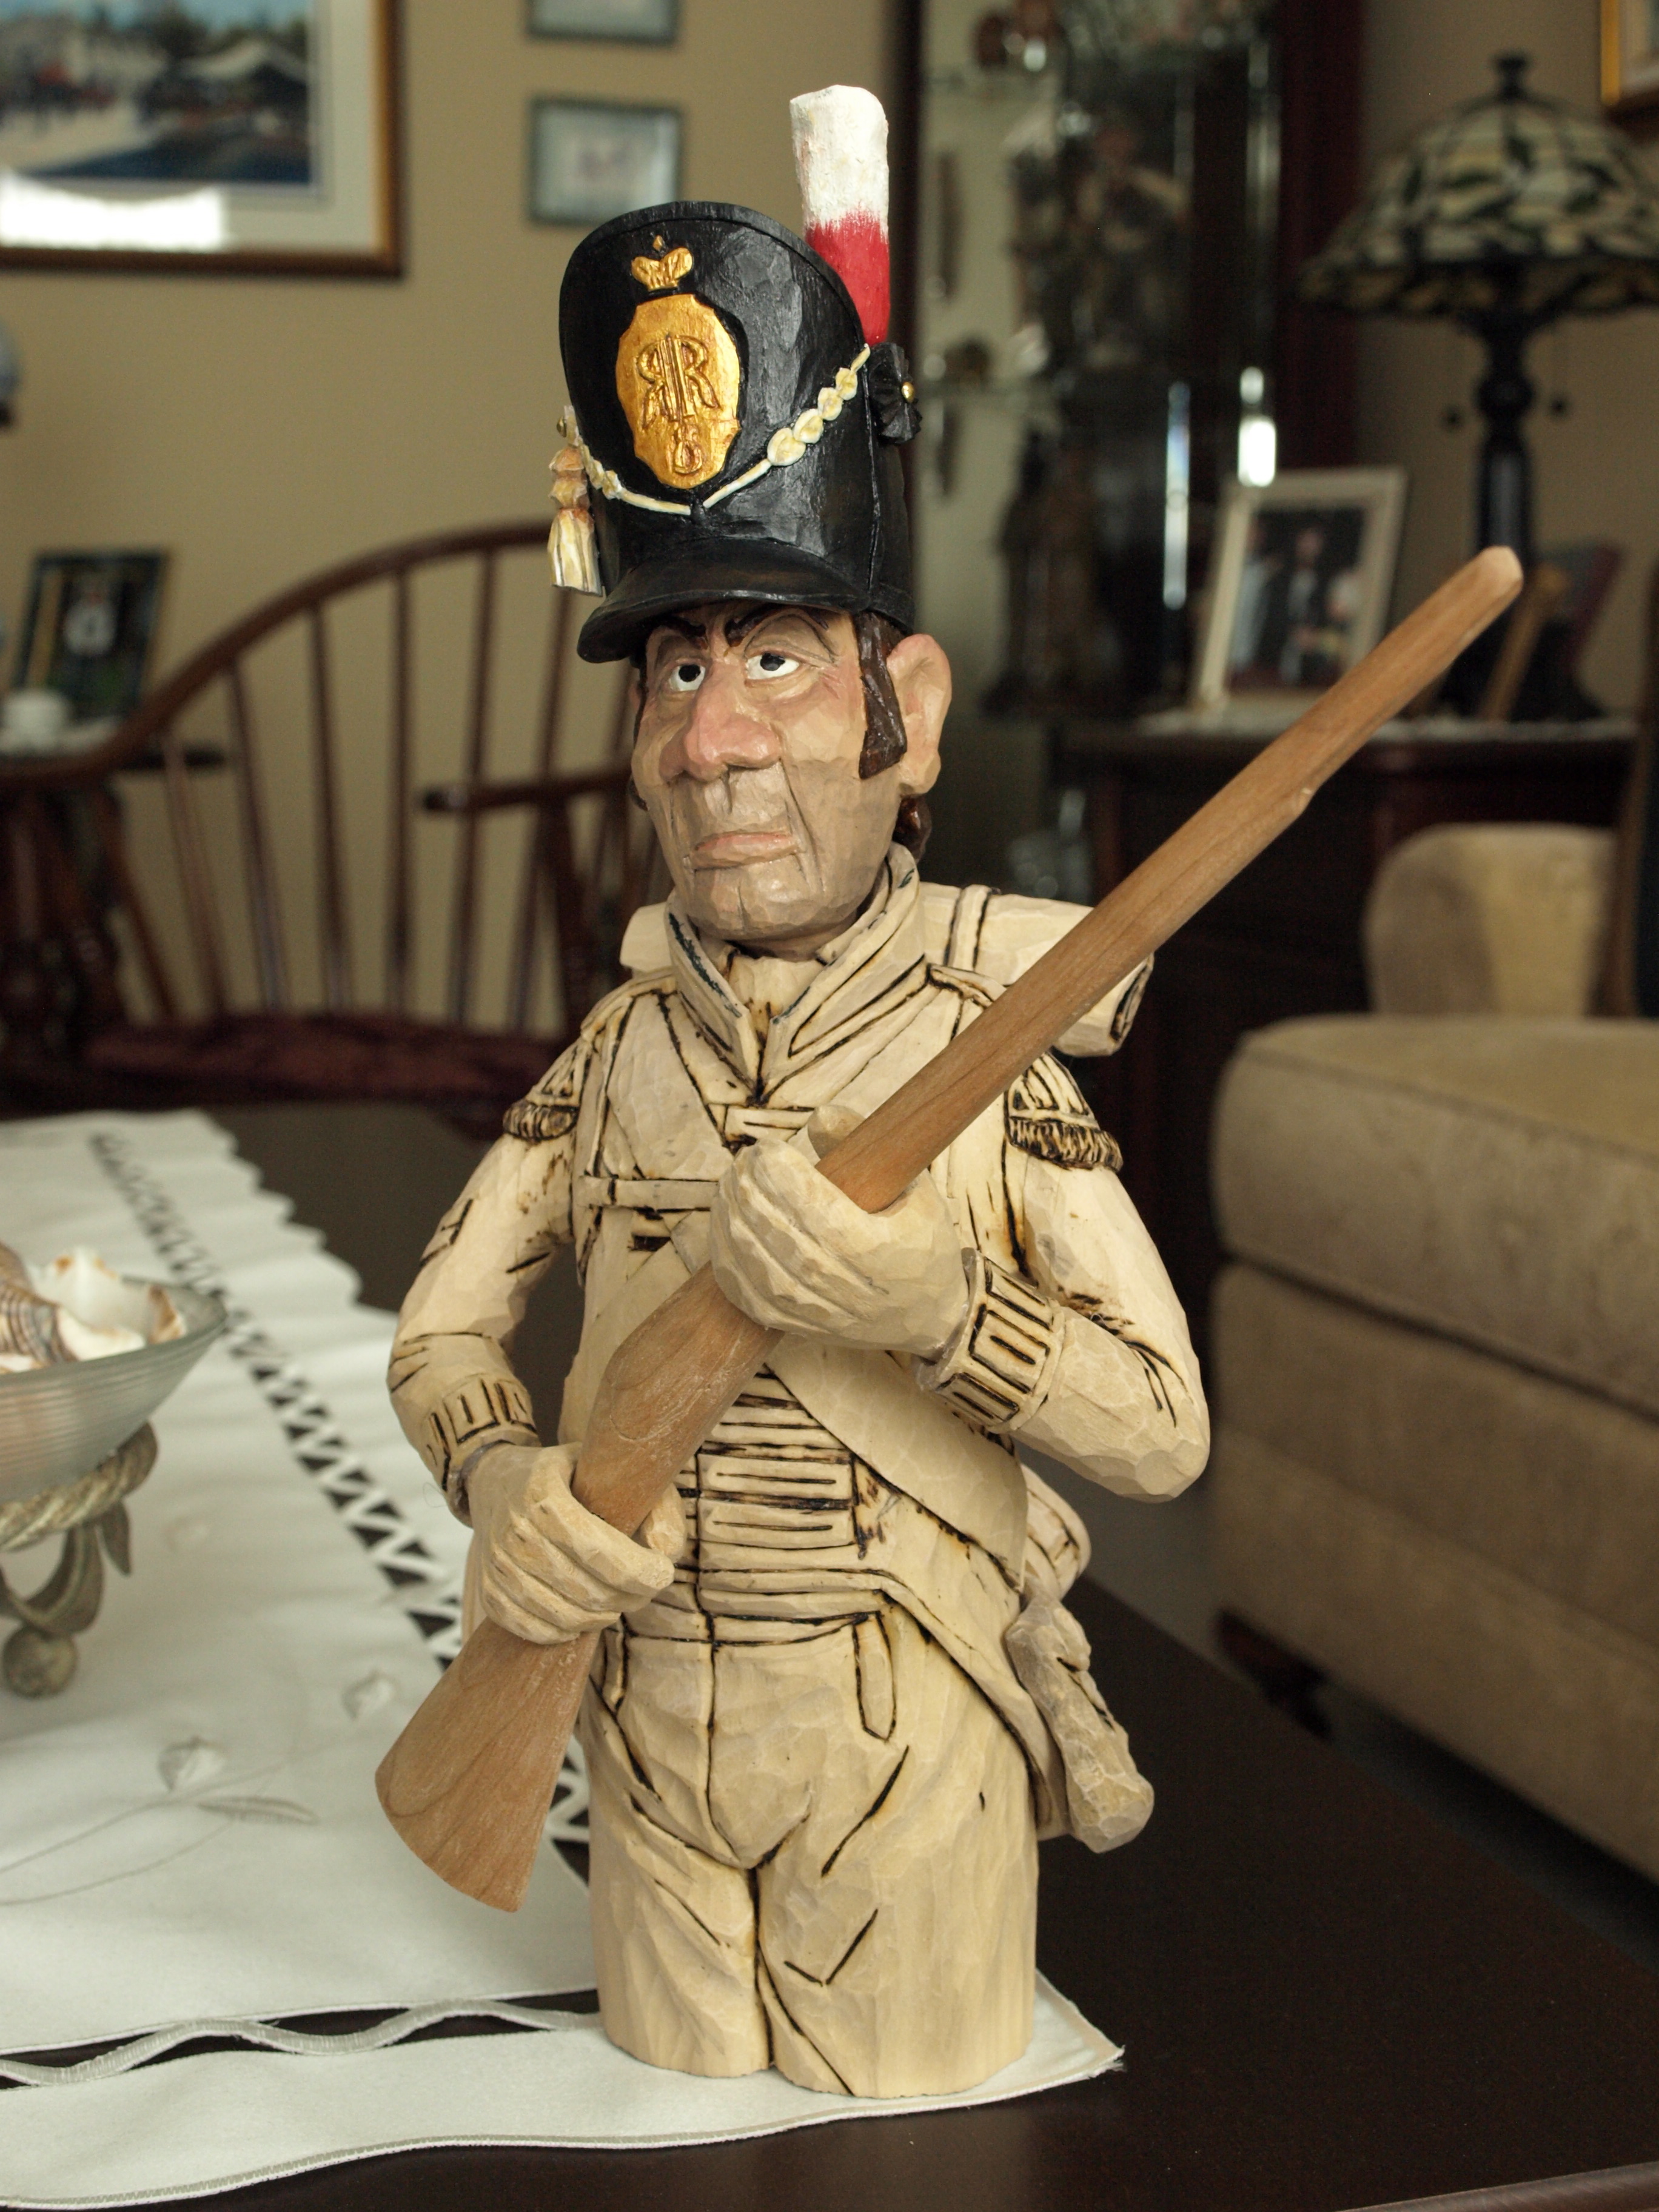
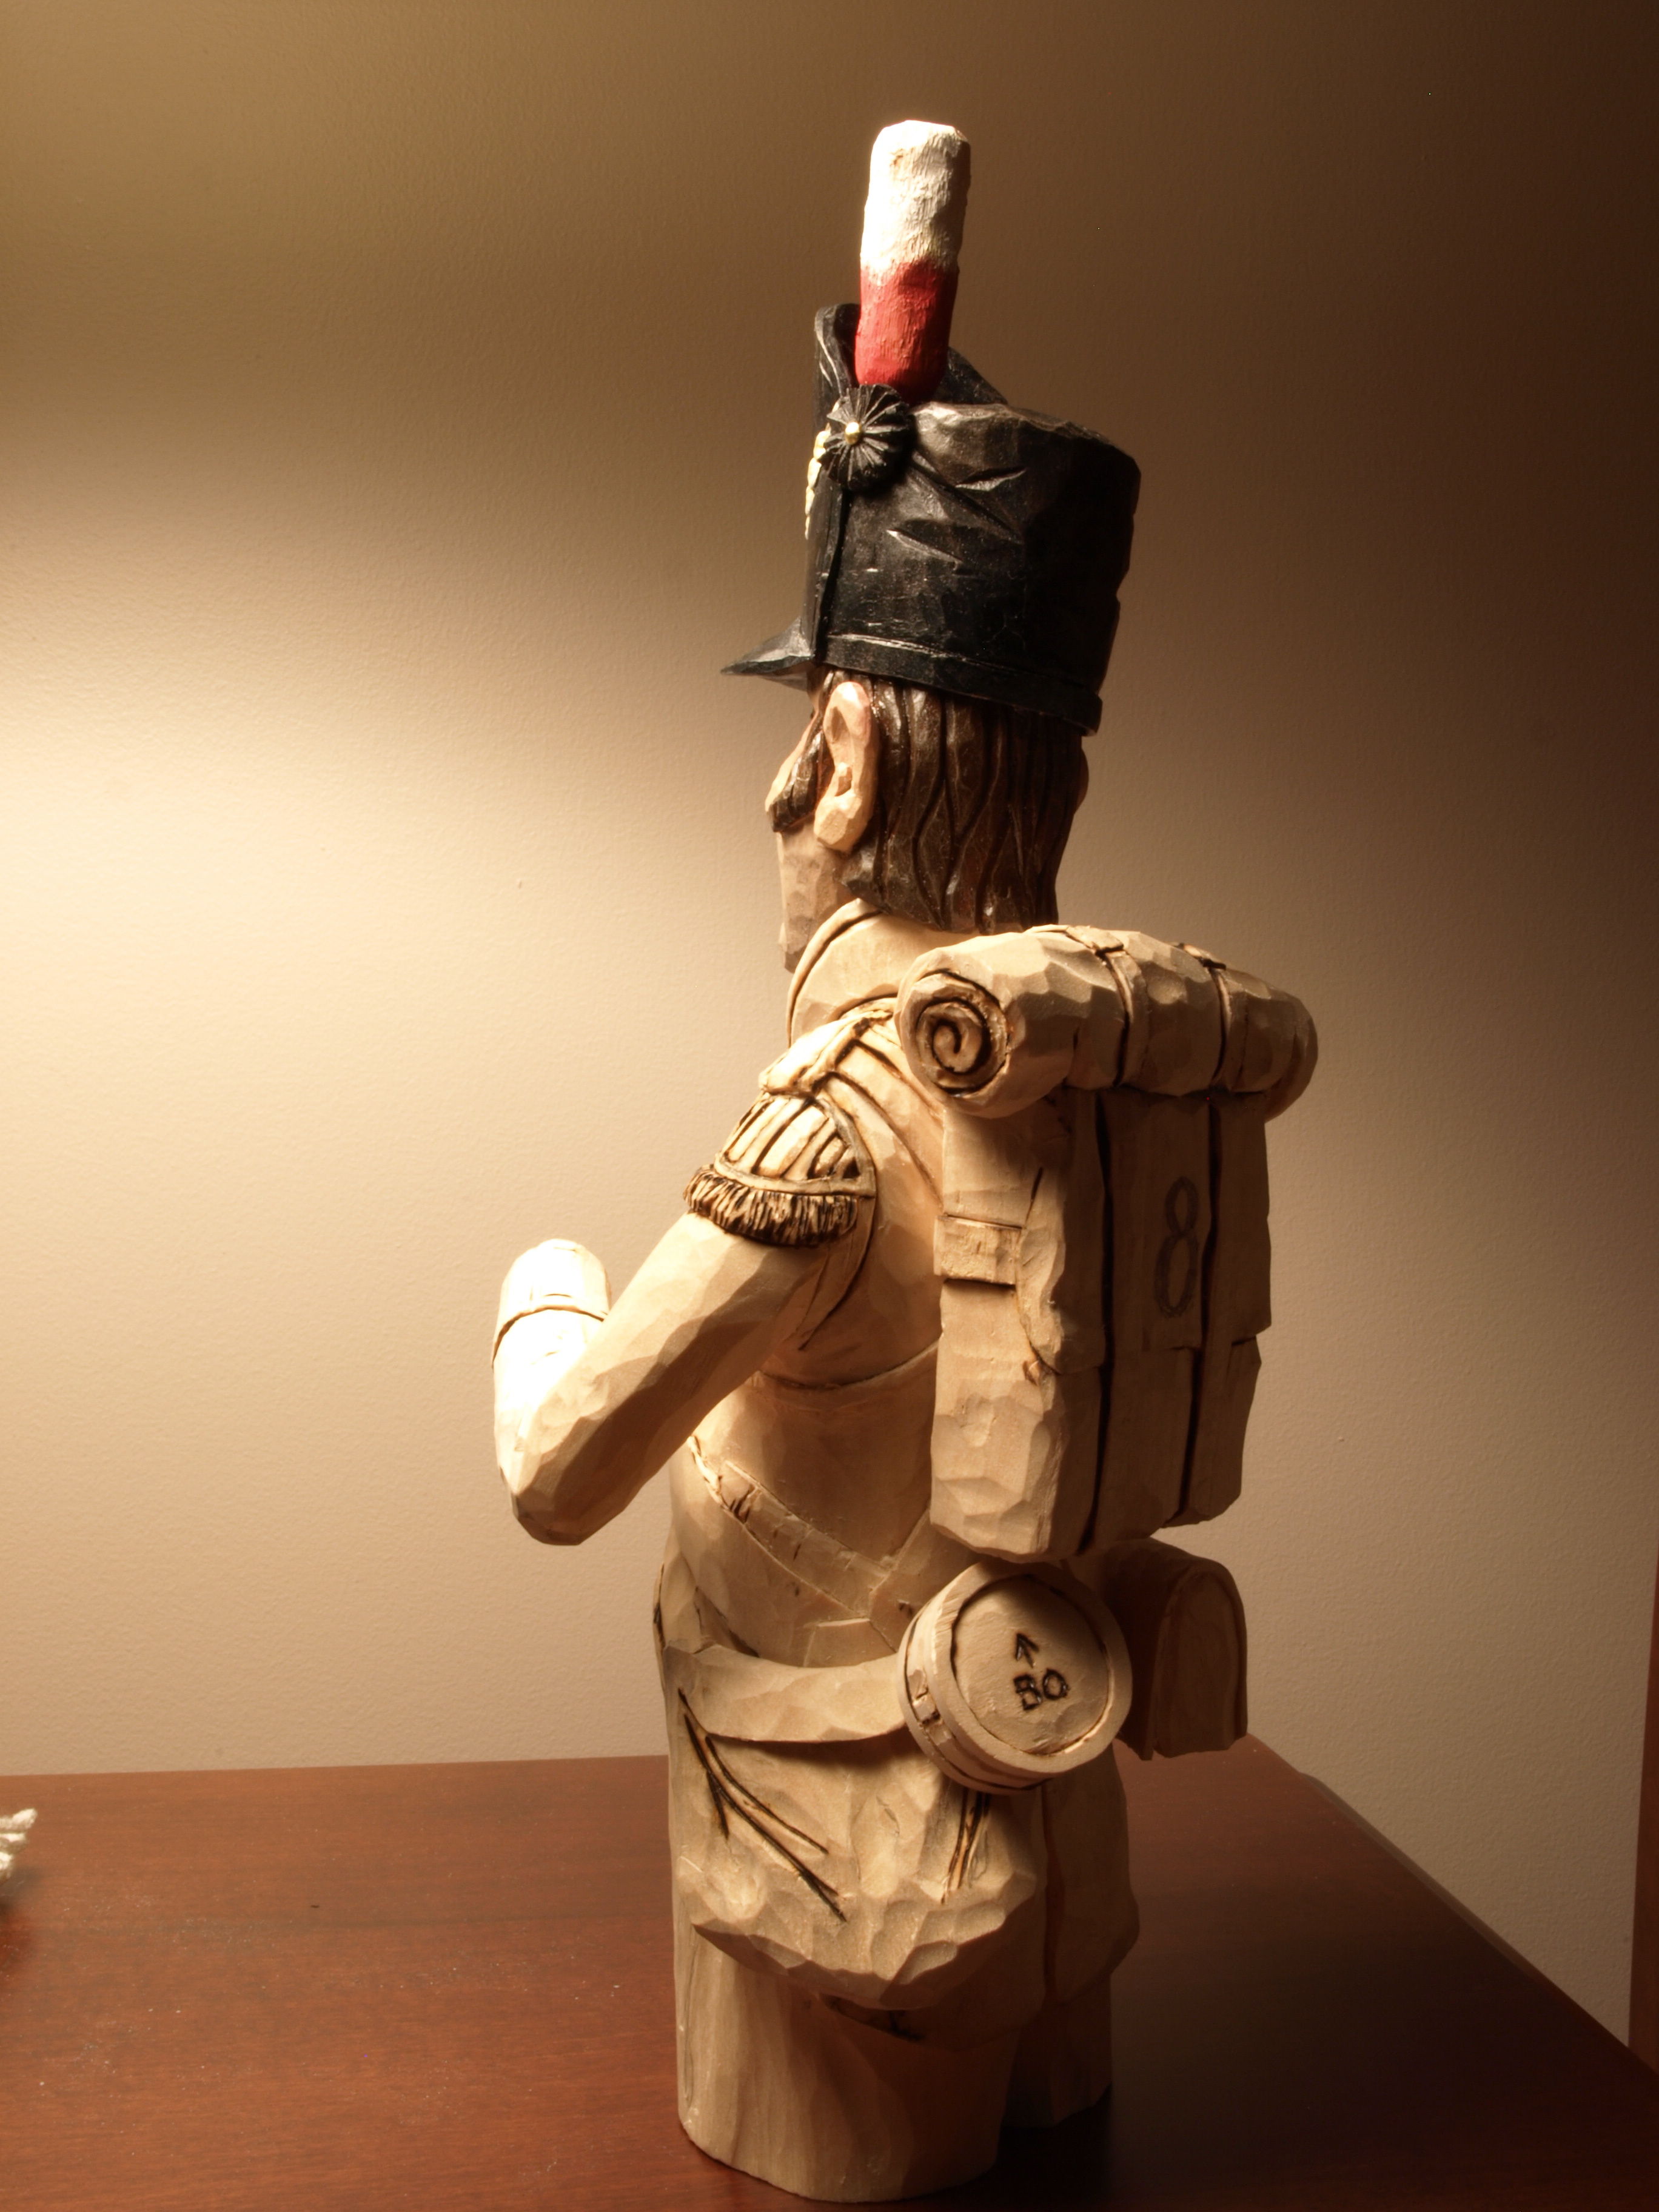
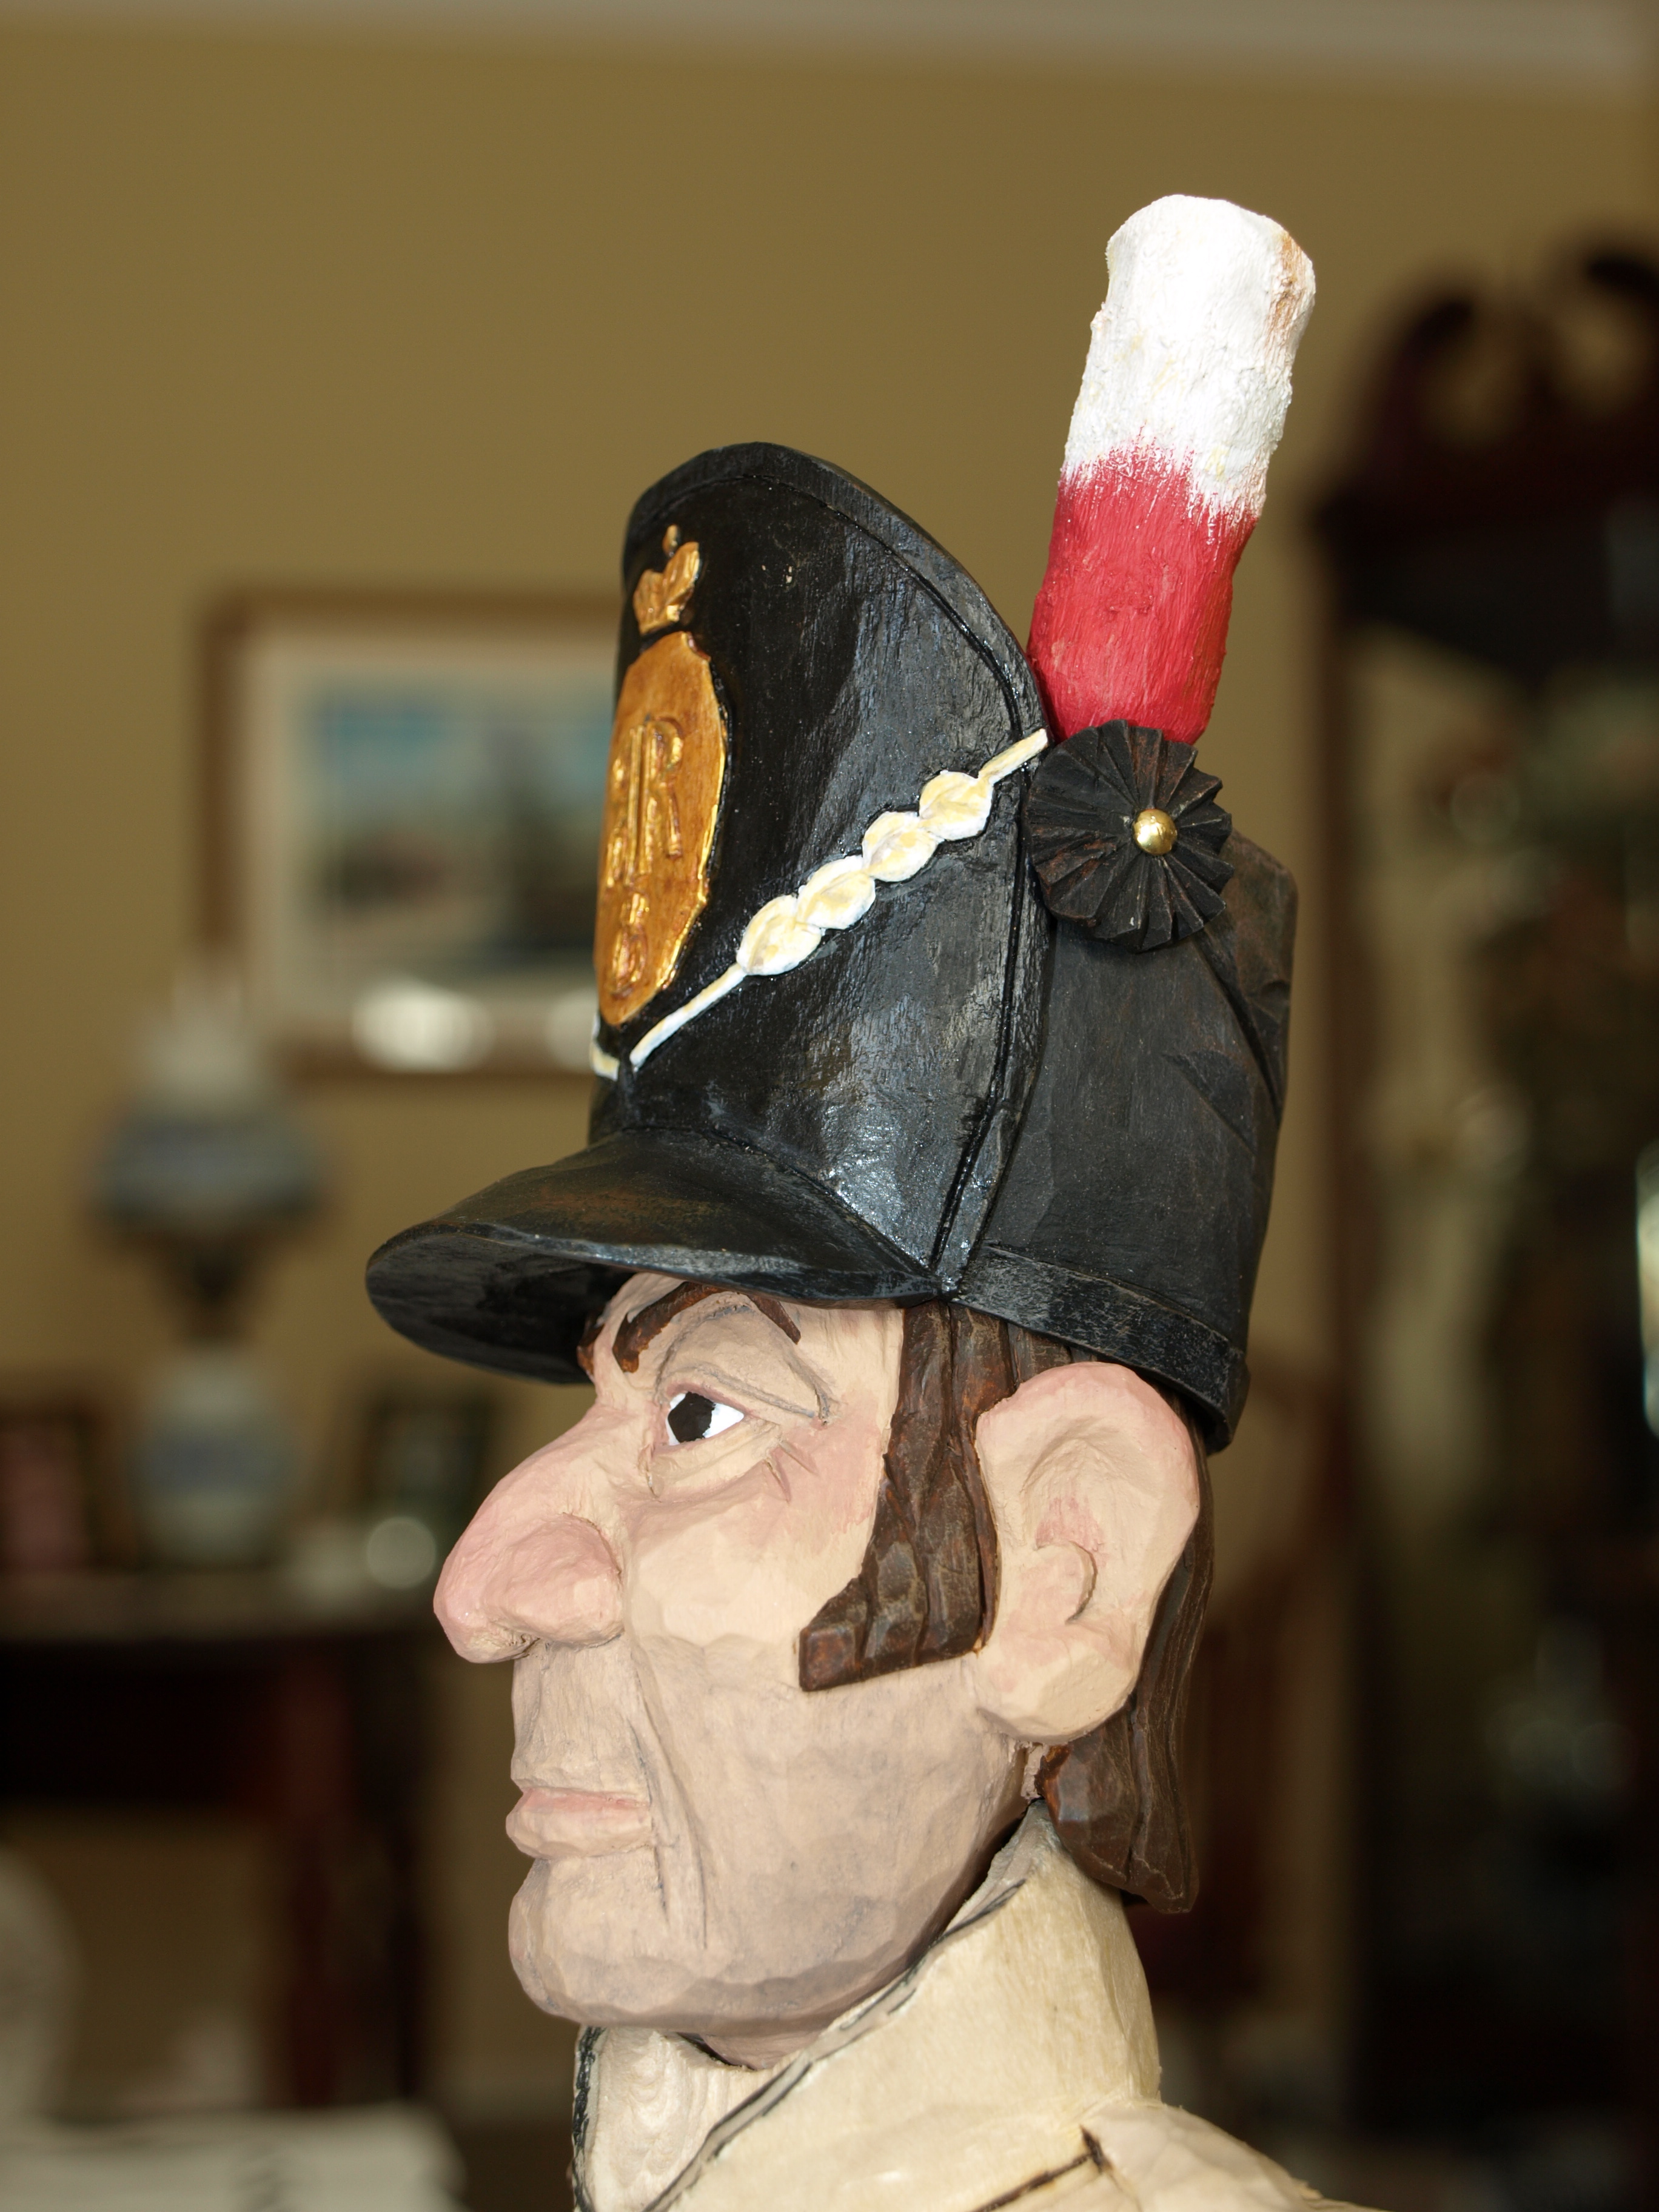
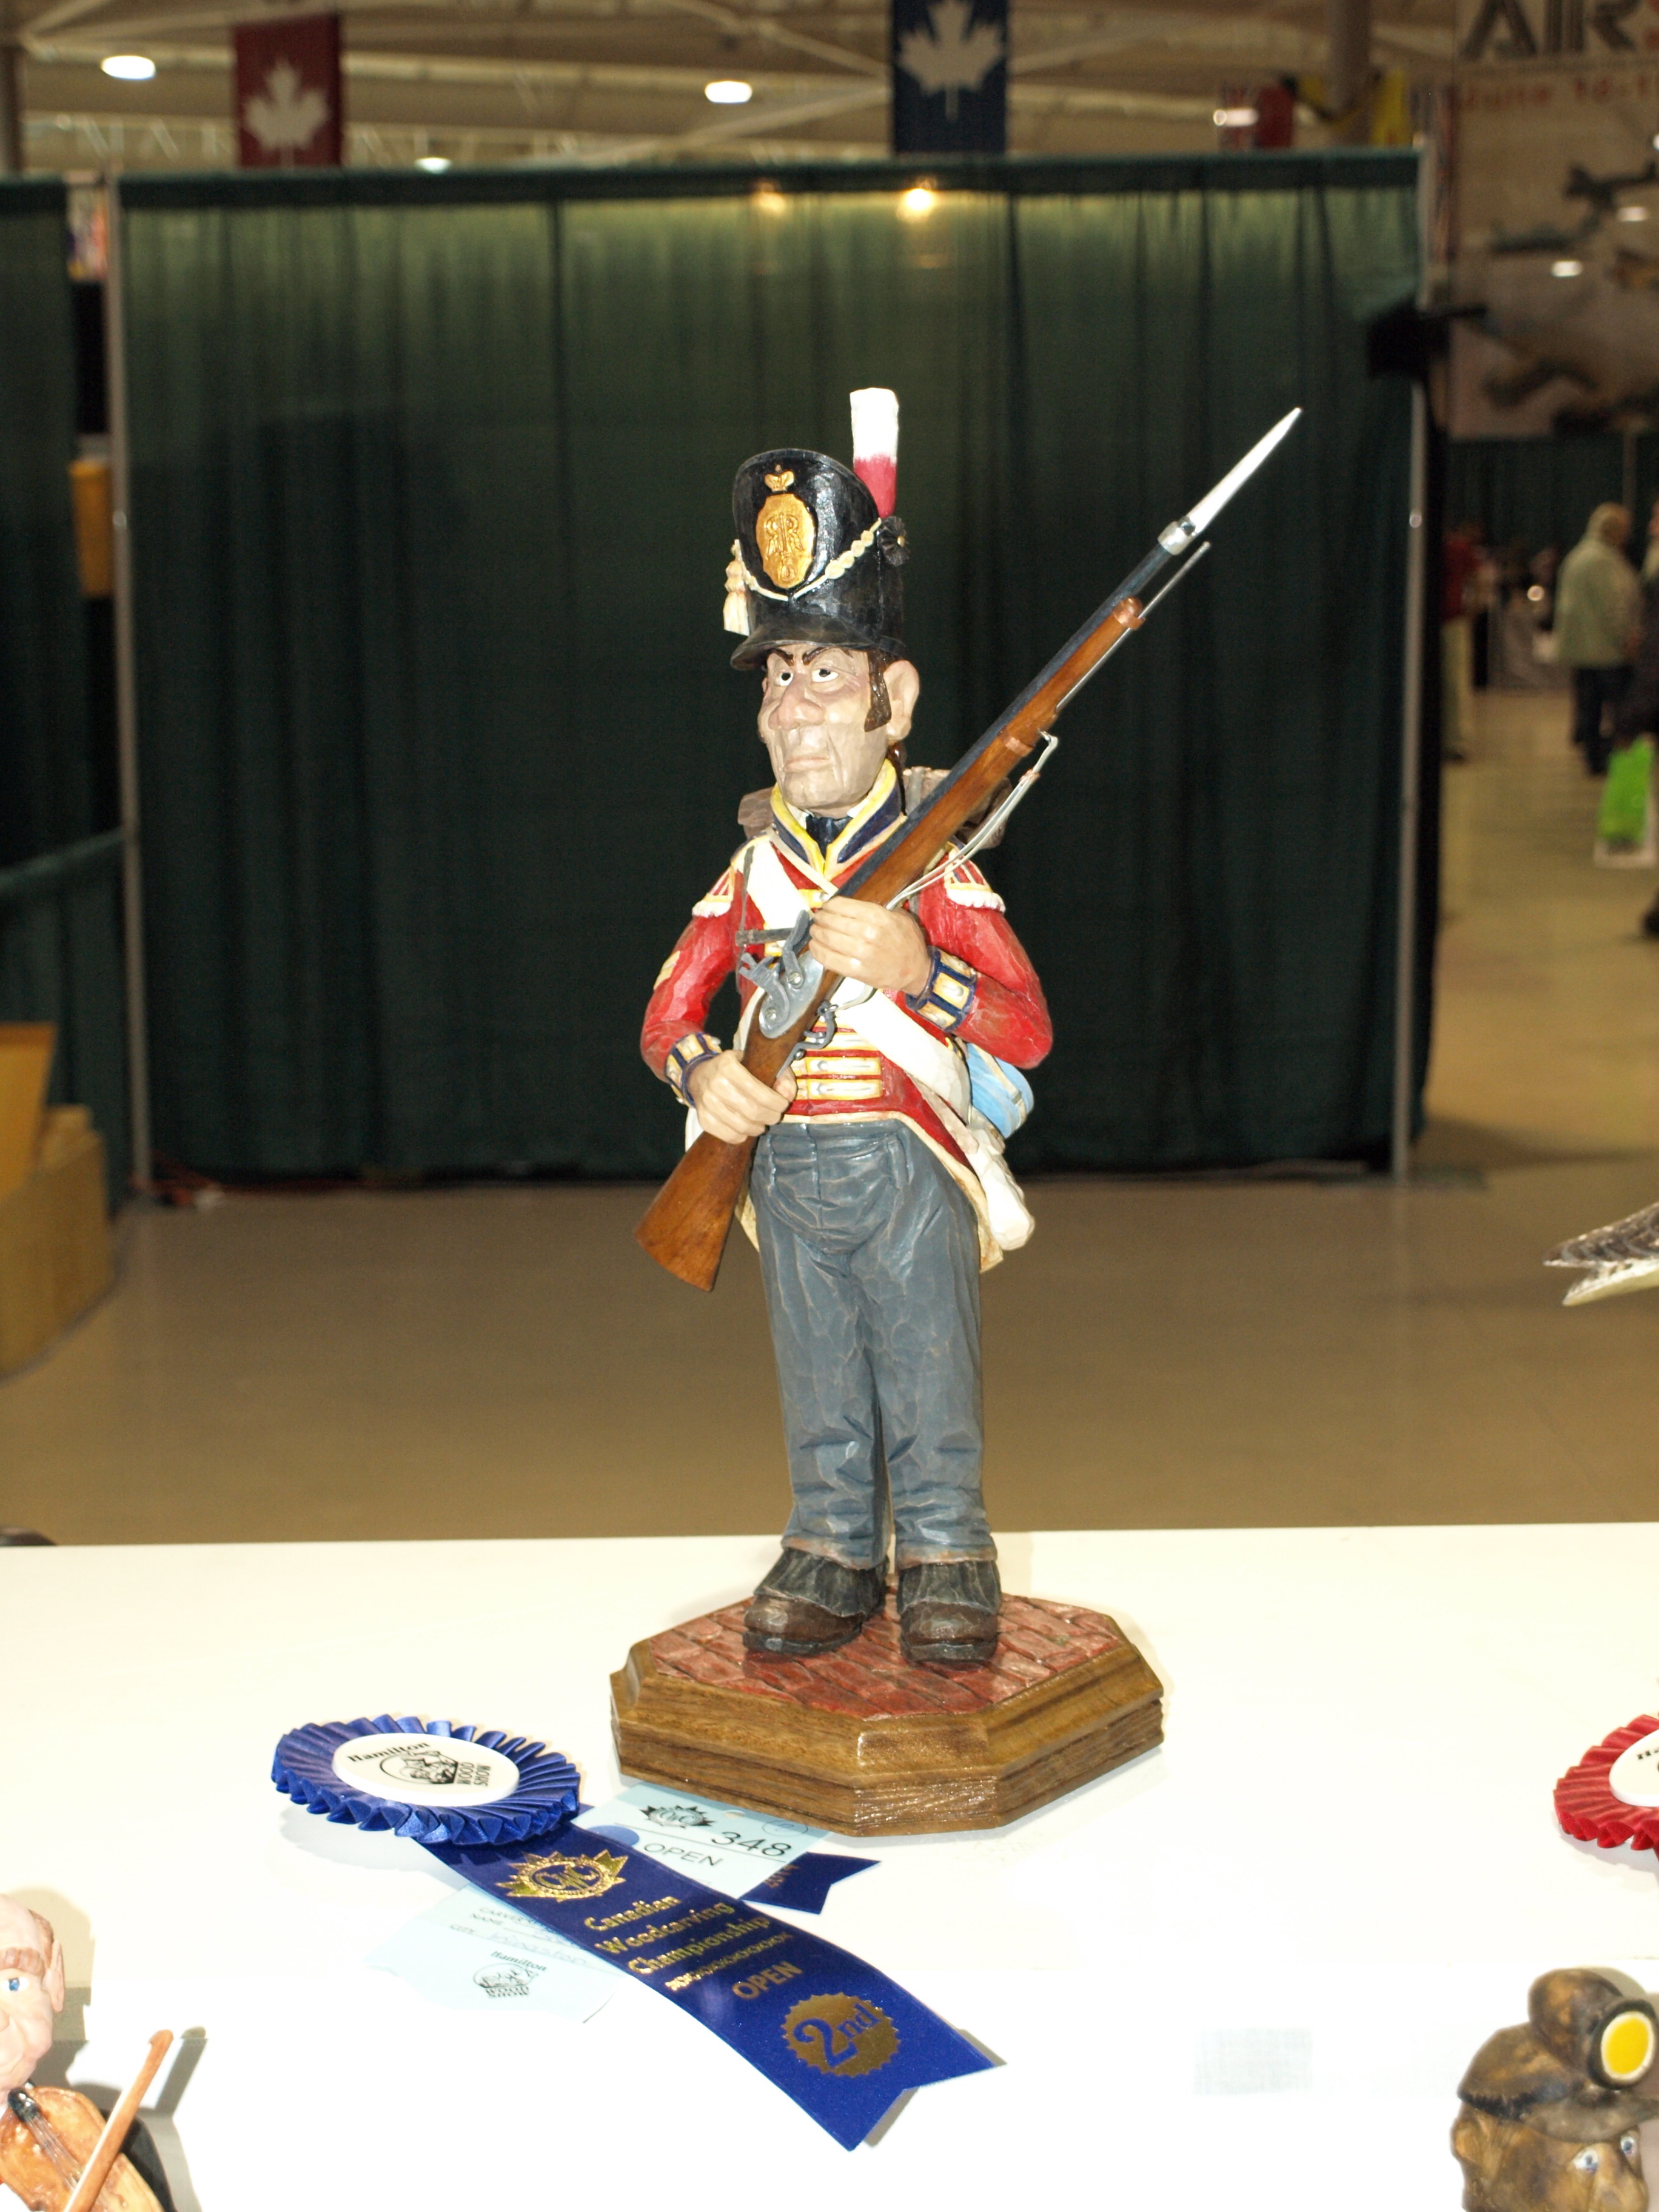
Corporal Duncan Sowerby was awarded 2nd in Open Caricatures and proudly stood next to many exceptional carvings in the caricatures category.  I also got a chance to talk with a number of caricature carvers who brought great carvings.  A couple of photos of some of the carvings are included below, but several more are on the Flickr Site that you can link to at the side of this page.

Image

Image

Image

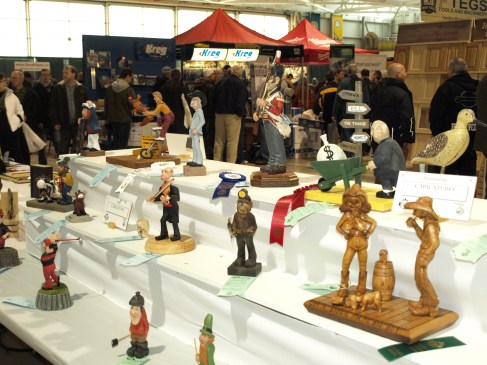
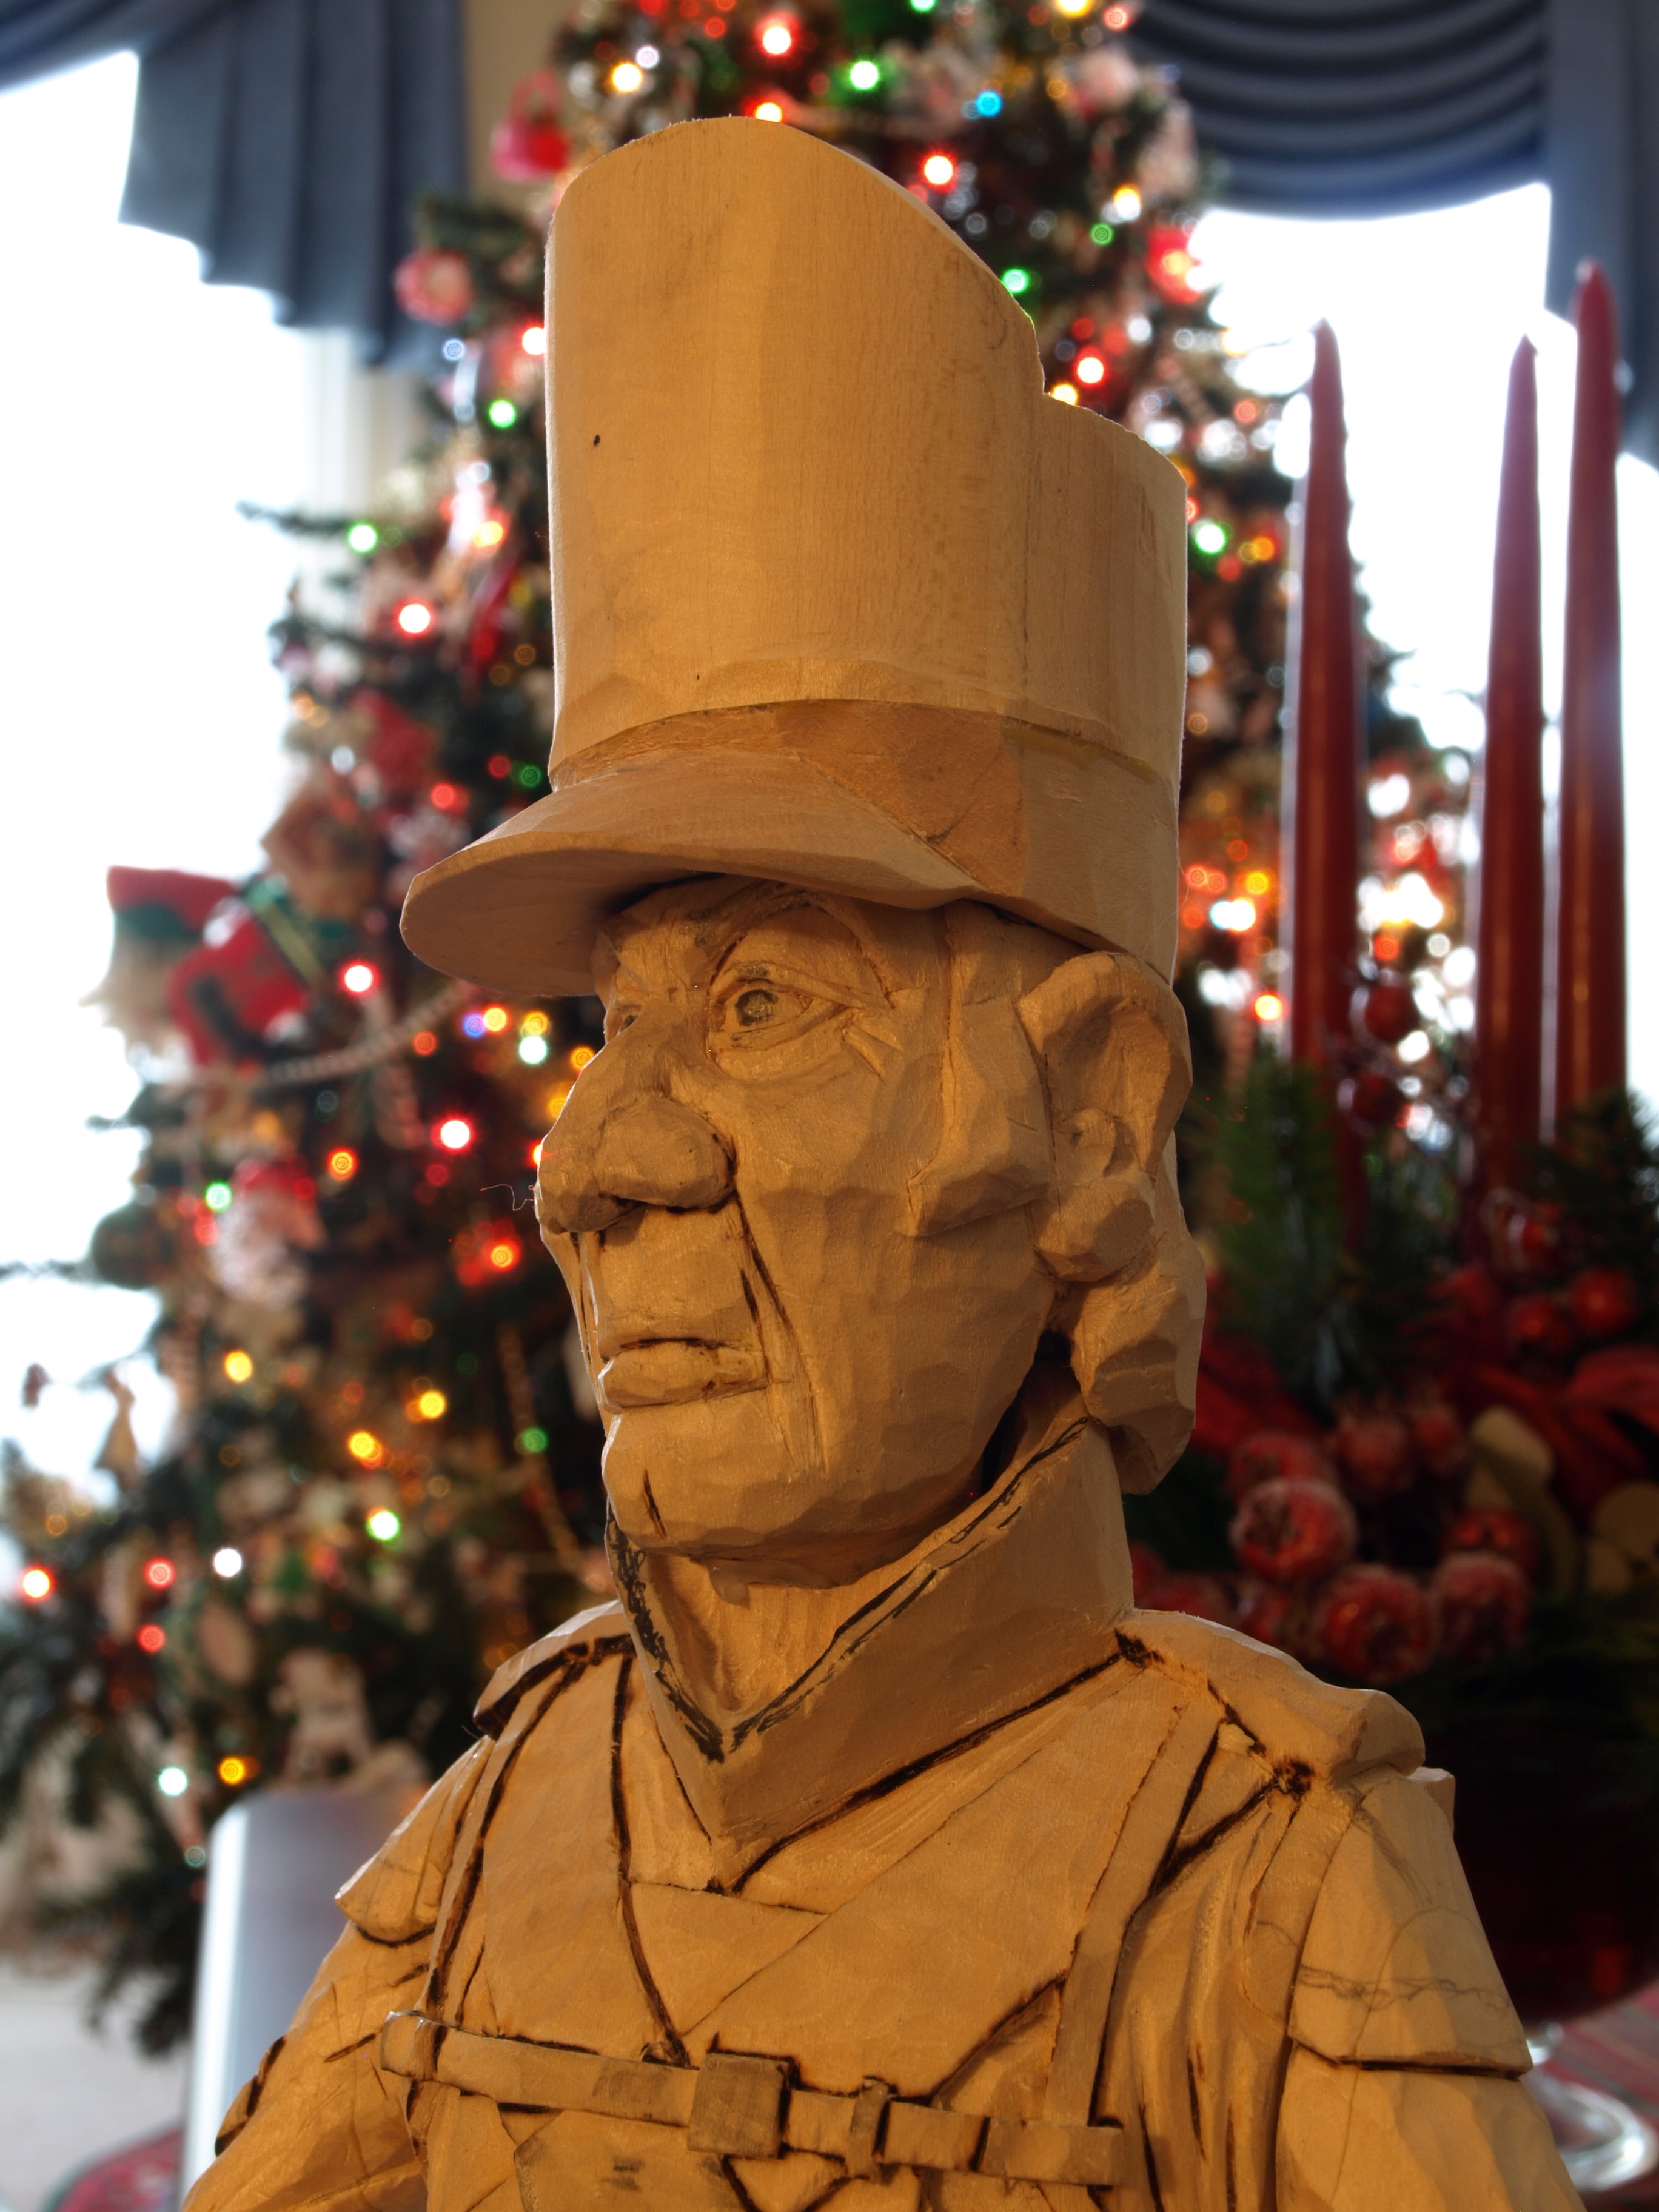
Although I’ve been very proud of my “Hobo and Ned” carving, I can tell you that Emily’s and my jaw dropped when we saw that the judges awarded it 1st in Open Caricatures, 1st in Open, and, 1st Best in Show.  What a thrill and what a memory.

Be sure to attend this outstanding event next year.

Image

Advertisement

Accessories Added

Happy St. Patrick’s Day.  I suppose that I should have carved a leprechaun instead of a soldier!  Next year.

I’ve put a coat of urethane on everything and have begun to fasten all of the accessories onto the soldier.  I need to run out and get some silver coloured nails for buttons before I attach the hands and the gun.  I’ll get around to that this week.

Image

Here’s a shot from the front.  I should have also mentioned that I’ve begun the base, as well.  When it’s completed it will be stained and urethaned along the sides.  The top will be painted to look like old cobblestone with dirt and moss growing up through the spaces between the bricks.  I’m still carving the cobblestone.  Right now it looks flat but once it’s finished it will look very uneven and irregular like old roads tend to look.

Image

Here’s a shot of the back of the carving showing the backpack, satchel and ammunition pouch.  I still have the canteen to glue on…still doing a bit of painting on that item.  I’m really happy about how the rolled blanket turned out.

A Colourful Corporal

Image

Well, our 1812 soldier now has some colour.  In a few days, I’ll have his hands and other soldiering accessories painted and glued in place.  A final urethane finish will protect the acrylic paints and really make the colours come out.  You probably can’t see it in this photo, but I have quite a bit of colouring to make him look a bit battle worn…basically, some mud and dirt look.  I’m really glad that I added the legs and shoes as I think that it completes the caricature that started out as a bust.

I’ll get another picture up later this week, hopefully.

Musket and other progress

Here’s a quick picture of the musket that my 1812 soldier caricature will be holding.  The gun stock is made of cherry and the barrel is an old artist’s brush.  The metal plate is aluminum tape and the flintlock mechanism and trigger are made from lead.

Image

The brass looking brackets on the gunstock are actually copper.  I used a piece of electrical copper wiring and flattened it out to make these two brackets.  You might be able to spot two gun strap brackets as well.  These are just made out of wire from straight pins and glued in place.

The gun is in two parts and the split will be hidden beneath one of the soldier’s hands.  I had to split the gunstock in this fashion so that I could fit it closely to the hand that I carved earlier.

In other news…the Corporal now has legs!  I started to paint him and he looked so nice that I decided that it wouldn’t be right to leave him as just a bust…so I glued on some additional wood and carved up his legs and shoes.

I’m just in the process of painting right now, and I’ll get a photo up on the web in the next day or so.

Hands and Musket

We’ll, I guess I’m not setting any land Imagespeed records, but I am making a bit of progress.  It’s tragic how the rest of your life can interfere with carving!

I’ve roughed in the placement of his hands and the musket.  Still a bit more work to do on both…I want to keep the hands over-sized as this is a caricature and the figure should be exaggerated.  The musket still requires a lot of work to include a barrel and flint-lock hammer.  I’ll also include a leather strap ( mine will be probably made from sheet metal ) along the bottom of the barrel with some hardware to attach to the wood gun stock.

The gun stock is actually cut and re-attached underneath his right hand.  If I hadn’t done this, I would never have been able to carve his fingers and thumbs closely wrapped around the gun stock.

I hope that you like the way that he’s progressing…I think that he’s going to look pretty nice when I have him set up on a pedestal.  Just a little more playing around to do and I’ll be ready to start painting.  I’m still shooting for the April wood carving show in Niagara Falls, Ontario, and I now see that there is a second show in Belleville, Ontario on the following weekend.  The Corporal may be doing a bit of travelling.

An Update on the Corporal

A bit more progress on Cpl Sowerby.  Didn’t have a lot of time this past week to work on him, but this weekend I hope to get his hands carved and a rough-out of his musket.

Image

I am pleased with the equipment that I’ve carved so far.  That’s a cloth bag on his left side where the soldier would have stored a number of items that he might want to get at more quickly than those items that would be stored in the backpack.  I’m planning on making a strap out of metal strip that will run from that bag up and under one of the carved straps on his body.  Notice that the canteen will lean against that cloth bag and will have another metal strap run up and around his shoulder and the back of his neck.  I like the bed-roll too up on top of the back-pack.  I did see a picture of a soldier with a tin cooking pot strapped to his back-pack and bed-roll…so, the Corporal may just end up with one of those as well.

Image

Here’s a picture of the other side showing his ammunition pouch.  If you’re particularly observant, you’ll notice that the ammo pouch and the canteen are bigger than my earlier pictures.  I wasn’t happy with the size of the previous versions so I quickly carved up a couple more.  I’ve also detailed in the button embellishments on his uniform.  I think that they are going to look great once the tunic is red and the embellishments are yellow.

I’ll get another picture uploaded this weekend…hopefully with a couple of hands in the mix.

The Corporal Gets Some Colour

Cpl Sowerby got a bit of paint this weekend.  I didn’t want him to look too battle worn but not parade perfect, either.  As a result, he has a bit of colourful dirt on his slightly worn hat.

OLYMPUS DIGITAL CAMERAOLYMPUS DIGITAL CAMERA

He’s also been out in the sun a bit too long and picked up a bit of a sunburn on his nose and the tops of his ears where his hat wasn’t giving him any protection.  Then again, I don’t imagine that sun damage was these soldiers’ biggest concern.

A bit of a five-o’clock shadow rounds out his not-so-parade-ready look.

Image

I think the hat badge turned out pretty well.  That’s a base coat of gold with a bit of copper colour for highlighting.  I put a coat of urethane on the front of the hat to give it a more of a leather polished look.  The back of the hat was felt, so it won’t get the shiny treatment.

Cpl. Sowerby Progress

I did a bit more detailing yesterday on Sowerby’s head and hat.  I think it’s looking pretty good with the plume/rosette and rope tassel.  Just a bit more tweaking and it’ll be ready for some paint.

Those are brass coloured nails on the sides to look like button heads.  I’m going to look for some brass or gold coloured film of some sort to put over the badge and still allow the badge carving to show through.

Image

Cpl. Duncan Sowerby

We took a trip to visit family over the last few days and had a great visit with everyone.  During the car ride we came up with a name for the 1812 Infantryman caricature…Corporal Duncan Sowerby.

What do you think?…Sound right for the era?

Here’s a quick snapshot of the first pass at his hat.  Eventually, a feather plume, some knotted cord and a brass badge will decorate the front of the hat.

It’s interesting that the hat was termed a Shako.  Some quick surfing came up with the origin of the word being from Hungary and meaning a peaked cap.

In general, it’s interesting that the uniforms of the time were so colourful and ornate.  Similarly, the hats would be tall and equally ornate.  Neither reflected the sense of camouflage that we know of today.

For those interested in the construction, again, you’ll see that I made the hat in two parts.  The peak has the grain running horizontally in the photo so that it has greater strength and won’t break as easily as it would have had I run the grain vertically through the entire hat.

After roughing-in the hat and cutting off a bit of the top of the head level, it was just then a matter of dishing out the bottom of the brim to fit the head.  The dishing out gives the impression that the hat is pulled right over the head.

Image

Happy New Year 2013!

Happy New Year!  It’s going to take a while to get used to writing 2013…I was just getting used to 2012.

Here are a couple of photos of my latest carving of the British Infantry Soldier.  I haven’t come up with a good name for him yet, so, if you have some ideas, let’s hear them.  The Niagara Carving Show is in April and I think that will be his first showing…fitting, given the Battle of Lundy’s Lane fought there.

Still a lot to carve, but you can see how he’ll be holding his musket at the ready across his chest.  I’ll be adding the hands separately once I put the musket together.  I find that this method of adding the hands works well when you are trying to carve the hands such that they hold something…in this case, the musket.  Adding them with separate pieces of wood also gives you the chance to get the grain of the wood going in the best direction for strength of the carving.  A hand or a small finger would break away with the slightest impact if the grain wasn’t going in the right direction.

ImageHere’s a shot of the back-pack, ammunition pouch and canteen.  I’m pretty sure that the two stripes indicate a rank of Corporal.  He’ll also have a bed roll strapped up on the top of the back-pack and a hat when he’s finished.

Image

Post Navigation

%d bloggers like this: