tributesinwood

Wood Carvings by Mark Sheridan

Archive for the tag “Basset Hound Carving”

Pickering Carving Show Entries

I’m looking forward to the “Magic in Wood” Pickering Carving Show next weekend.  I’ve attended this show twice now and have enjoyed it a lot each time.  Some very high quality carvings are presented both in the competition as well as in the table display areas.  And it’s quite large, easily filling and over-filling the exhibition hall.  A large number of vendors are there as well selling books, wood, chisels, knives, rotary carving bits and tools…well, just about everything that you can imagine as you think about what goes into the making of a wood carving.

Registration is Friday afternoon and Saturday morning.  The show is free and open to the public from mid-morning on Saturday until about supper time on Sunday.  You can get all of the details by following the link at the side of this web-page for the Ontario Woodcarvers Association.

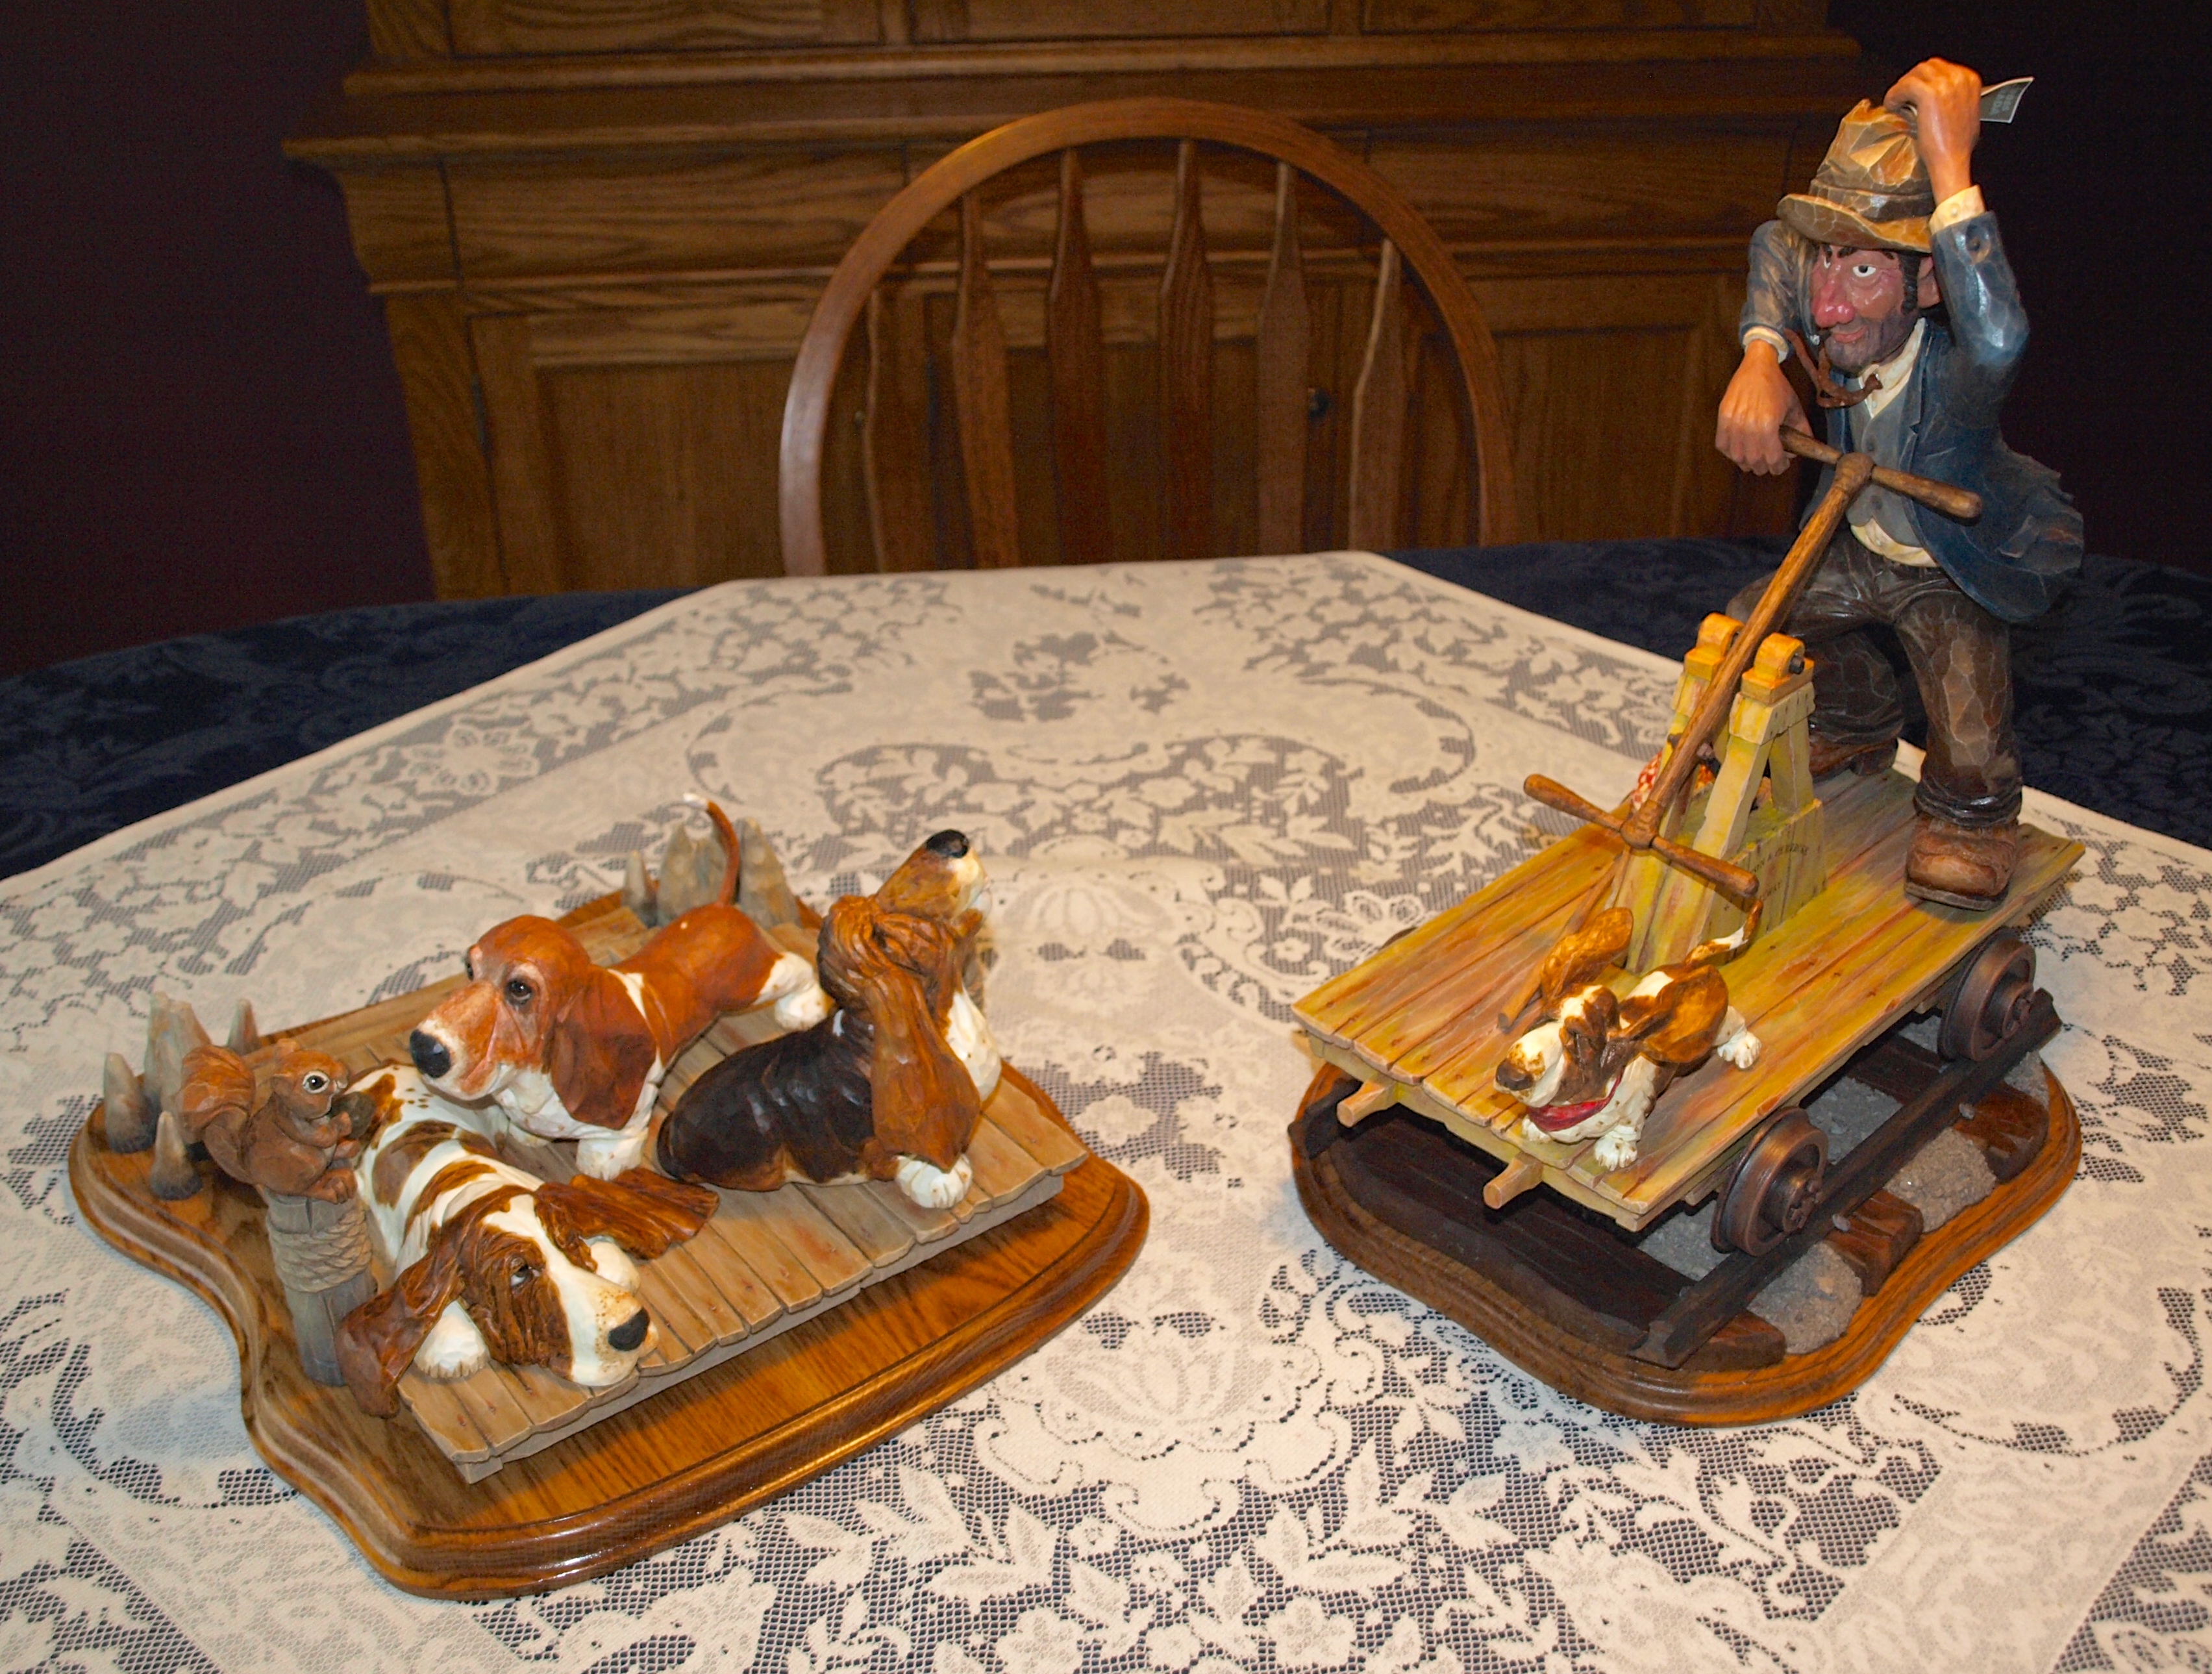
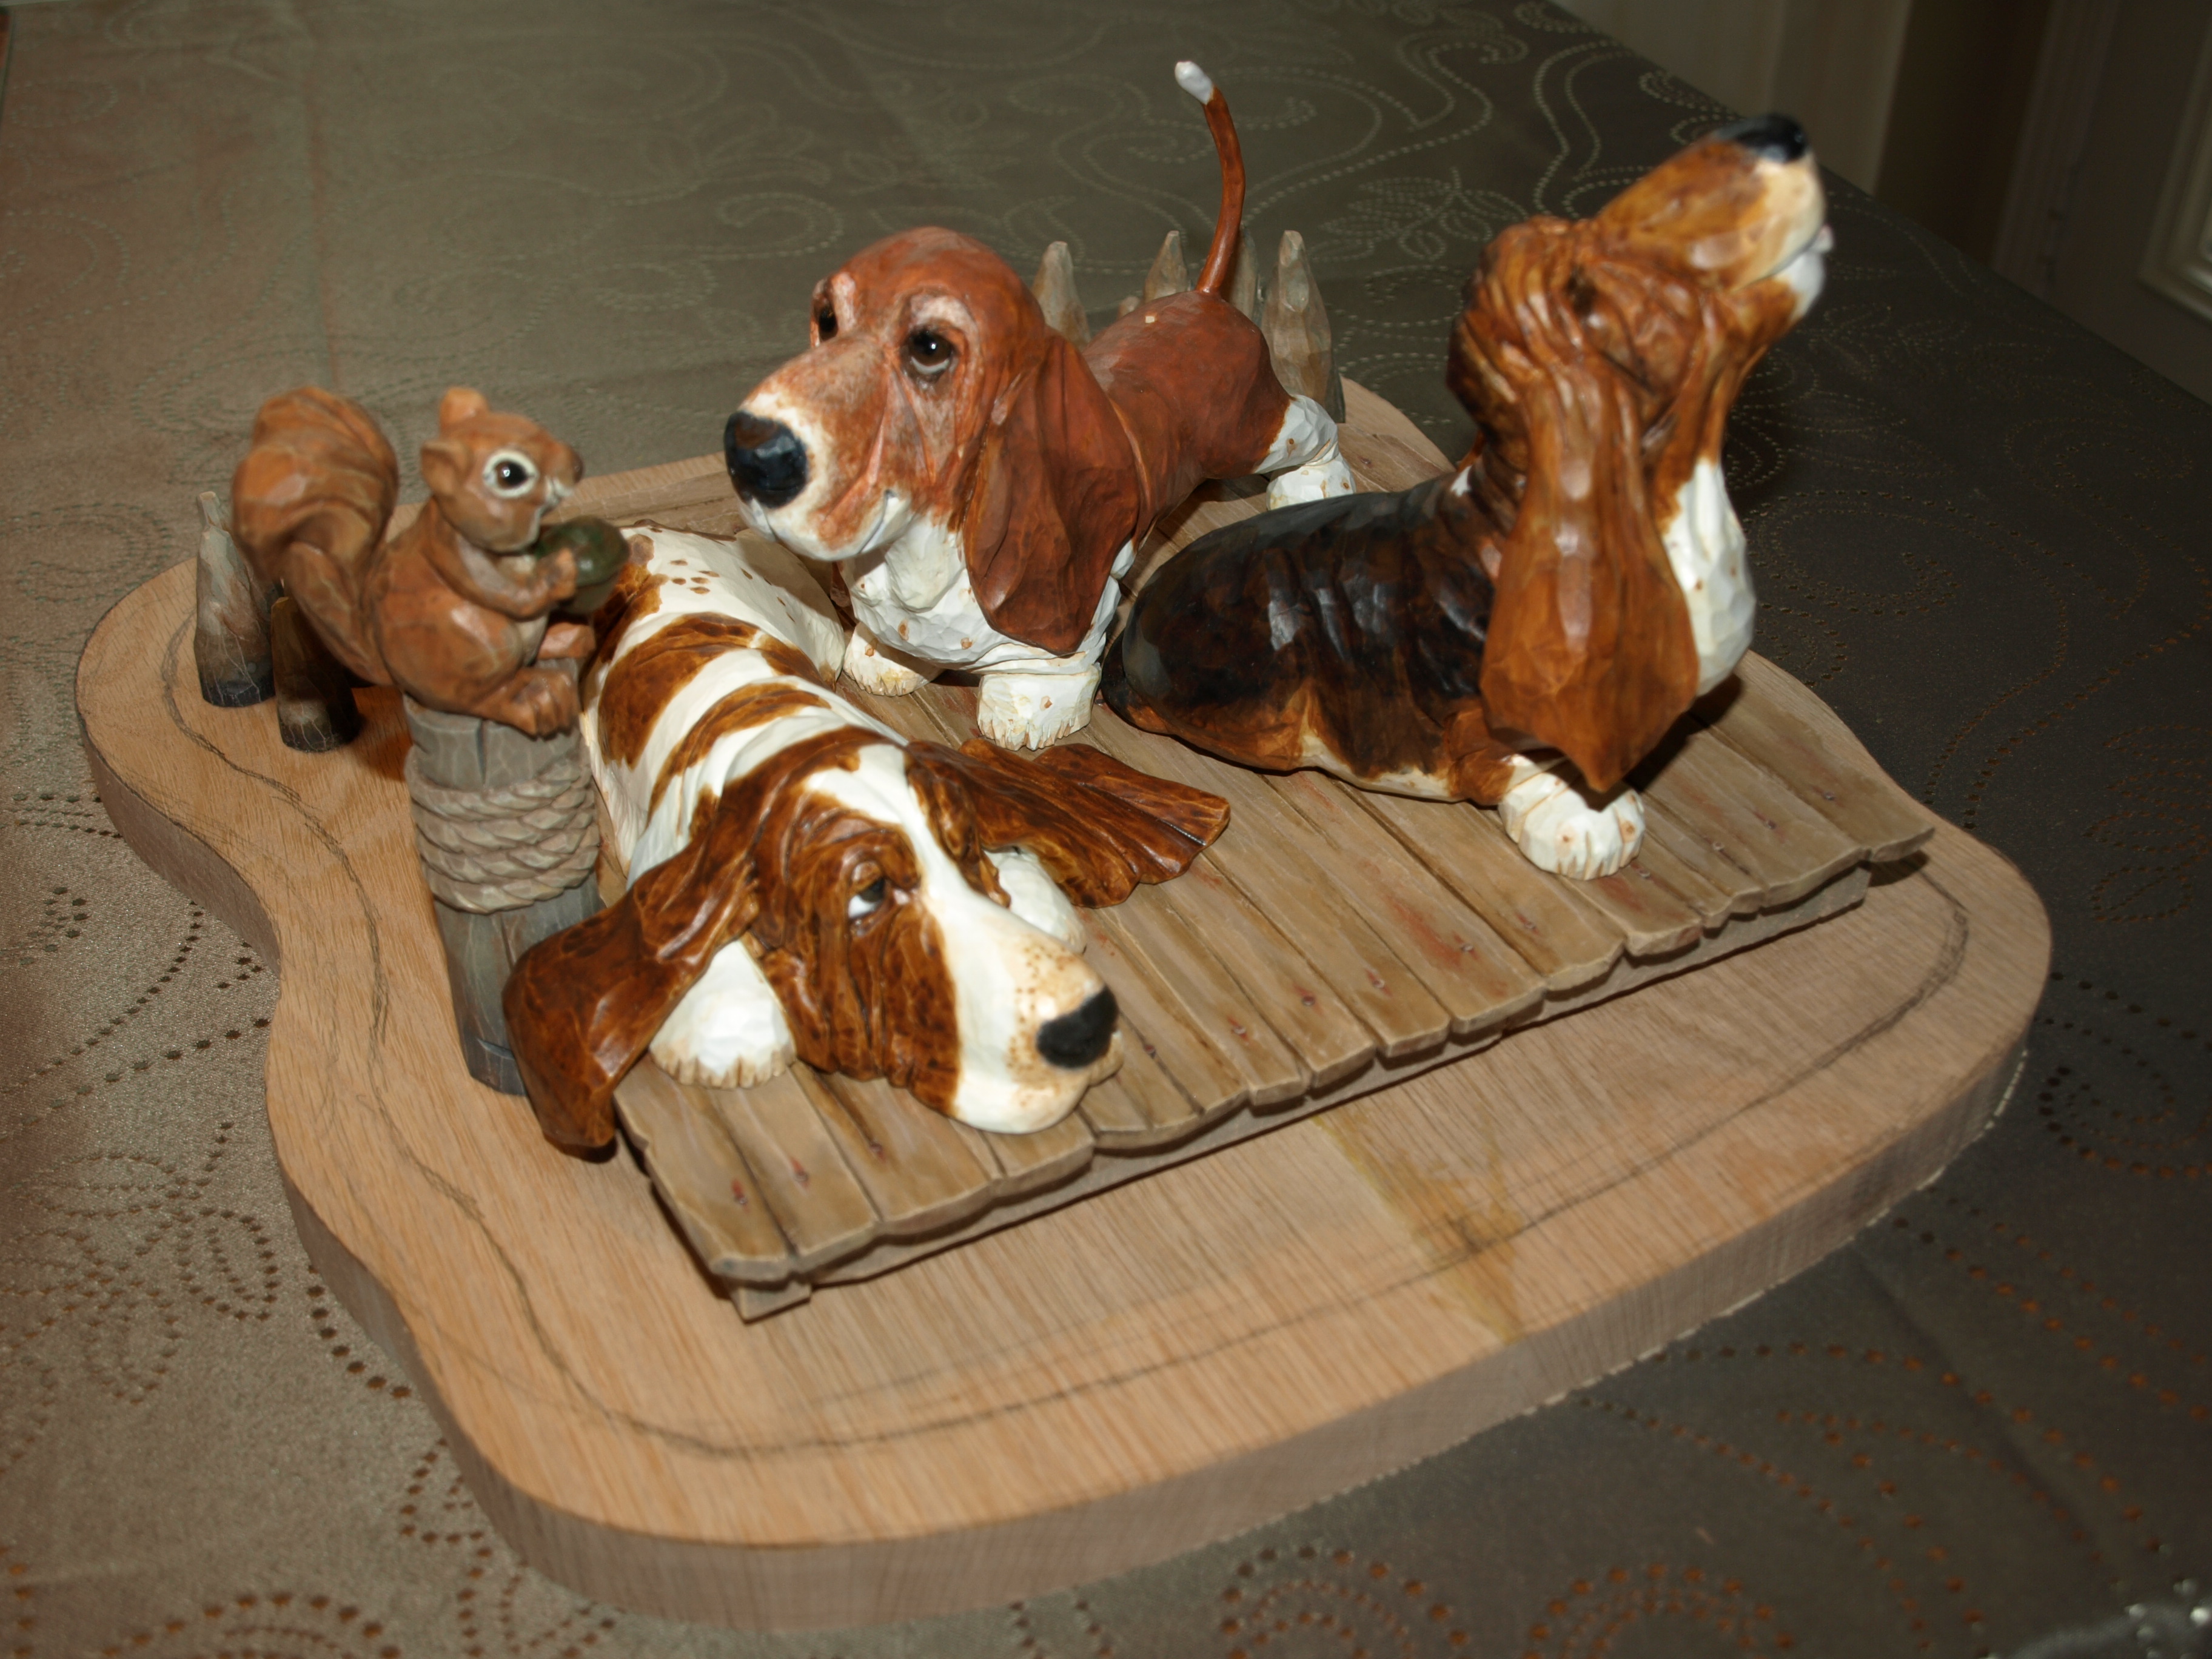
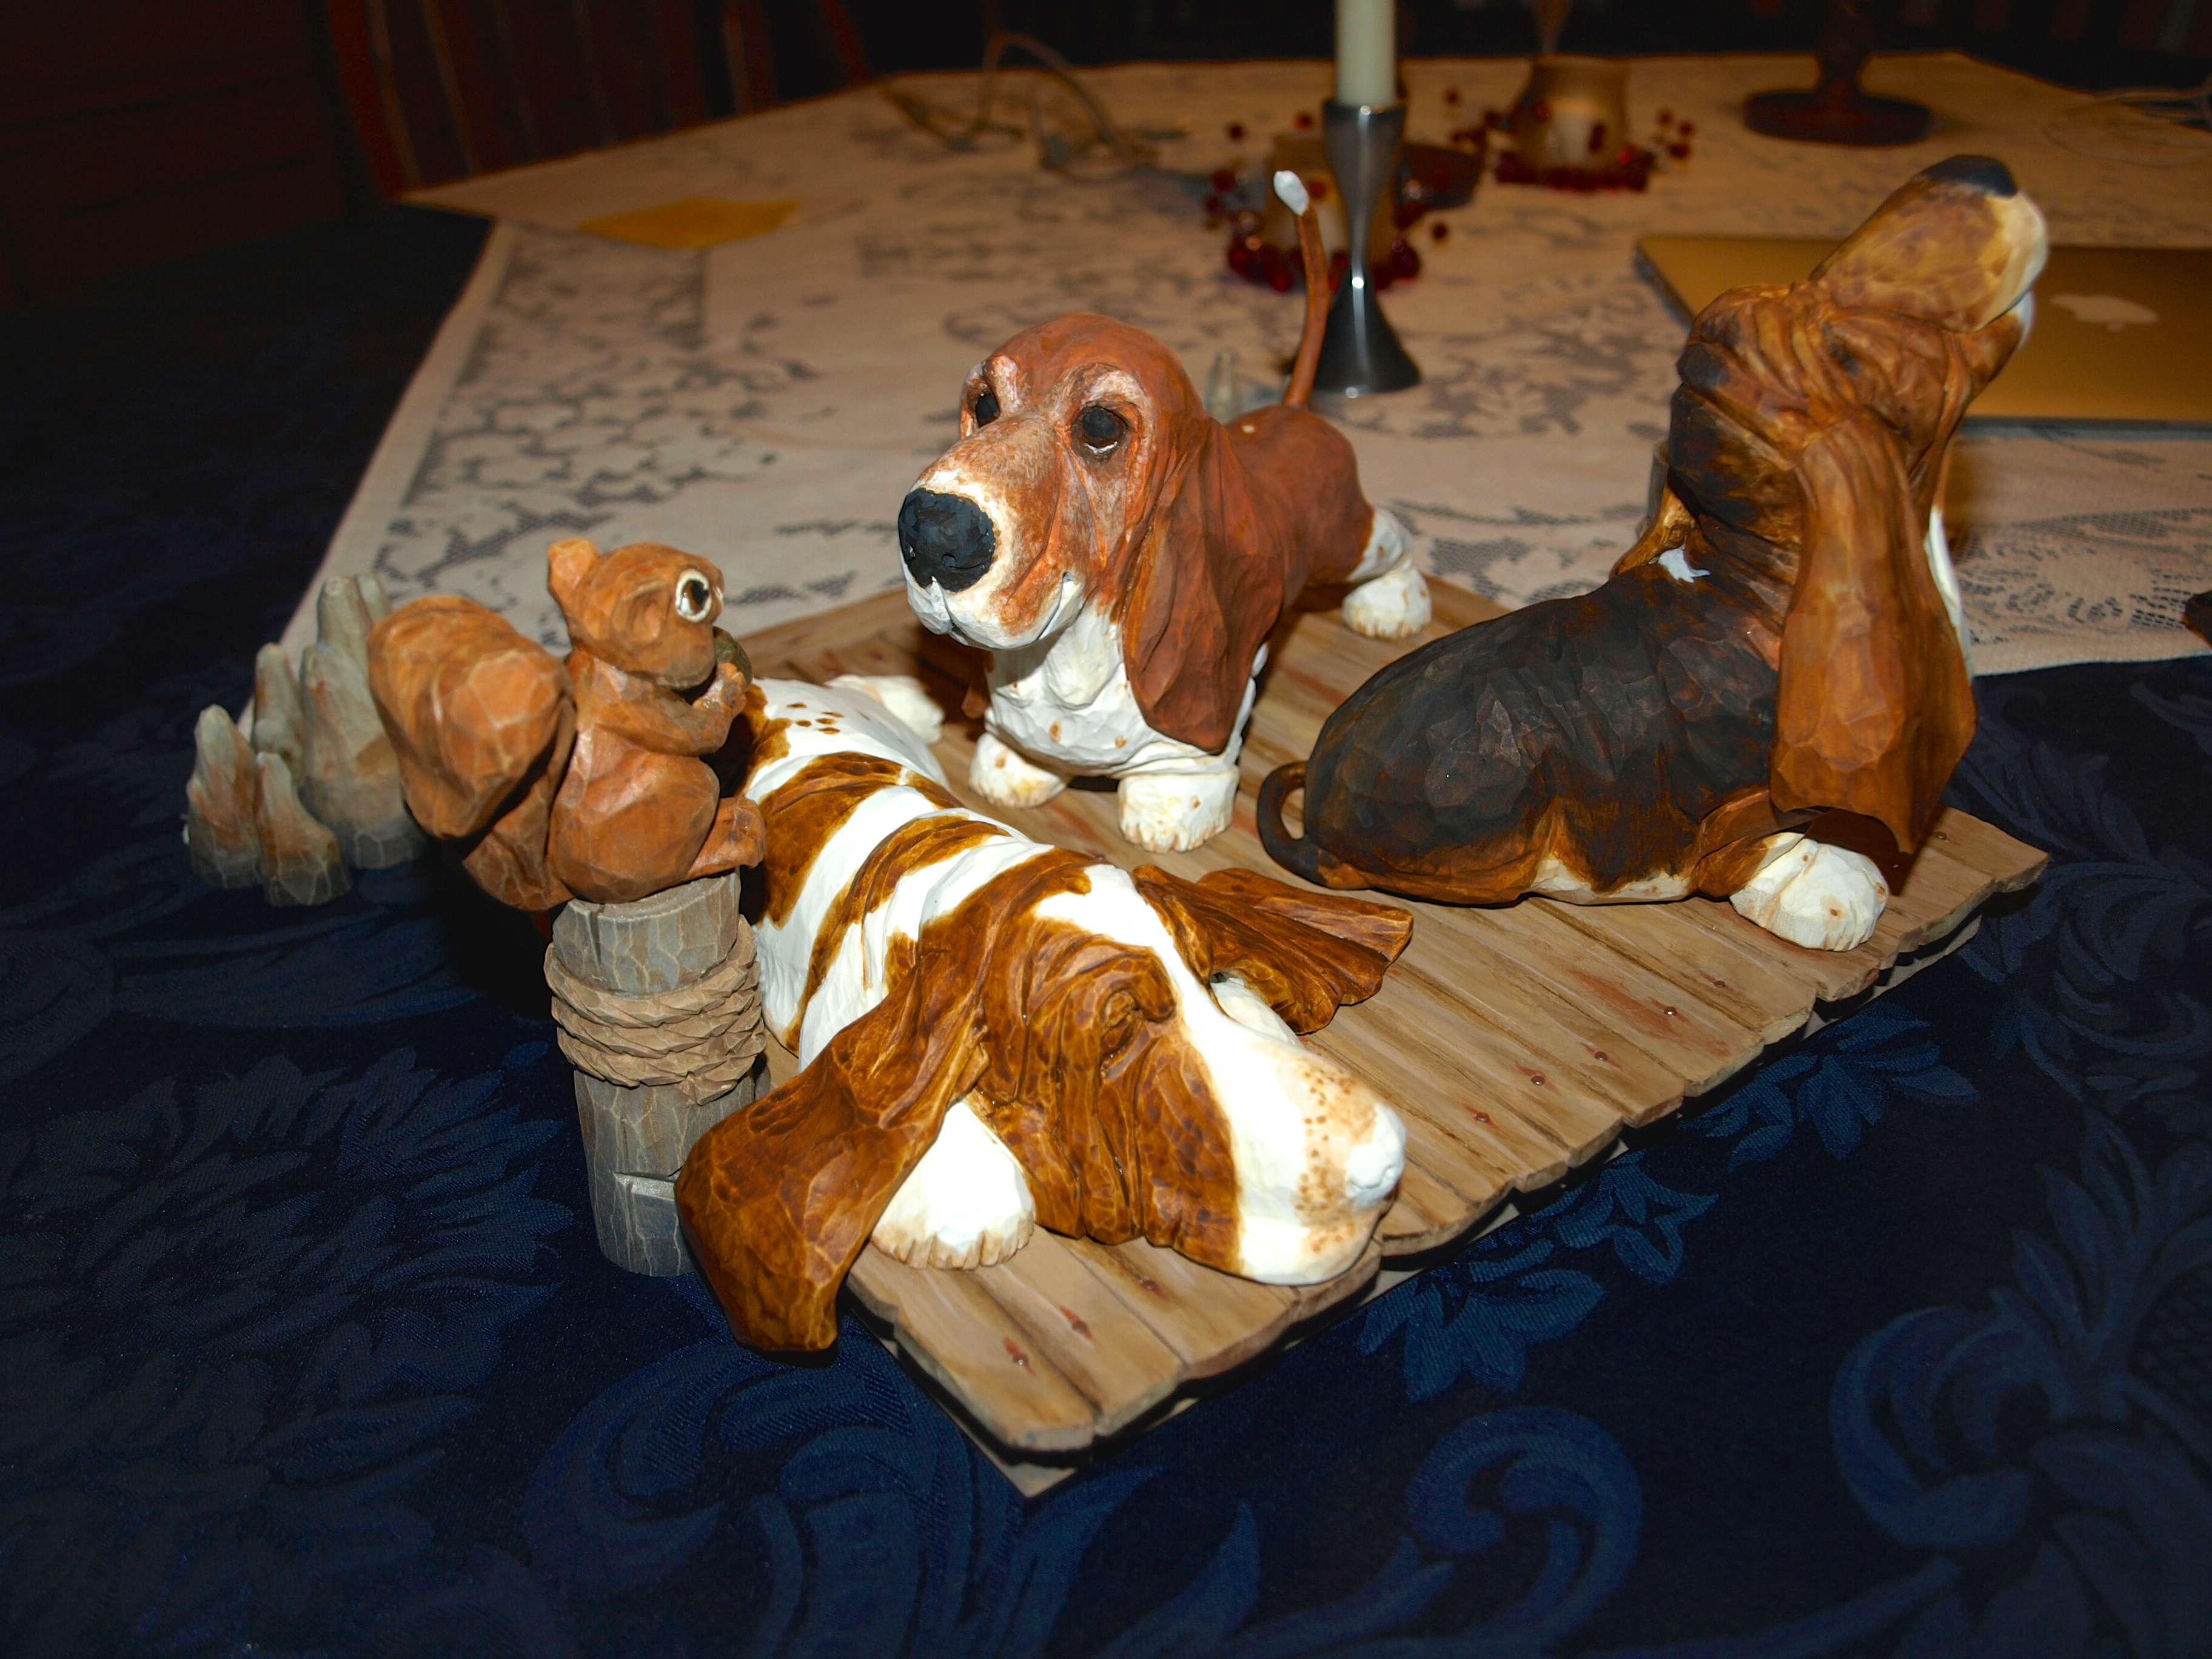
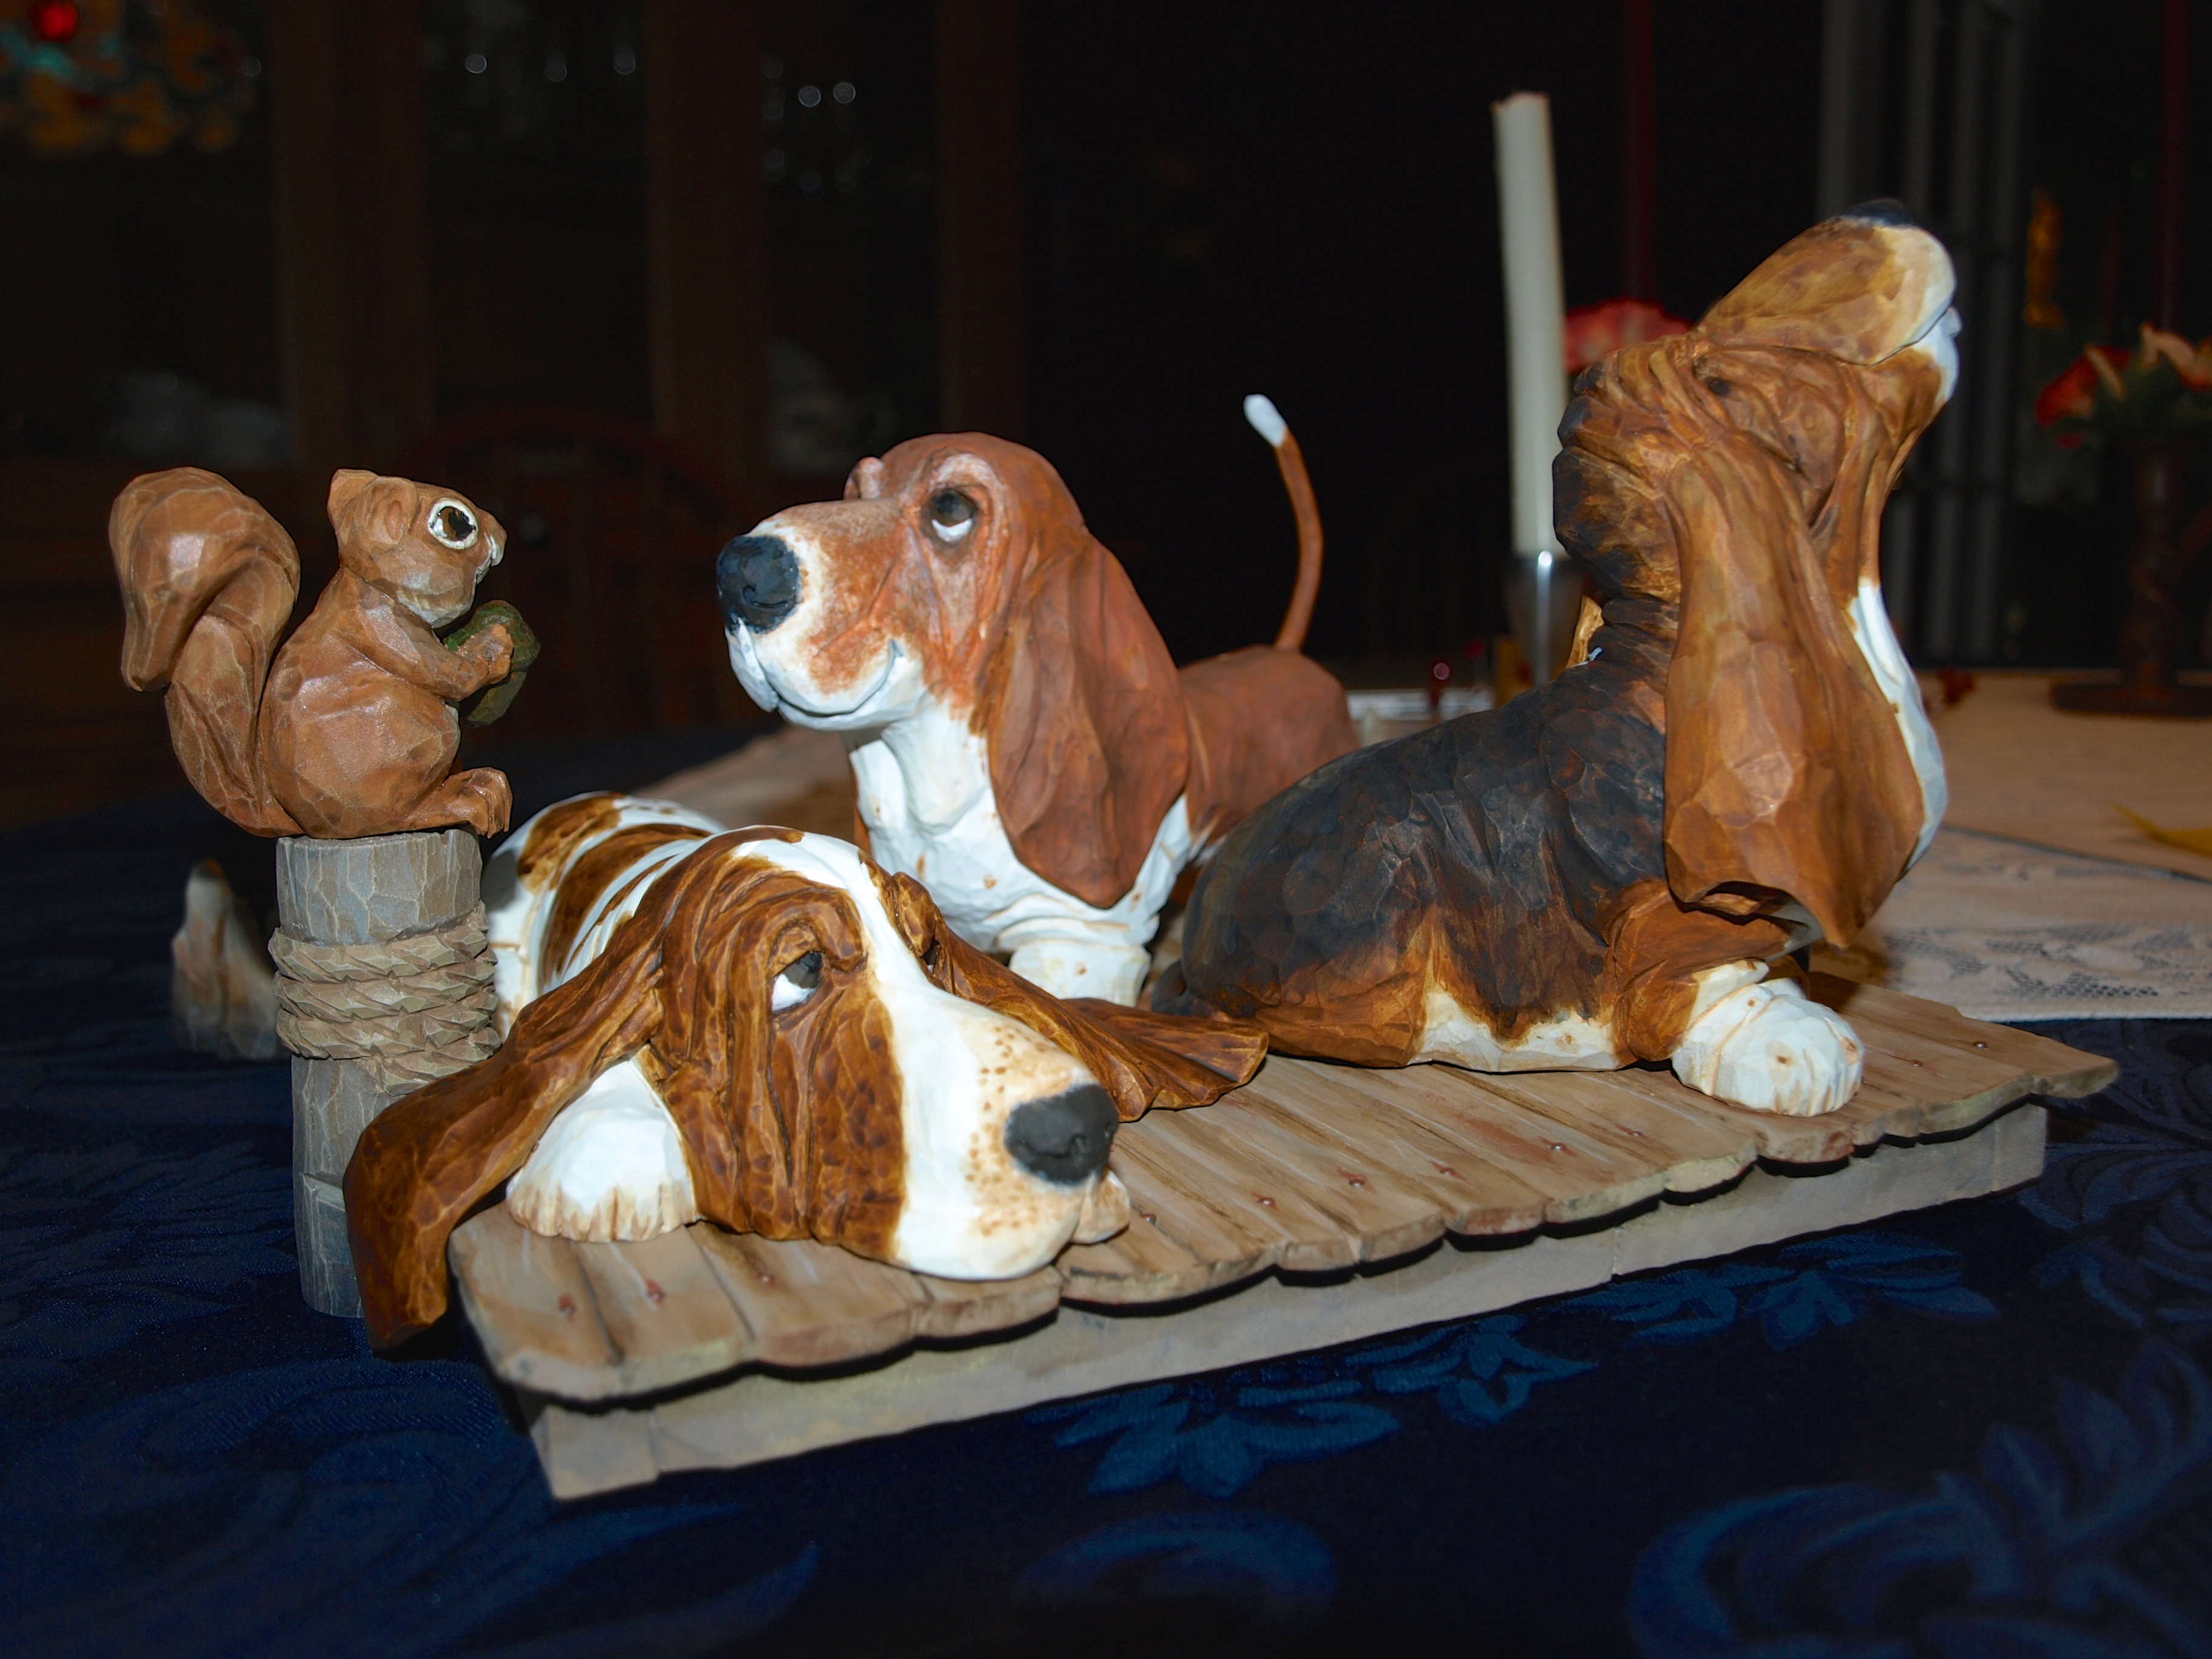
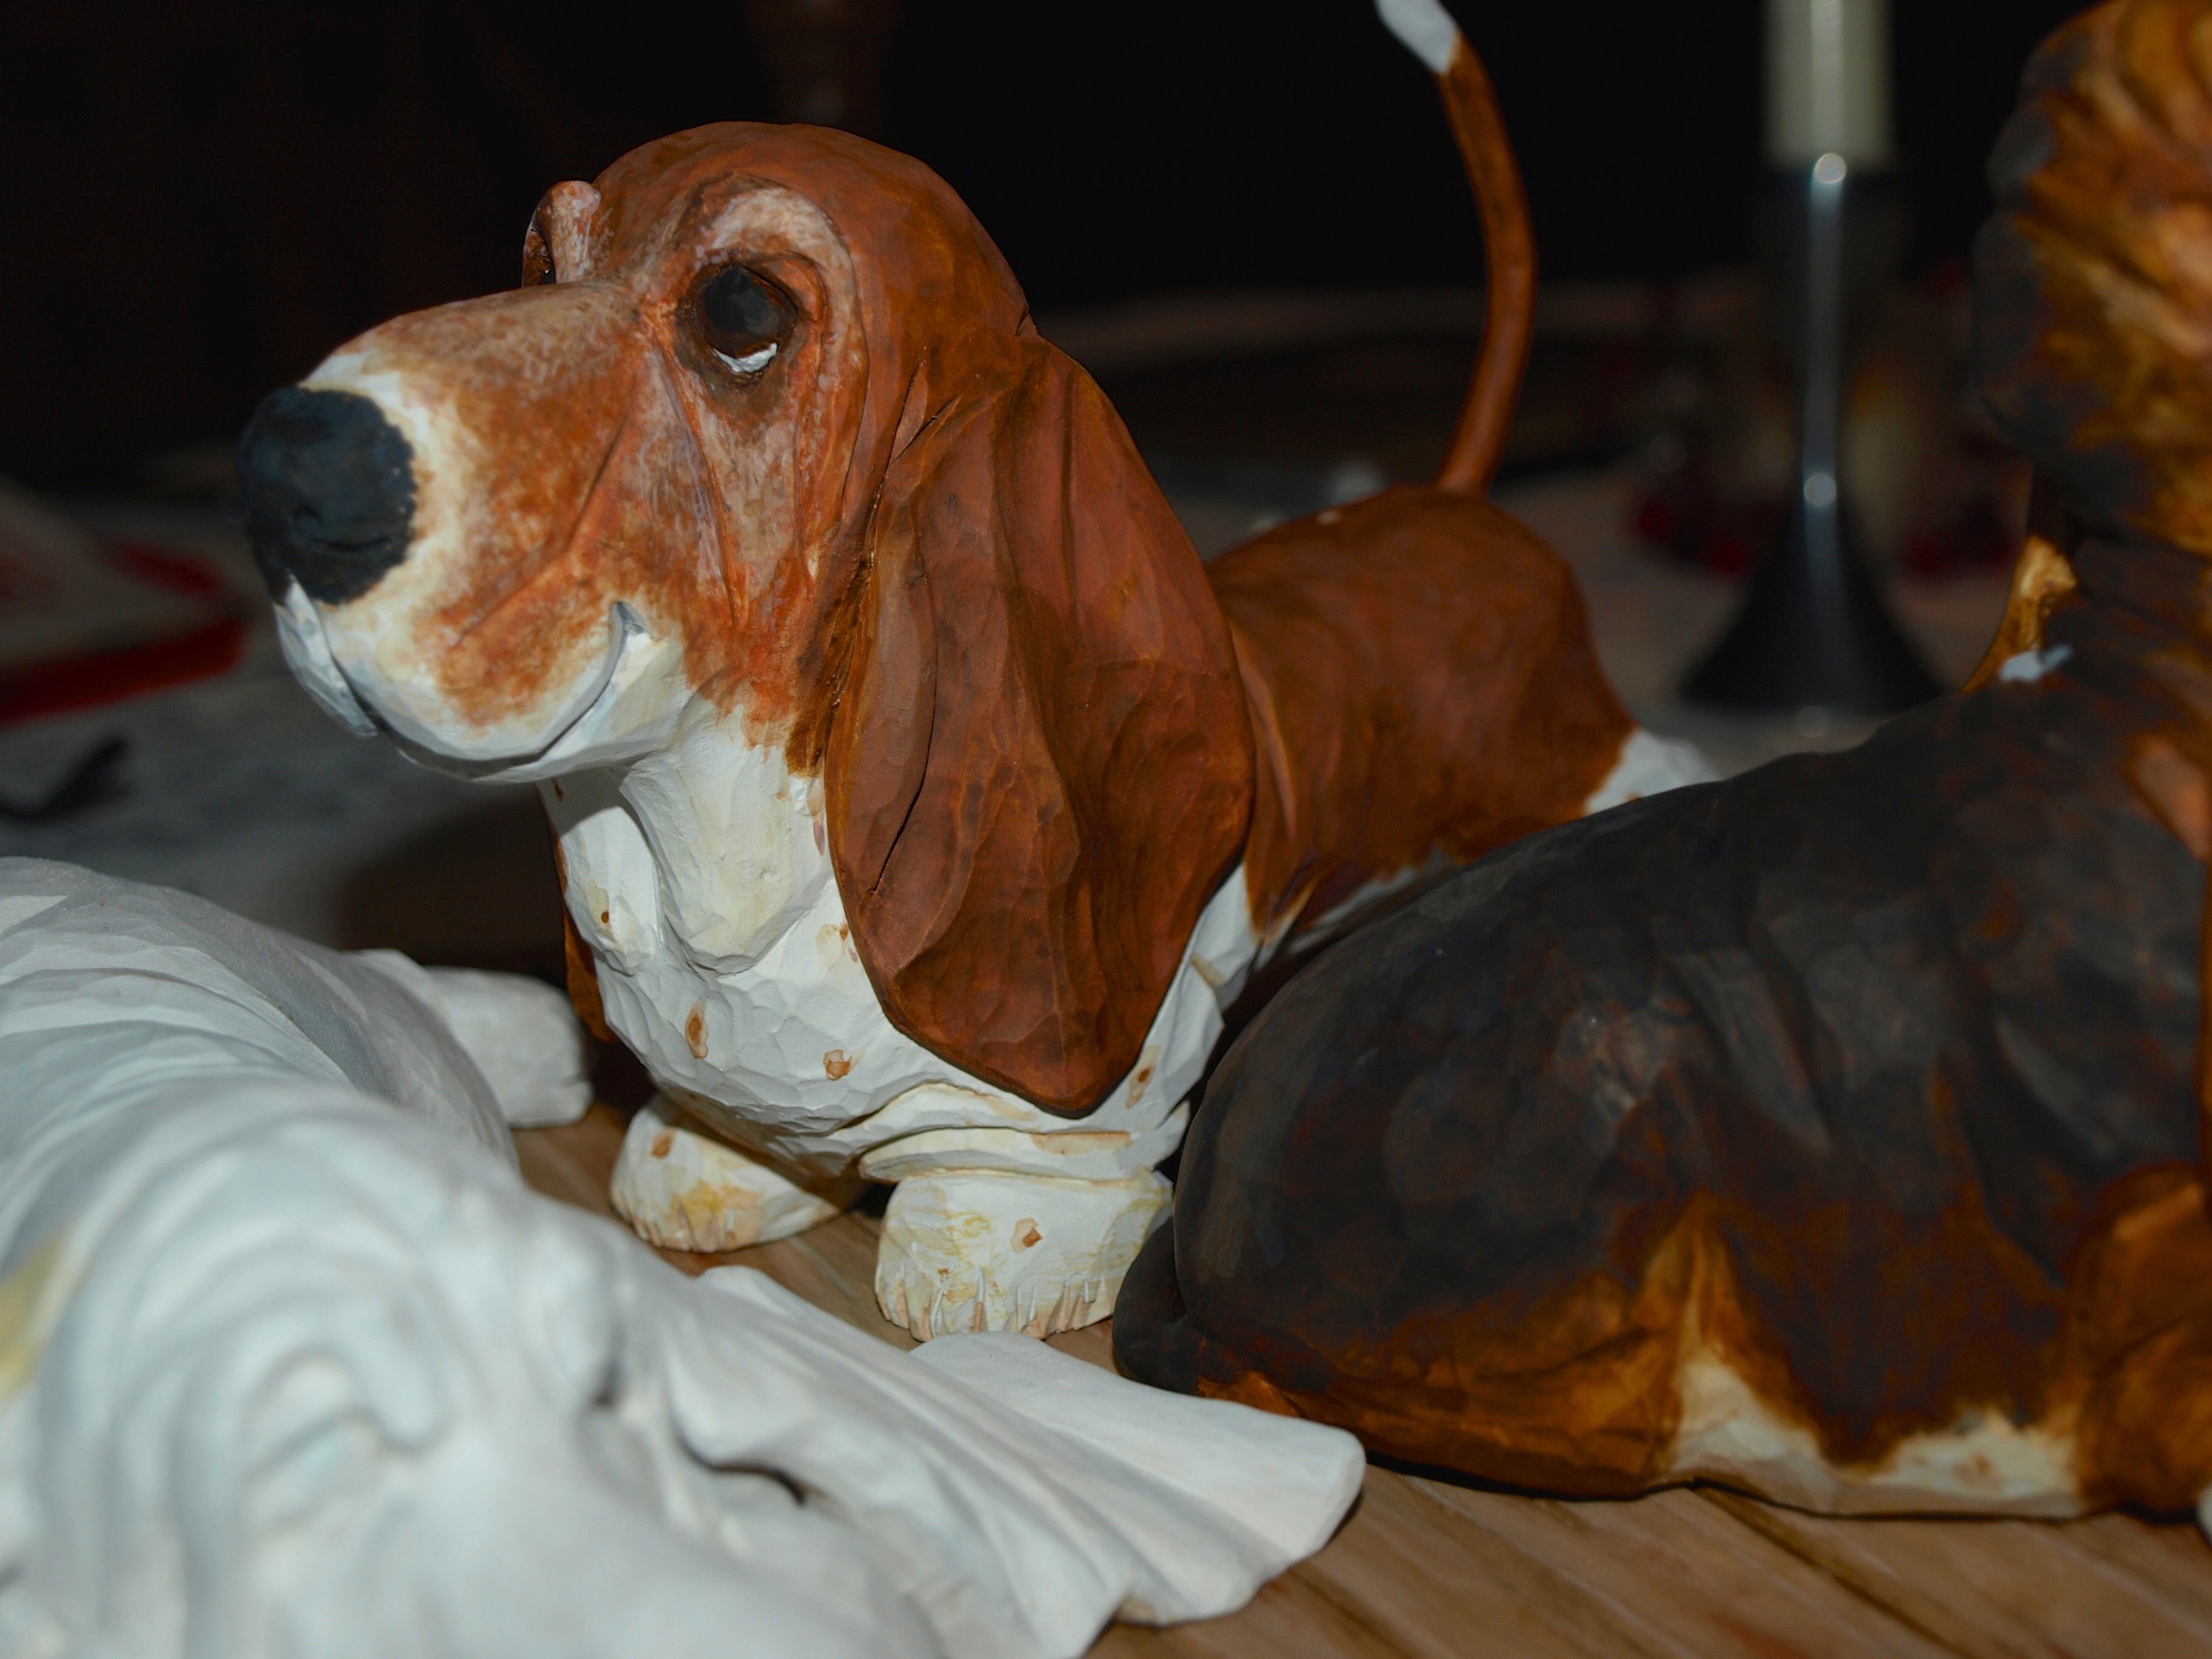
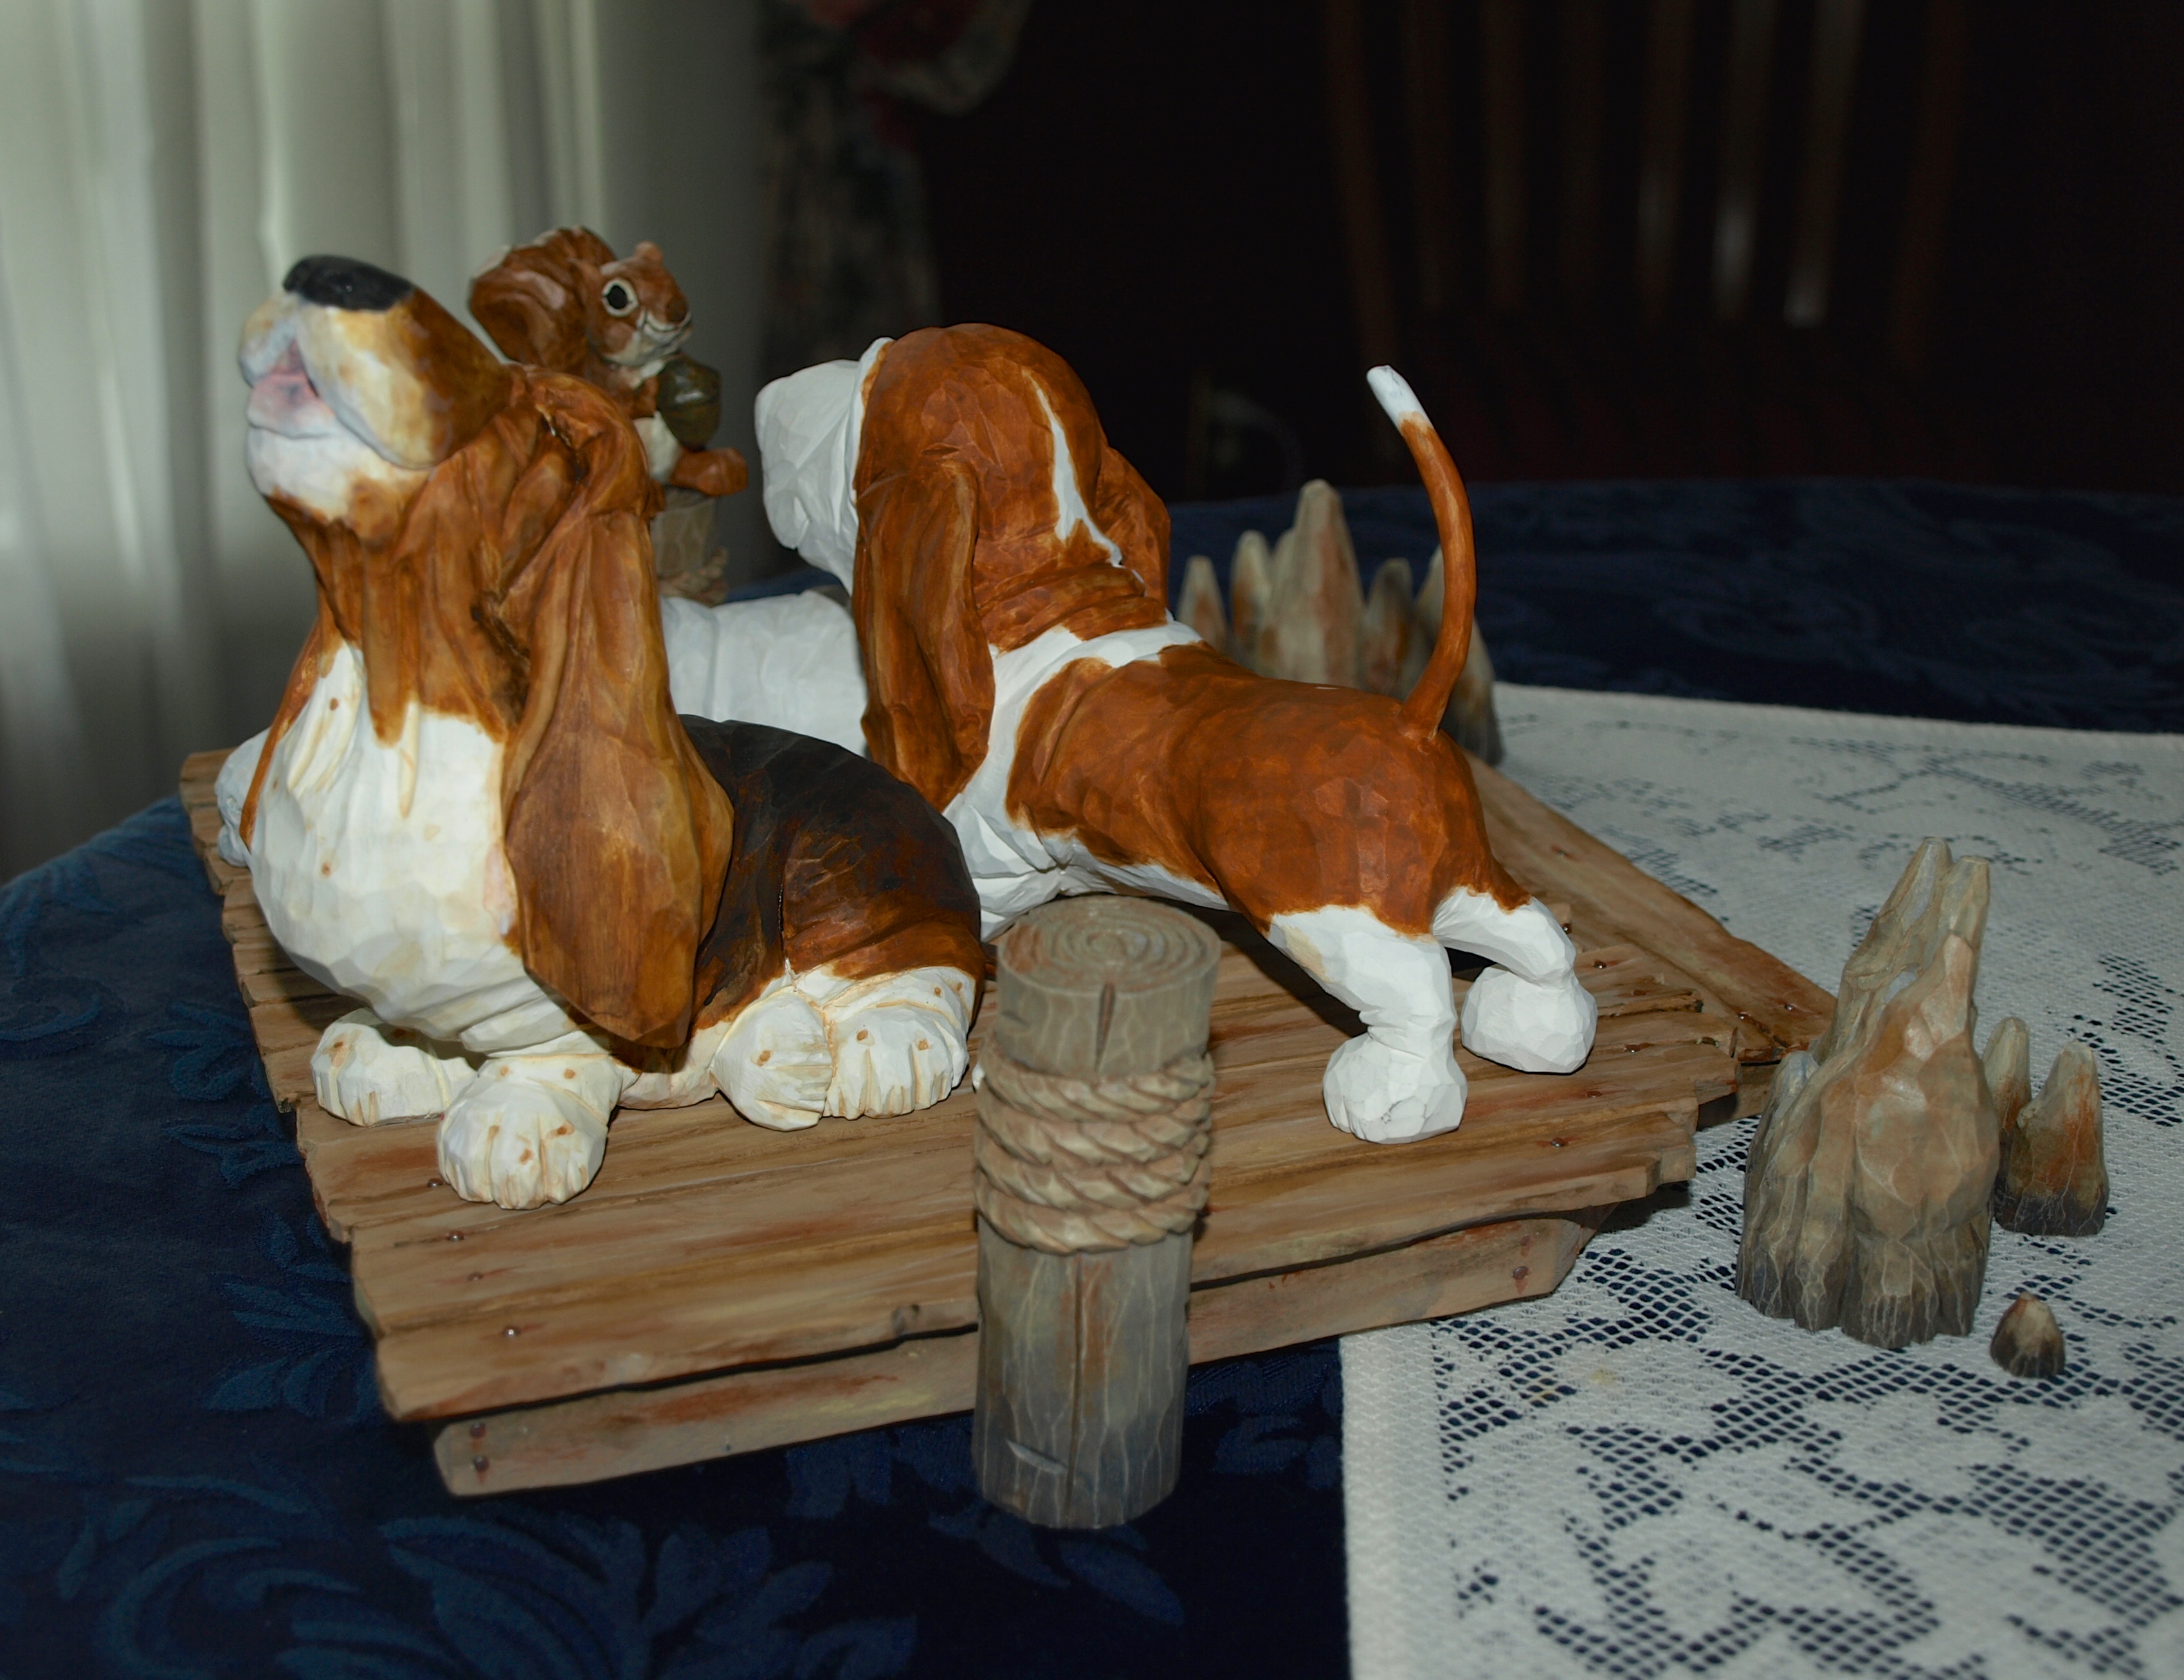
My two entries this year will be both in the category of caricatures:  Hobo and Ned, who have been shown at the Canadian Carving Championship held in January at the Hamilton Warplane Museum; and the Louisiana Hound Trio, which was just recently completed.  Both will be entered at the Open Level ( the levels are Novice, Intermediate and Open ) where there will sure to be some fantastic carvings joining them.

It’s so odd that I’ve been carving as long as I have been and only started going to these shows starting a couple of years ago.  If you find yourself in the same boat, don’t wait!…start going to the shows!…they are a lot of fun, you end up enjoying a weekend with people who share the same interest and you go home more motivated than ever to create something new.

OLYMPUS DIGITAL CAMERA

Banjo Playing Paws

These front paws will eventually be shaped around a nice little banjo for a tune or two.  In the photo, I’m just holding them in place with my fingers but I’ll be adding some small diameter dowels shortly to hold the front legs in place while I shape in the detail.  When I’m finished with all of the shaping, they’ll be epoxied in place for good.

I’ve also added a bit more shape to this little hounds neck and he’ll develop some jowls before the weekend is over.

But…it is Canadian Thanksgiving this weekend and I’m afraid that I’m going to have to turn my attention to eating too much turkey and dressing in a short while.  Just so many things to do…

Happy Thanksgiving to those Canadians celebrating this weekend.

OLYMPUS DIGITAL CAMERA

Rough Looking Country Hound

Yeah, he does look a bit rough…but that’s the way that they start out.  I’ve said it before, I tend to call this stage the “seal” stage as they look more like a seal to me than a Basset Hound.  If you’re inclined to carve a hound, be sure to shoot for the seal look as you’ll know you’re going in the right direction!

Right off, you’ll notice that I’m missing a few parts.  The arms are being done separately for a couple of reasons.  First, the grain has to be going along the length of the arms to give them some strength.  I like to think that my carvings will be around for a long time, so I want the parts and pieces to be strong and lasting.  Second, I need to fit a banjo in there and I’m suspecting that I’ll need to fit the arms in their final spots after I’ve carved the banjo.  I can’t wait to do the banjo.

The ears are separate as well for much the same reasons.  They need to flow over the arms ( which will be over the banjo ), so they need to go in separately, and second, I want the grain to be in the direction of the flow of the ears for strength.

Finally, I decided to add one of the little back paws as a separate piece as it needs to “cuddle” the banjo.

I’m also painting windows right now ( what on earth that has to do with carving, I’m not sure, but I’m told is right up there in priority ) so I may not get an update on the arms until a bit later this week.

Now that I look at the photo, I should remind those that are carving to always wear a kevlar glove in your non-knife-holding-hand.  It won’t save you from a puncture into the weave, but it will save yourself being cut by a glancing knife blade.  They’re inexpensive and sold at all carving shows and many building supply stores.  If you’re of the opinion that a real carver doesn’t use hand protection, remember that if you cut a tendon in your hand or finger you’ll not be enjoying your hobby for a long, long time.  Although you might still be able to paint windows.

OLYMPUS DIGITAL CAMERA

Photo – Opportunity for the Hounds

Well my little Hound Trio on the Louisiana dock is now finished.  I’m very proud of the way that this carving shaped up.

It’s actually quite a large carving at about 14″ by 14″ at the base with the “longest” hound at 7 1/2″ and the “tallest” hound at 5″.  I like the expression and character of each of the little Basset Hounds as well as the little squirrel.

The dock area and base really turned out to my liking, also.  I really put a lot of relief and depth into the dock with lots of cracks and imperfections, nails along the plank lengths, some broken planks with a bent nail where a plank had been less than carefully pried away and ropes wound around the piers to protect little fishing boats that tie up for the night.

This is a Louisiana scene so the Cypress knees were added to that effect.  I like the way that they turned out and the way that they balance the dock scene.

The base itself came from a real nice piece of red oak.  The grain just turned out beautifully as I think that between the rolling contour and the fairly strong grain pattern you’re left with an impression of a water scene.

I like this carving and am glad that the idea was offered up…I would definitely not have come up with this idea on my own!

Enjoy the pictures below and please click on the Flickr site on the links to the right of this page to take a look at some additional photos.  Enjoy!

OLYMPUS DIGITAL CAMERA

OLYMPUS DIGITAL CAMERA

OLYMPUS DIGITAL CAMERA

Country Hound Cut-Out

Here are a couple of photos of the first steps in this project.

The basswood block has the shape of the front and side view of the hound.  The first cut was a vertical line just alongside of the front view of the hound in order to square the block of wood up a bit so that I would waste less wood…remember, I have some fun accessories to go with this hound and that extra wood will come in handy.

The second series of cuts were along the contour of the side view.  Once this was done, I very lightly glued back the end pieces that I had just sawed away and that were on the top and bottom of the side view.  This allowed me to rest the back of the hound squarely on the table so that I could cut along the front contour.  If I hadn’t done this, the hound’s back would have been insecure and “wobbly”…which is something that you don’t want when using a bandsaw…or, any saw, for that matter.

Of course, I had cut away the pencil marks for the front when I was doing that initial side contour cutting, so, I drew that front view profile back on and went back to the bandsaw for the final cuts.

If you have a good imagination, you can picture that little Country Hound holding that banjo and howling away to his heart’s delight.

OLYMPUS DIGITAL CAMERA

OLYMPUS DIGITAL CAMERA

Country Hound

Here’s the start to a fun project, once again featuring the very caricature-carving-worthy Basset Hound.

This little hound will have a particular country flavour headlined by a singing/howling Basset Hound, of course, fully equipped with a straw hat, denim overalls, rocking chair, spittoon and banjo.  All of those parts and pieces are going to be a lot of fun to come up with.

I’ve started with a drawing and will soon cut out the basswood blank to begin the hound carving.  I’m thinking that the rocking chair will be oak and stained randomly to look weathered and well used.  The banjo is going to be an absolute ball…I can picture some metal shiny parts to really show it off.

If anyone has any ideas that I could add to this concept…please chime in.

OLYMPUS DIGITAL CAMERA

Creating an Oak Base

I picked up a beautiful piece of red oak at my favourite lumber mill just north of town.  Card Lumber.  What a great spot for someone who likes wood.  I found a nice length of 8″ wide oak that was planed down for me to about a 3/4″ thickness.  After a few quick saw cuts, I had it clamped down and laminated to produce about the 14″ by 14″ base that I would need.

OLYMPUS DIGITAL CAMERA

That Black & Decker Workmate that you see the boards clamped down on was given to me as a Christmas present from my much missed Dad about 30 years ago and has served me very well…and has seen a lot of projects big and small.  I used that table to carve a rocking horse for my 2 year old daughter ( she’s no longer two ) and I used that same table for some pretty major house renovations over the years.

A nice piece of red oak emerged after gluing.  Now, how many people do you know who would take a picture of a piece of wood to post on their website?  You have to love wood.  It’s a sickness, really.

OLYMPUS DIGITAL CAMERA

Then to the bandsaw to create a nice flowing contour around the carving.  I like the contour work around the carvings of docks and such as it leaves me with the impression of water without actually trying to add and paint a water scene.  I’ve never come across a wood carving that includes a water scene that looks right to me…I much prefer a hint at a flat surface for water.  Plus, that red oak will just make the rest of the colours in the carving “pop” once it’s stained and urethaned.

OLYMPUS DIGITAL CAMERA

The base is substantial because the carving is quite substantial.  The pencil mark that you see will be where the flat surface ends and a router with a Roman Ogee contour will begin…a nice flowing line from the “water” to the tabletop where the carving will be displayed.  This is going to look really nice.

Let ( at least one ) Sleepy Dog Lie

Ok, it’s not quite the expression we’re used to hearing, but it’s close. The little sleepy hound got its first pass at some added colour last night.  Still a bit more to add, however, this little hound’s colour pattern is a bit more open than her two buddies.  I want to add a bit more darkness to her face and of course some mournful eyes and a dark nose.  The colour is built up with several washes of asphaltum and chocolate brown…a little heavier on the asphaltum than the chocolate. This project is coming to a close and I’ll be sorry to finish it up as I’ve enjoyed this little creation. OLYMPUS DIGITAL CAMERA

Here’s a late addition with the eyes painted…now I’m really liking this carving…

OLYMPUS DIGITAL CAMERA

Lucy the Squirrel Chaser

This little hound got a few facial features over the weekend.  The colours are a little duller than they will be once a urethane coat is applied…the urethane tends to accentuate the colours and, of course, provides a matte, protective coating to the acrylics.

The real Lucy has a combination of lighter brown, white and some black in her face and I tried to indicate that with a few various washes of colour and some “dabs” of browns and white.

OLYMPUS DIGITAL CAMERA

The Squirrel Chaser

Here’s another quick update of the Howler and the Squirrel Chaser underway.  Both still require work to get all the colours that I’m looking for included in their coats.  Again, my method is to use a base coat of a cream colour with washes of the darker colour over top.

Washes of acrylic paint create a really nice effect…almost a depth of varying colour rather than just a single, solid colour.  I also like the washes for the fact that it keeps the edge of the darker colour coats varying in darkness so that you never end up with a solid transition from the cream colour to the darker browns and black.

So far, each of the dogs has about six or seven washes applied with some hair-dryer work in between.  I’m really enjoying the way that they are coming to life.

OLYMPUS DIGITAL CAMERA

Post Navigation