tributesinwood

Wood Carvings by Mark Sheridan

Archive for the tag “caricature carvings”

An Ear for Cattle Herding

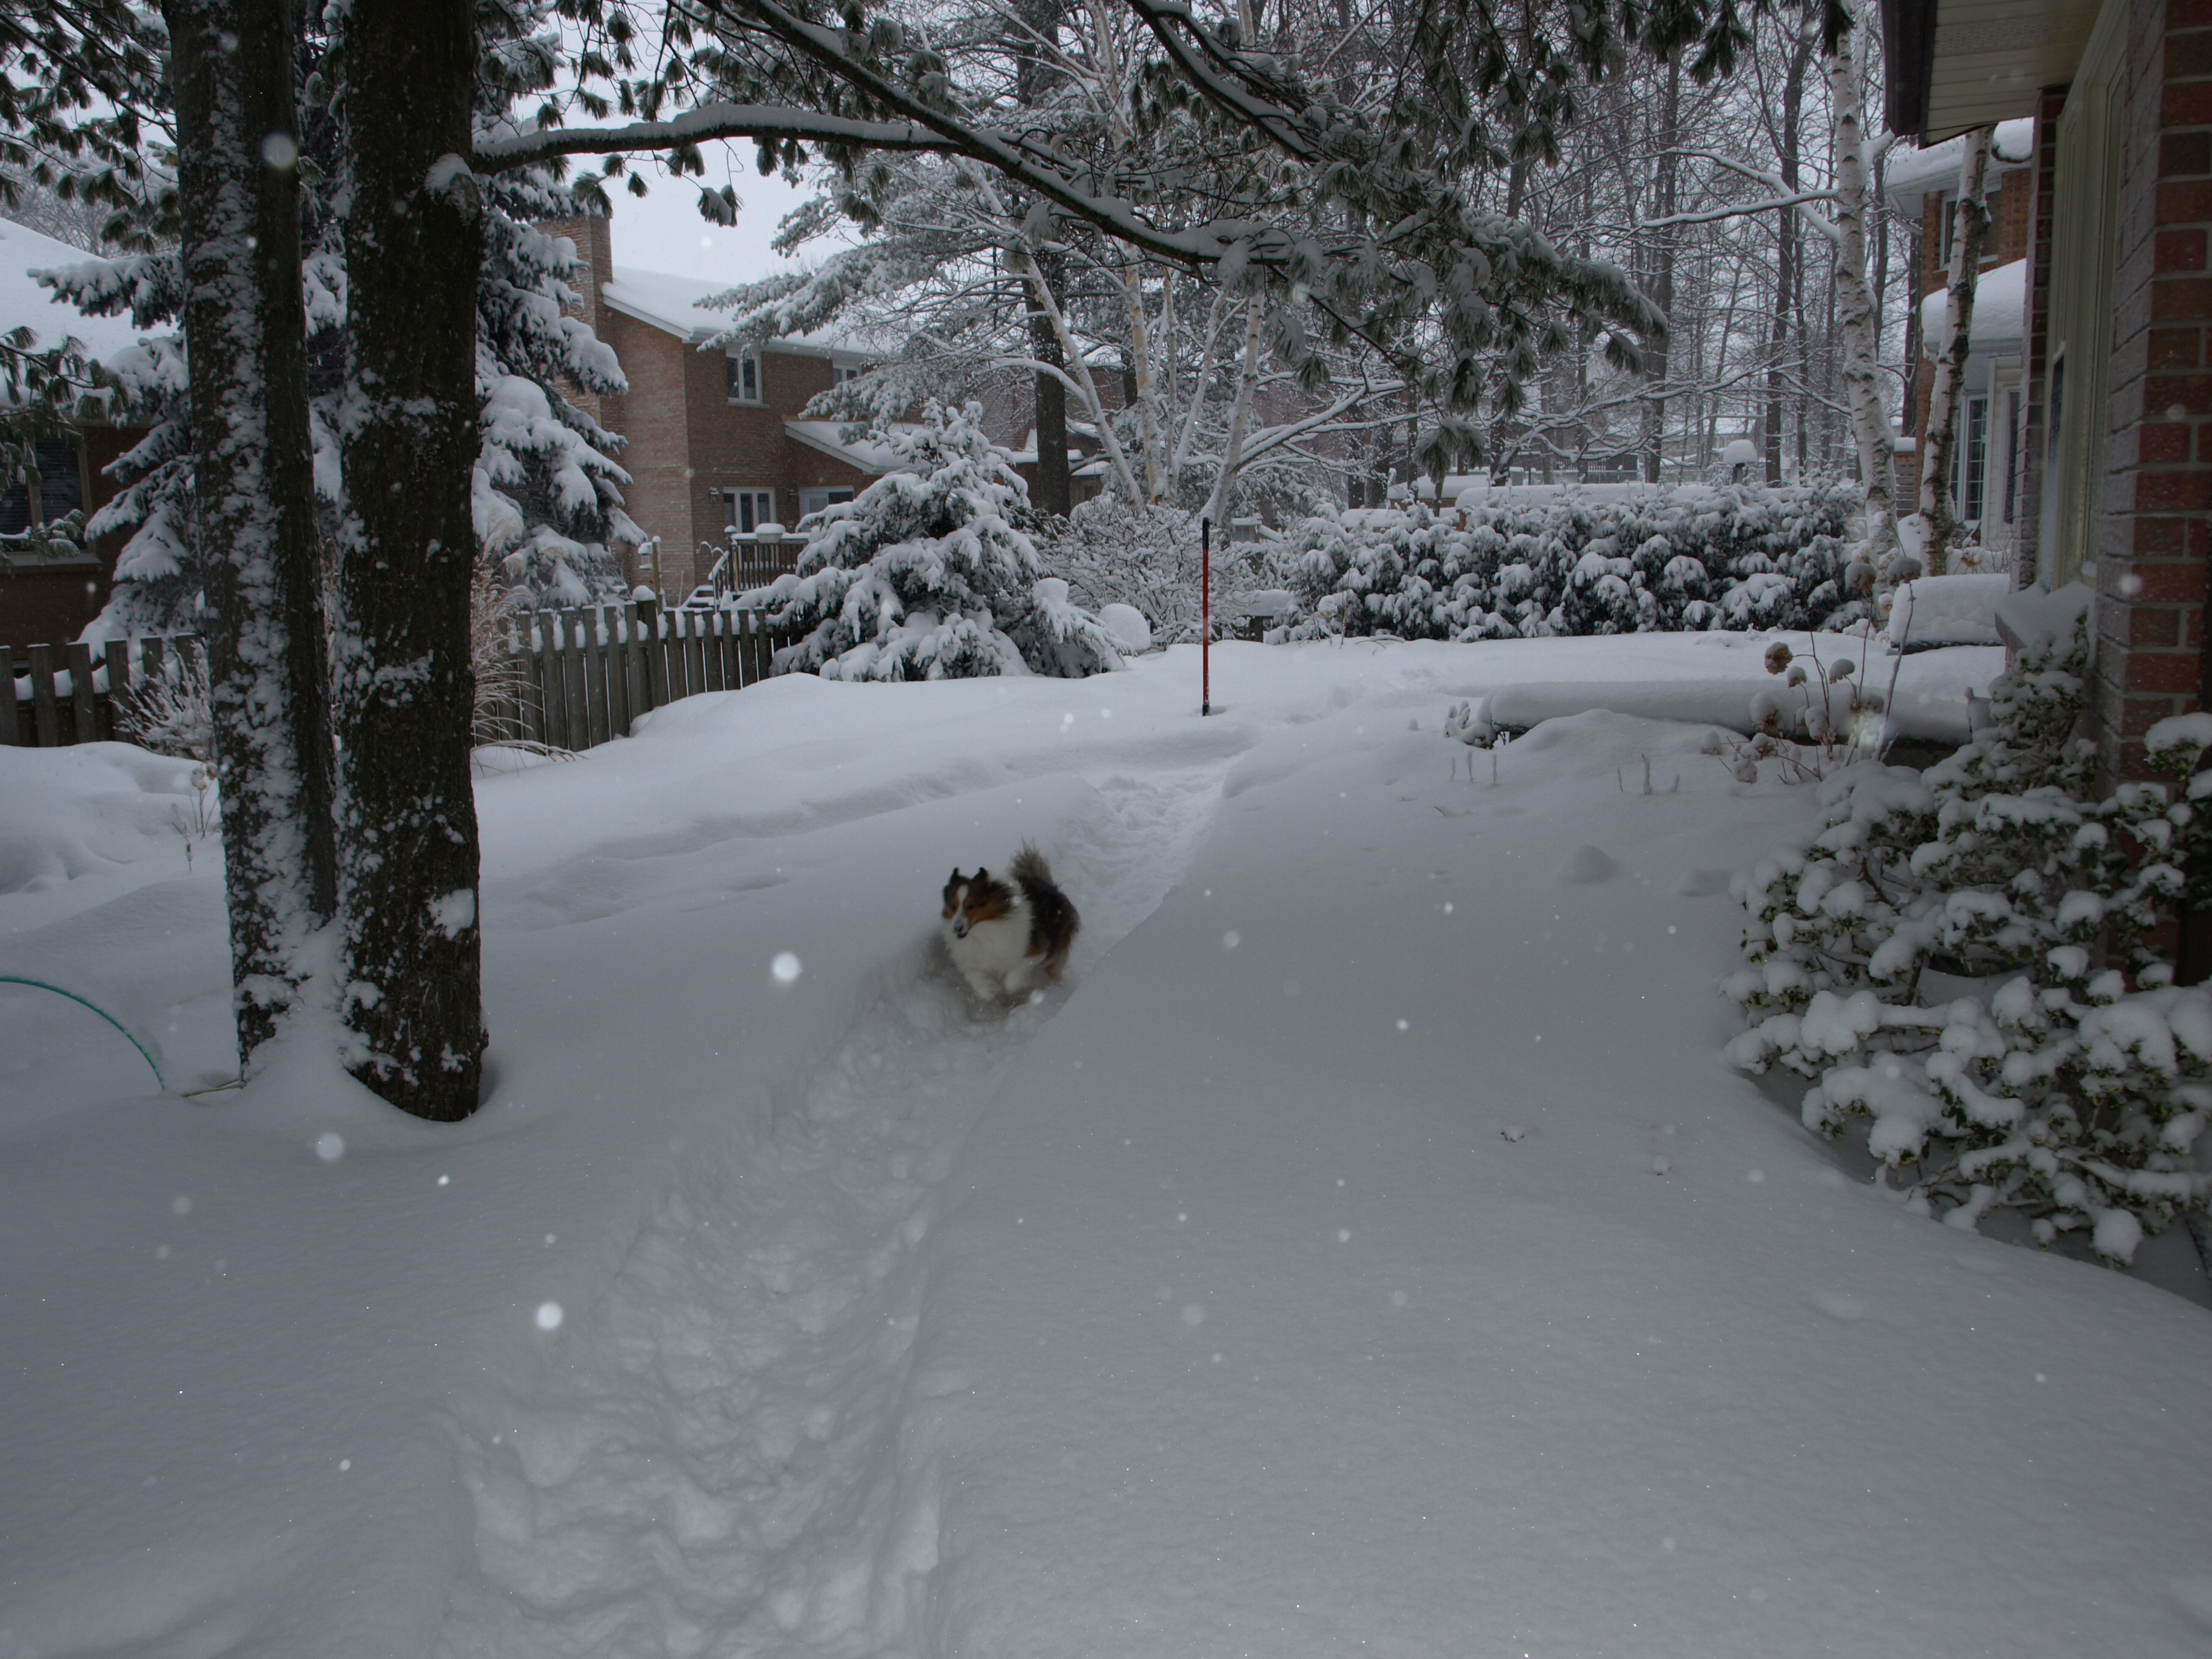
This morning’s activities involved nursing a sore back, cleaning several Rosie “droppings” from the backyard and starting into the ears for Buford.  I didn’t enjoy the sore back part nor the backyard part ( Rosie did ) but I did enjoy the carving part.  And my back is feeling a little better.

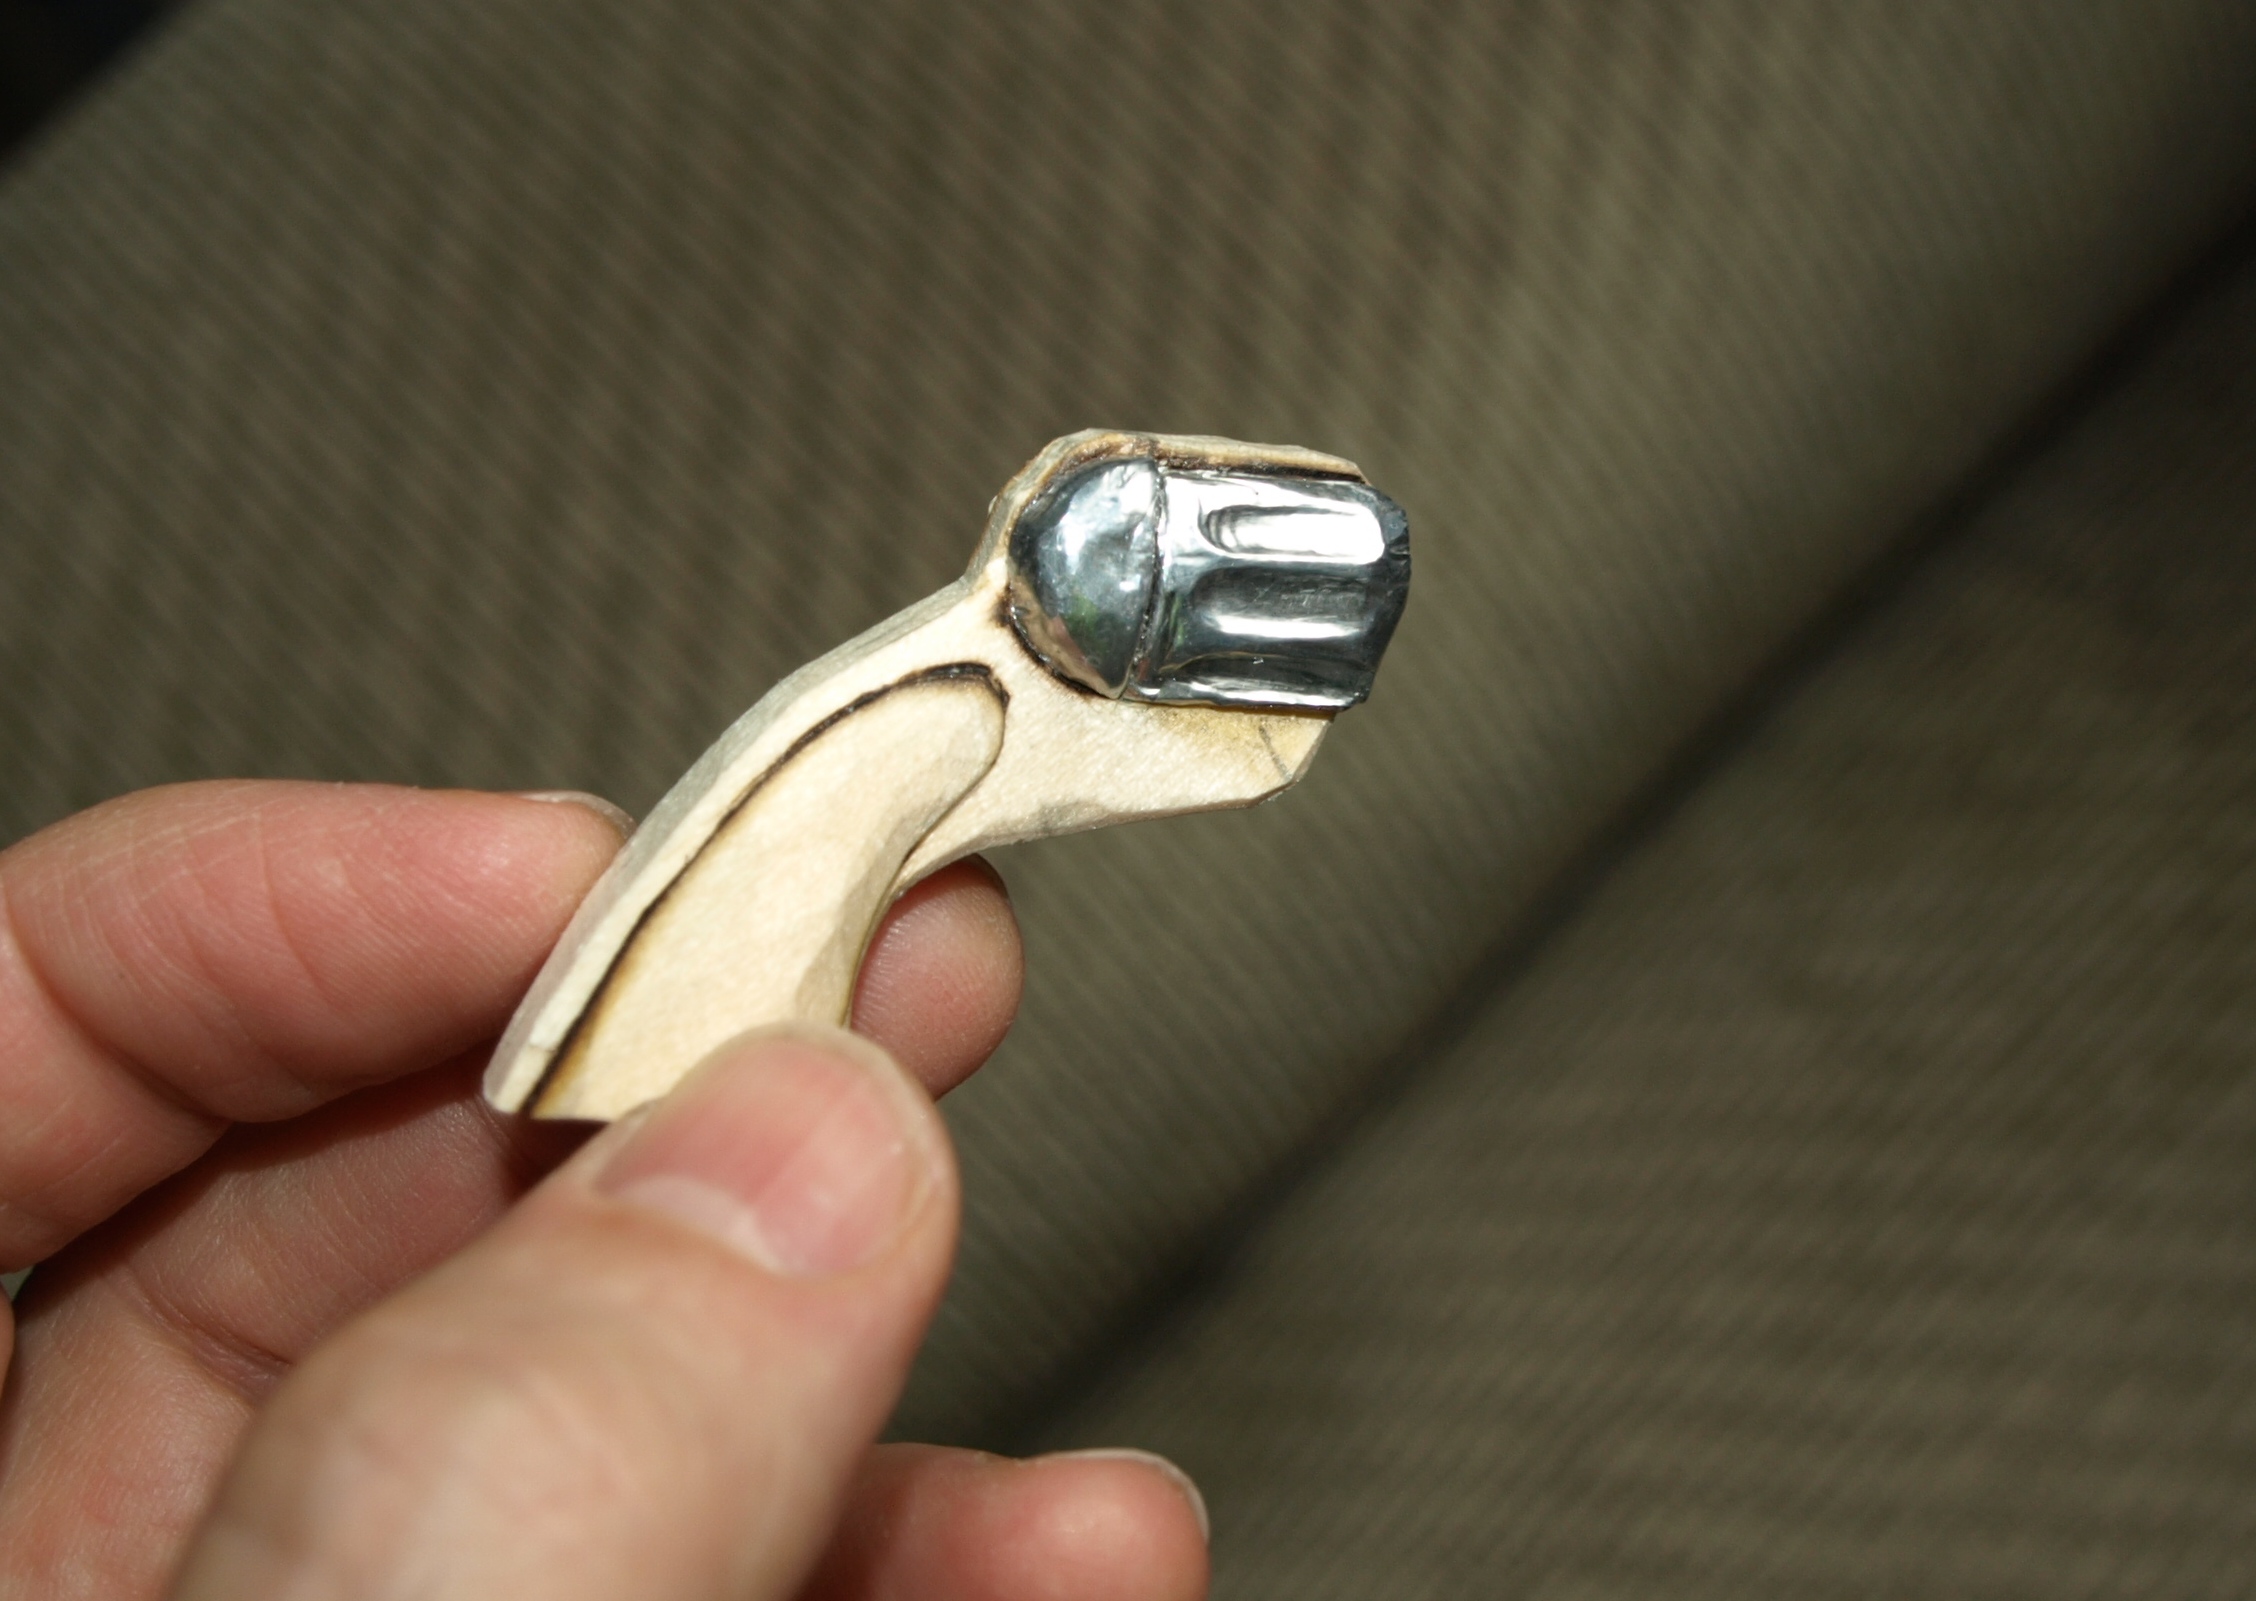
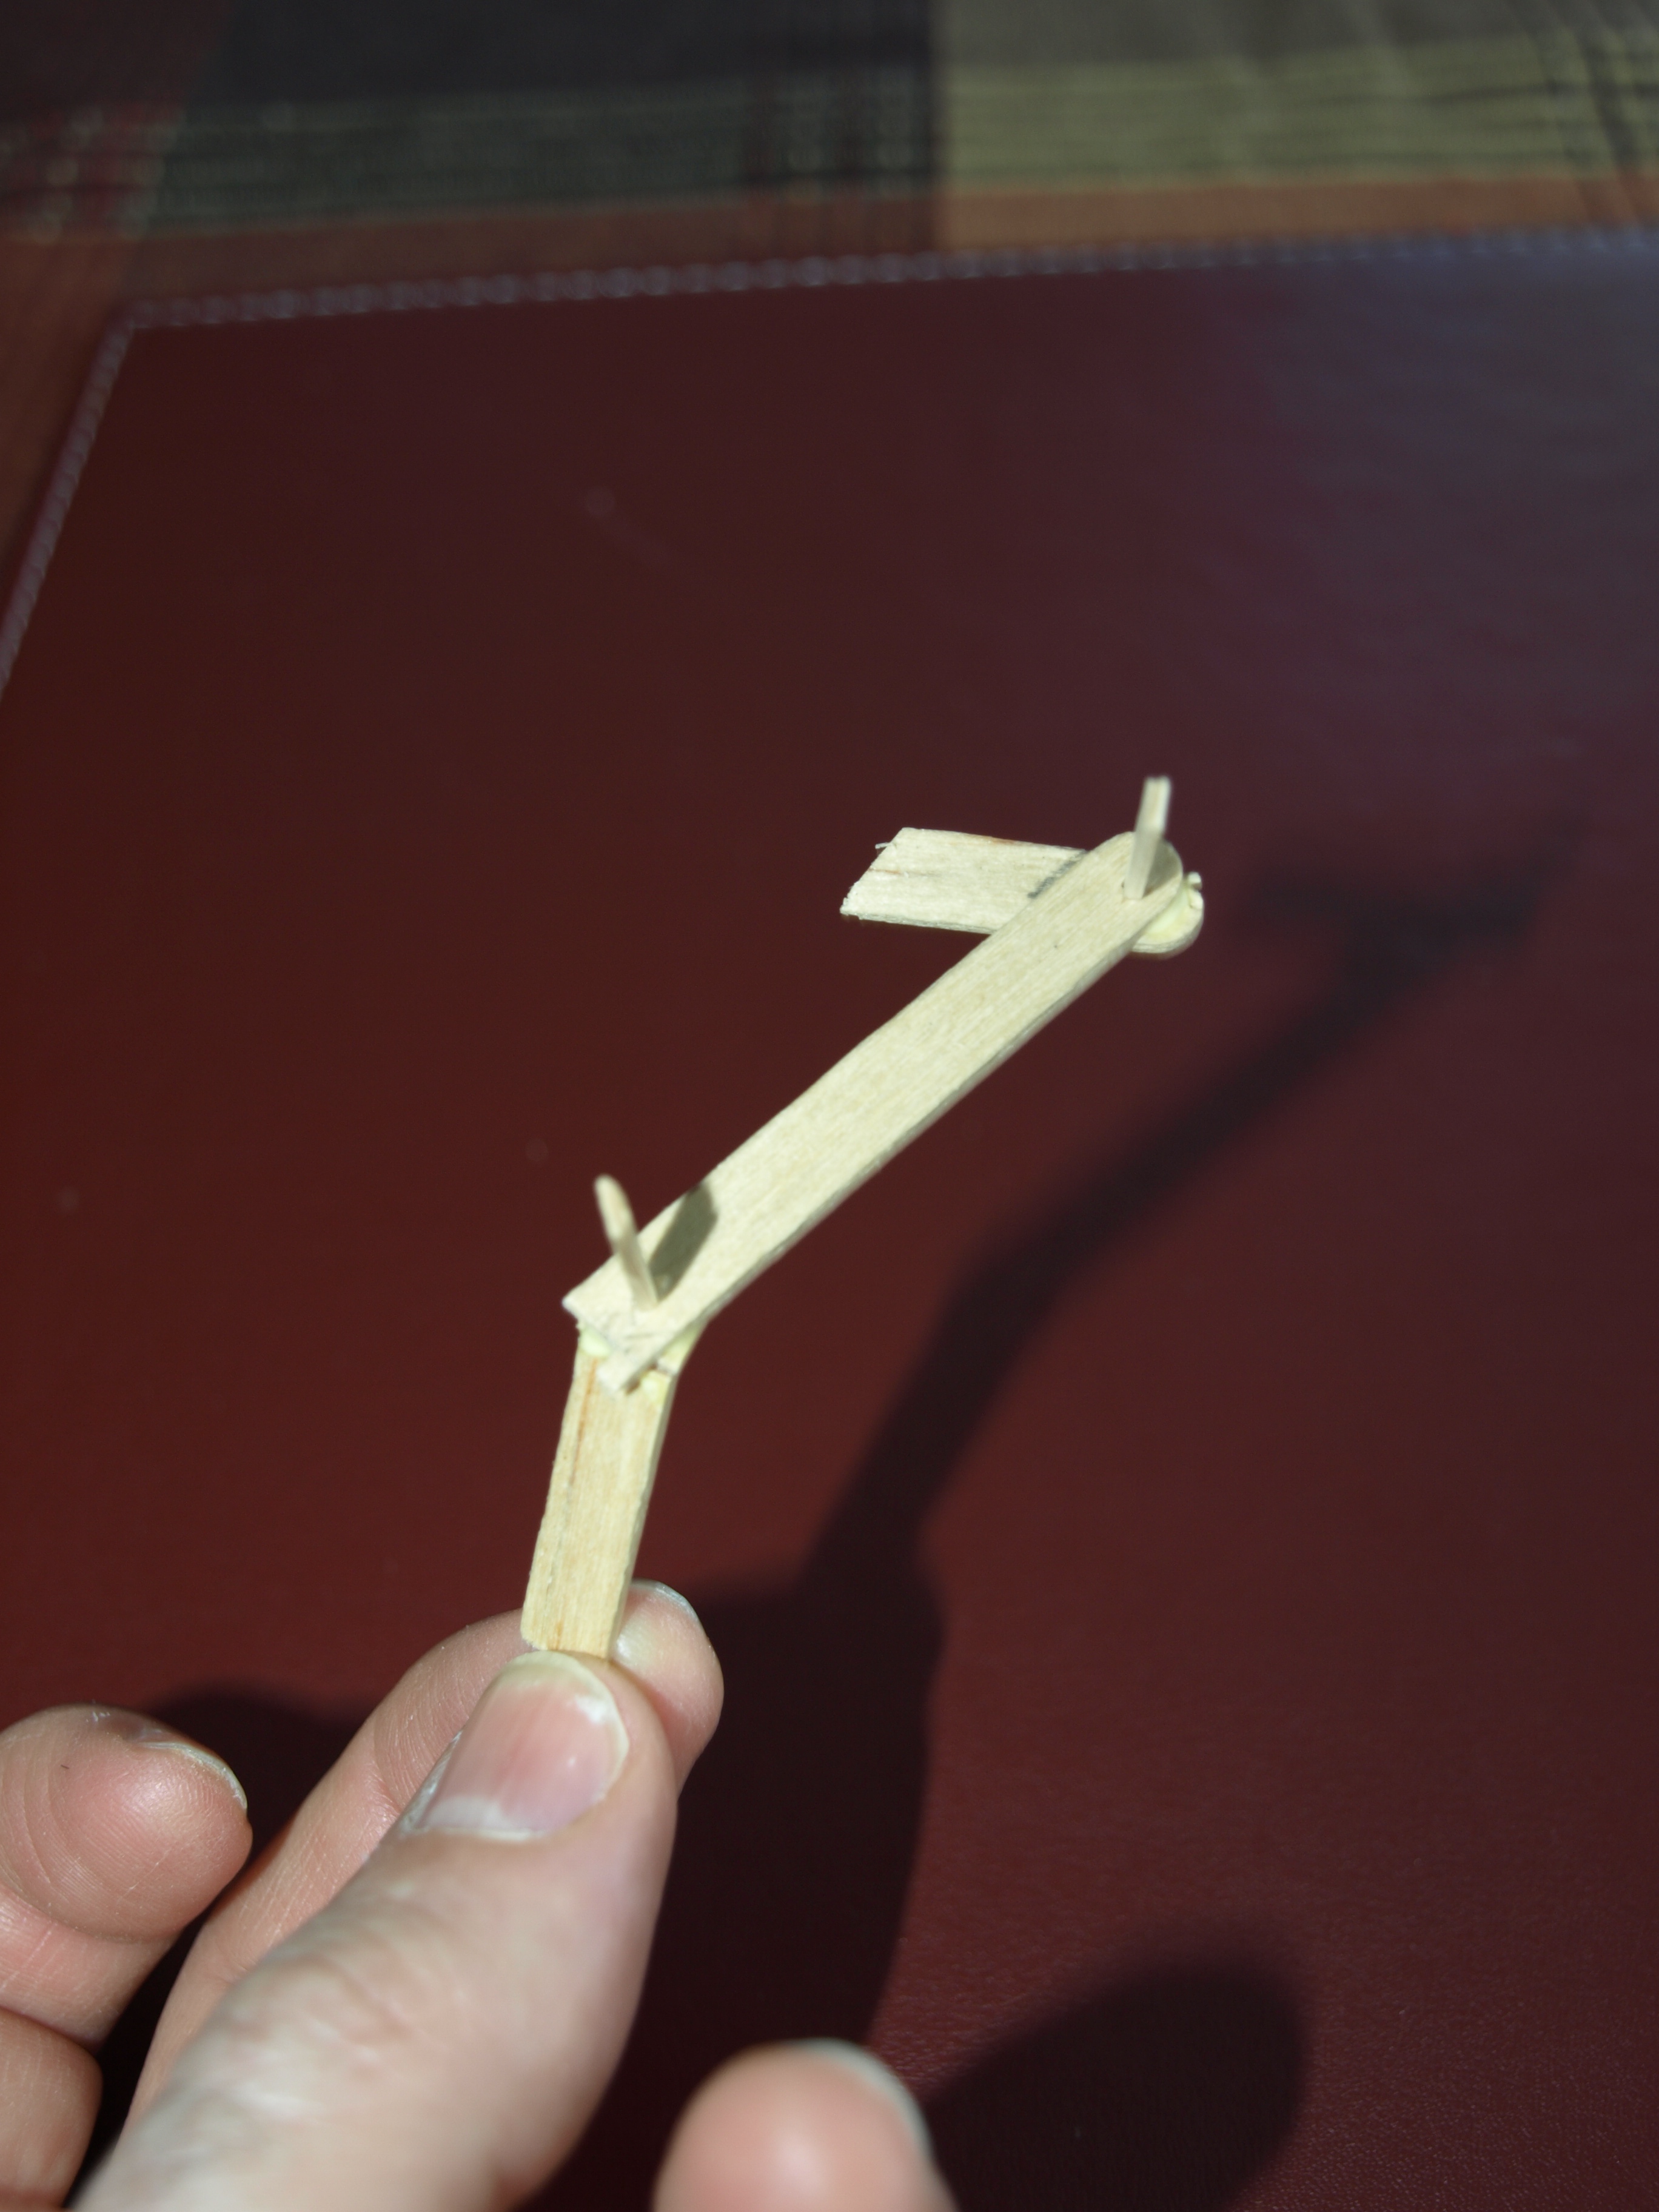
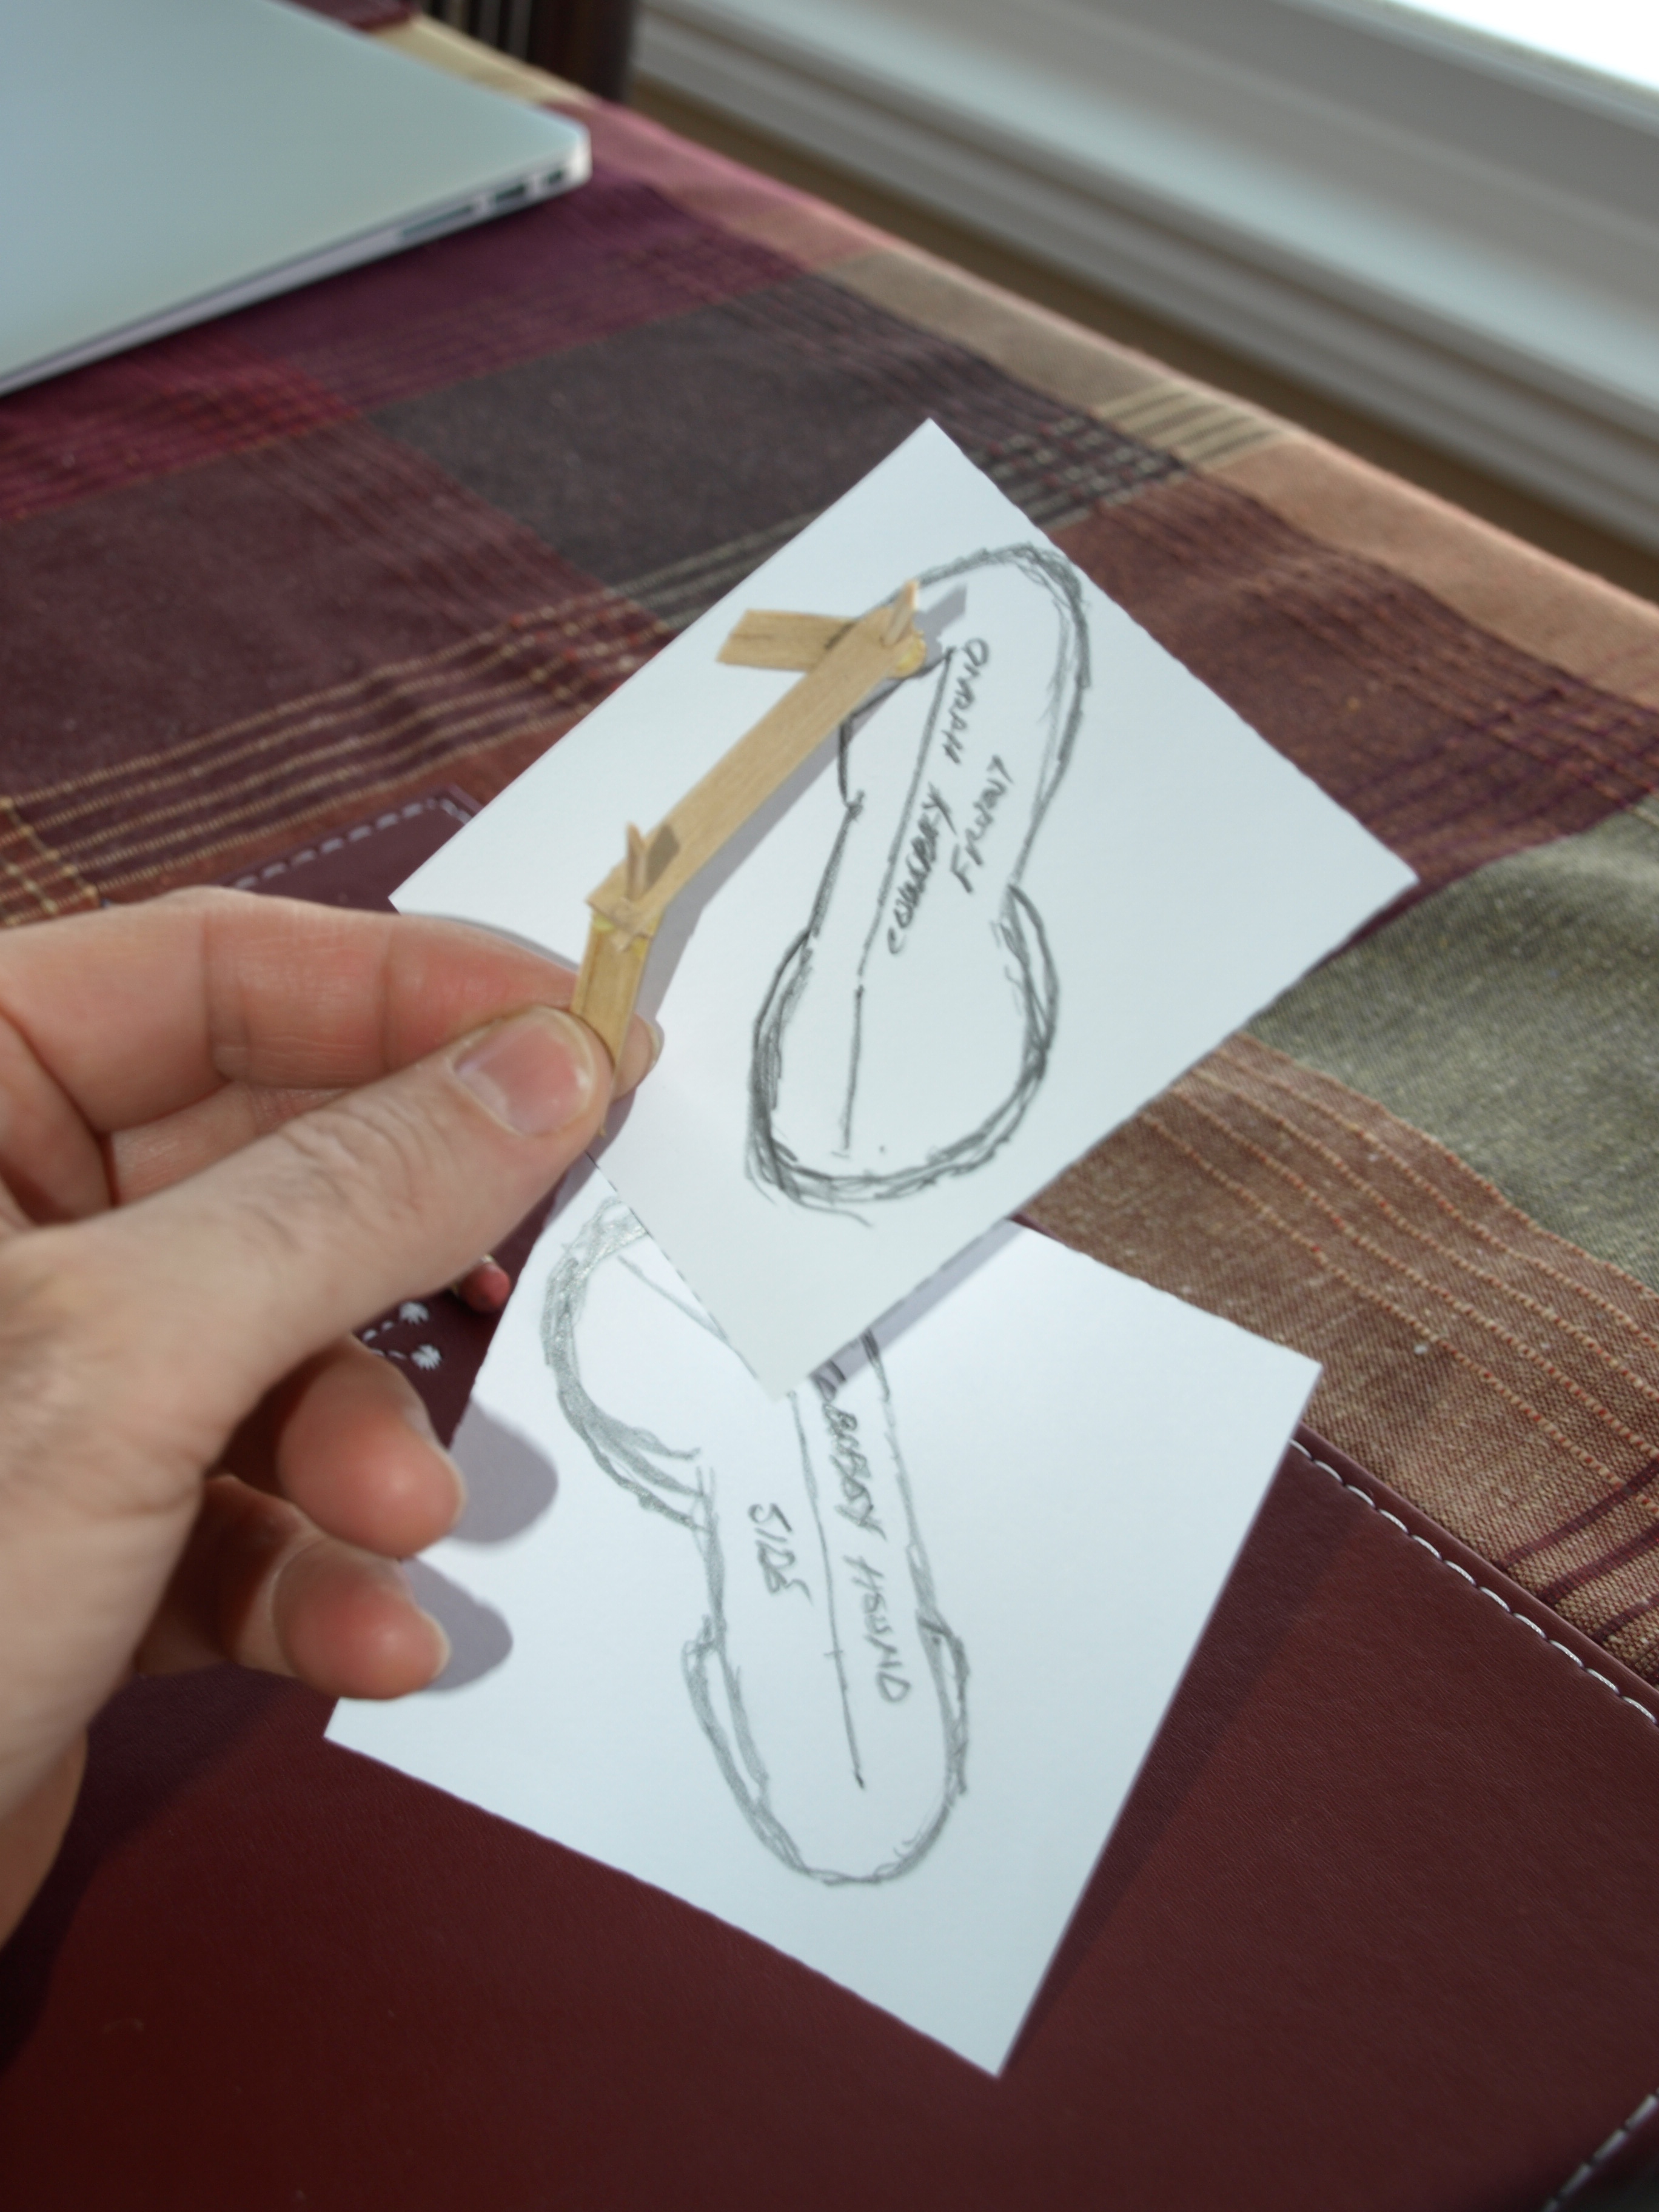
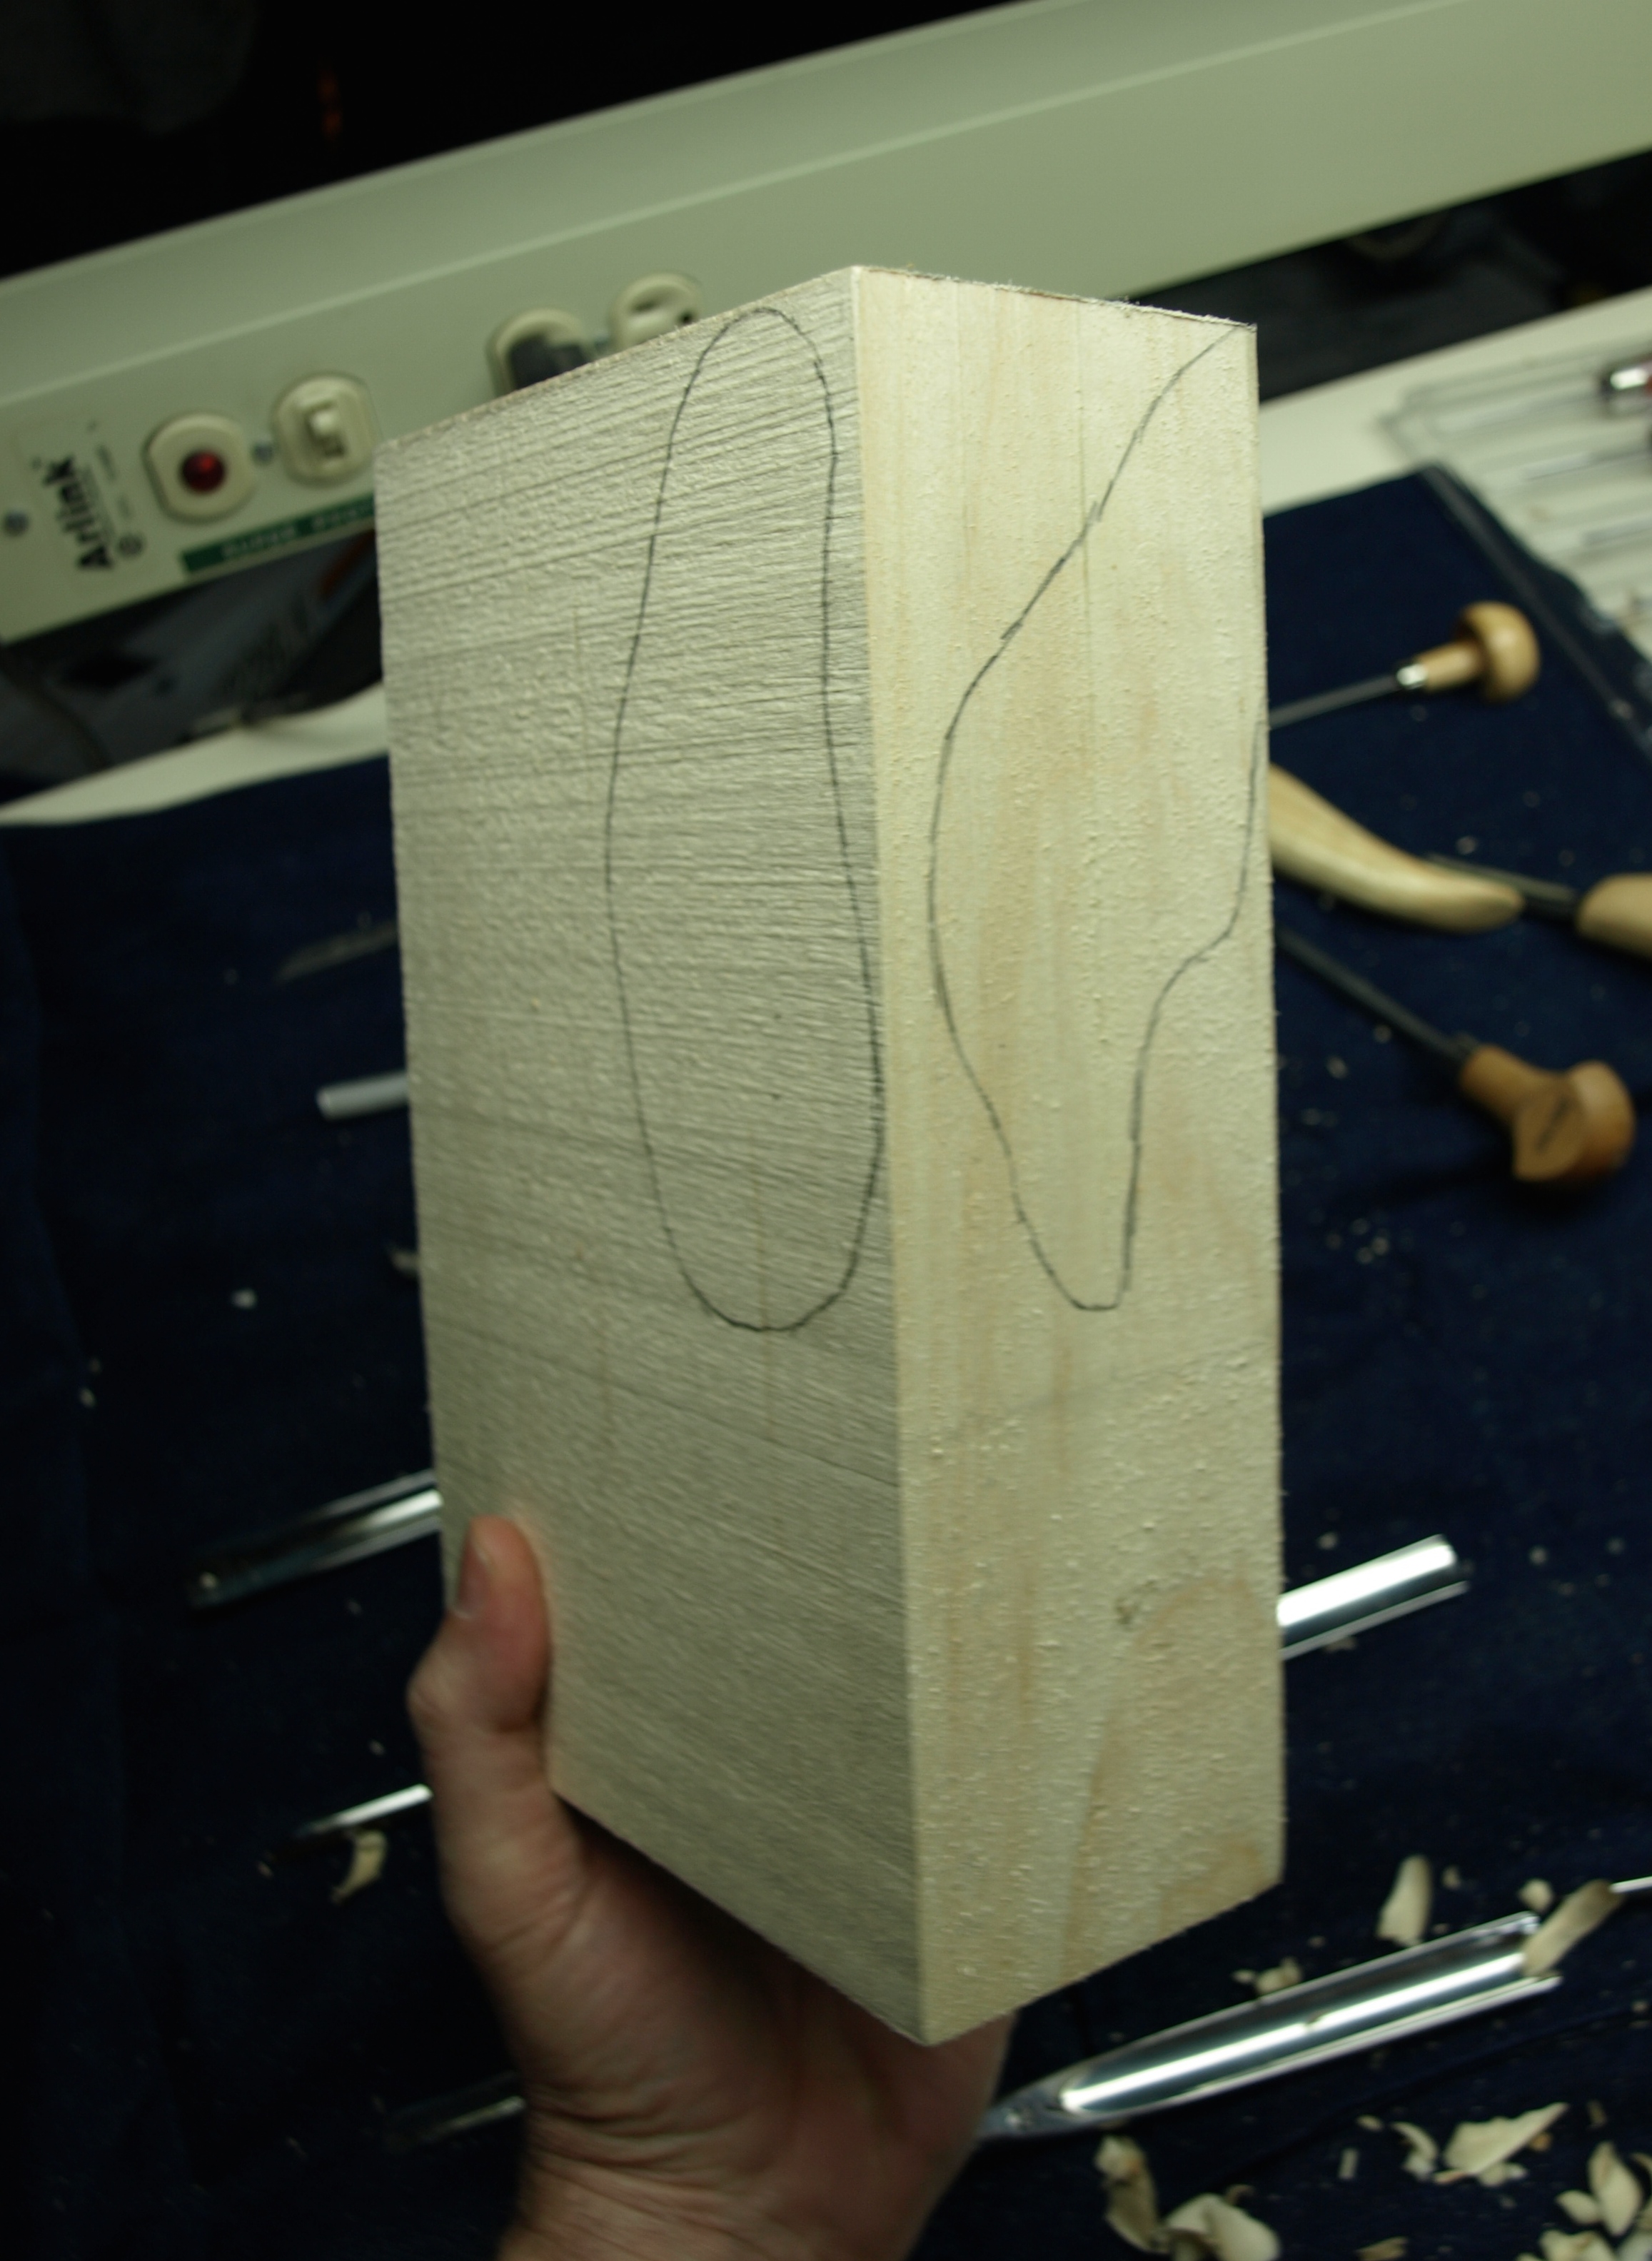
I made a fairly quick template out of paper just to get the general shape of the ear that would eventually curl around one arm and fall just short of the six-shooter.  After transferring a front and side view of this template to a piece of basswood ( thanks, Emily, for the basswood ), I rough cut it on the bandsaw and then did some minimal shaping with some carving tools.

OLYMPUS DIGITAL CAMERA

OLYMPUS DIGITAL CAMERA

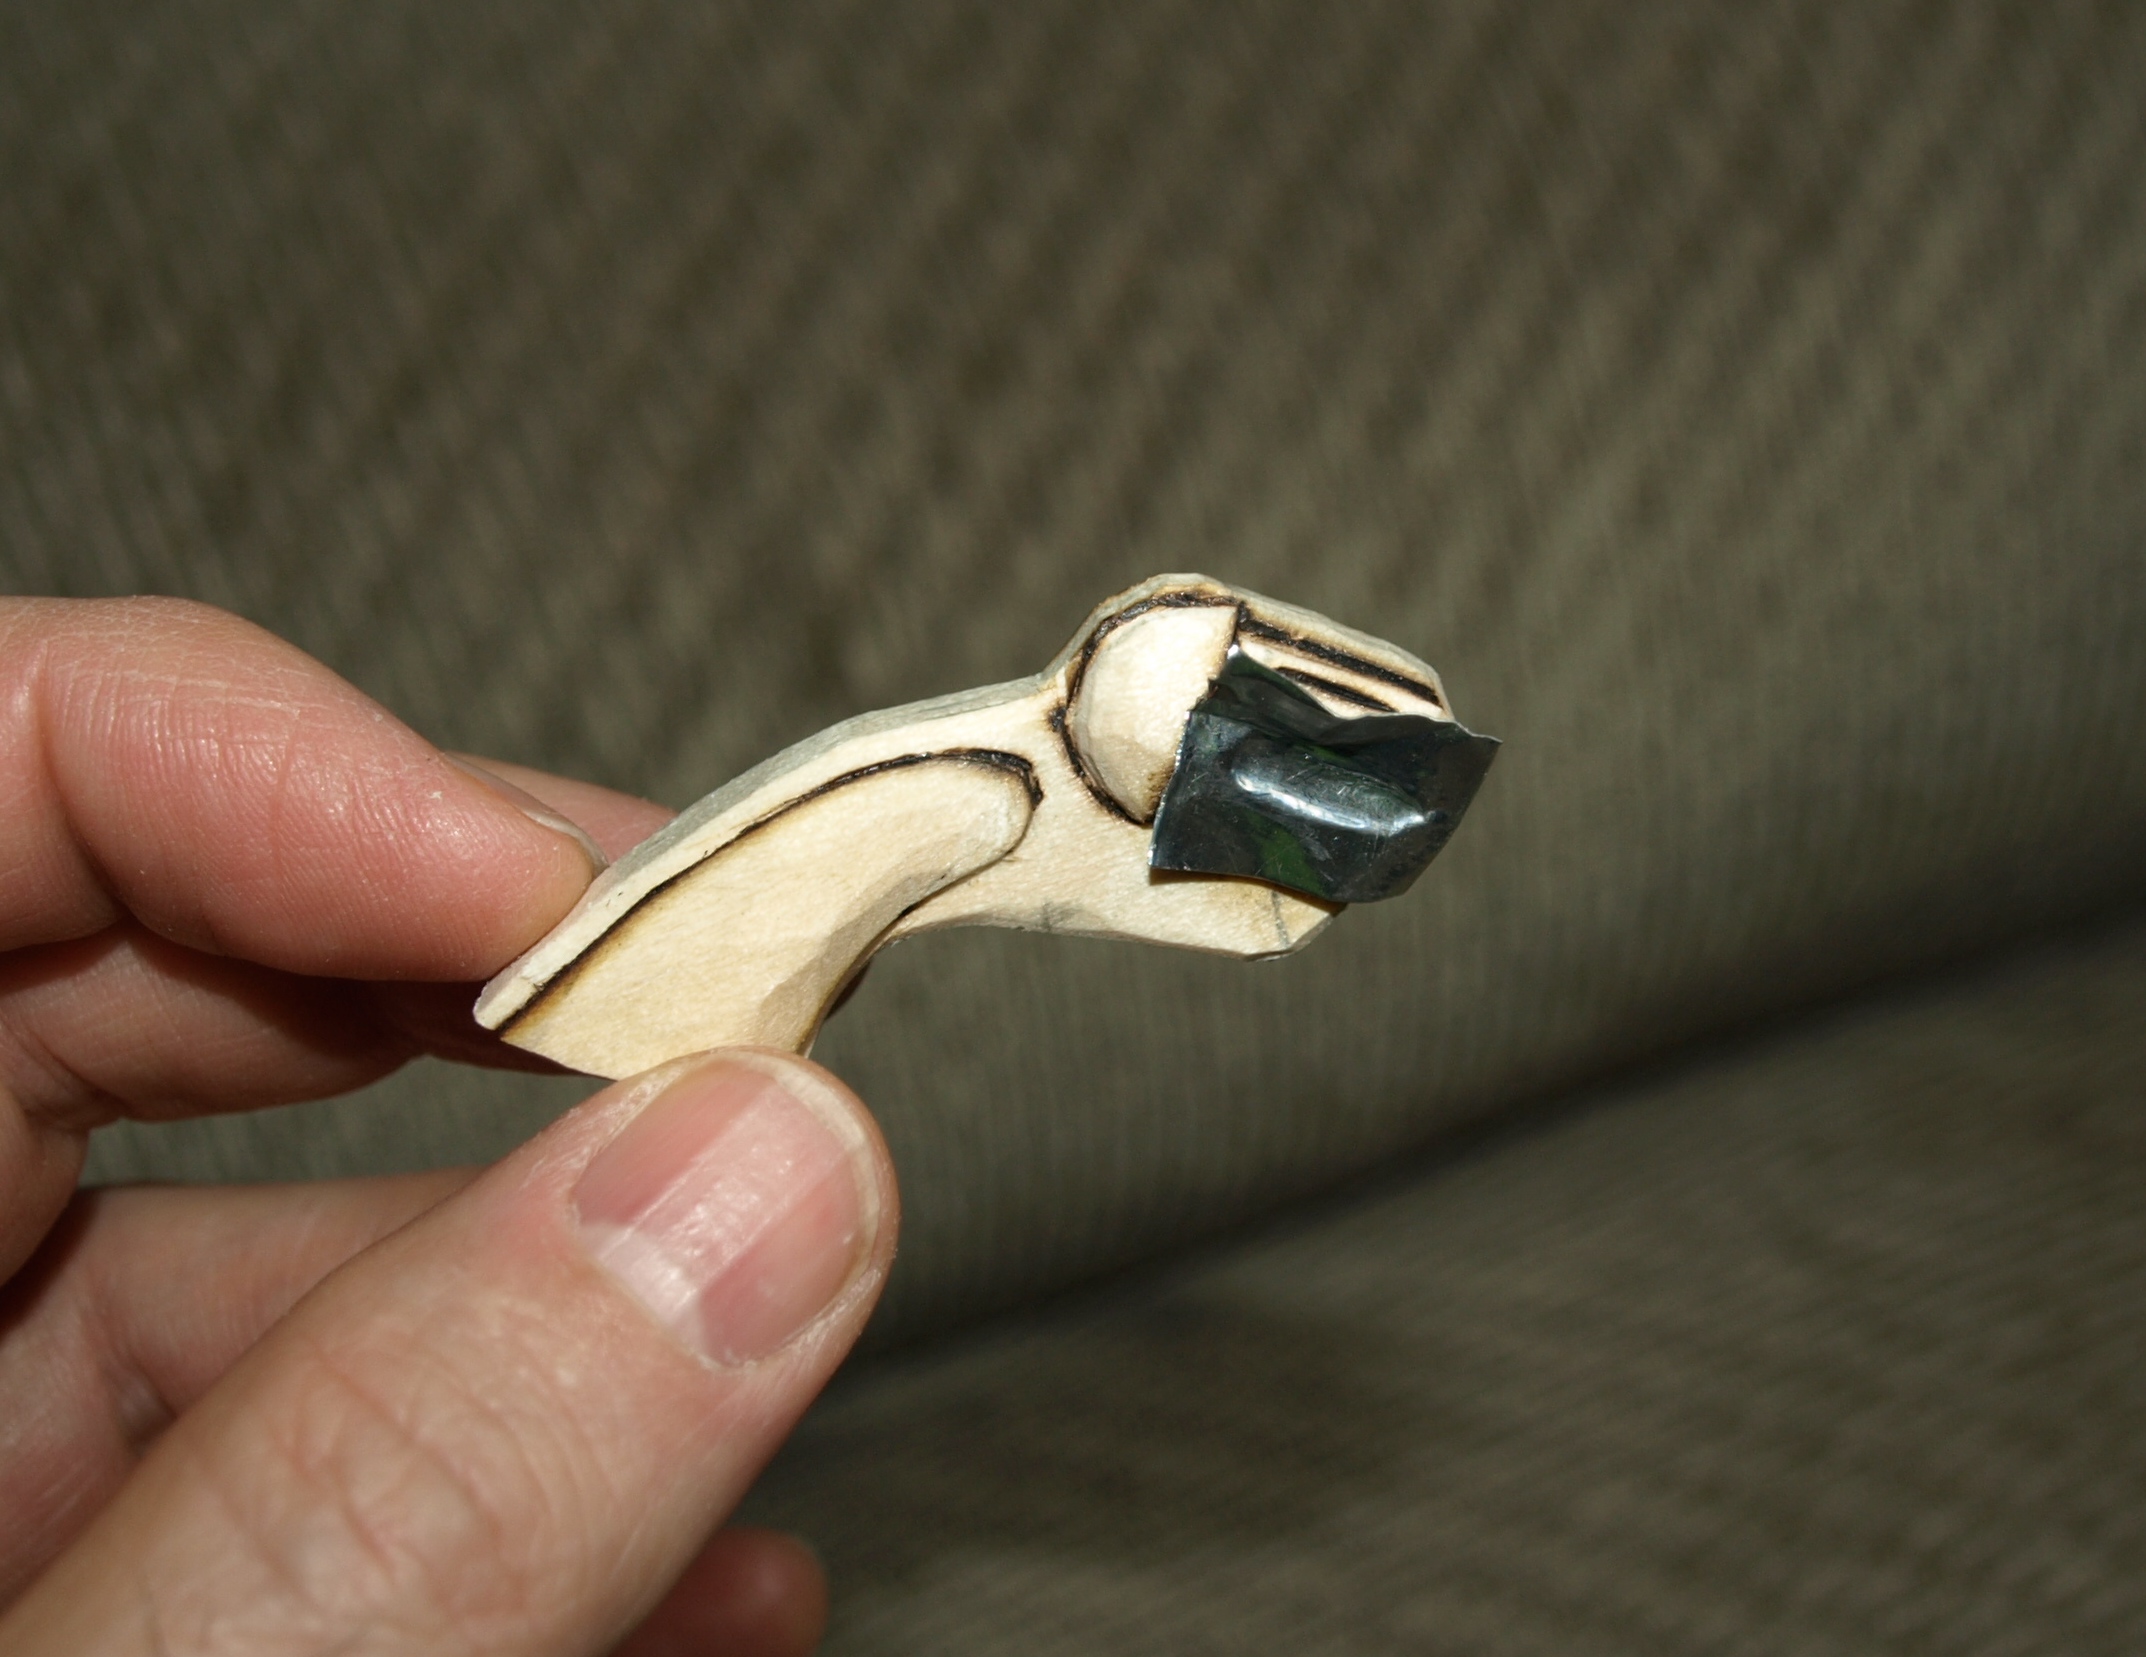
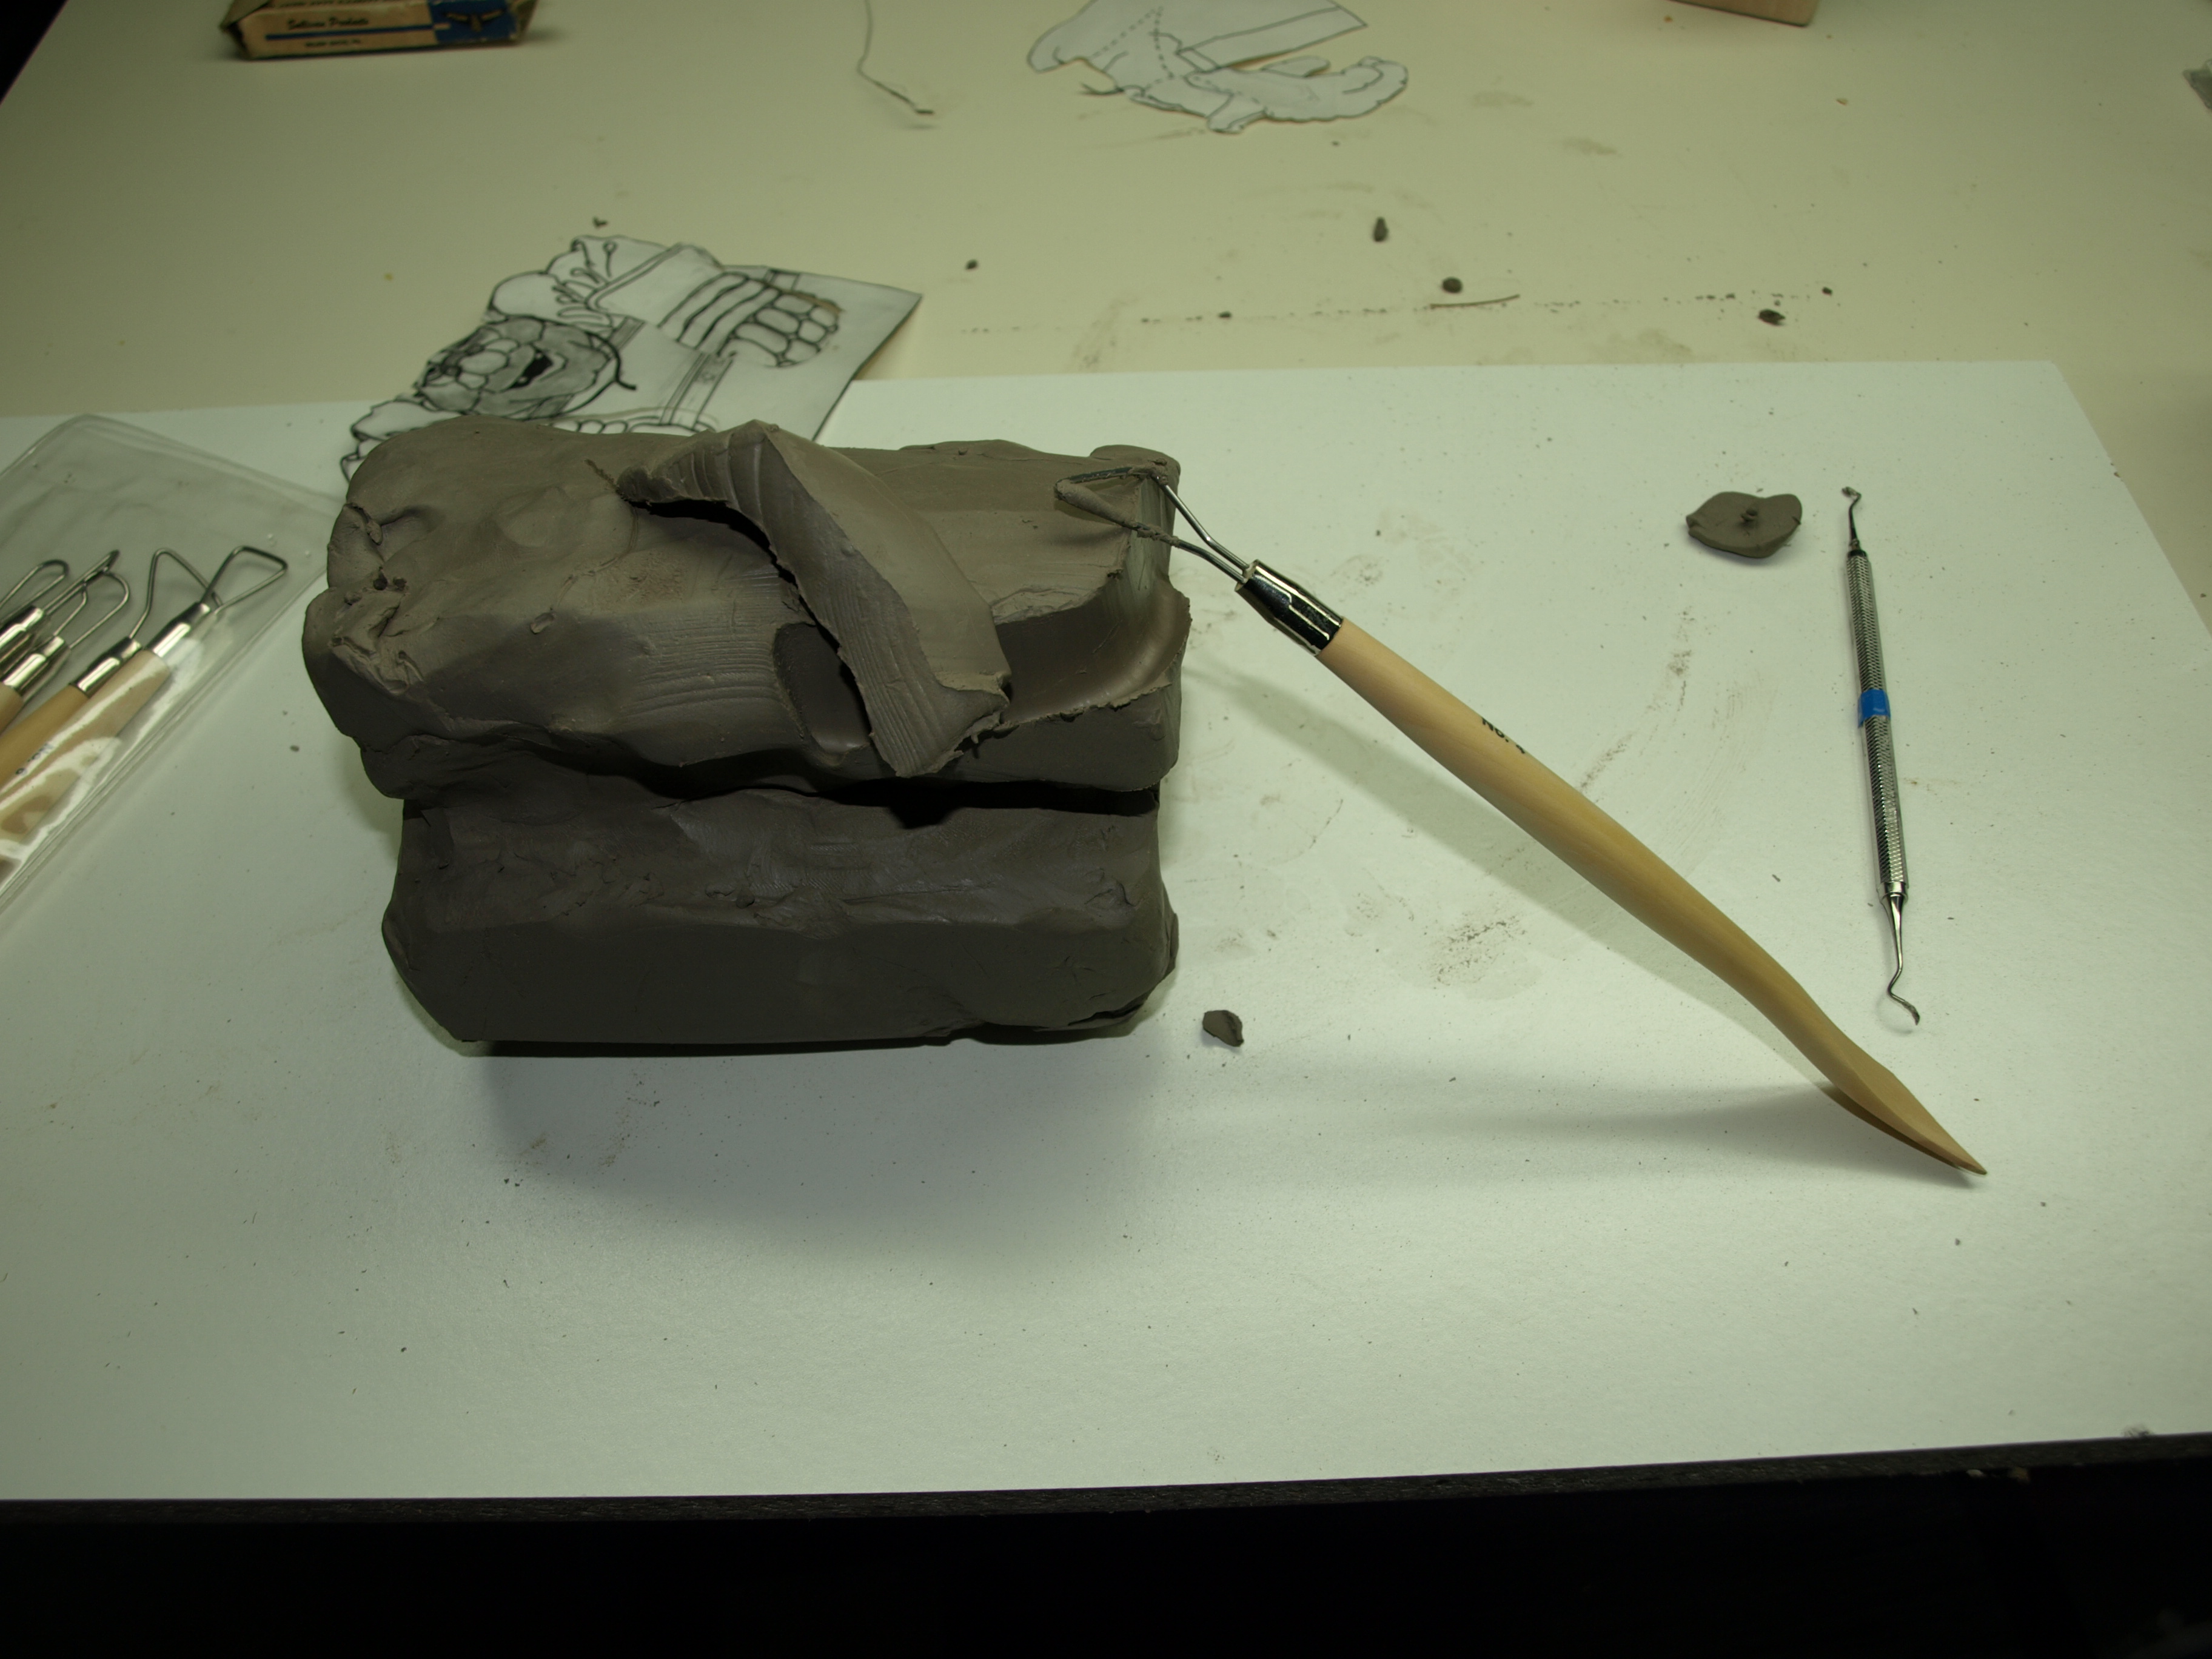
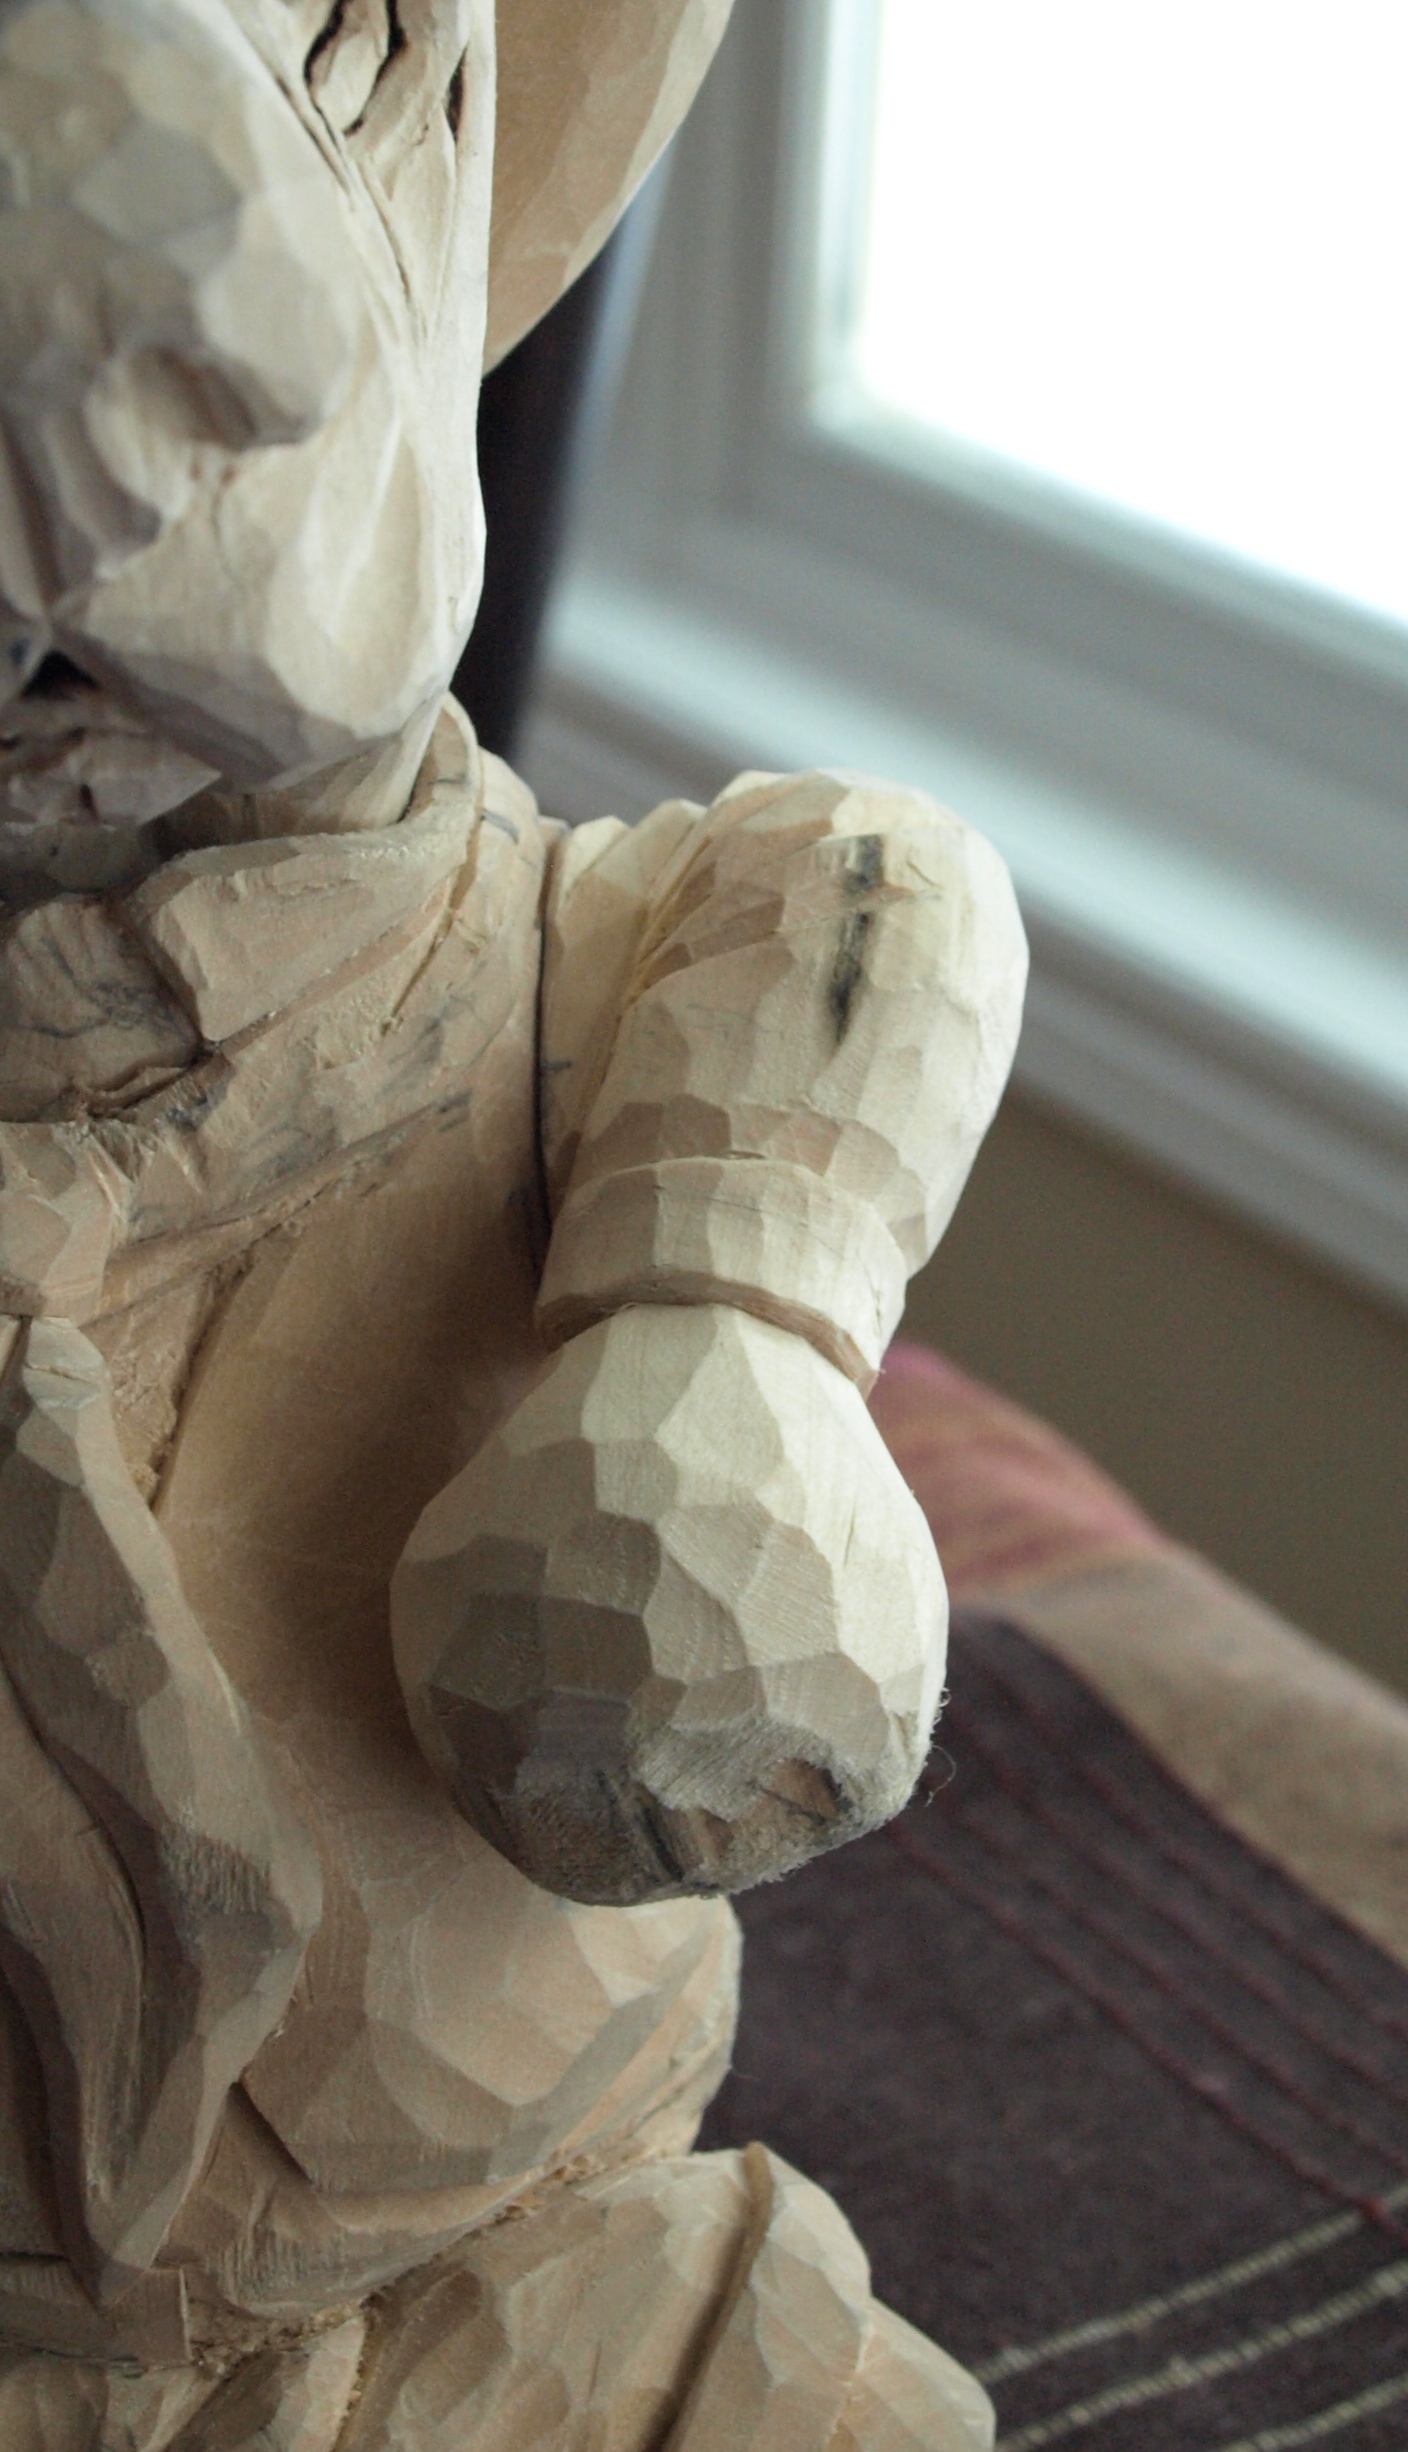
Following this step, I went back to the tried-and-true method of putting pencil lead on the arm, placing the ear in place, having the pencil lead transfer to the ear and then carving away the pencil lead.  Because the fitting was such a drastic removal of wood, I was able to eye-ball much of the material that had to be removed and resort to the pencil lead only when the final fitting was needed.  Again, I used the Typhoon carbide bit on the Foredom tool to remove the material quickly and then followed up with carving knives and chisels to do some final fitting.

OLYMPUS DIGITAL CAMERA

OLYMPUS DIGITAL CAMERA

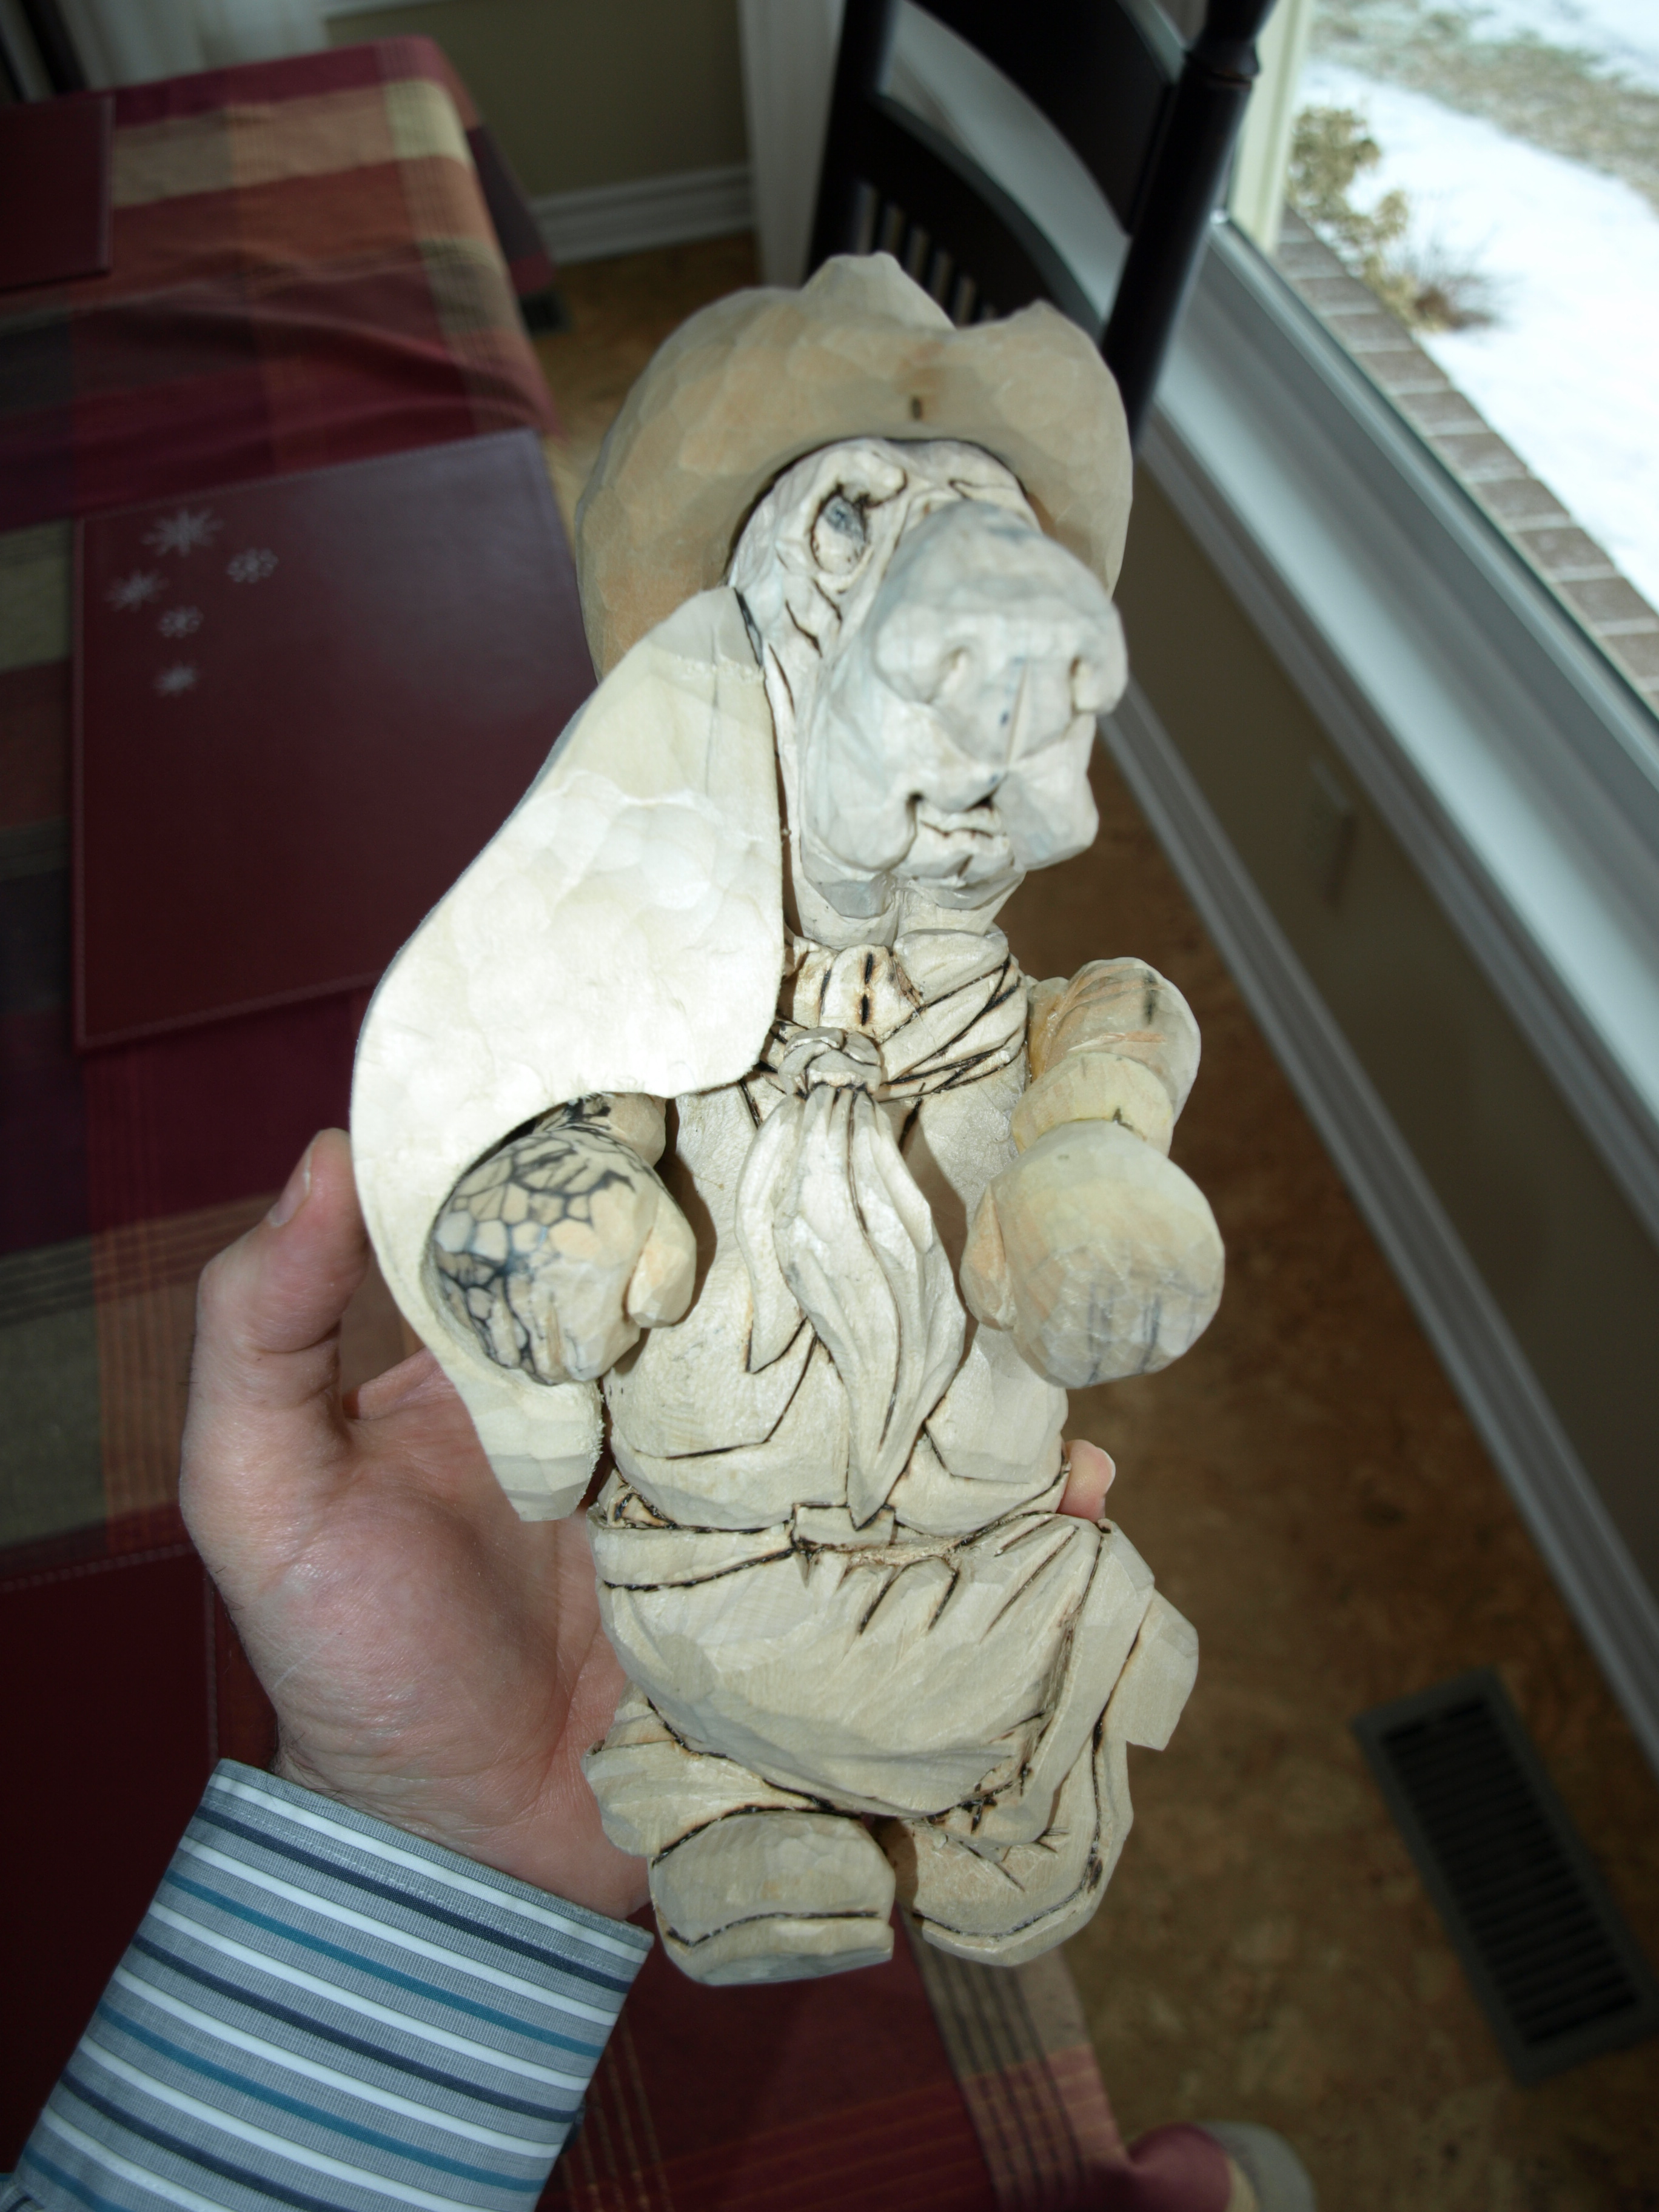
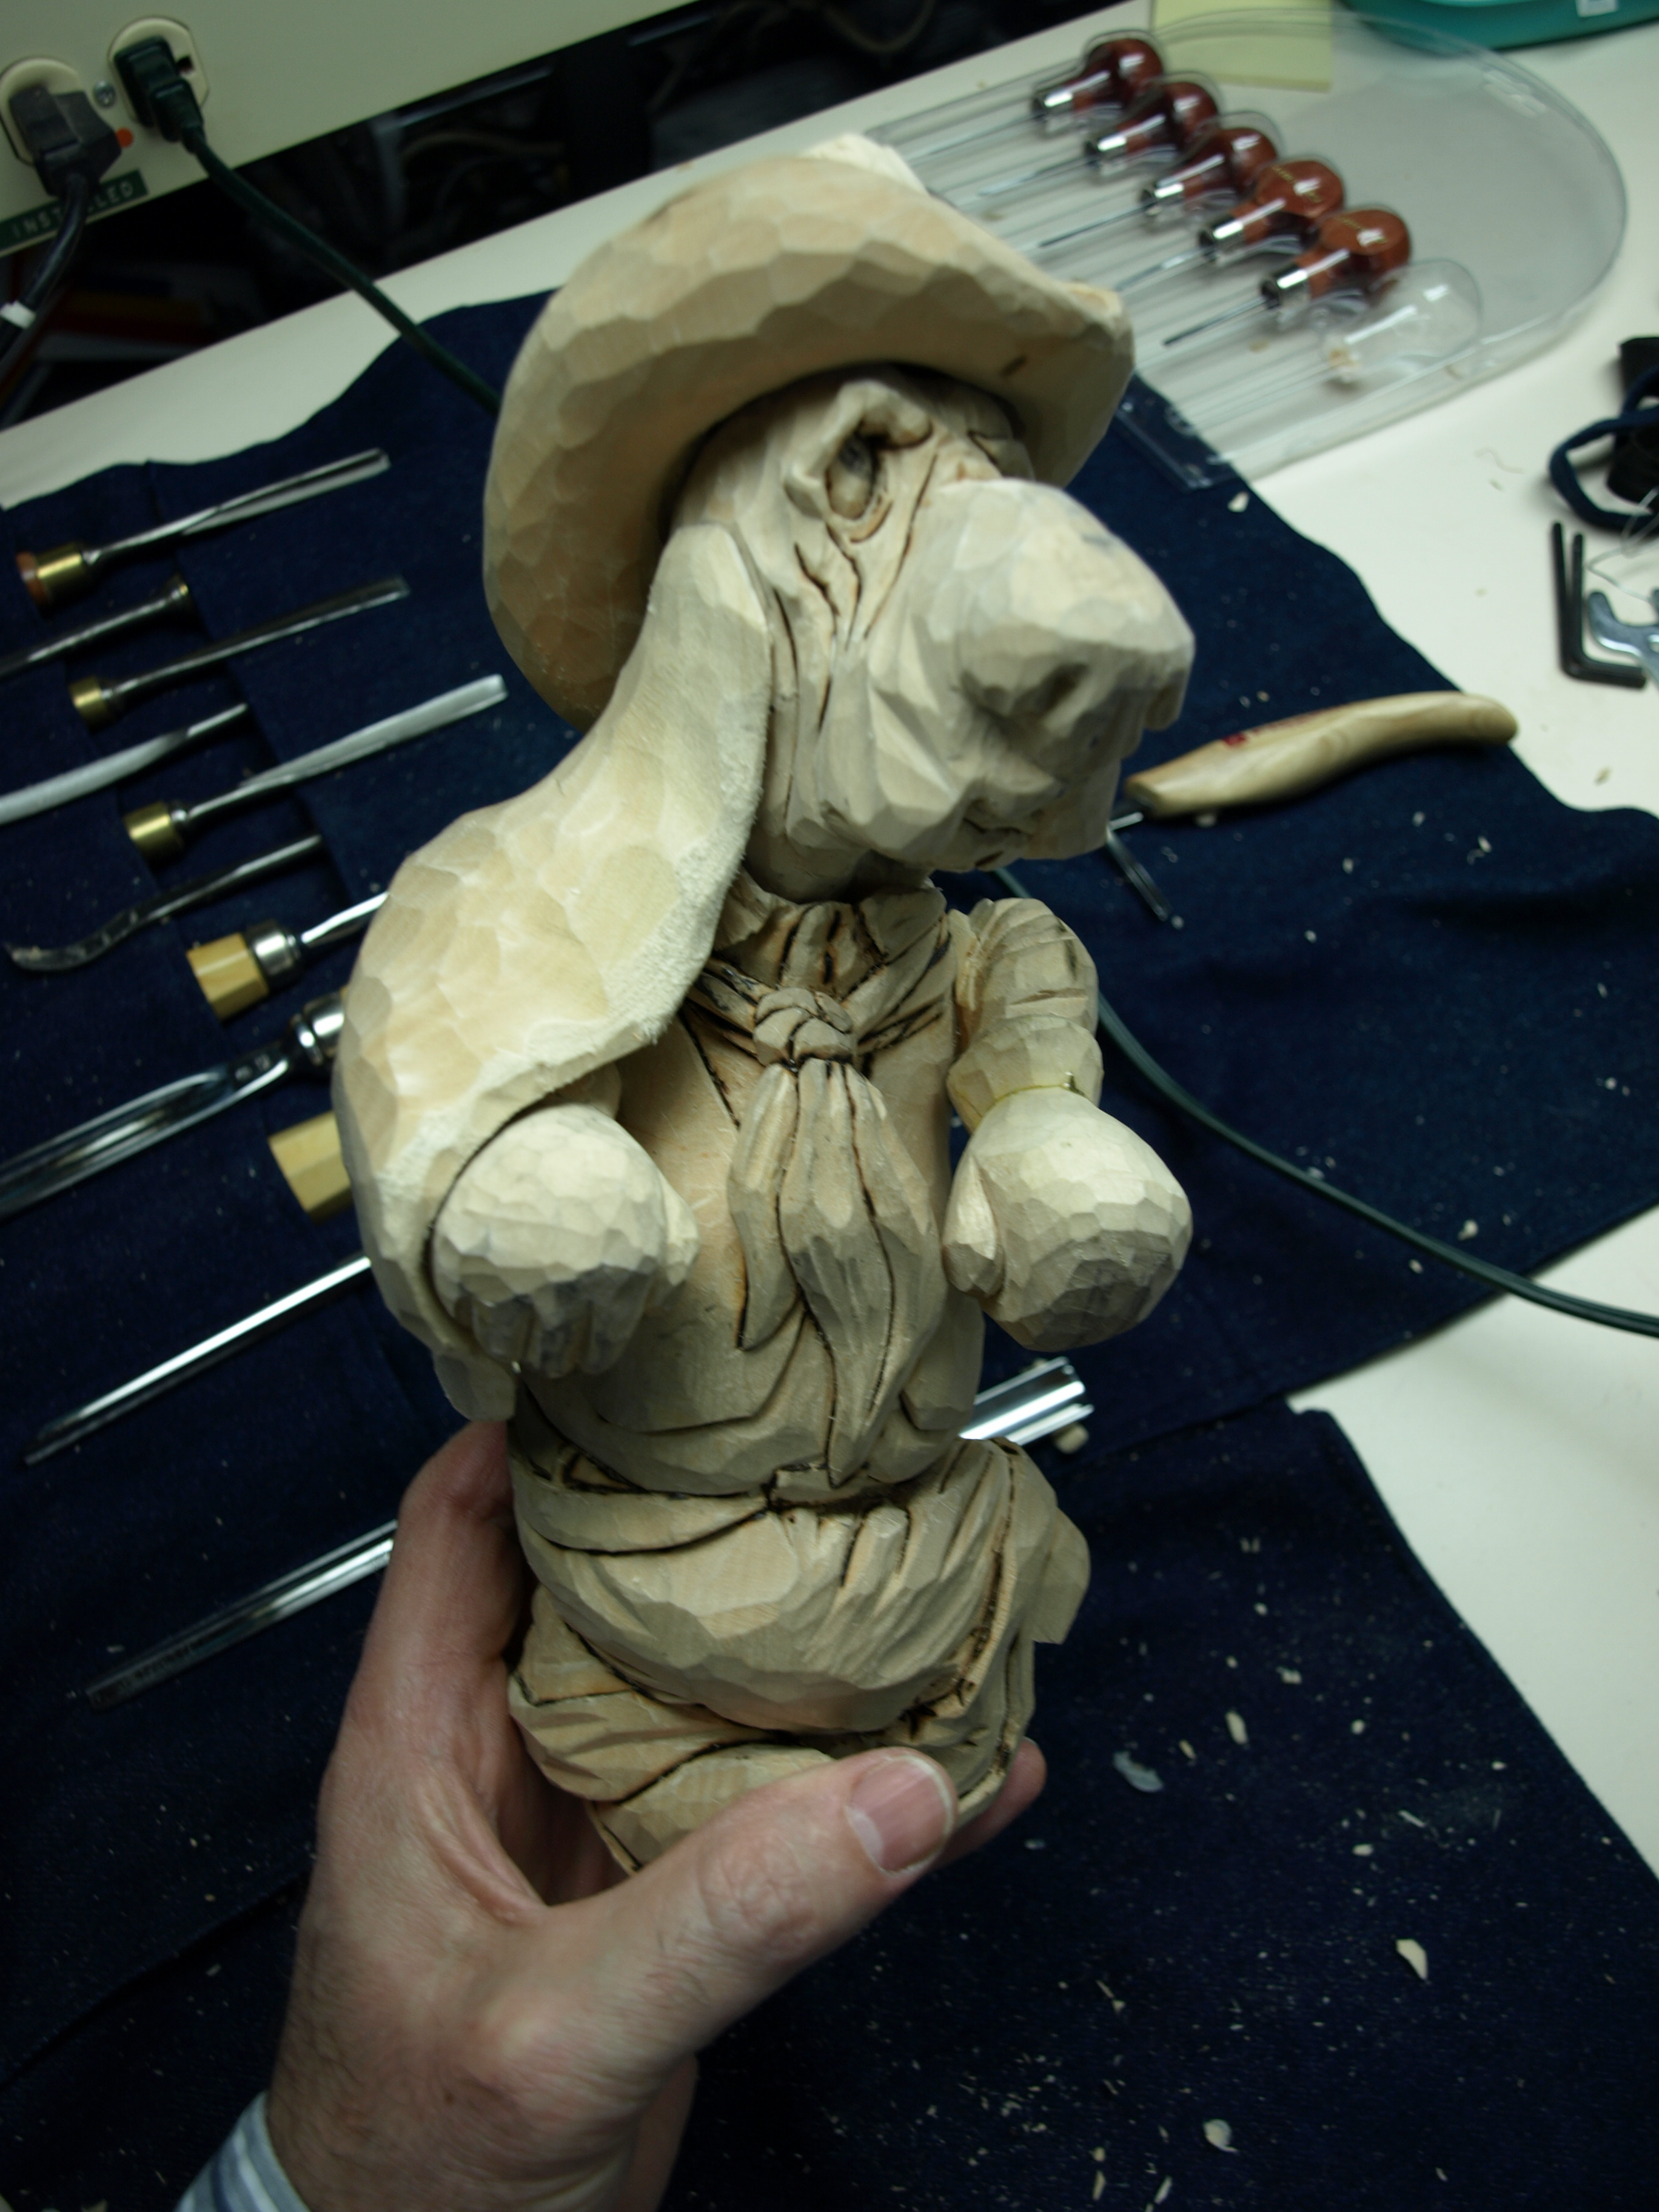
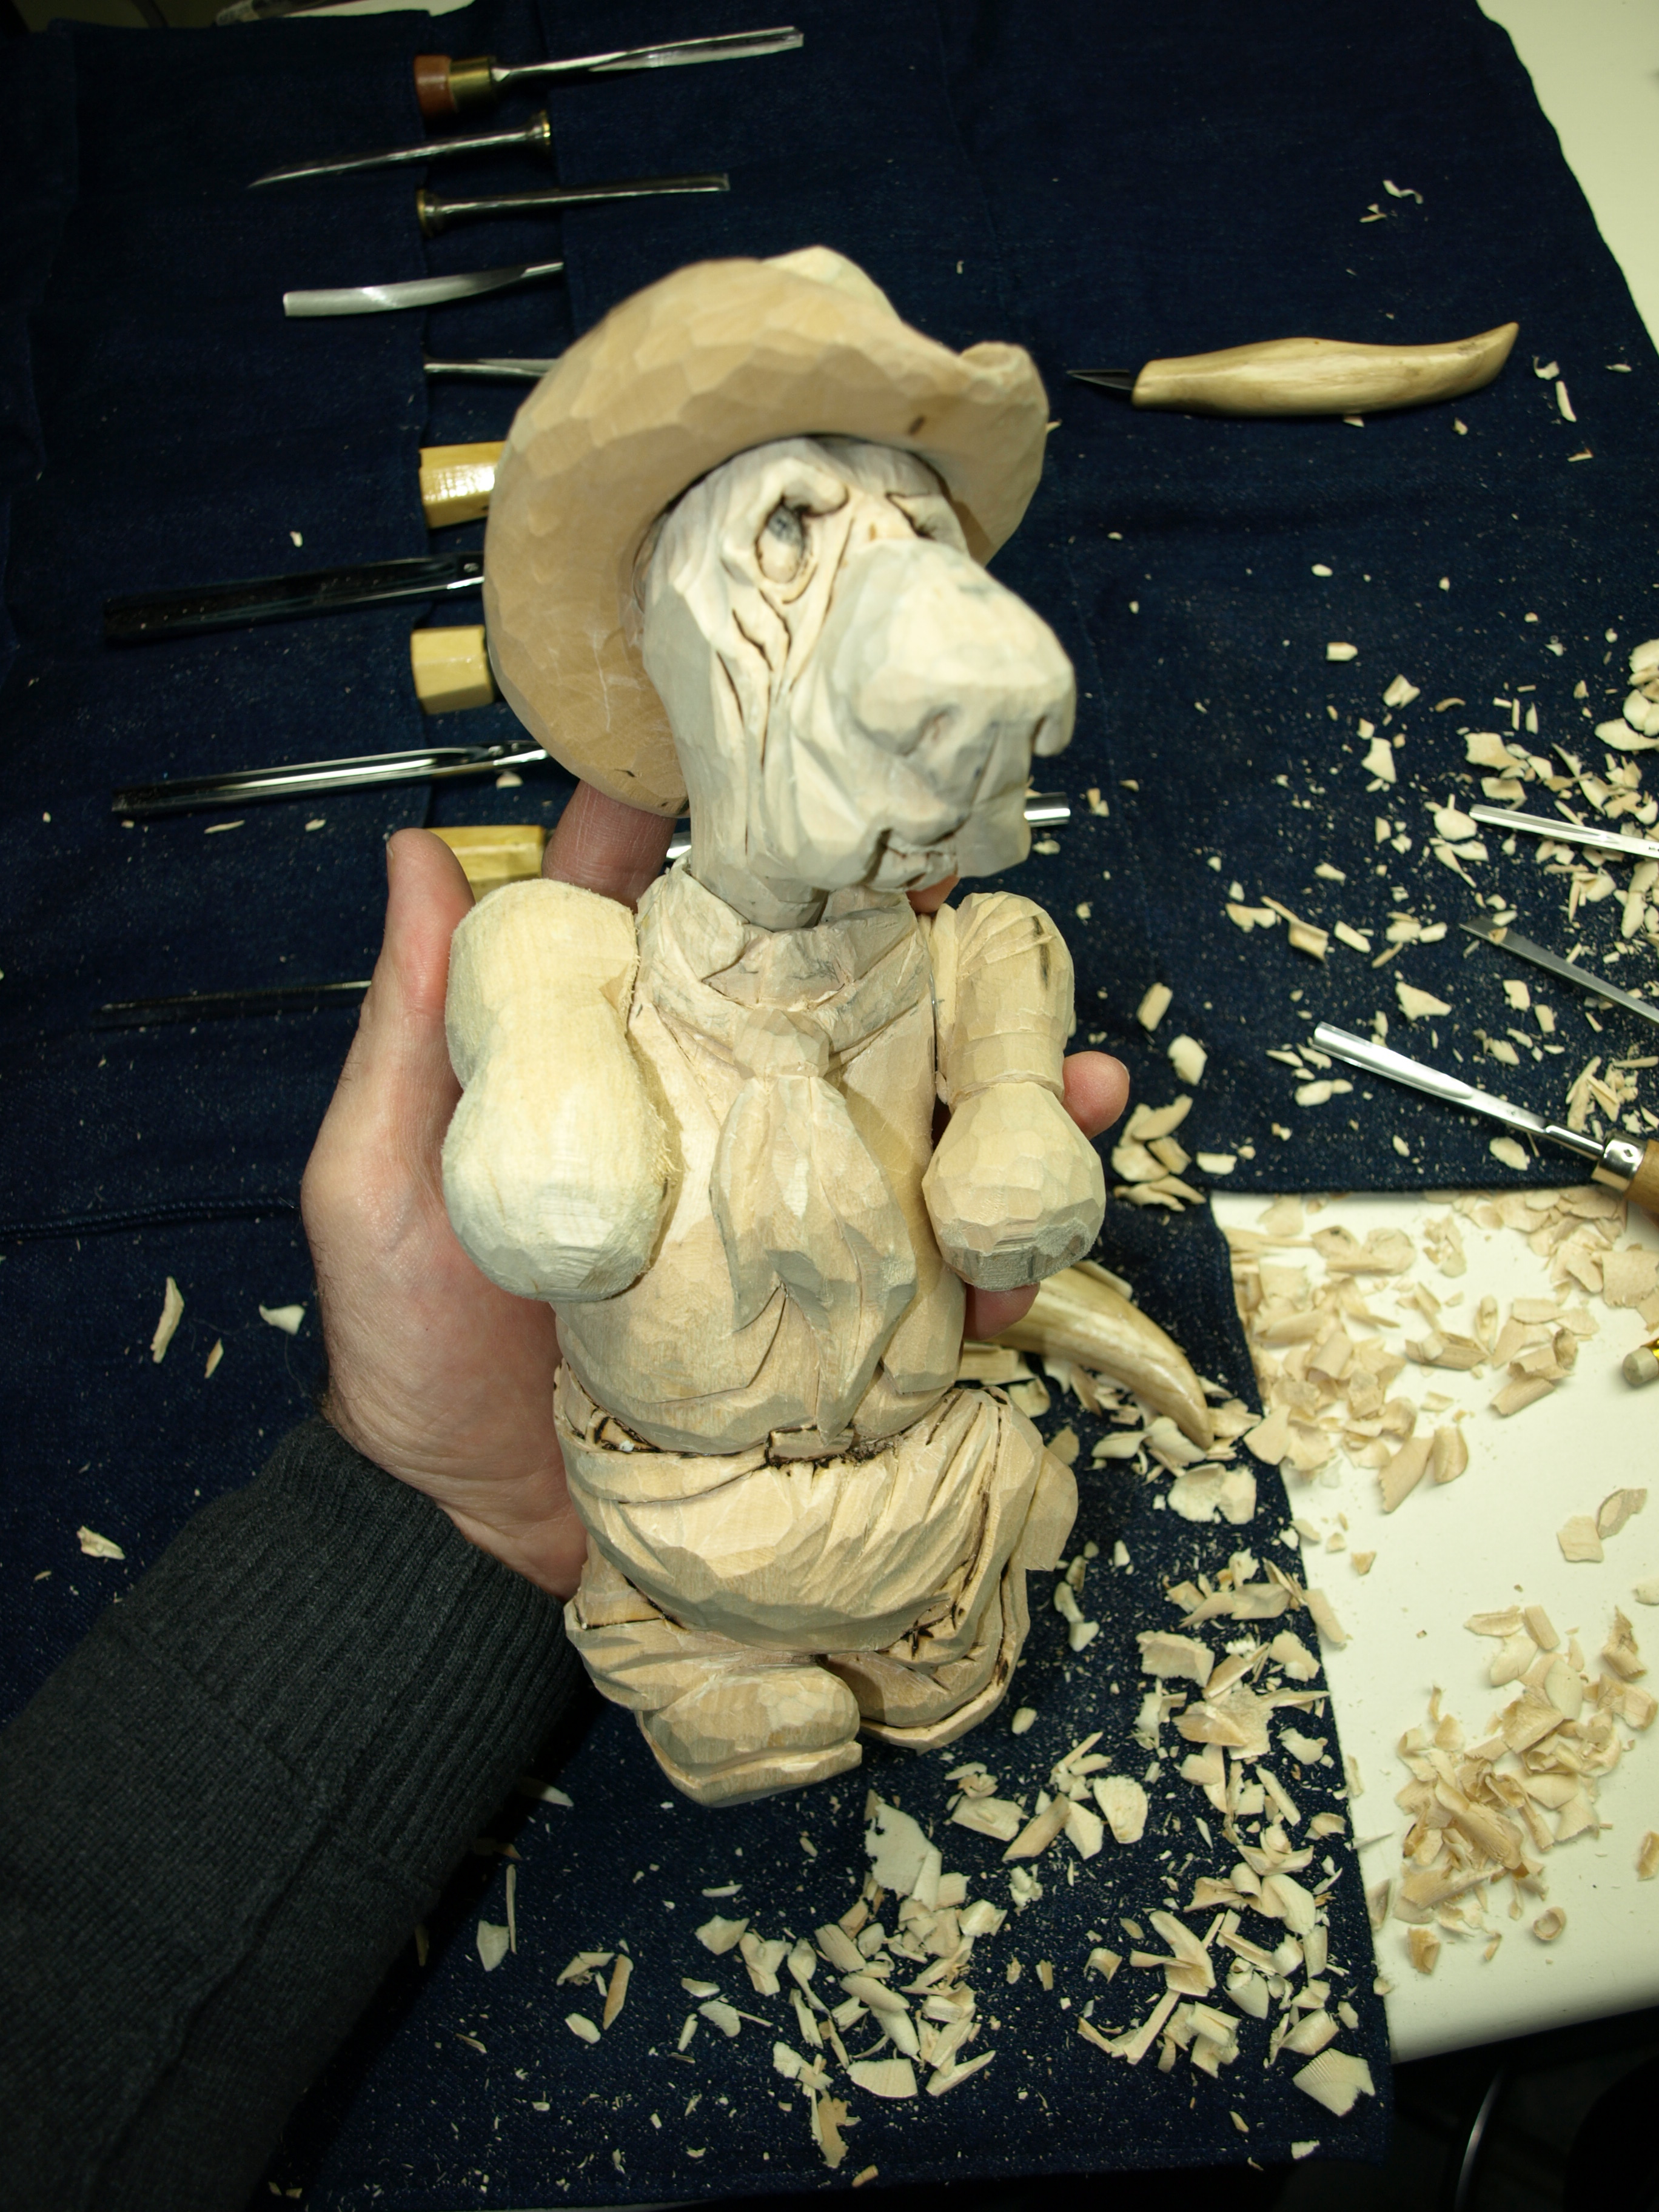
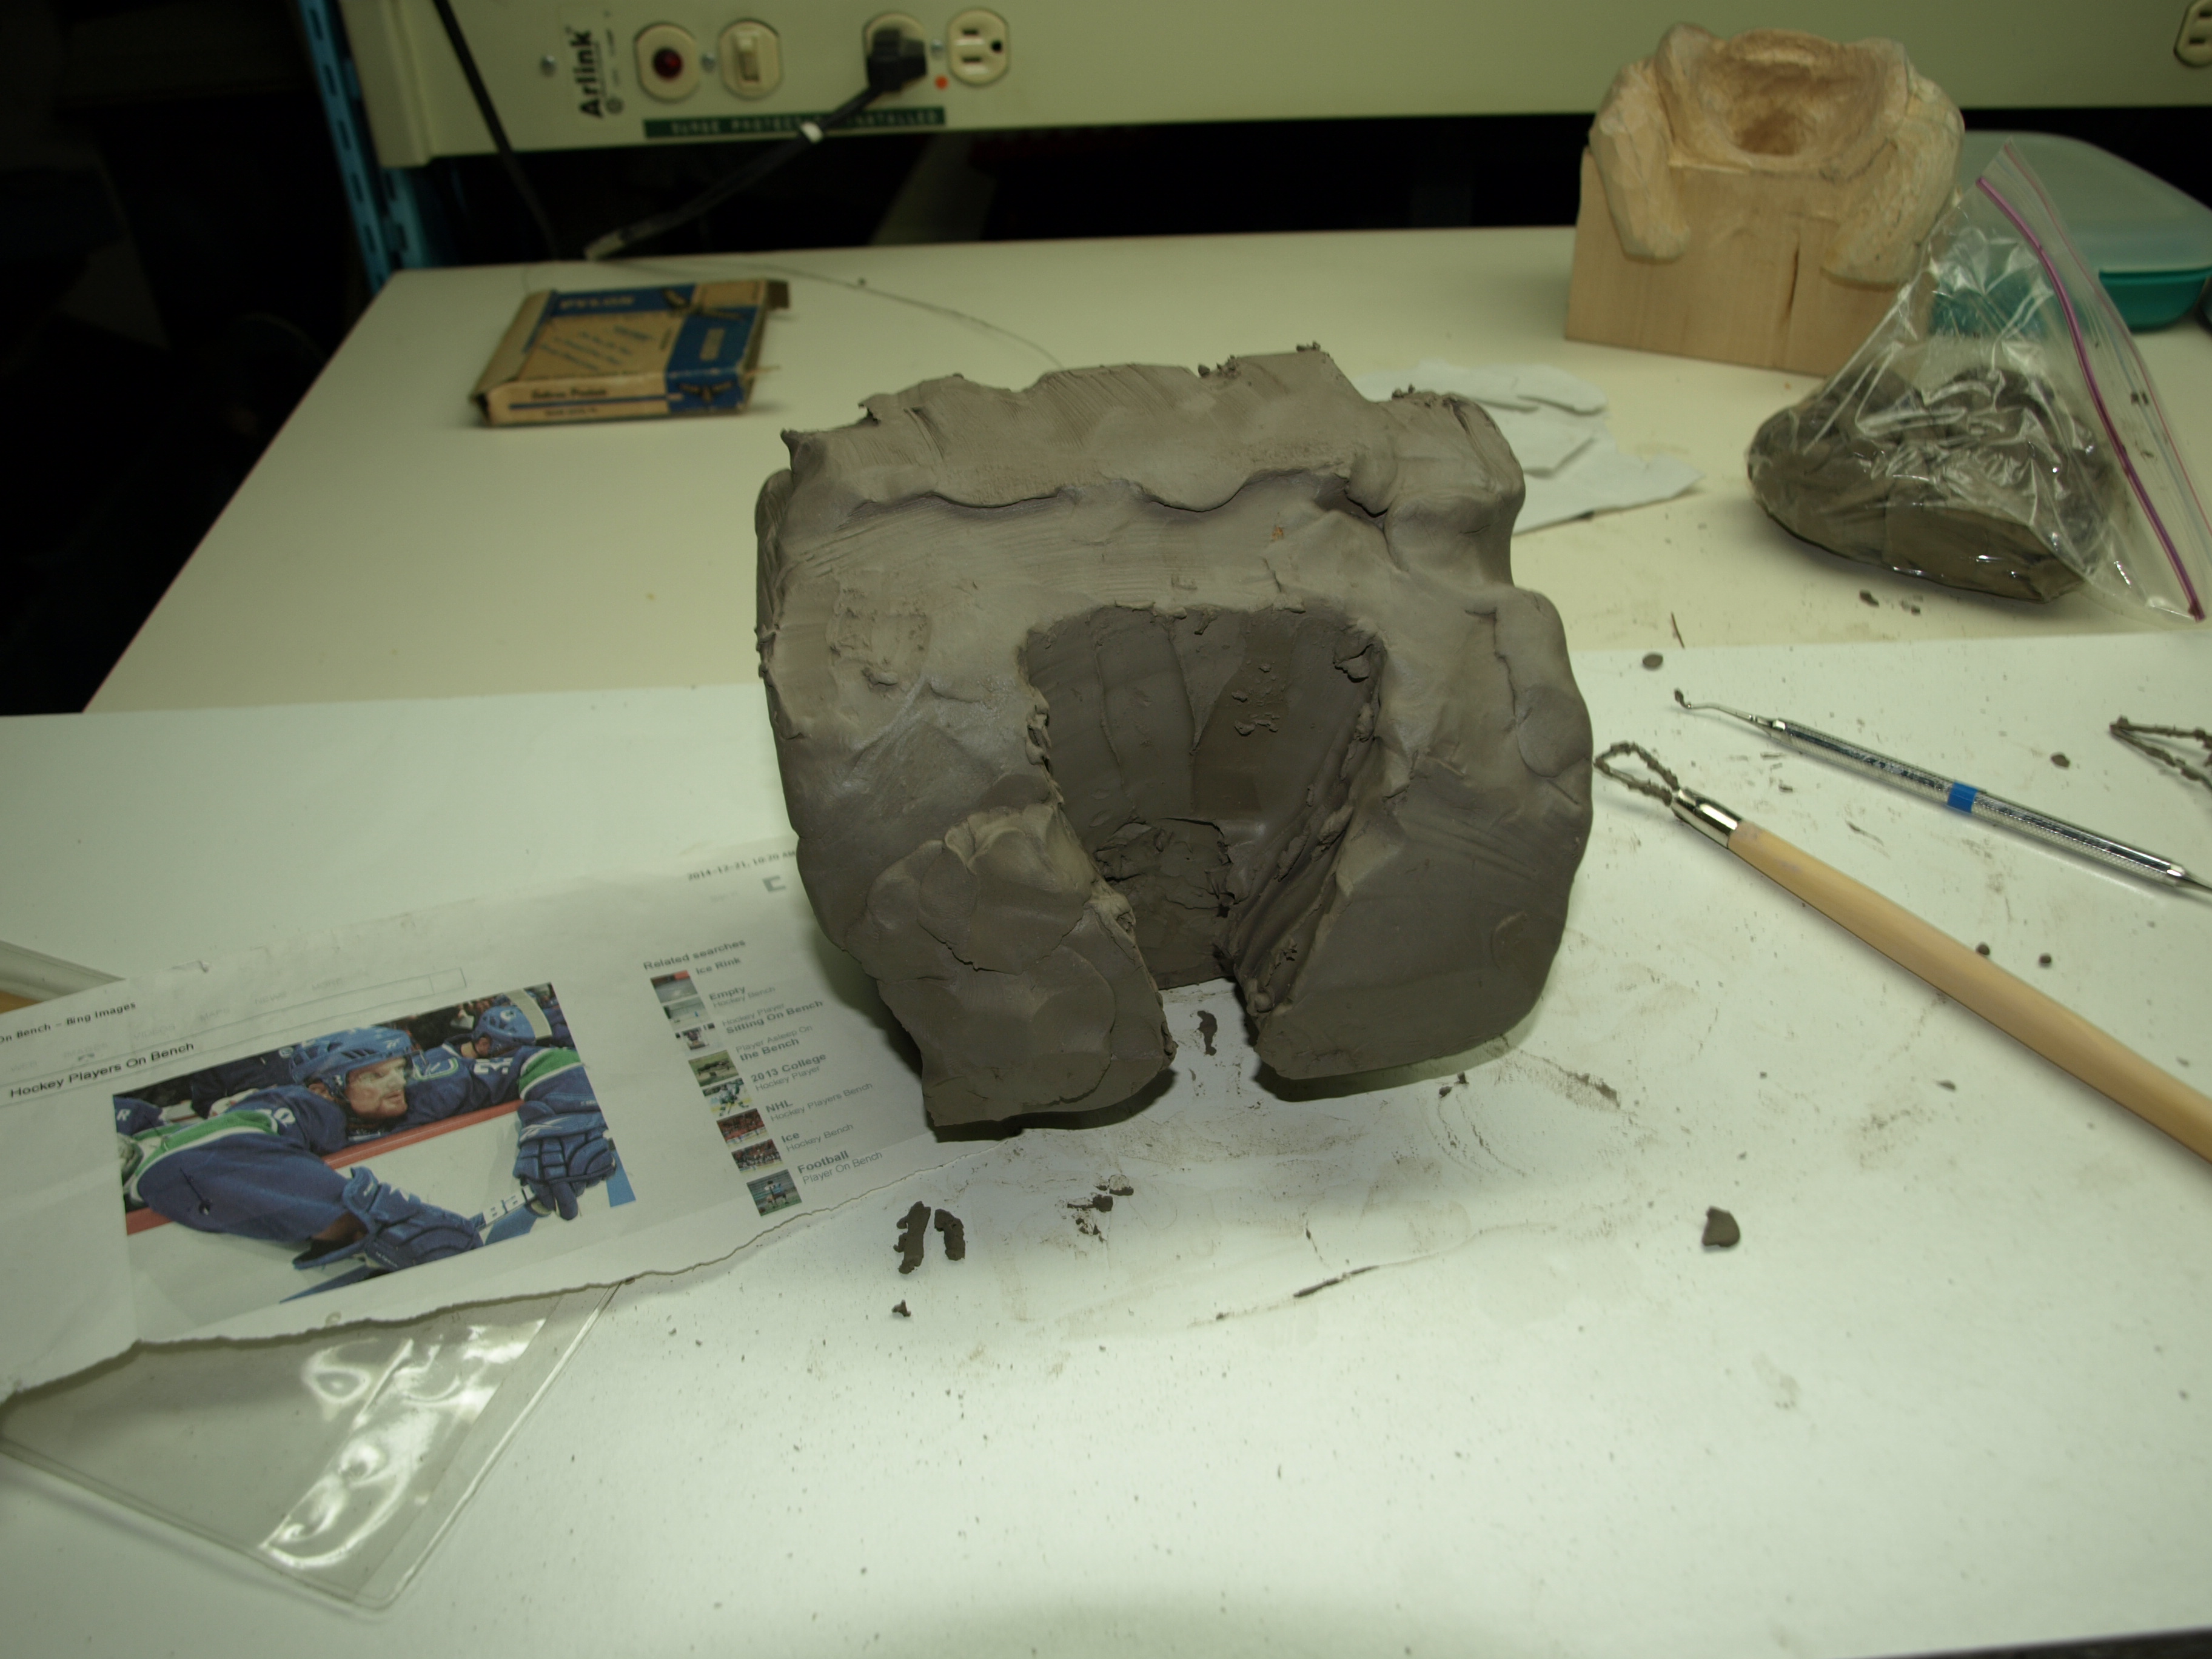
I still have the detailing to do, and, in particular, figure out if the ear is going to need to fold around the cedar rail that this little hound will be leaning against…but, here’s the general shape.  On to the other ear…

OLYMPUS DIGITAL CAMERA

Gluing the Arms on Buford

I don’t have a lot to report on Buford’s progress other than that I’ve fitted both arms, now with gloves, and have epoxied the arms in place.  Recall that I had already done a lot of fitting of the arms by using the method of marking the mating surfaces with pencil lead and carving away the high points.  I also made sure that all of the wrinkles that were to go into the sleeves were there prior to gluing the arms in place so that I wouldn’t be trying to carve into tight spots.

OLYMPUS DIGITAL CAMERA

This week I’ll get to sawing out the ears and shaping them around the arms.  My plan is to have the one ear go over Buford’s right arm and fall inside the holster so that the six-shooter doesn’t get hidden in any way.  Should look nice.

The Gloves are On!

Here’s my progress on the clay sculpture step of creating my Hockey Player carving.

You’ll recall that this carving of the happily beaten up hockey player will be called “Two Minutes for Fighting” and will feature our hero spending that time in the penalty box.  The clay torso and penalty box boards were a result of a not-so-very-successful job at trying to carve his posture just using the two dimensional drawing that I sketched up.  This three dimensional clay sculpture is really helping me bring this little guy to life.

At this point, I’ve included both gloves and have started on some wrinkles on this arm and around his shoulder pads.  It’s kind of time consuming and I’m not sure that I’d want to do the clay work for every carving that I take on…but, in this case, the extra work is fun and useful.

That’s a coffee stir stick in his hands for now…to be replaced with a hockey stick!

OLYMPUS DIGITAL CAMERA

Ivory Handled Six-Shooter

I couldn’t resist getting started on the Ranch-Hand’s six gun.  Looks like it’s going to be highly polished with an ivory handle.

I started in my normal fashion with carving half of the gun that will fit into the cavity that I carved in the holster.  The barrel of the gun is the second half of the six-shooter and will be glued in the cavity at the bottom of the holster.

Once I carved the basic gun, I used a small gouge to carve a few channels in the cylinder like you’d see on the real McCoy.  I then turned to the little aluminum duct tape trick and began burnishing this adhesive backed tape directly onto the carved wood.  Again, when I say burnishing, what I mean is that this aluminum tape is flexible enough that you can take a smooth tool and press it around mild angles.  With a light rubbing action, any wrinkles or seams in the tape pretty much disappear.

OLYMPUS DIGITAL CAMERA OLYMPUS DIGITAL CAMERA

In the holster, the six-shooter is going to look pretty good with an ivory handle and a light coating of blue/grey over the aluminum tape to give it a gun metal look.  By the way, Emily is home now and those are her hands modelling the carving.  She likes Buford, too.

OLYMPUS DIGITAL CAMERA

OLYMPUS DIGITAL CAMERA

The final touch is the hammer and the trigger.  Both were made from copper…the trigger and trigger guard from flat stock and the hammer from household copper wire bent into a rough shape and then soldered and filed to the final shape.  The barrel was made from two sizes of tubing that were wrapped with the aluminum tape and epoxied together.

I’m pretty happy with the way that it’s turned out so far.

OLYMPUS DIGITAL CAMERA

Change is Good

Well I changed my mind a bit on the look of old Buford the Ranch-hand.  The detail of his pants, and in particular his boots, had me rethink how his front paws should look.  He just seemed to need leather gloves.  So I cut away the little rounded paws that I had originally intended and have roughed in some leather gloves.  I can picture them being a soiled tan look.  Truth is that his big ears will soon drape over his arms and a bit of the gloves anyway…but I’m enjoying the carving and we all will know that if we look hard at the carving and at the right angles, we’ll see some interesting detail in behind those ears.

I drew a quick pattern on a piece of scrap basswood making sure that the grain of the wood ran in the direction of the glove so that it would have good strength from breakage.  Of course, there was a top view pattern and a side view pattern so two cuts were necessary on the bandsaw at a 90 degree angle to one another.

OLYMPUS DIGITAL CAMERA

I left the last cut at the cuff end of the glove until the last moment so that I could use the remaining wood as a bit of a “handle” to hold onto while I did the carving.  I then turned to the Foredom tool with a Typhoon bit on the end to rough away the majority of the wood and get the basic shape that I was looking to get.  I’ve harped enough about ensuring that you use lots of protective equipment when using these very aggressive Typhoon bits…even at slow speeds it’ll make a mess of your finger or arm if you inadvertently touch against it.  Respect these carbide bits.

OLYMPUS DIGITAL CAMERA

The final rough version of the gloves and arms with some knife carving and fitting is looking pretty good.  I need to add detail to the gloved fingers and refine the arms a bit more before I start fitting on the ears.  But, I think that as a next step I’ll carve that six-shooter and holster of his just because it’ll be fun.

OLYMPUS DIGITAL CAMERA

It’s the beginning of March Break here and I know that Emily will be visiting next week for a few days.  She’s been doing some crocheting recently so check out her mspremiseconclusion blog listed at the side of this website for her latest pattern designs.  Her creations are a bit out of the ordinary…keep in mind the geeky engineering background.

More Clay for the Hockey Player

I actually spent most of the day cleaning up the shop.  I’m finally planning on finishing my shop and turning it into an actual room rather than a corner of the basement.  I figure that the first step is getting rid of some of the things that I’ve been storing for years.  Now, mind you, these are precious treasures that I’ve been storing with the knowledge that someday I’ll need that very part.  Now that I’ve bitten the bullet and got rid of some of this stuff, you know that I’m going to need it.  I’ll keep you posted on my workshop progress.

I did take an hour or so to play in clay.  The shape of the hockey player’s arms and shoulders are coming out just right.  I want to add some wrinkles to his jersey.  Today I worked on one of his padded gloves.  See what you think…There’s still some shaping to do but I’m liking this idea of sculpting the carving with clay first.

OLYMPUS DIGITAL CAMERA

Some Detail for the Cowboy Hound

I spent a bit of time on the Cowboy Hound tonight and was able to provide a bit more detail around his legs and body.

I slimmed down the legs quite a bit with some wrinkles here and there where his knee would bend.  I also added a bit of detail to his neckerchief although I want to slim it down a bit more before I’m finished.  His gun belt overlaps his belt for his pants and you can see a bit of this on the back of the carving.  I also removed quite a bit of bulk from his upper back so that his elbows appear to stretch back further.  This will be important when I make the upper rail of the fence that he’ll be leaning against.

Speaking of the arms, I just have the one arm with any amount of detail at this point.  Right now they are only attached by a dowel and some glue from a glue gun.  I’ll detail both in a bit more and then permanently glue them in place for some final fitting and detailing.

When I was in Hamilton at the carving show, I took a close look at some of the scenes that people had constructed from copper shim stock ( very thin copper sheets ) to make blades of grass and leaves as part of the bases on which their carvings sat.  I think I’ll try this with this little Hound and have some blades of grass shooting up beside the fence posts.

He’s coming along.

OLYMPUS DIGITAL CAMERAOLYMPUS DIGITAL CAMERA

Some Fun with Clay

This is a bit new for me.

I mentioned in an earlier post that I was having some difficulty in carving the body of the hockey player figure that I had in mind.  If you recall, this tough guy just wrapped up a bit of an on-ice altercation and now finds himself in the penalty box for two minutes…and enjoying every second of it.

The head and helmet carving went well, but I just couldn’t get the arms-over-the-boards stance to look right to me…and, with carving, a mistake is a bit unforgiving once the wood has been cut away!  Anyways, with 10 lbs of clay and a few clay-working tools now in my possession ( thanks, Peggy ), I started the shaping of the body this morning with the intent of using the finished clay figure as a 3-dimensional model for the carving.

OLYMPUS DIGITAL CAMERA

First step was to take my front and side view drawings that I had made and transfer them to the block of clay.  I’m not entirely sure if this is the right way to work clay, but it was similar to blocking wood out on a bandsaw…so I went with it.  I actually did the initial shaping against the drawing lines with a piece of wire and sort of “sawed” through the clay.  Then I used one of the tools ( which is basically a heavy loop of wire on the end of a stick ) to start removing some of the squareness of the clay cube.

OLYMPUS DIGITAL CAMERA

At about this point, I dropped the whole darn thing on the cement floor and completely flattened out one side!  Ha!  A bit more shaping got things looking normal again.  Then, I started digging in with the tool to produce the arms, gloves and a hole to accept the head and helmet that I had already carved.

OLYMPUS DIGITAL CAMERA

OLYMPUS DIGITAL CAMERA

I’ve just started to add some of the detail, but really am just still getting the right shape down.  This weekend, I’ll add wrinkles and what-not and then let it dry into a model for my carving.  Let me tell you, this is a lot of fun.

OLYMPUS DIGITAL CAMERA

Attaching the Arms

I drew up a bit of a pattern for this carving when I began that I’ve used for guidance and included in it a front and side view of where I felt the arms would land.  Remember, this little guy is going to be leaning against a fence and will need his arms, or at least his elbows, projected up and back a bit to rest against the top fence rail.

Although I had the rough pattern, I still needed to do a bit of experimenting to get the arm lengths and angles right.  I ended up taking some wooden coffee stir sticks that I had in the shop ( you see…it’s worthwhile to recycle! ) and pinning the joints with a sliver of wood to see exactly how the centre-line of the arm would fall.

OLYMPUS DIGITAL CAMERAOLYMPUS DIGITAL CAMERA

This whole exercise took me back 35 or so years to my engineering schooling…we used to have to draw the actual size and orientation of a linkage or mechanism just based on a front and side view.  This method was called “Finding the True Length” and used draughting methods to achieve this.  Some of you older engineering types out there will be showing your age if you admit to remembering this!  My stir stick method wouldn’t be viewed as good engineering practice, but it worked for me!

After I glued the pinned stir sticks together, I re-drew both the side and front views of the arm to get close to the right size that I needed.  Then I headed to the bandsaw.

OLYMPUS DIGITAL CAMERA

Here’s how it looked with the initial bandsaw cuts and how it looks now with a first pass at providing some fitting and detailing. Check back in a couple of days and I should have the other arm completed.

OLYMPUS DIGITAL CAMERAOLYMPUS DIGITAL CAMERA

And the Snow Keeps Coming…

Well, this is definitely February in Ontario.  Rosie enjoys it, though, and I have a good reason to stay in and carve.  I actually had to cut a little path in the snow so that Rosie could get outside without tunnelling!

OLYMPUS DIGITAL CAMERA

OLYMPUS DIGITAL CAMERA

Our little Wrangler is coming along with some additional roughing in of what will become some nice detail…his boots, the start of a gun belt and additional belt for his pants, his vest, shirt and neckerchief.  He has that slightly leaning back posture that I’ll accentuate by slimming down the carving here and there.

I think I’ll rough in those arms now before going any further with the body so that I can get a good feel for how he’ll look leaning against that fence post.

Oh, and we’ve decided that we’re calling this Wrangler, Buford.  Not sure why.

OLYMPUS DIGITAL CAMERA

Post Navigation