tributesinwood

Wood Carvings by Mark Sheridan

Archive for the tag “carving caricature”

A Bit More on The Rocker

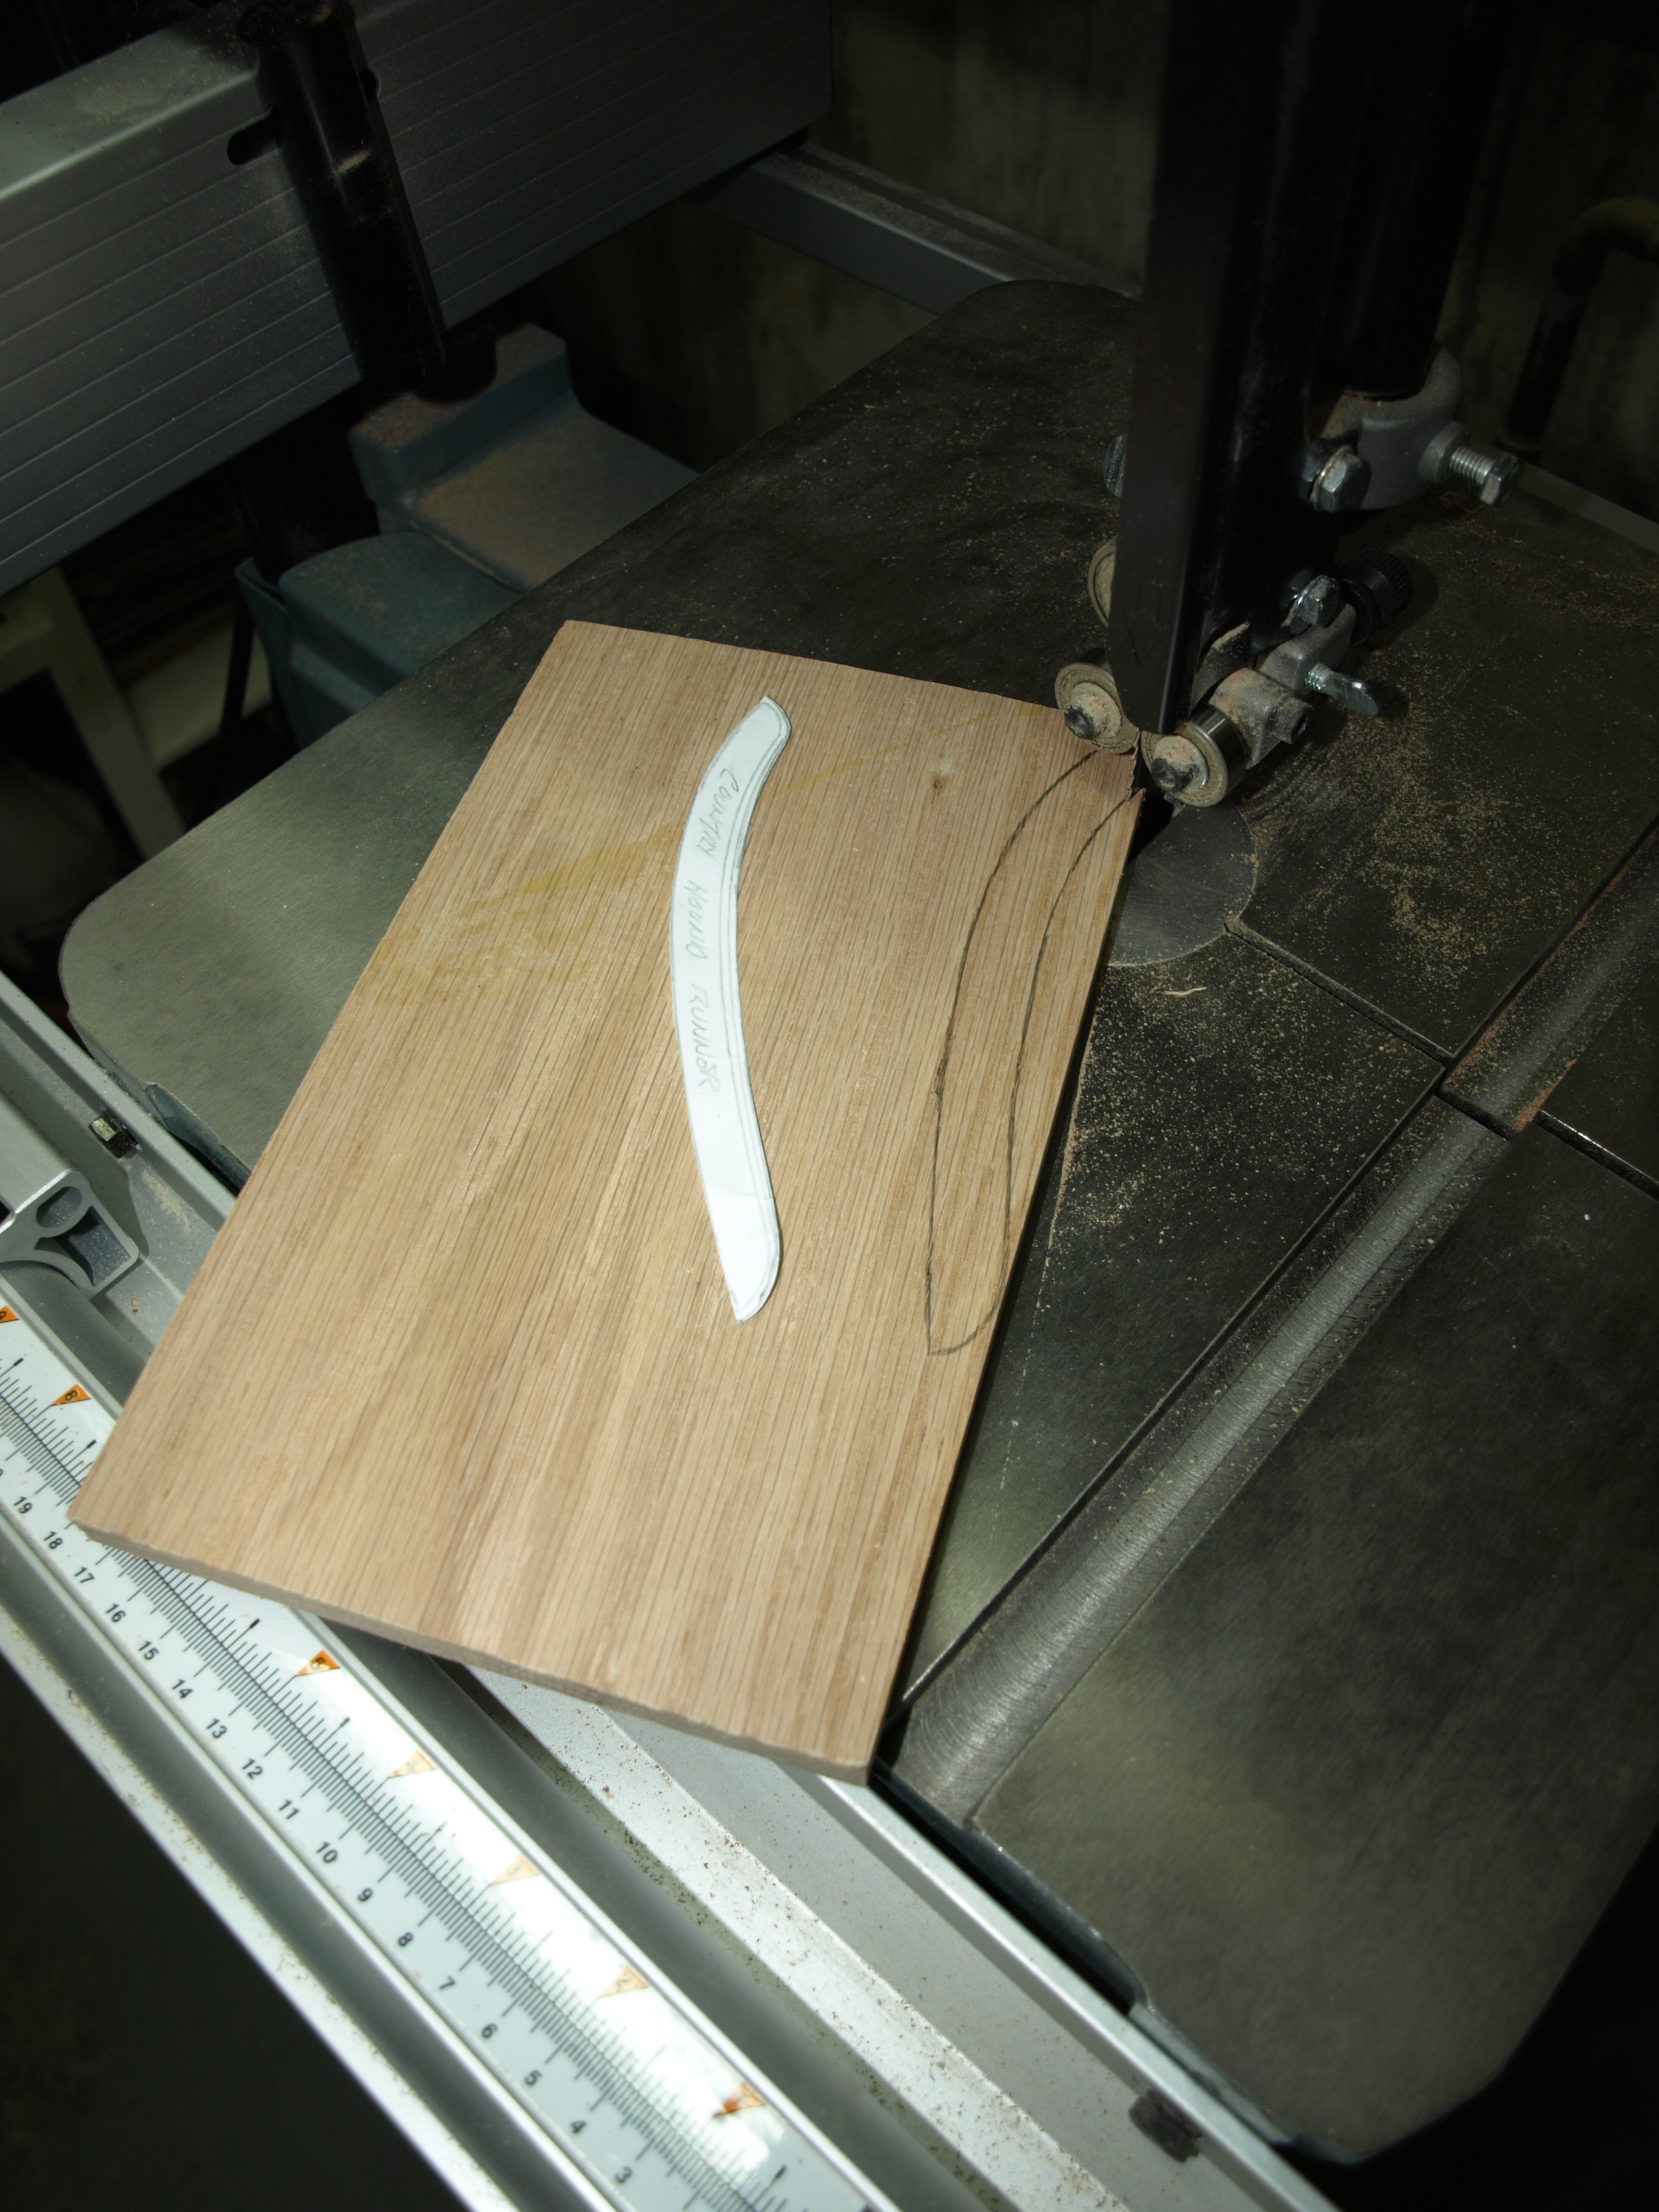
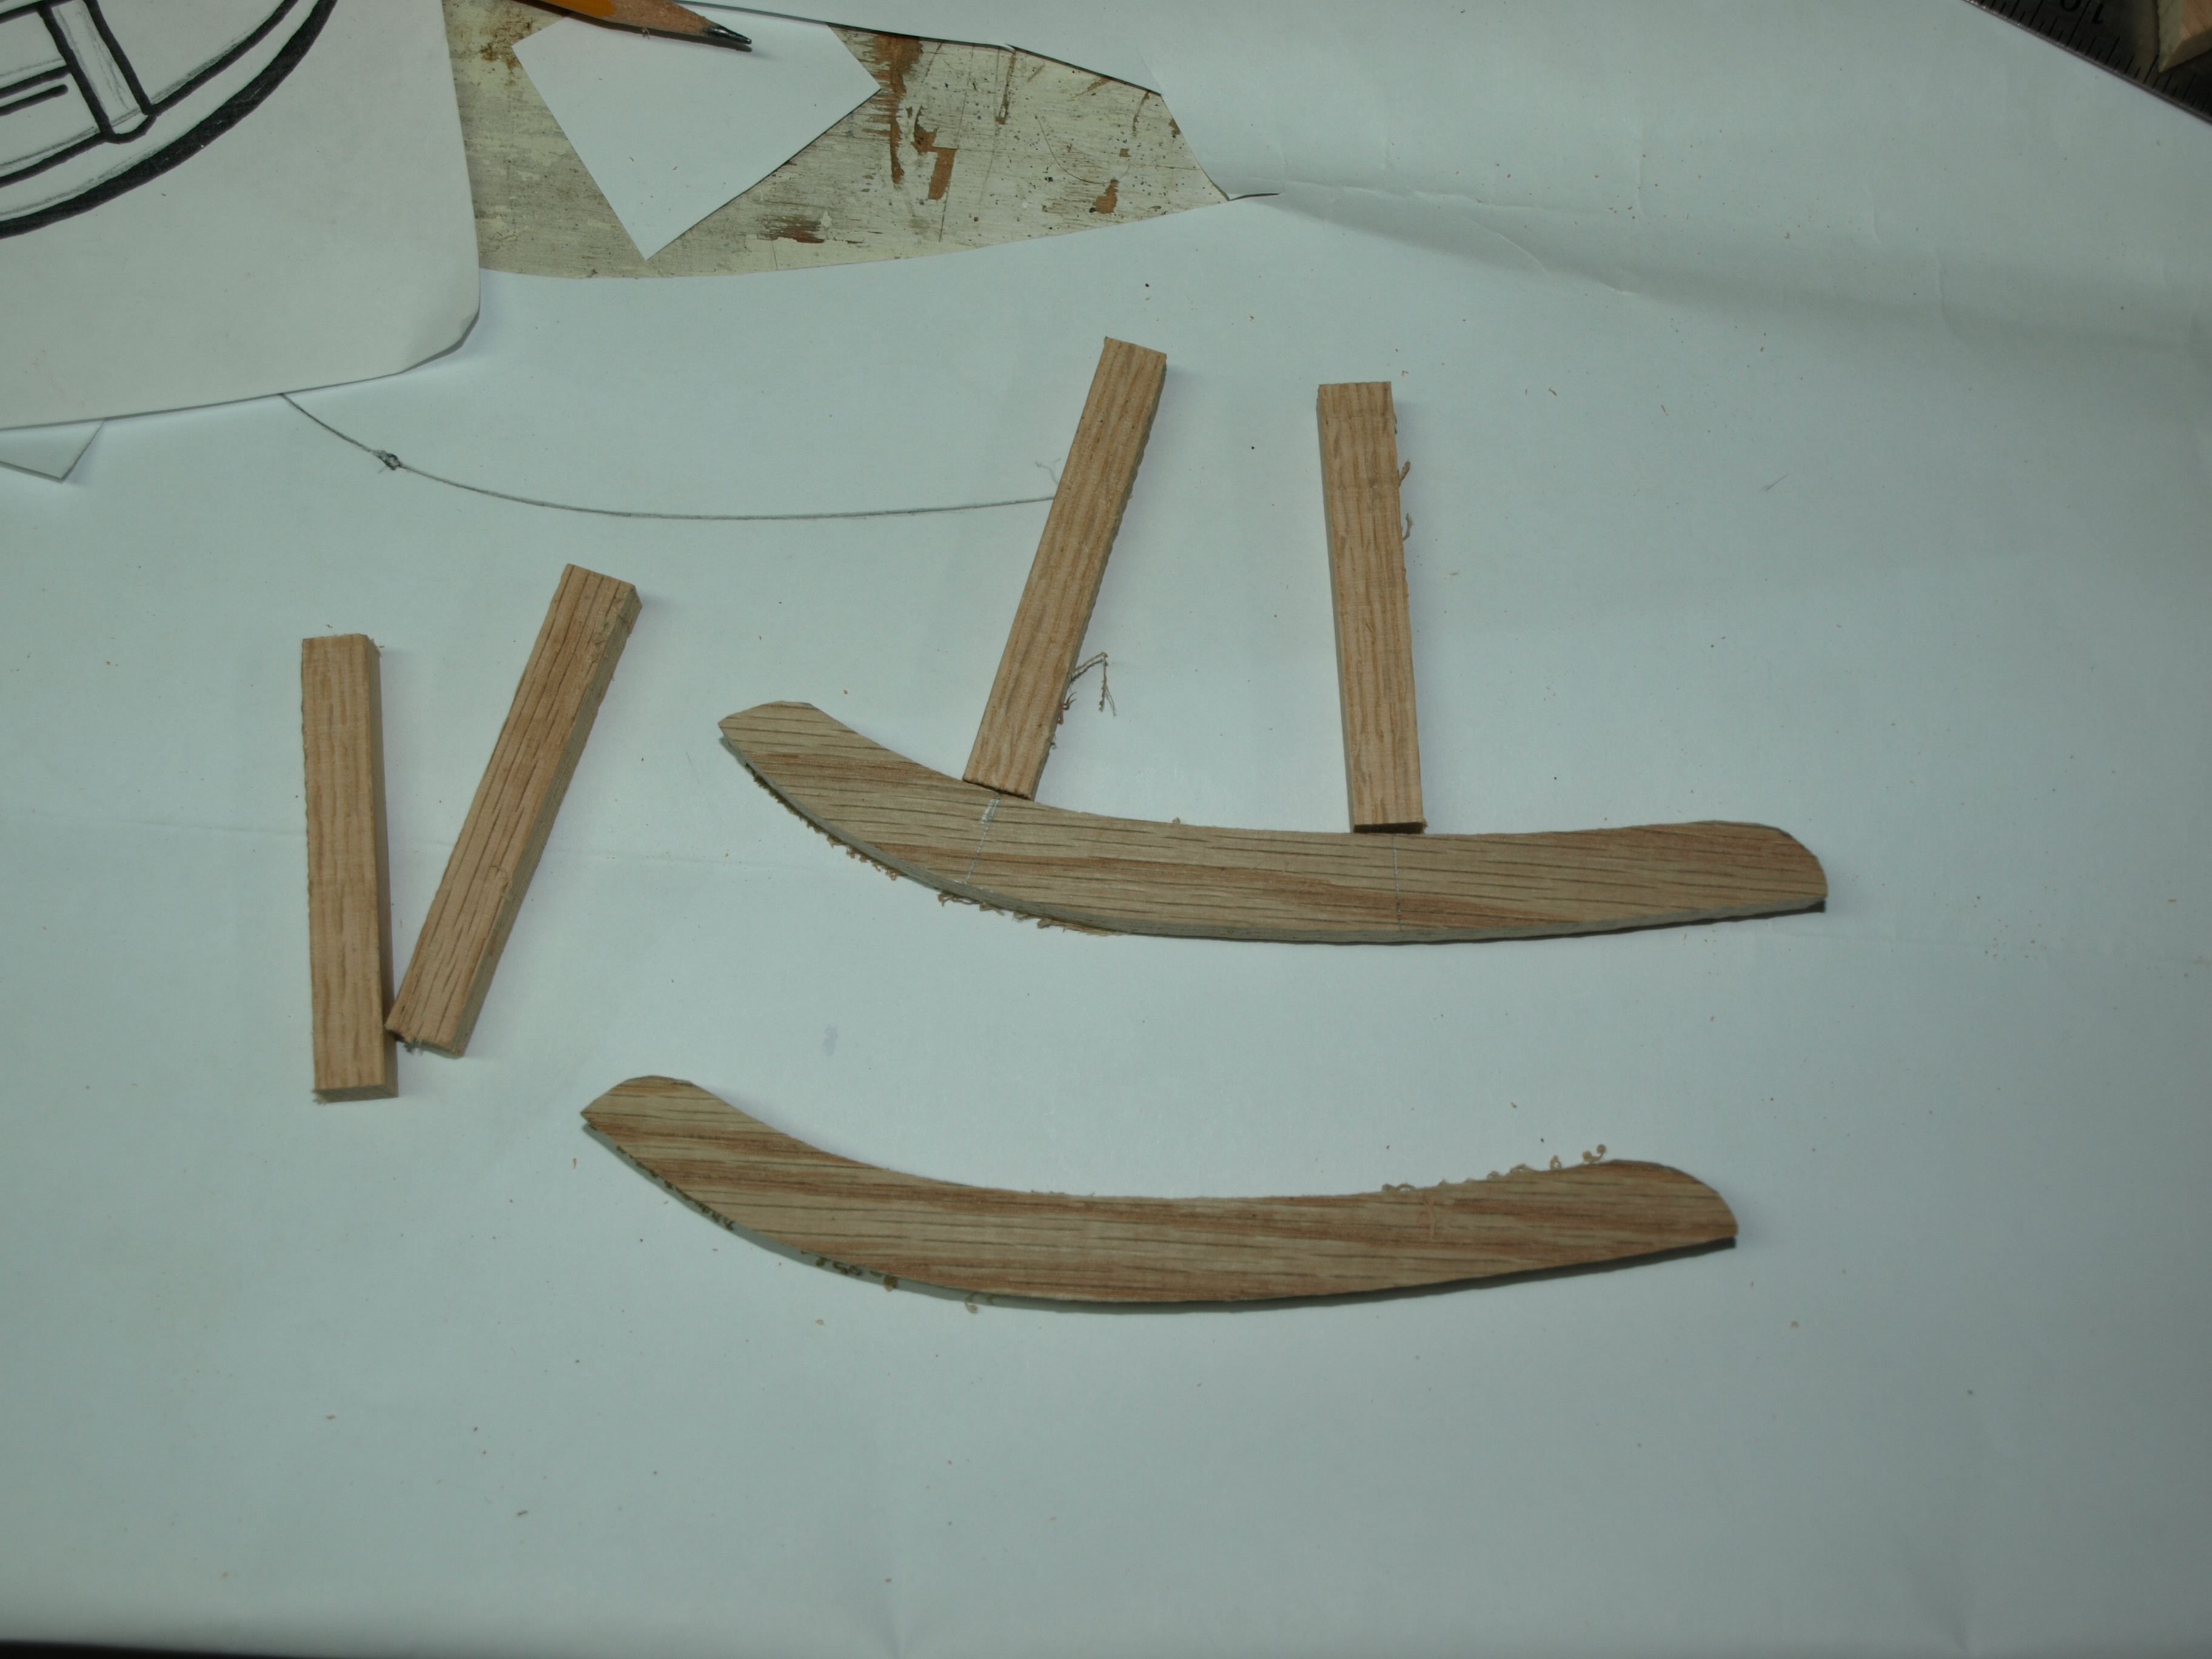
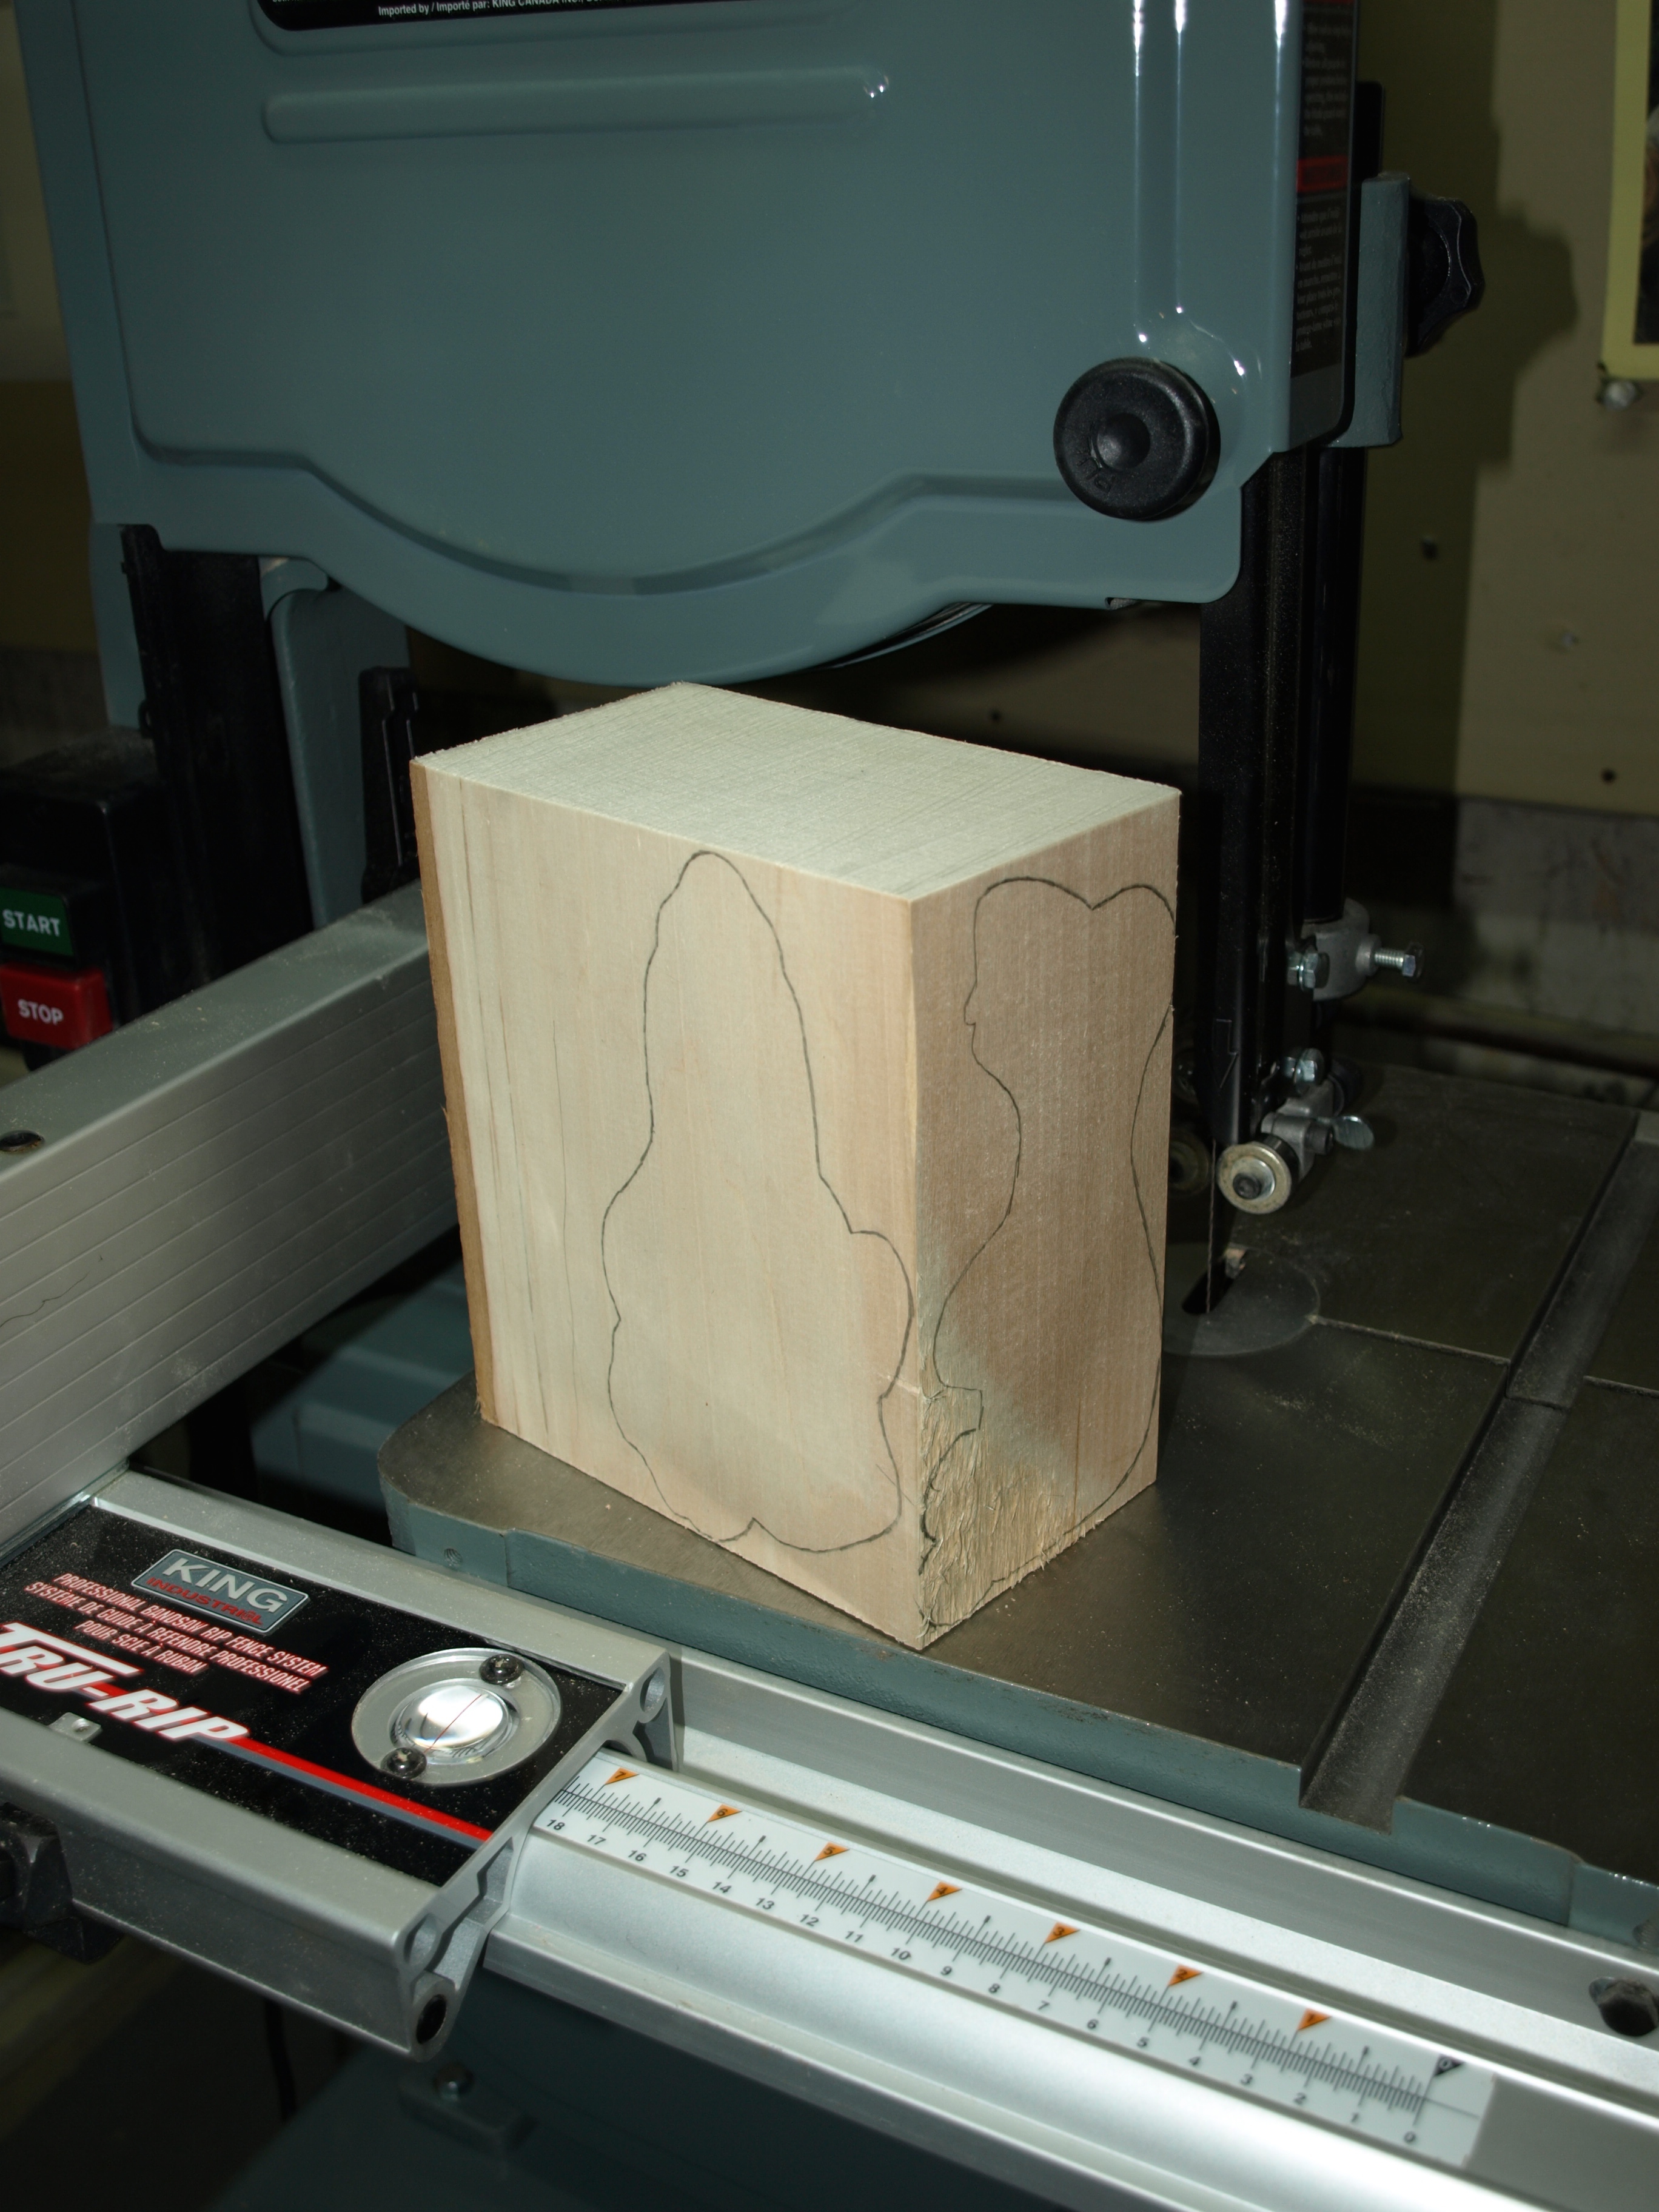
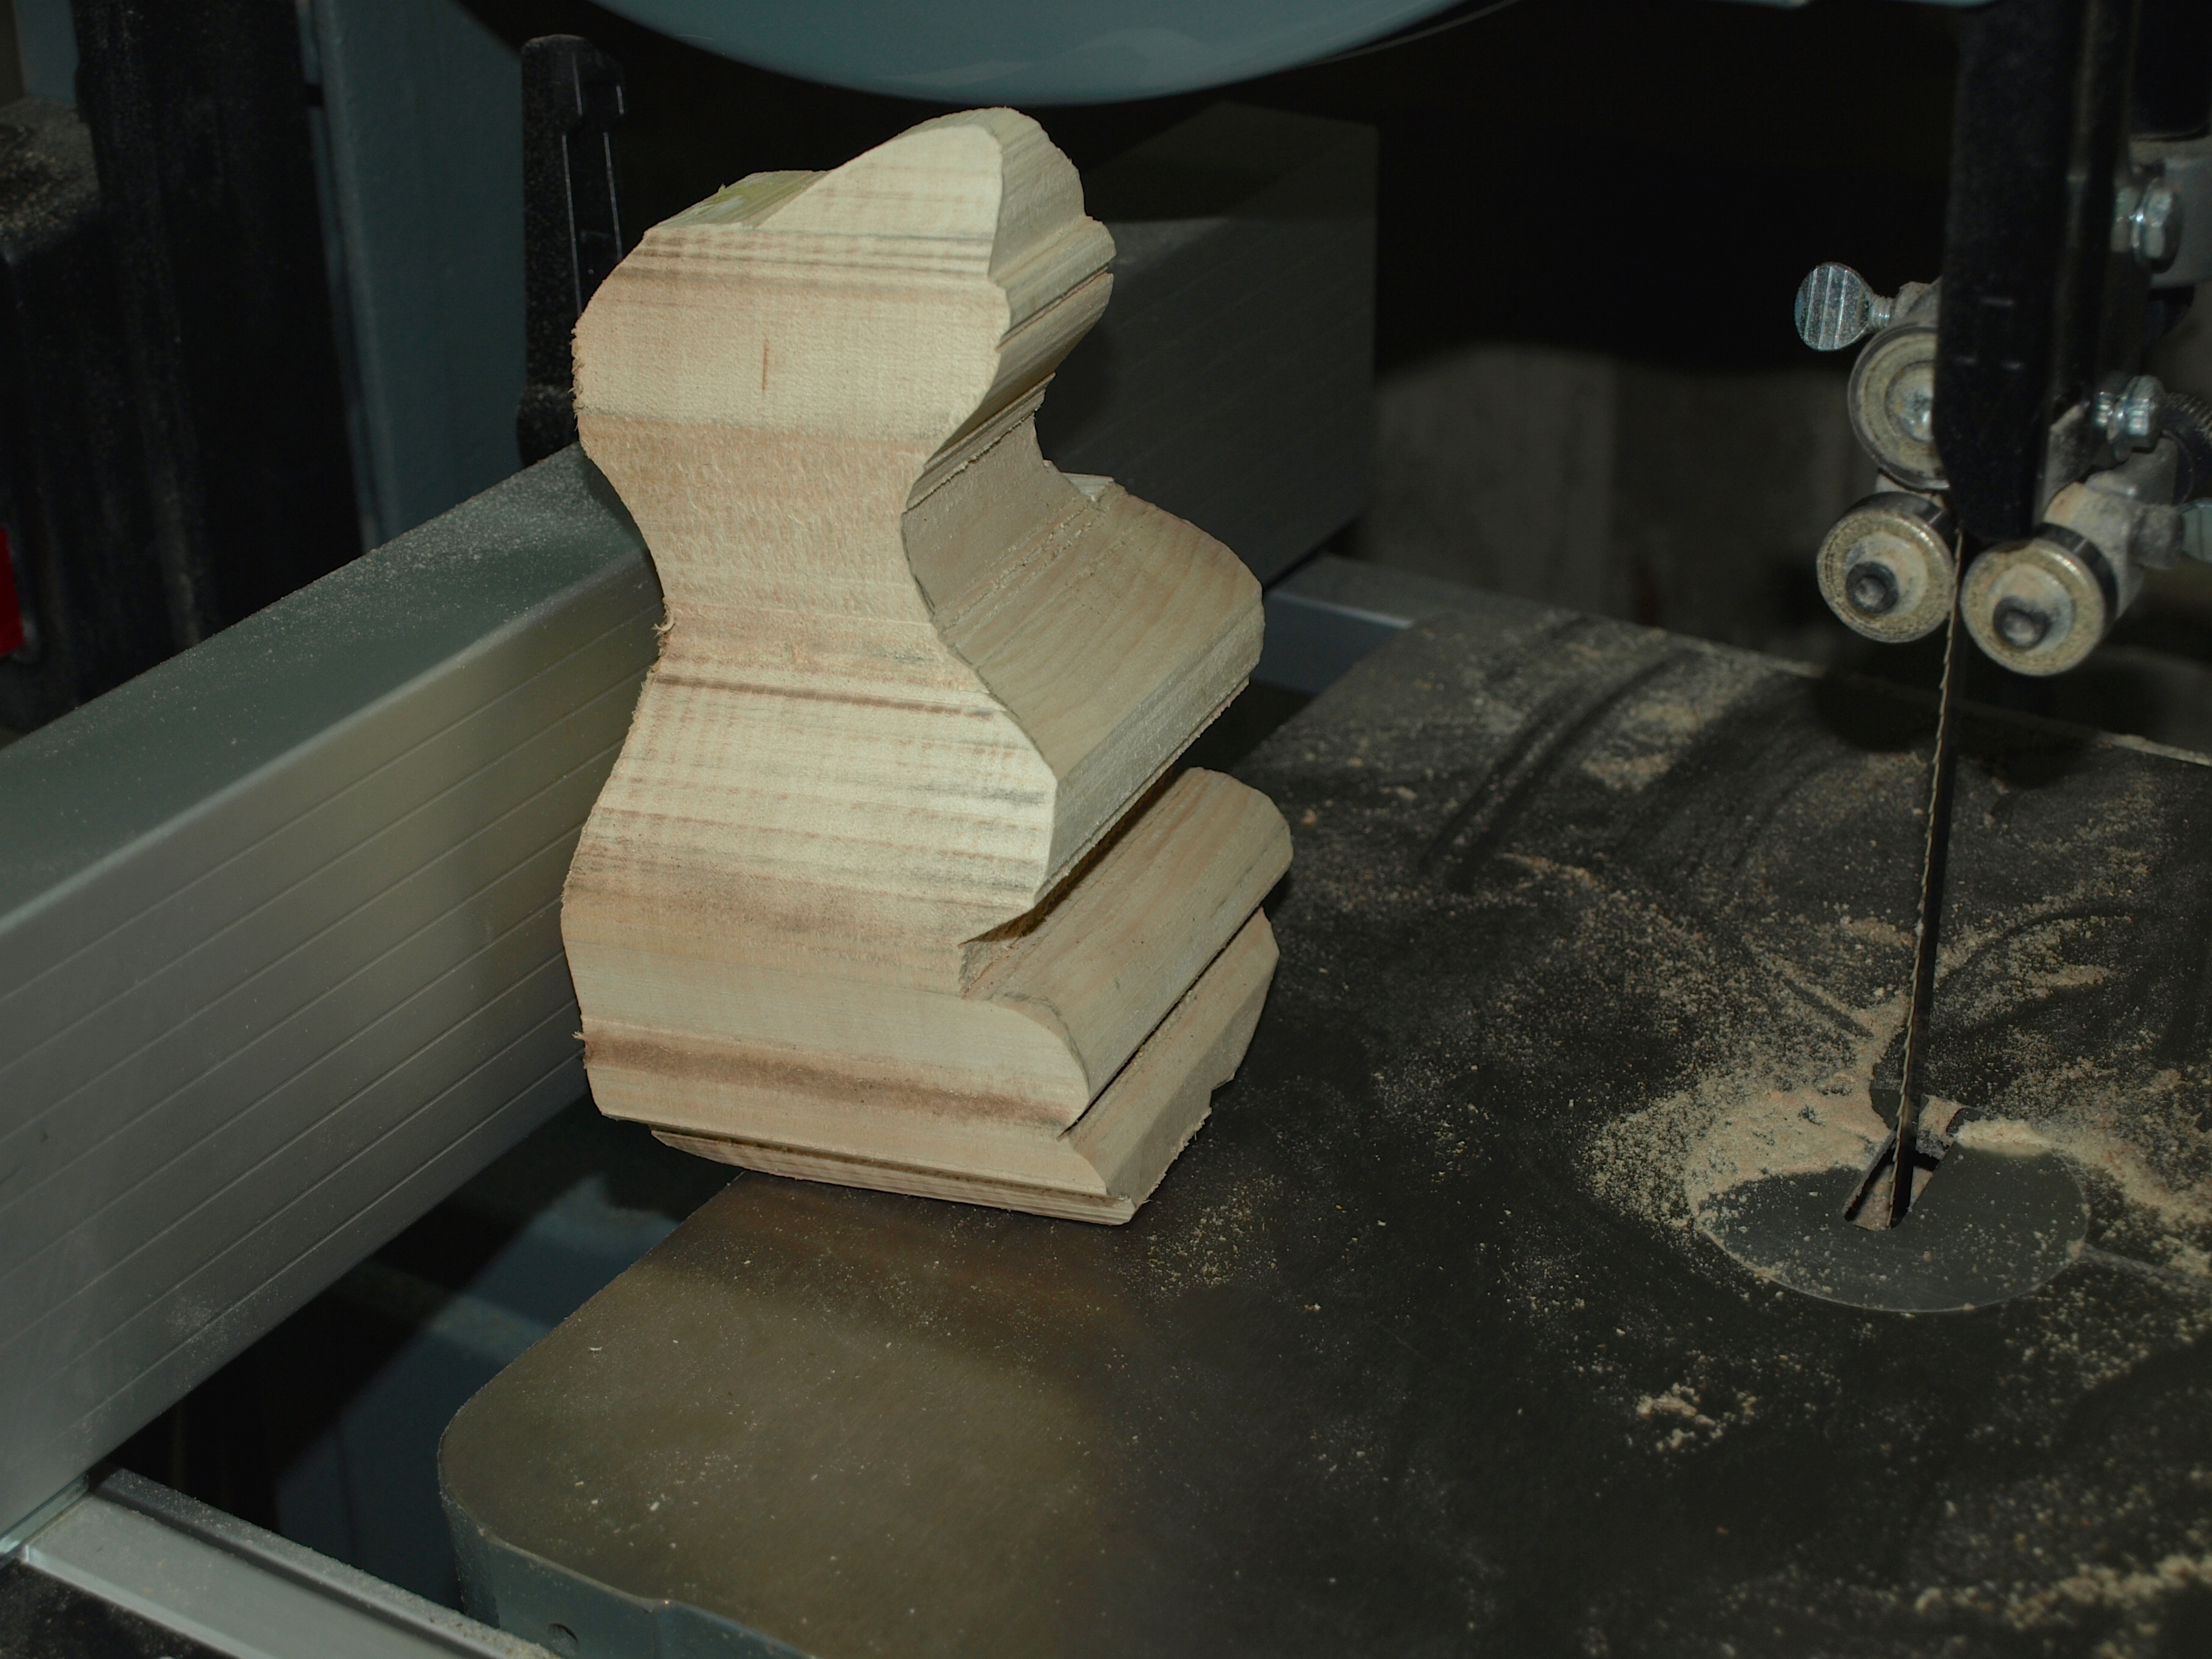
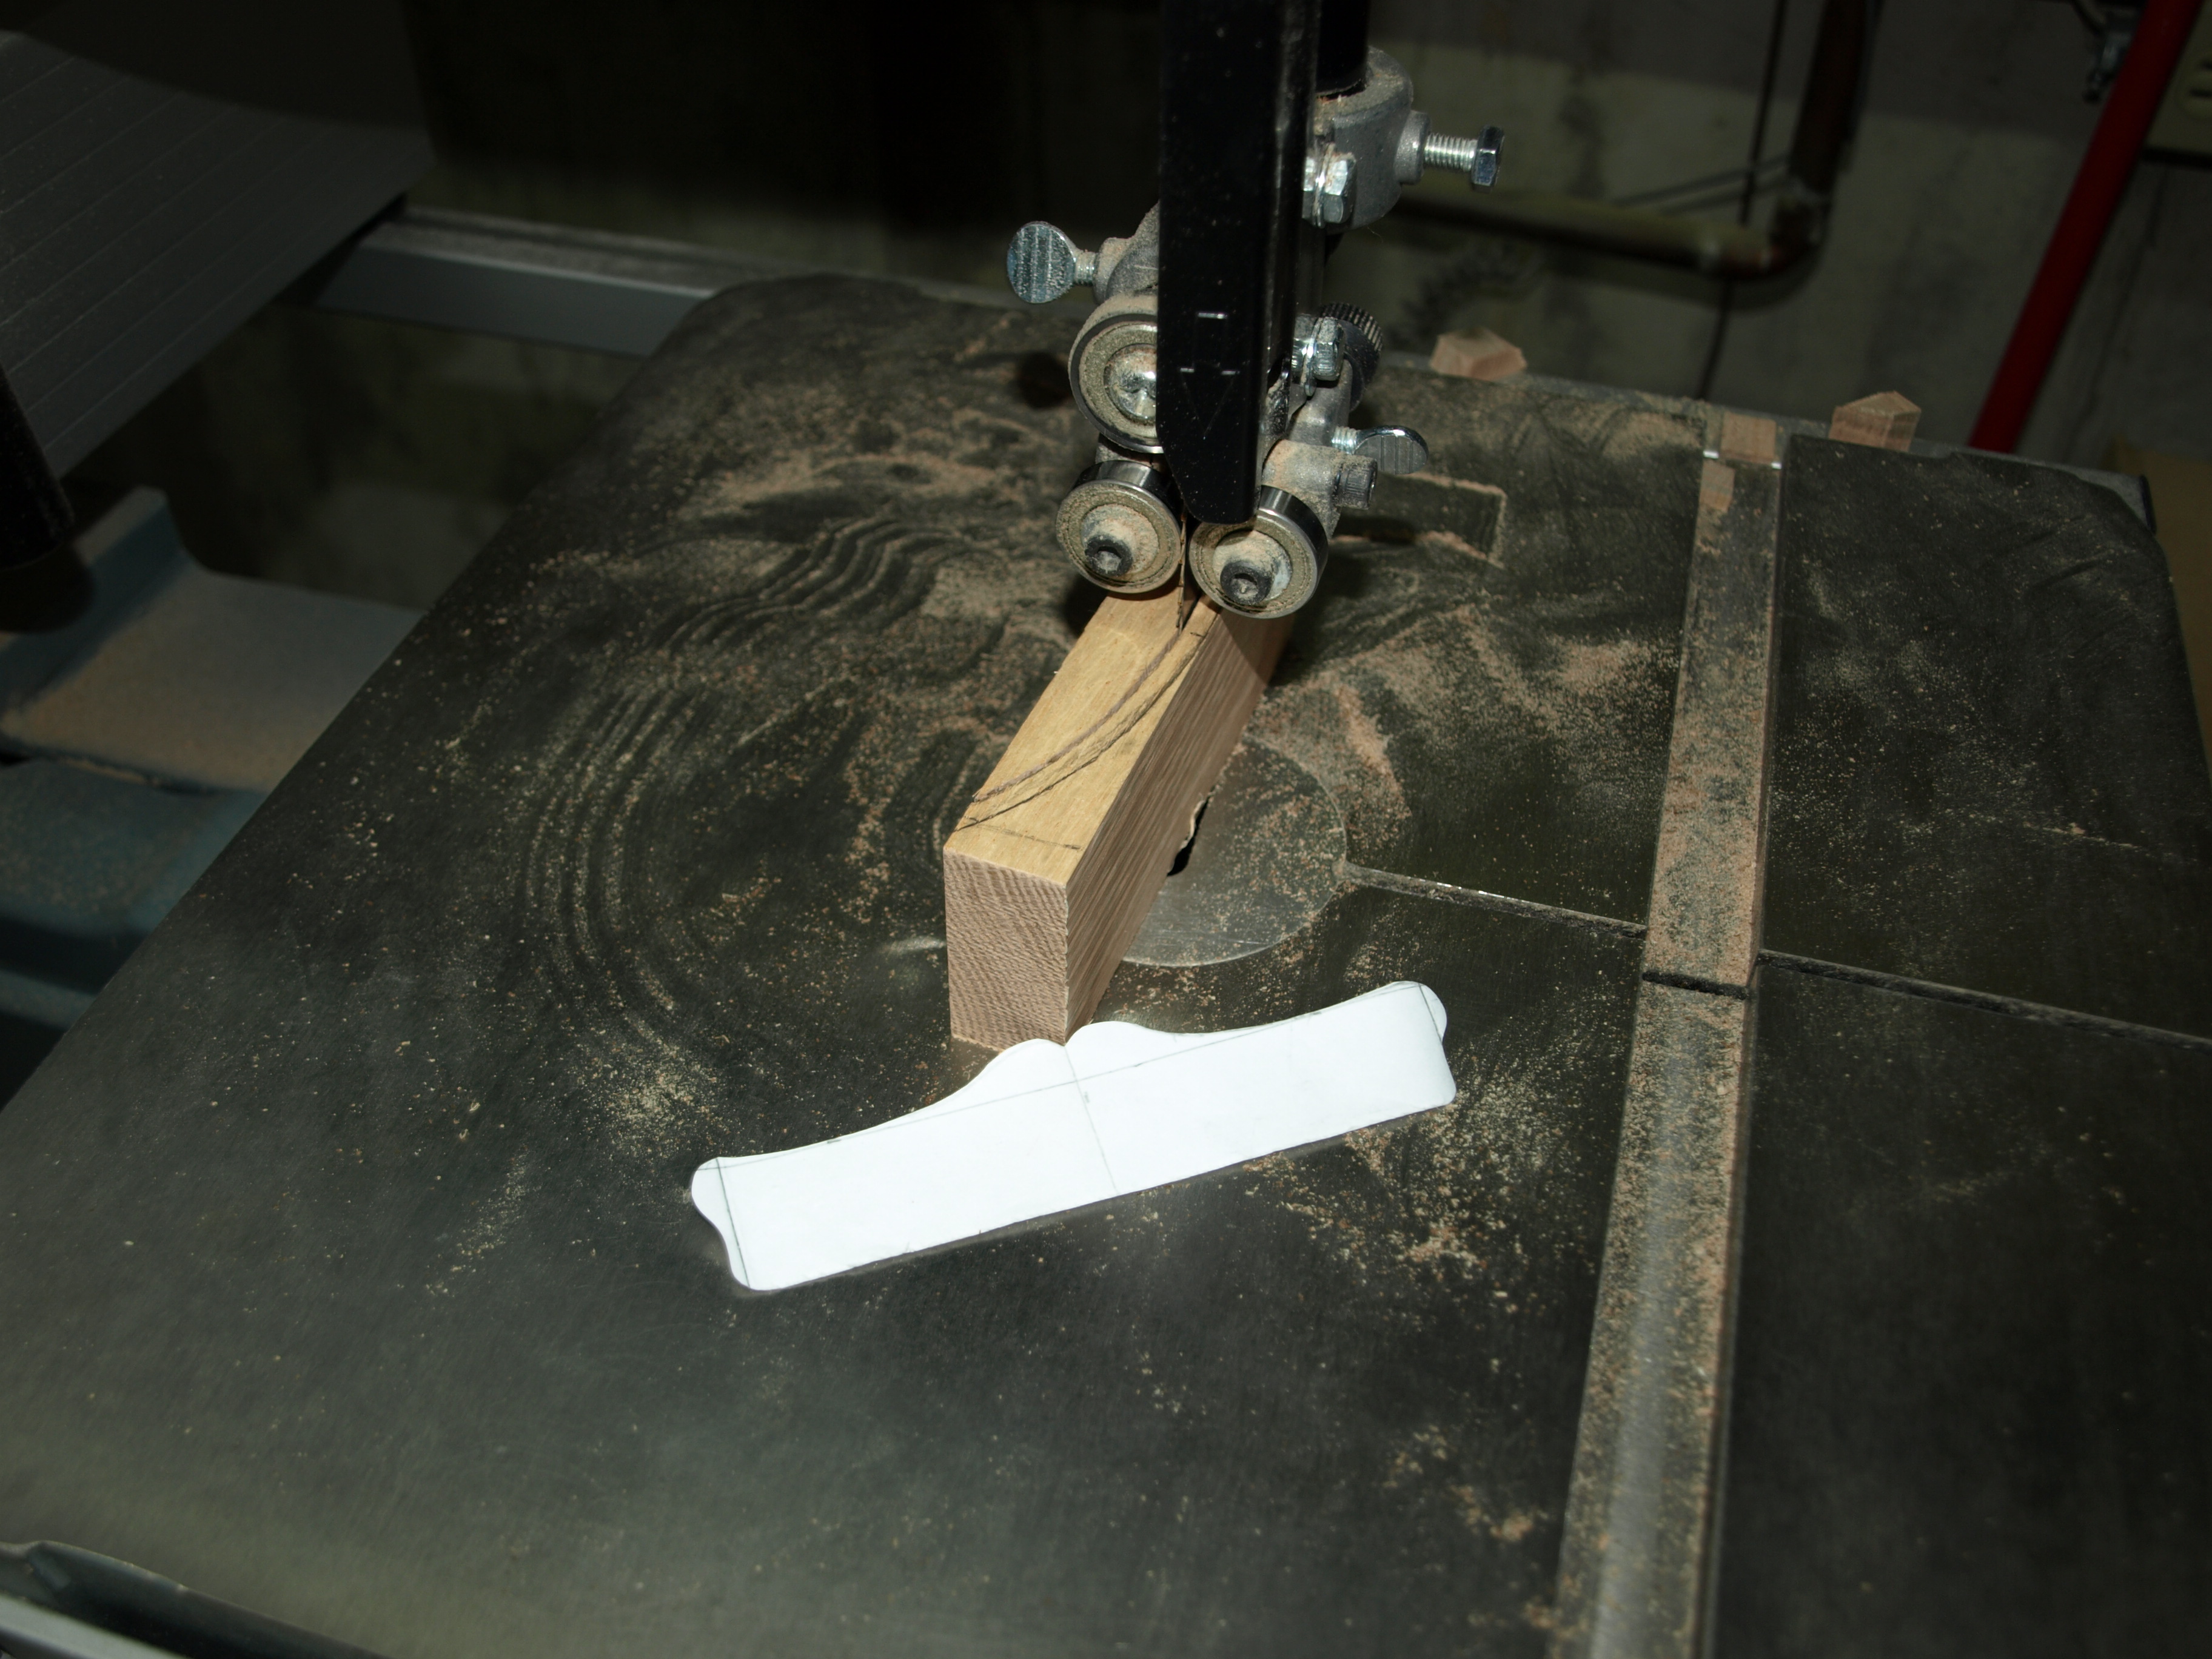
The two rungs on the back of the rocking chair were fashioned similar to the head-piece shown below.  Basically, I sketched out the contour of the back of the chair seat and cut that out of a piece of oak so that they ended up being about 1/8″ or so thick.  With that, I sketched the shape of the headpiece on the curved section that I had just cut out and headed back to the bandsaw to cut out that piece.  The rungs were far too small to cut out on the saw so I just carved their shape once I had the curved pieces cut out.

OLYMPUS DIGITAL CAMERA

OLYMPUS DIGITAL CAMERA

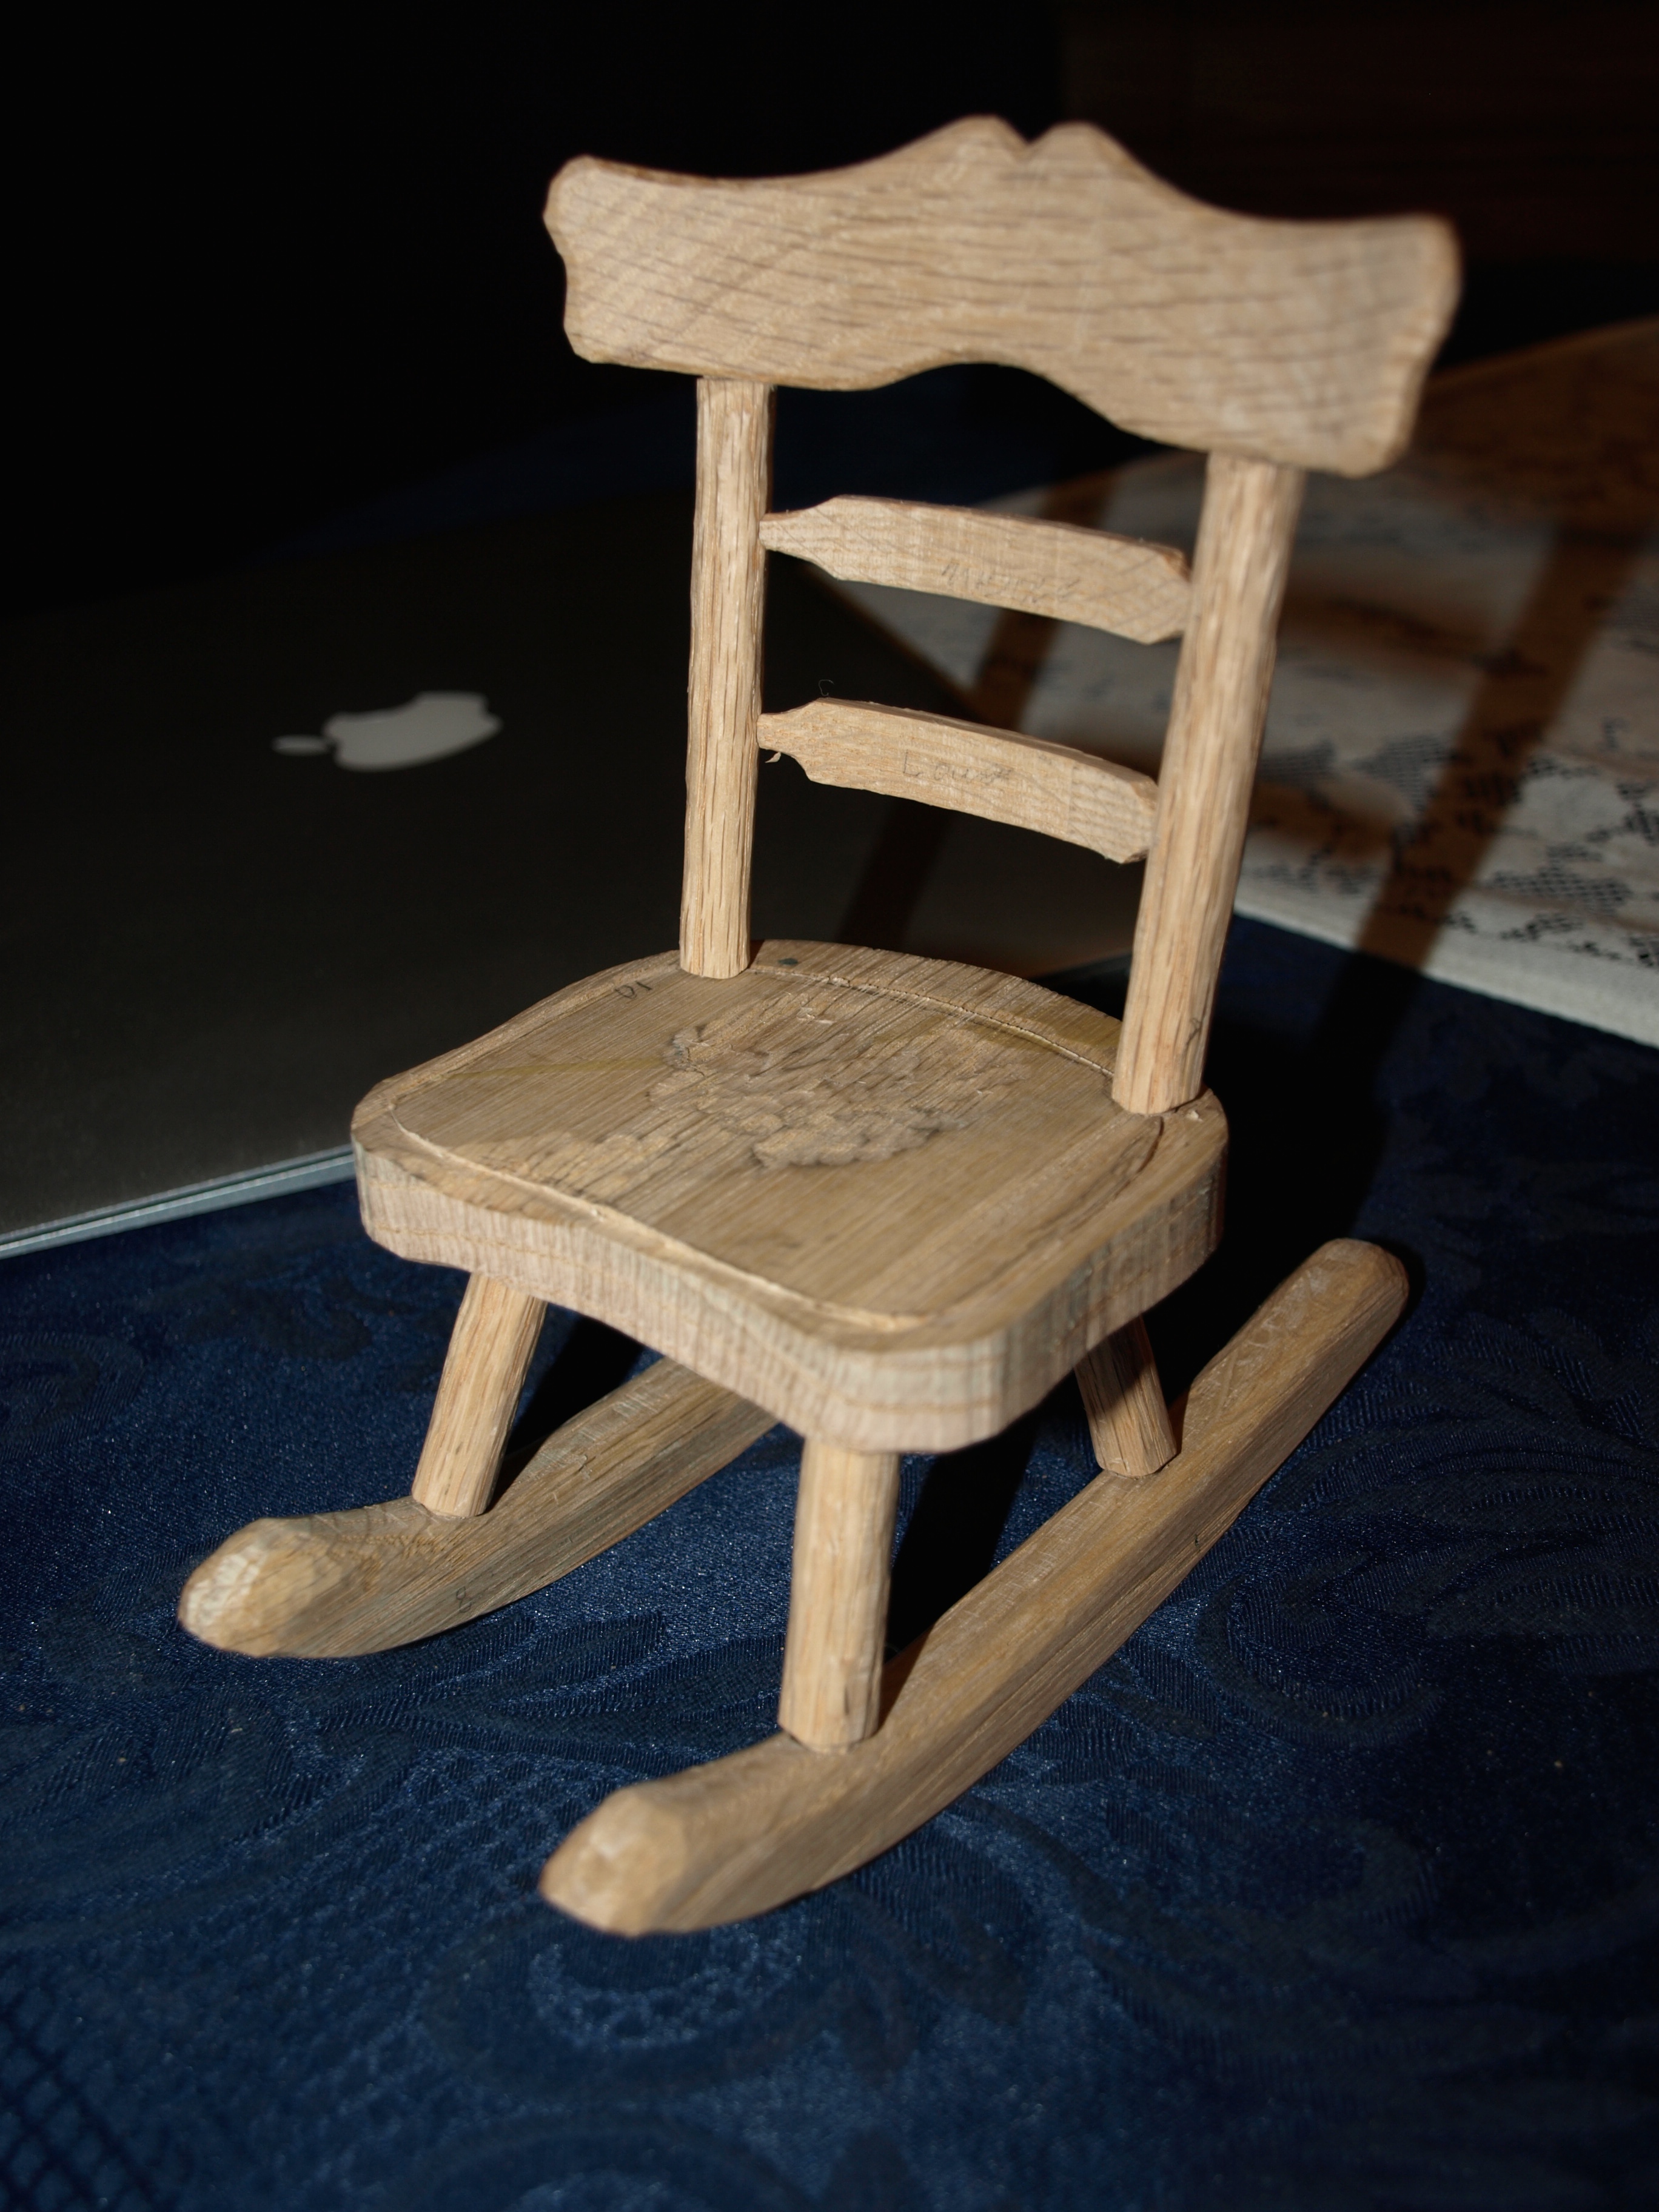
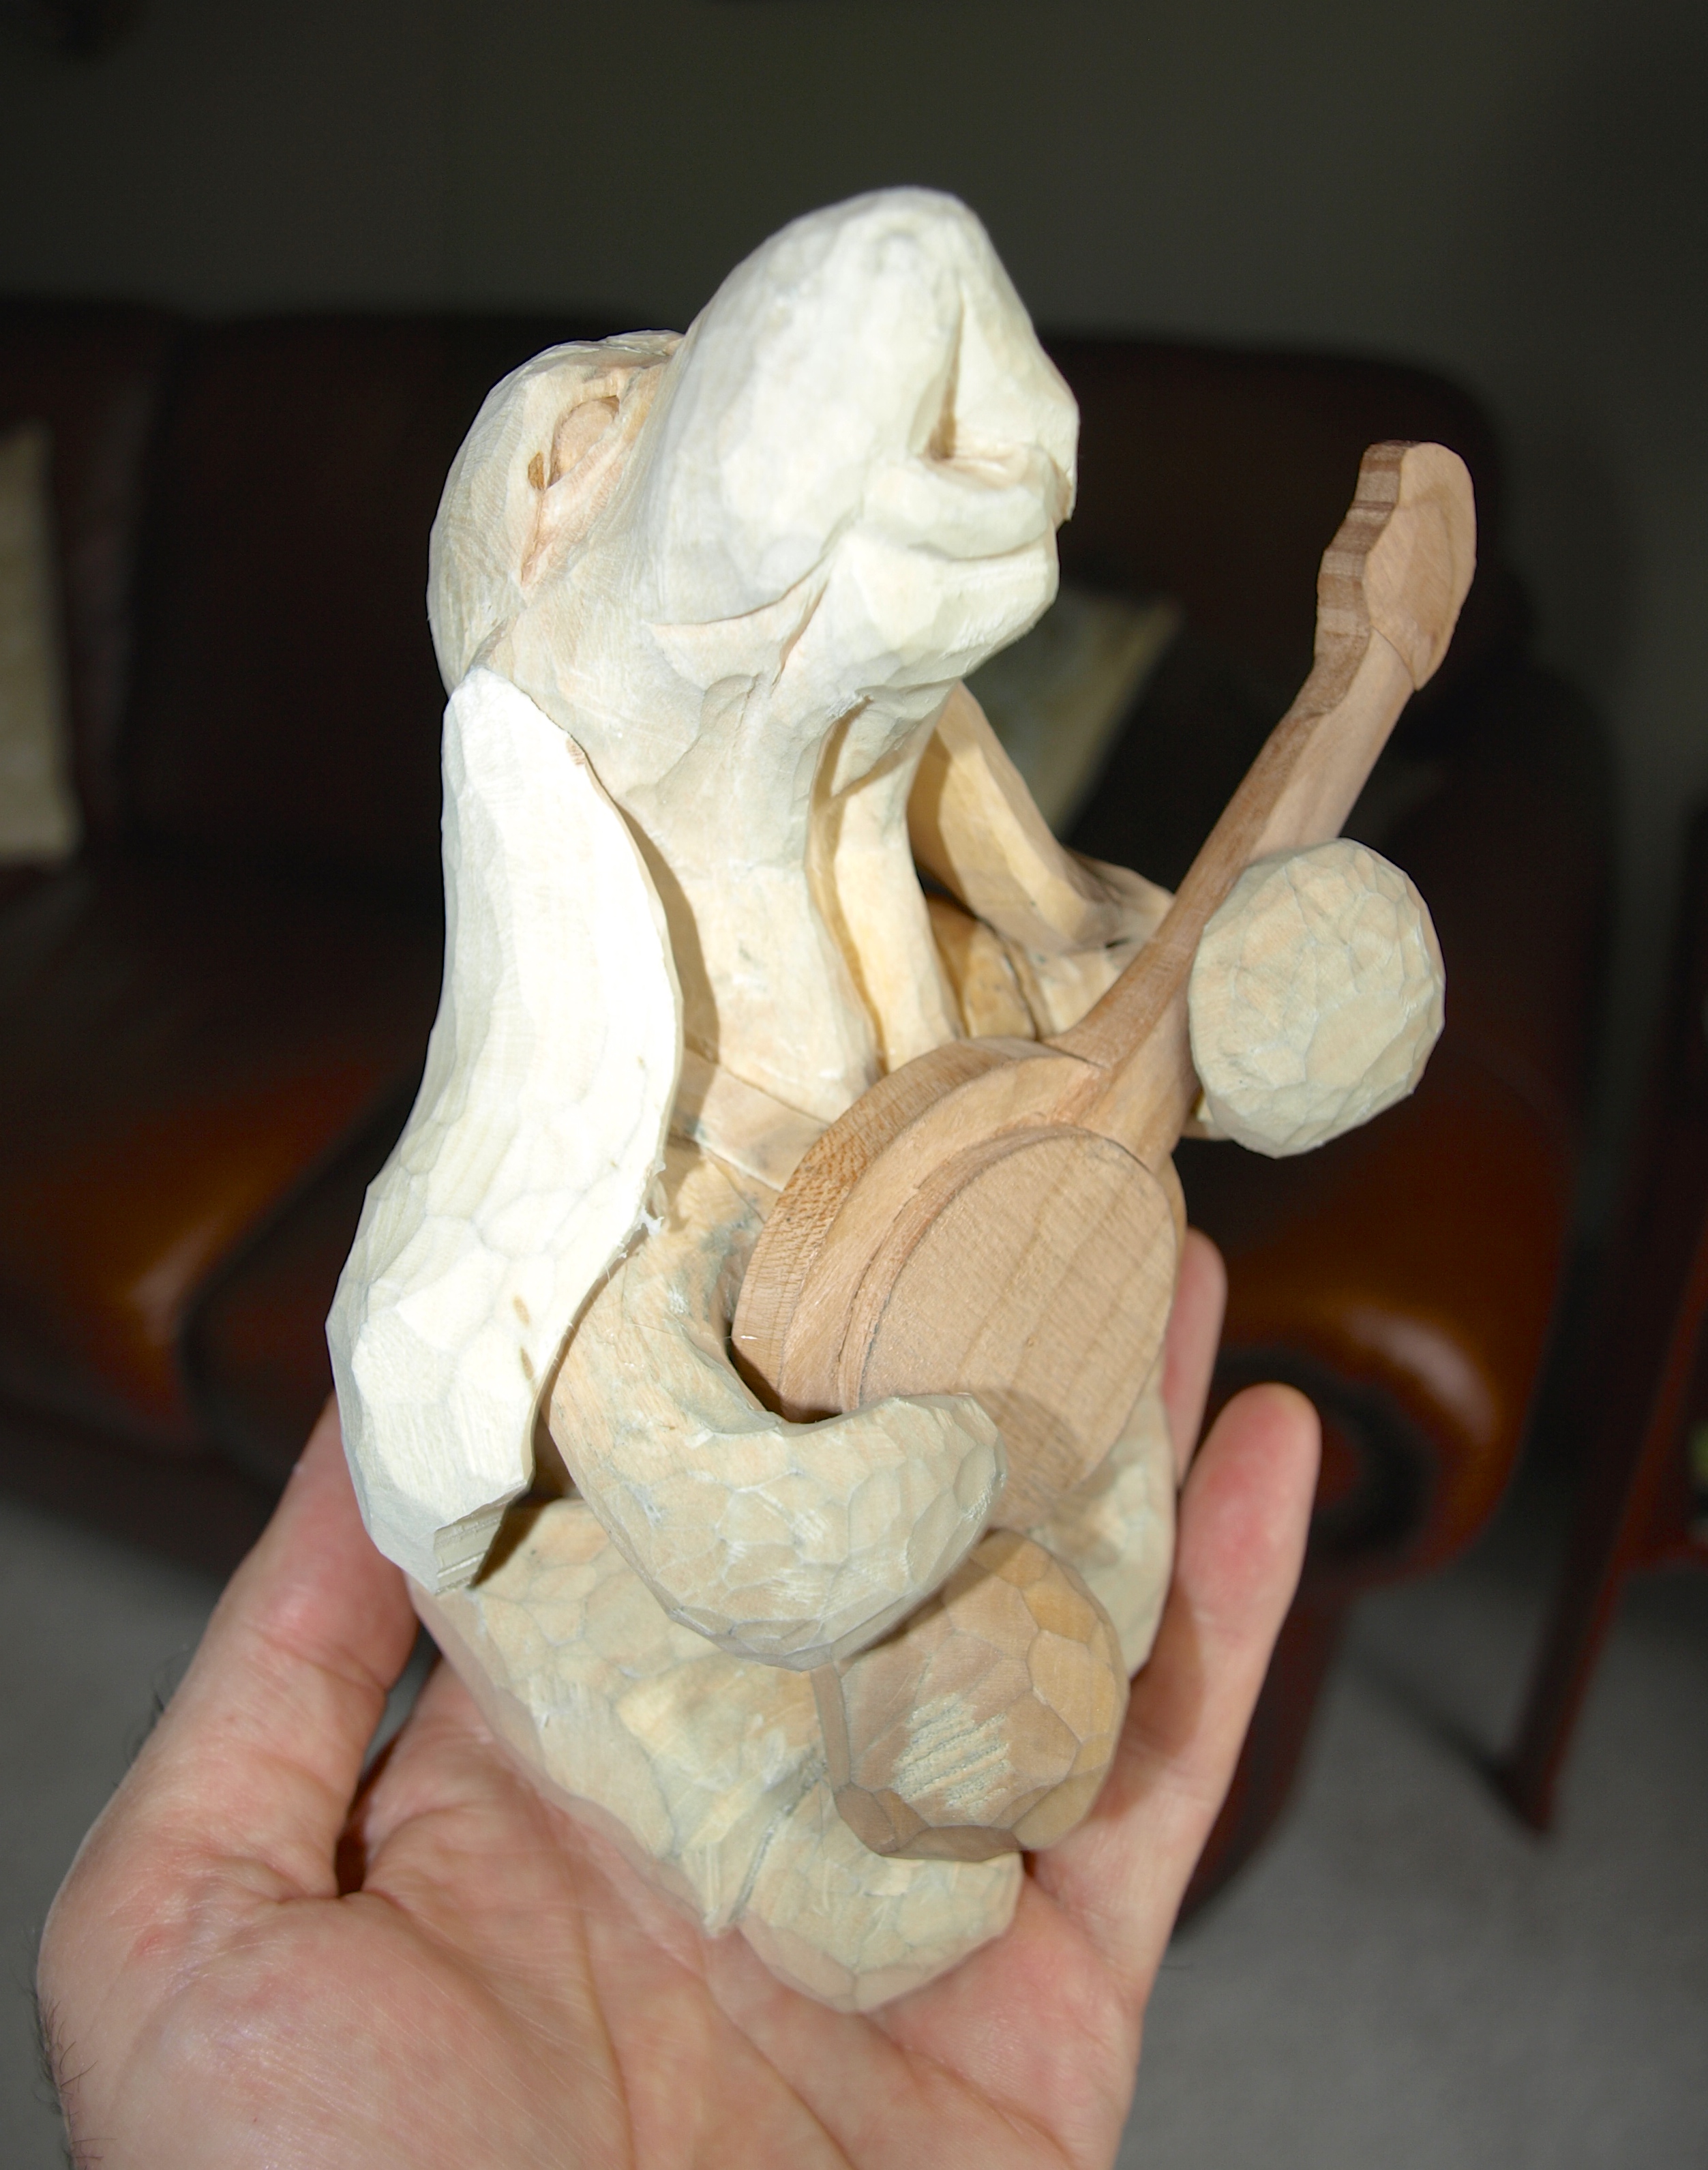
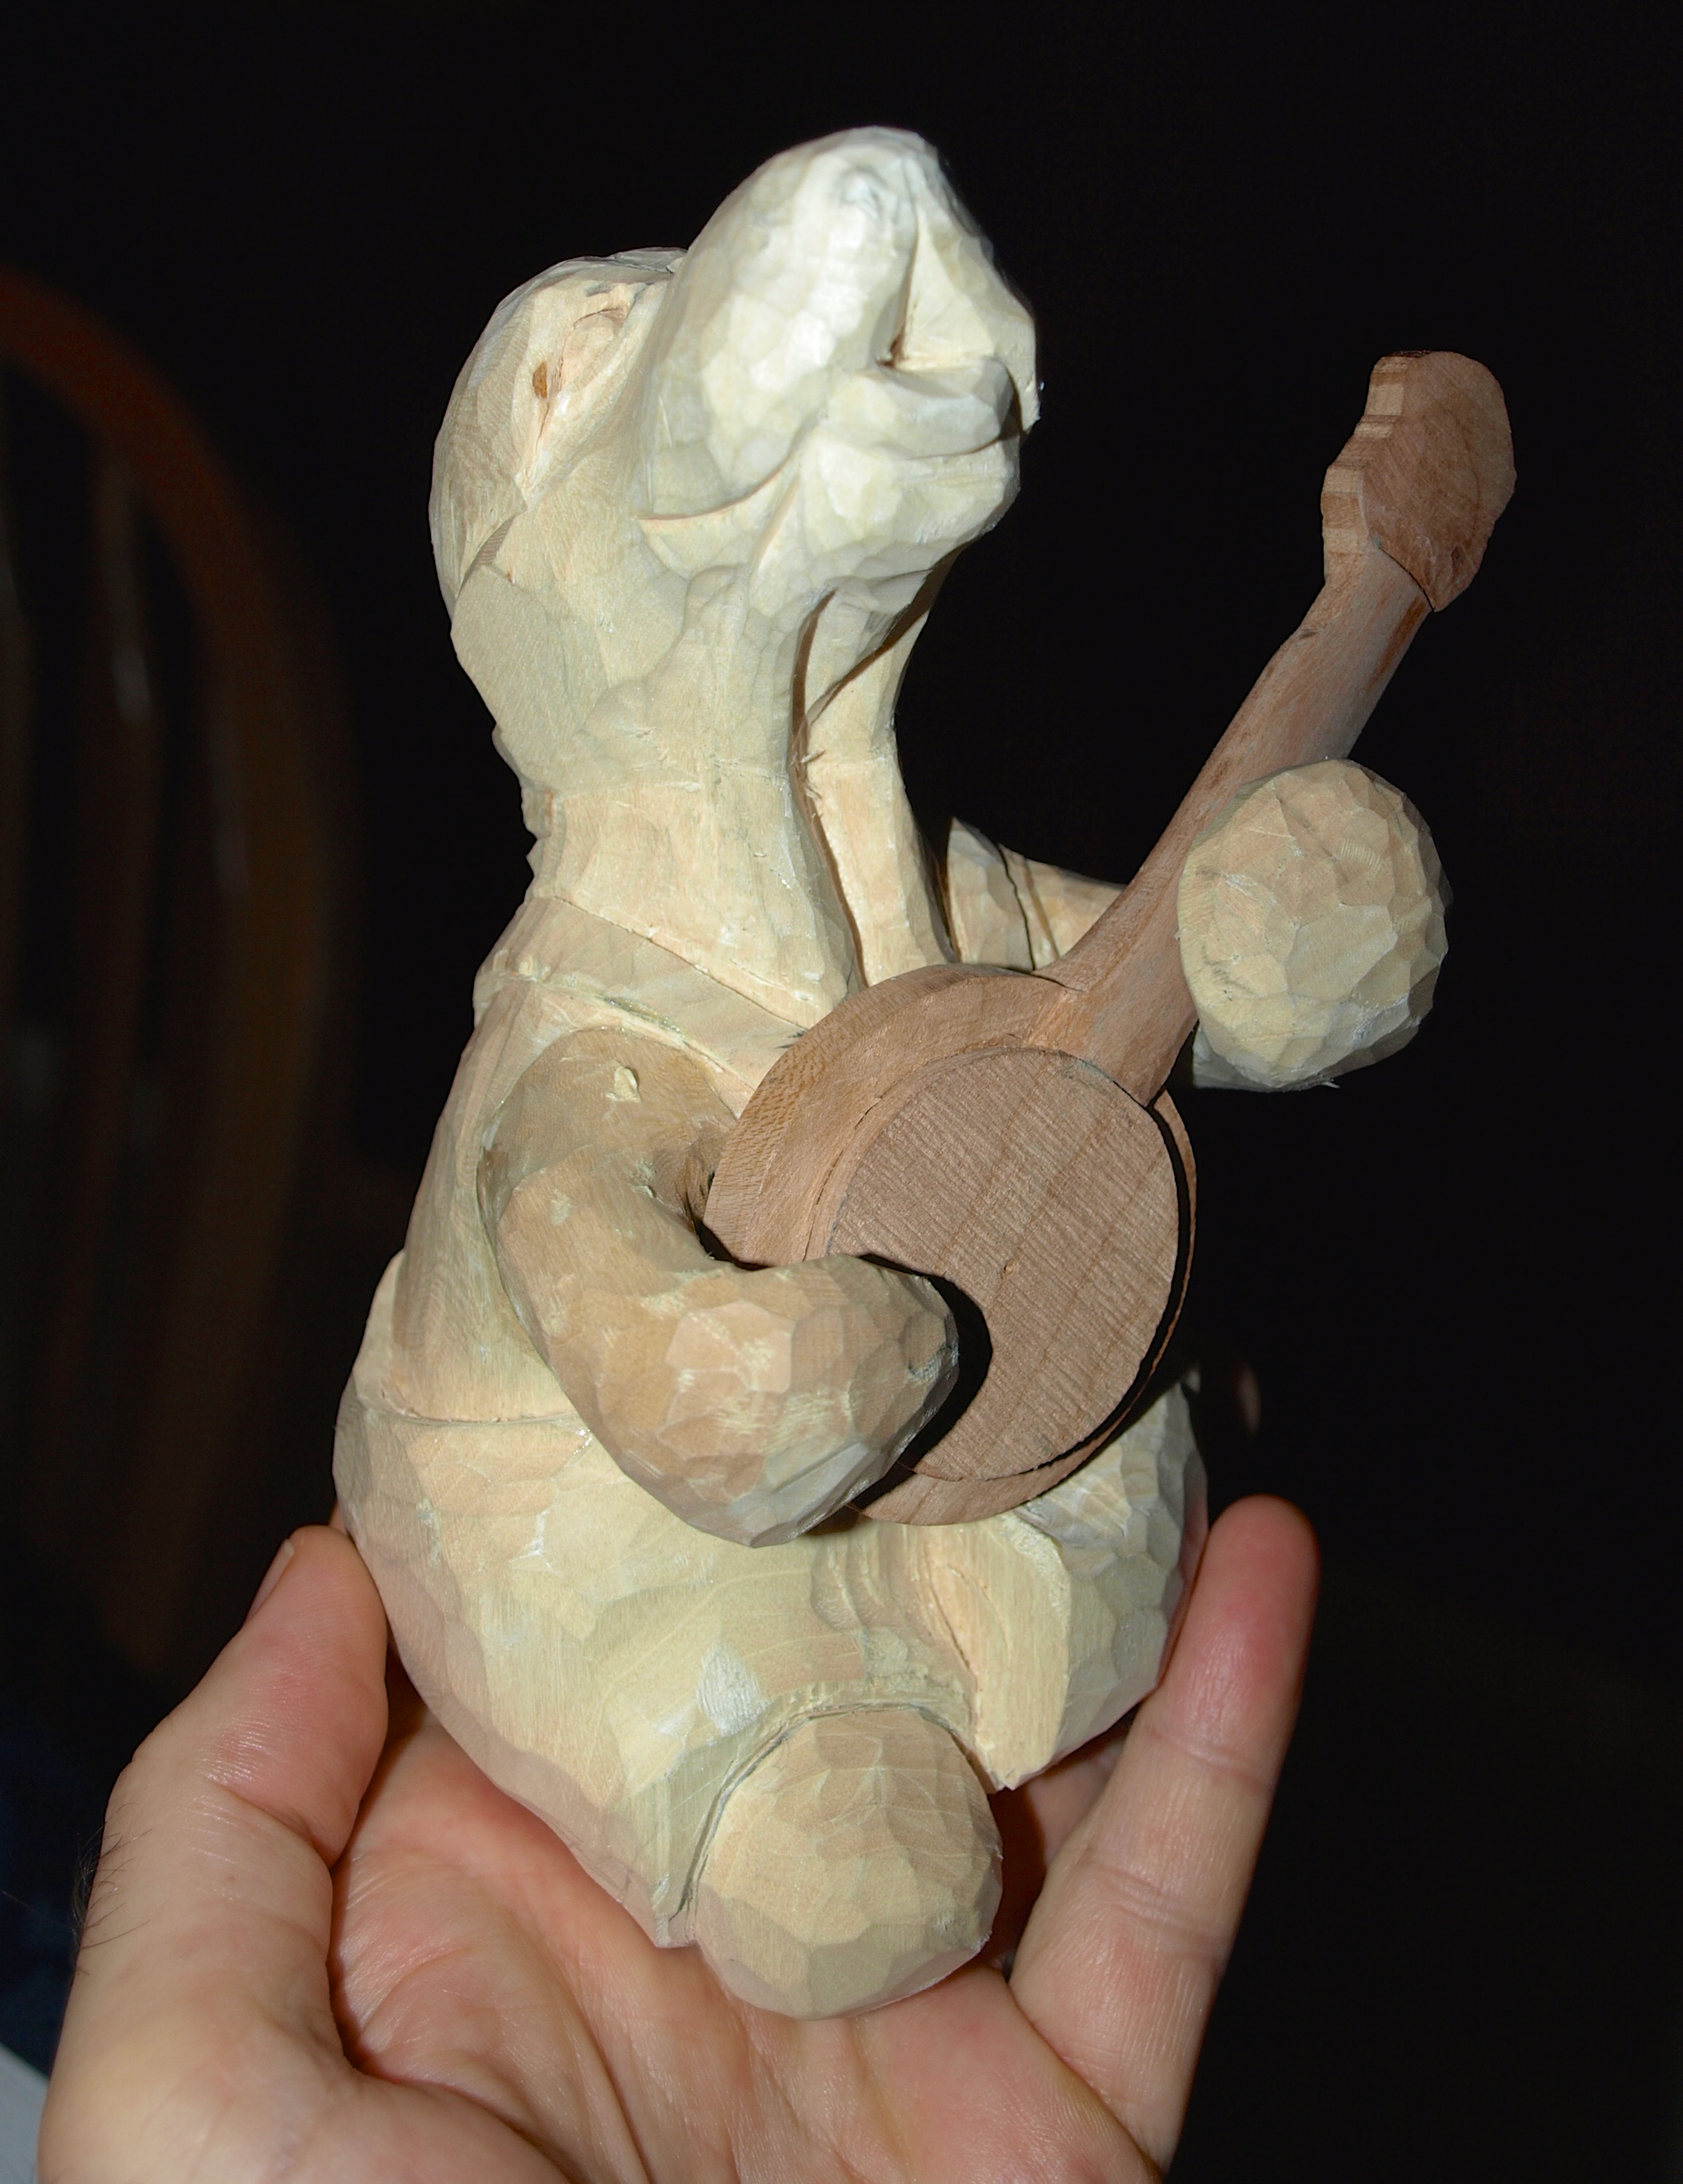
All put together, the chair started to look like something a Country Hound could sit on while playing his banjo.  Notice again that all of the pieces are numbered so that I know what I’ve carved to fit where once it’s all apart again.

OLYMPUS DIGITAL CAMERA

OLYMPUS DIGITAL CAMERA

A little bit of rounding and shaping has the rocking chair at this stage in it’s development.  That head-piece is starting to look a lot like a press-back chair to me, so I wouldn’t be surprised if it gets adorned with some carved and wood burned patterns very shortly.  If you look hard at the seat, you can also see the beginnings of a cushion for the little banjo player to rest on.  I’d still like to do a slender cross brace between the two rocking chair runners just to finish off the look.

Let me know what you think of it so far.

OLYMPUS DIGITAL CAMERA

Ain’t Nothin’ but a Hound Dog…

…rockin’ around town.  Ok, now it’s time to get rockin’ on the rocking chair.

The little chair for the country hound will be made from oak and fashioned as you’d expect a country chair with a bit bulky pieces rounded simply and with a ladder back. The first photo depicts the runners cut from about a 3/8″ piece of oak with the grain running in the direction of the runner.   I had to take a good look at my Grandma’s rocking chair that I have at home to realize how slight a curvature is actually in the rocking chair runner.  Also, if you hadn’t noticed before, the rear of the runner on a rocking chair is flatter than the front to prevent the chair from rocking too far backwards and up-ending the occupant.

You see how much you learn when you try to carve something!?  The second photo is of the two runners cut out.

OLYMPUS DIGITAL CAMERA OLYMPUS DIGITAL CAMERA   The uprights for the base of the chair that attaches to the runners were cut of the same material.  Again the grain was oriented for greatest strength.  The second photo, below, shows the drilled hole in the runner along with a carved-down upright piece that fits snuggly in place.  Although everything will be rounded out nicely after I do some carving, I want to keep the look of the tapered sections that fit into the holes as it will give the chair a less refined and more rustic country look…just like some country craftsman ( crafts-hound? ) made it without the availability of the best power tools on the market!

OLYMPUS DIGITAL CAMERA OLYMPUS DIGITAL CAMERA   So, this is what it shapes up to look like at this stage.  I like the general proportions.  I still need to add in some cross members between the uprights on the two runners. The chair seat is nice and thick at this point and will give me a chance to trim it down and possibly include a chair cushion…I’ll have to think about that but right now a colourful chair cushion might be a nice addition.  Next steps will be the chair back with its ladder rungs and, of course, all of the rounding and detailing.

OLYMPUS DIGITAL CAMERA

Now that I look at this picture, I should also mention that I numbered each mating piece as it’ll be important when I do the final gluing that the right pieces went in the right spots in the right way.

Enjoy the photos.  Any comments or questions, just fire away.

Just Needs a Hat

This little Country Hound really does just need a hat now before I can say that the roughing-in portion is complete.  Of course, all of the detail is ahead of me in order to really bring out his personality.  After the hat is roughed in, I’ll probably begin the rough in of his rocking chair just so that I’ll know the basic fit of everything before the detail gets carved in.

So, since my last post, this little guy has acquired a second ear as well as a second rear leg.  The leg had to wait until I was sure on the placement of the banjo.  Both the second ear and the leg went in with the same fashion as I outlined in the previous post…some lead “pencil” rubbed on the body of the carving and then some repeated fitting and removal of the lead marks on the leg and ear.  Everything is just placed together right now with a glue gun, so it will be a simple matter to remove these pieces and add the detail that I want later on and then use the same lead-mark-removal method to get the final tight fit.

Oh…and for those worrying about my house chores…I also painted three windows this weekend ( just in case Peggy is reading this post ).

Hope you enjoy the photos.

OLYMPUS DIGITAL CAMERA

OLYMPUS DIGITAL CAMERA

OLYMPUS DIGITAL CAMERA

An Ear for Music

This hound definitely will need to have an ear, or two ears, for music…so, here’s the start of that tale.

The outline of the ear was drawn out on a piece of paper and cut on the bandsaw from a block of basswood such that the grain of the wood ran along the length of the ear outline.  Remember, this is important because the strength of the wood is greatest along the direction of the grain and you would prefer to have as many items as possible on the carving making use of this natural strength.

After a very rough approximation of the contour of the ear around the shoulder and front leg ( I want to call it an arm…I mean, he is playing a banjo after all ) I cut that contour out with a second trip to the bandsaw leaving a lot more wood than I would eventually need.

OLYMPUS DIGITAL CAMERA


And the reason that you want to leave a lot of wood initially is that you are going to very gradually cut the inner side of the ear down little by little until it fits exactly and tightly to the shape of the head, shoulder and front leg.  The way that you can do this is to take some artist’s lead ( usually comes in a bar, but a very soft pencil could work ) and rub the body with it where the ear will fit.  Then, when you place the ear where you want it and wiggle it around a bit, a bit of the artist’s lead rubs off on the inner part of the ear.  If you look close you can see the little marks left on the ear that basically represent the high points on the ear that touched the lead.   After that it’s a simple process to gently cut away those marks with a knife or chisel.  Repeating this process over and over again eventually gives you a super tight fit of the ear to the rest of the carving.

OLYMPUS DIGITAL CAMERA


Put some of your favourite music on while you do this as it takes a while…but the end result is perfection.  By the way, the lead markings can be shaved away and washed with soap and water.  Also…wash your hands well…lead isn’t very good for you, so be sure not to ingest it by getting it on your hands and then eating something.

Fitting the Banjo

I’ve been working on the basic shape and fit of the banjo in the Hound’s arms and he’s looking pretty good.  I was able to epoxy the arms in place now that the banjo is about the right size.  Still a lot of detail to go but this gives me some sense of the dimensions of things to work against.  I’ll probably carve the one back paw, now that I know where the banjo is going to sit, as well as a couple of roughed in ears, now that I have the front paws positioned.   Not the best photo, but you can get a picture of where we’re heading with this carving.

OLYMPUS DIGITAL CAMERA

Pickering Carving Show Entries

I’m looking forward to the “Magic in Wood” Pickering Carving Show next weekend.  I’ve attended this show twice now and have enjoyed it a lot each time.  Some very high quality carvings are presented both in the competition as well as in the table display areas.  And it’s quite large, easily filling and over-filling the exhibition hall.  A large number of vendors are there as well selling books, wood, chisels, knives, rotary carving bits and tools…well, just about everything that you can imagine as you think about what goes into the making of a wood carving.

Registration is Friday afternoon and Saturday morning.  The show is free and open to the public from mid-morning on Saturday until about supper time on Sunday.  You can get all of the details by following the link at the side of this web-page for the Ontario Woodcarvers Association.

My two entries this year will be both in the category of caricatures:  Hobo and Ned, who have been shown at the Canadian Carving Championship held in January at the Hamilton Warplane Museum; and the Louisiana Hound Trio, which was just recently completed.  Both will be entered at the Open Level ( the levels are Novice, Intermediate and Open ) where there will sure to be some fantastic carvings joining them.

It’s so odd that I’ve been carving as long as I have been and only started going to these shows starting a couple of years ago.  If you find yourself in the same boat, don’t wait!…start going to the shows!…they are a lot of fun, you end up enjoying a weekend with people who share the same interest and you go home more motivated than ever to create something new.

OLYMPUS DIGITAL CAMERA

Banjo Playing Paws

These front paws will eventually be shaped around a nice little banjo for a tune or two.  In the photo, I’m just holding them in place with my fingers but I’ll be adding some small diameter dowels shortly to hold the front legs in place while I shape in the detail.  When I’m finished with all of the shaping, they’ll be epoxied in place for good.

I’ve also added a bit more shape to this little hounds neck and he’ll develop some jowls before the weekend is over.

But…it is Canadian Thanksgiving this weekend and I’m afraid that I’m going to have to turn my attention to eating too much turkey and dressing in a short while.  Just so many things to do…

Happy Thanksgiving to those Canadians celebrating this weekend.

OLYMPUS DIGITAL CAMERA

Rough Looking Country Hound

Yeah, he does look a bit rough…but that’s the way that they start out.  I’ve said it before, I tend to call this stage the “seal” stage as they look more like a seal to me than a Basset Hound.  If you’re inclined to carve a hound, be sure to shoot for the seal look as you’ll know you’re going in the right direction!

Right off, you’ll notice that I’m missing a few parts.  The arms are being done separately for a couple of reasons.  First, the grain has to be going along the length of the arms to give them some strength.  I like to think that my carvings will be around for a long time, so I want the parts and pieces to be strong and lasting.  Second, I need to fit a banjo in there and I’m suspecting that I’ll need to fit the arms in their final spots after I’ve carved the banjo.  I can’t wait to do the banjo.

The ears are separate as well for much the same reasons.  They need to flow over the arms ( which will be over the banjo ), so they need to go in separately, and second, I want the grain to be in the direction of the flow of the ears for strength.

Finally, I decided to add one of the little back paws as a separate piece as it needs to “cuddle” the banjo.

I’m also painting windows right now ( what on earth that has to do with carving, I’m not sure, but I’m told is right up there in priority ) so I may not get an update on the arms until a bit later this week.

Now that I look at the photo, I should remind those that are carving to always wear a kevlar glove in your non-knife-holding-hand.  It won’t save you from a puncture into the weave, but it will save yourself being cut by a glancing knife blade.  They’re inexpensive and sold at all carving shows and many building supply stores.  If you’re of the opinion that a real carver doesn’t use hand protection, remember that if you cut a tendon in your hand or finger you’ll not be enjoying your hobby for a long, long time.  Although you might still be able to paint windows.

OLYMPUS DIGITAL CAMERA

Photo – Opportunity for the Hounds

Well my little Hound Trio on the Louisiana dock is now finished.  I’m very proud of the way that this carving shaped up.

It’s actually quite a large carving at about 14″ by 14″ at the base with the “longest” hound at 7 1/2″ and the “tallest” hound at 5″.  I like the expression and character of each of the little Basset Hounds as well as the little squirrel.

The dock area and base really turned out to my liking, also.  I really put a lot of relief and depth into the dock with lots of cracks and imperfections, nails along the plank lengths, some broken planks with a bent nail where a plank had been less than carefully pried away and ropes wound around the piers to protect little fishing boats that tie up for the night.

This is a Louisiana scene so the Cypress knees were added to that effect.  I like the way that they turned out and the way that they balance the dock scene.

The base itself came from a real nice piece of red oak.  The grain just turned out beautifully as I think that between the rolling contour and the fairly strong grain pattern you’re left with an impression of a water scene.

I like this carving and am glad that the idea was offered up…I would definitely not have come up with this idea on my own!

Enjoy the pictures below and please click on the Flickr site on the links to the right of this page to take a look at some additional photos.  Enjoy!

OLYMPUS DIGITAL CAMERA

OLYMPUS DIGITAL CAMERA

OLYMPUS DIGITAL CAMERA

Country Hound Cut-Out

Here are a couple of photos of the first steps in this project.

The basswood block has the shape of the front and side view of the hound.  The first cut was a vertical line just alongside of the front view of the hound in order to square the block of wood up a bit so that I would waste less wood…remember, I have some fun accessories to go with this hound and that extra wood will come in handy.

The second series of cuts were along the contour of the side view.  Once this was done, I very lightly glued back the end pieces that I had just sawed away and that were on the top and bottom of the side view.  This allowed me to rest the back of the hound squarely on the table so that I could cut along the front contour.  If I hadn’t done this, the hound’s back would have been insecure and “wobbly”…which is something that you don’t want when using a bandsaw…or, any saw, for that matter.

Of course, I had cut away the pencil marks for the front when I was doing that initial side contour cutting, so, I drew that front view profile back on and went back to the bandsaw for the final cuts.

If you have a good imagination, you can picture that little Country Hound holding that banjo and howling away to his heart’s delight.

OLYMPUS DIGITAL CAMERA

OLYMPUS DIGITAL CAMERA

Post Navigation