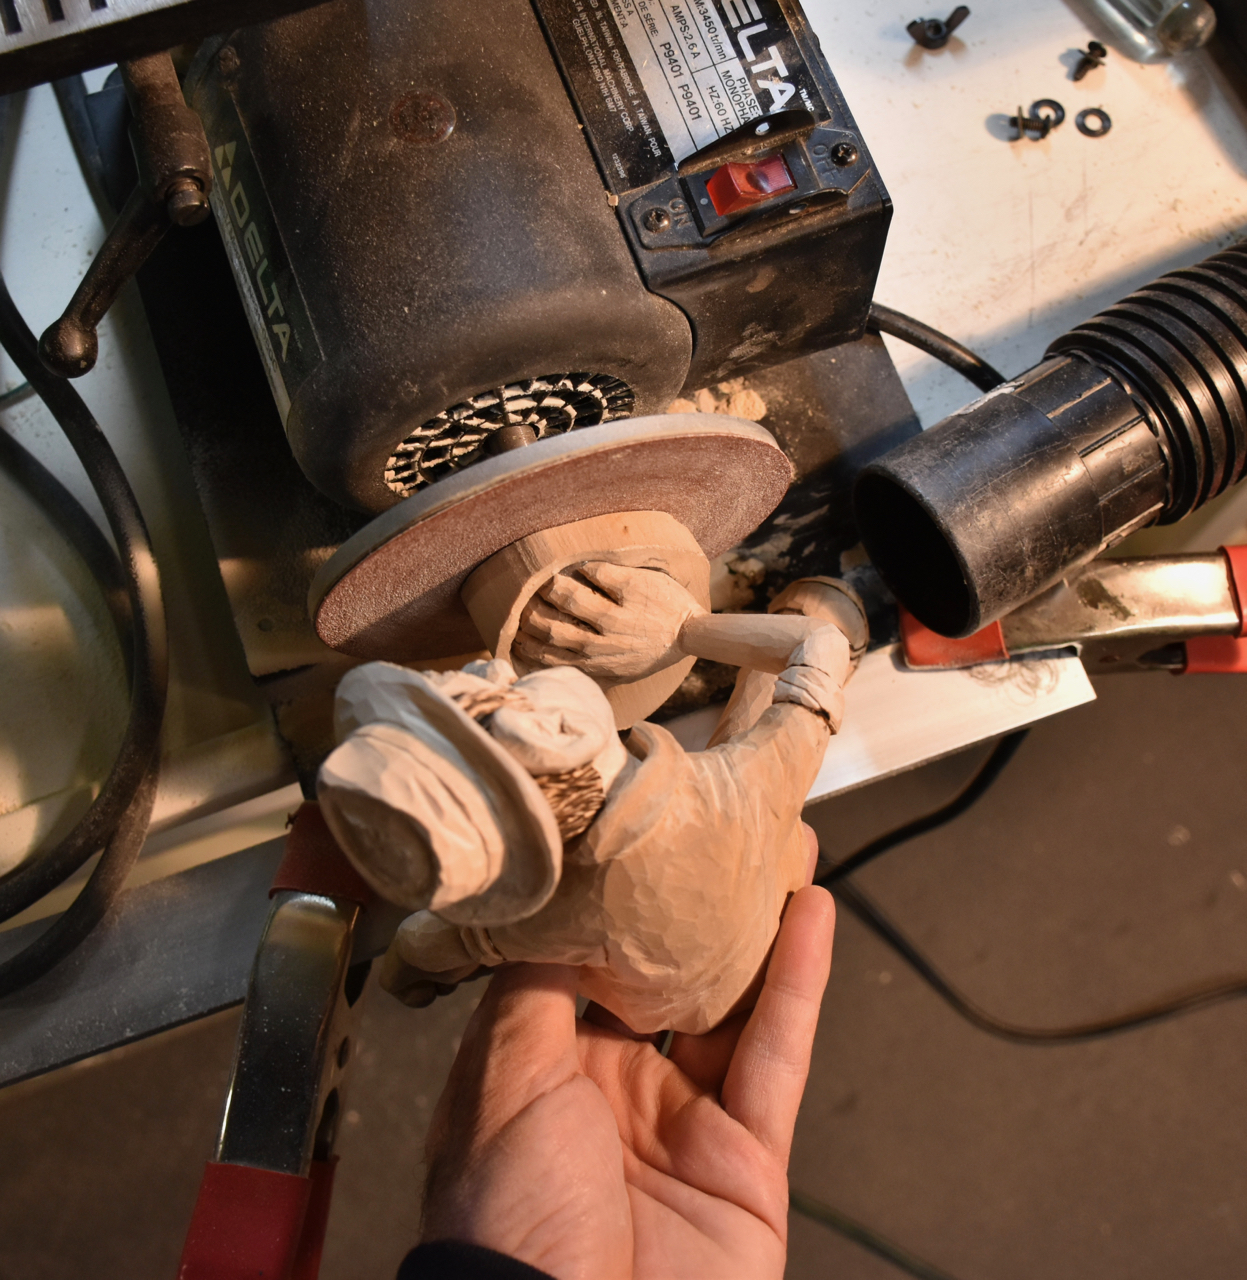
I apologize for not keeping you better informed of my progress. Spring is a busy time around here!
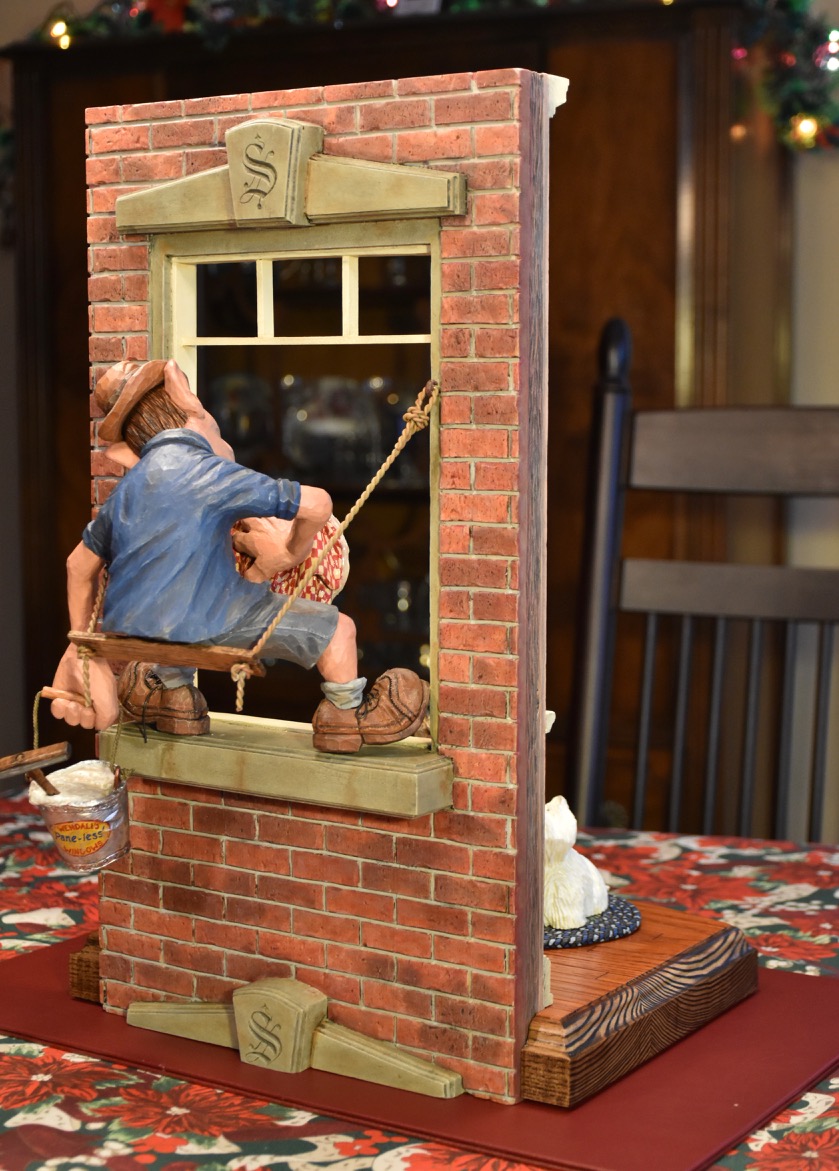
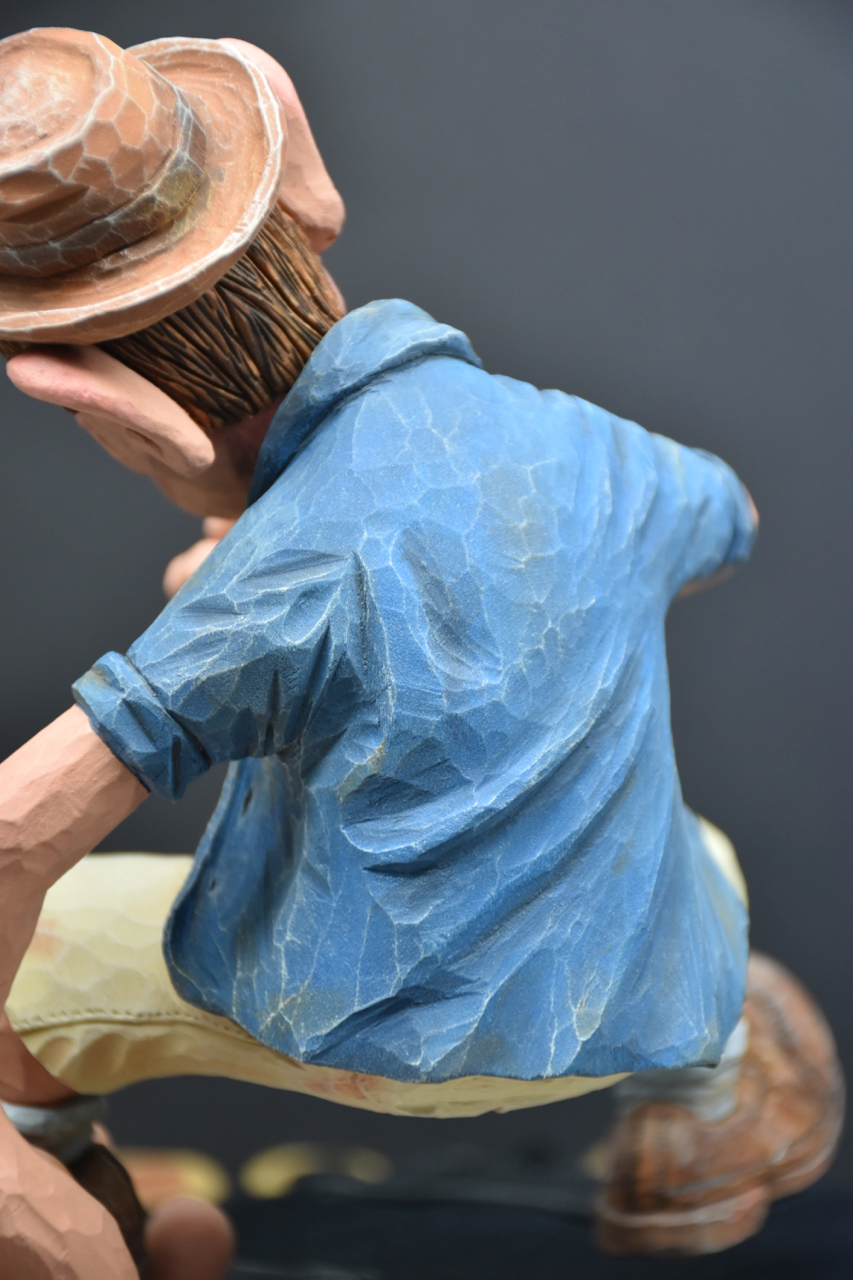
I had some fun in carving the rag that the window cleaner is using. I should mention that the little fellow has adopted the name of Wendell. He looks like Mervin from Mervin-the-Mover fame and we suspect that they’re probably brothers.
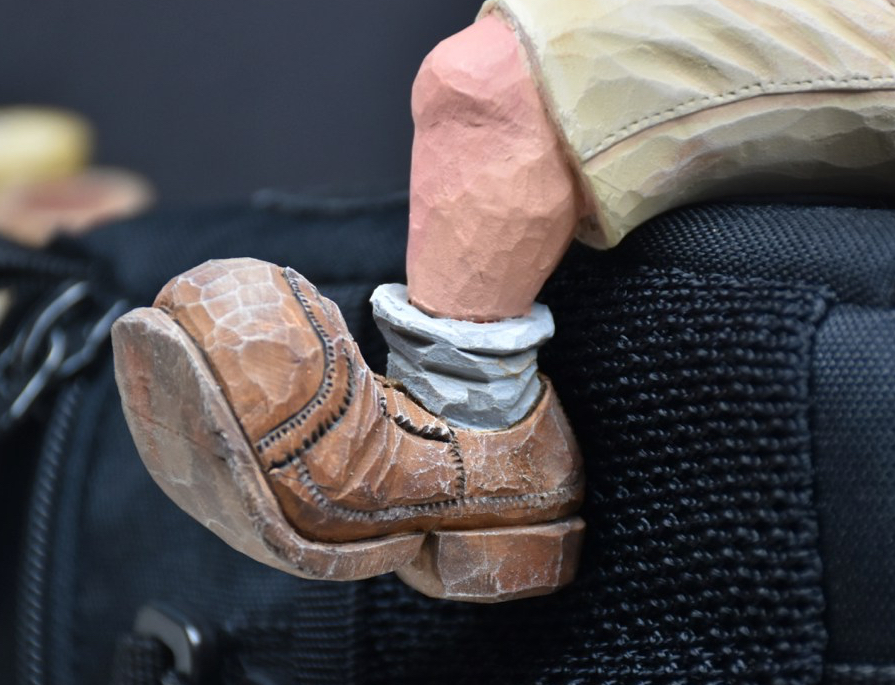
The cloth rag was carved so that Wendell’s fingers and thumb would be covered somewhat by it. I did this by etching the hand with artist’s lead and then letting that lead imprint the wood that needed to be removed.

I also sanded smooth the surface of the rag to match where the plane of the window would be.
After adding a number of folds in the cloth and some deeper grooves in the side that would be wiping the window, I painted a gingham cloth pattern that would emphasize the various directions of the cloth and where it would be stretched and crushed. Finally, I applied a good amount of epoxy on the wiping surface and pressed it up against a piece of glass that I had waxed. The waxed surface allowed me to break away the cloth from the glass leaving a fairly smooth surface. Then with a bit of fine sanding ( 600 grit ) and some polishing ( 1200 grit ) I applied urethane to give the epoxy a gloss like it was wet and sudsy against the glass that was being cleaned. Turned out pretty well, I think.


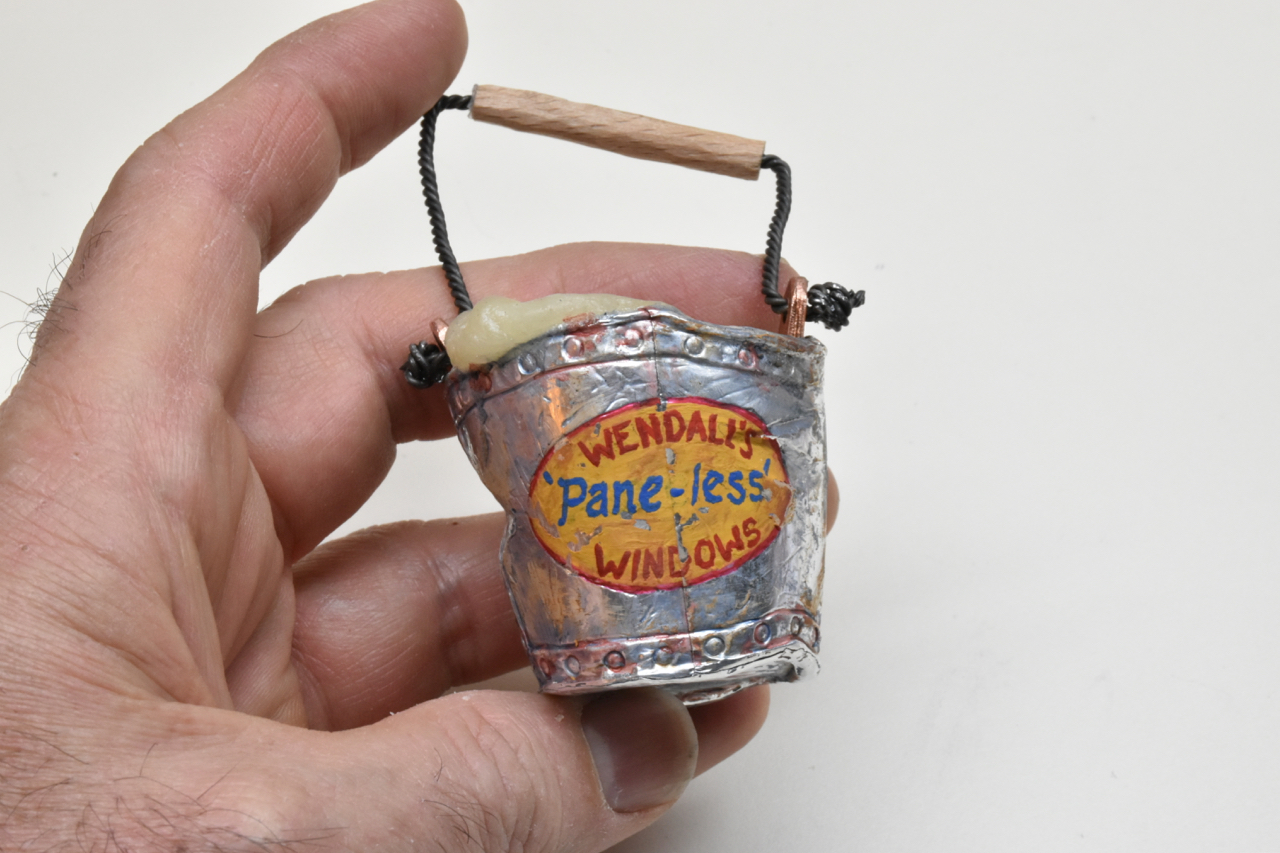
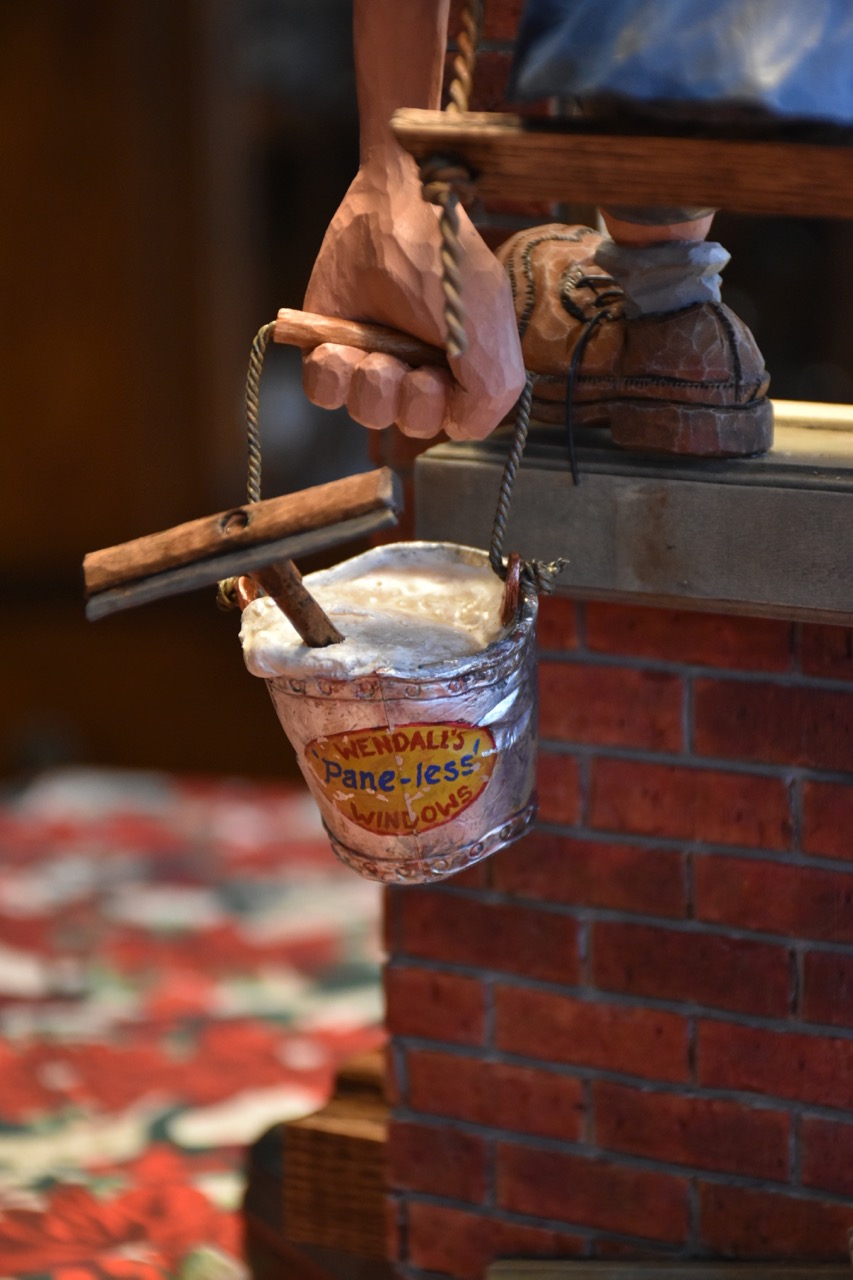
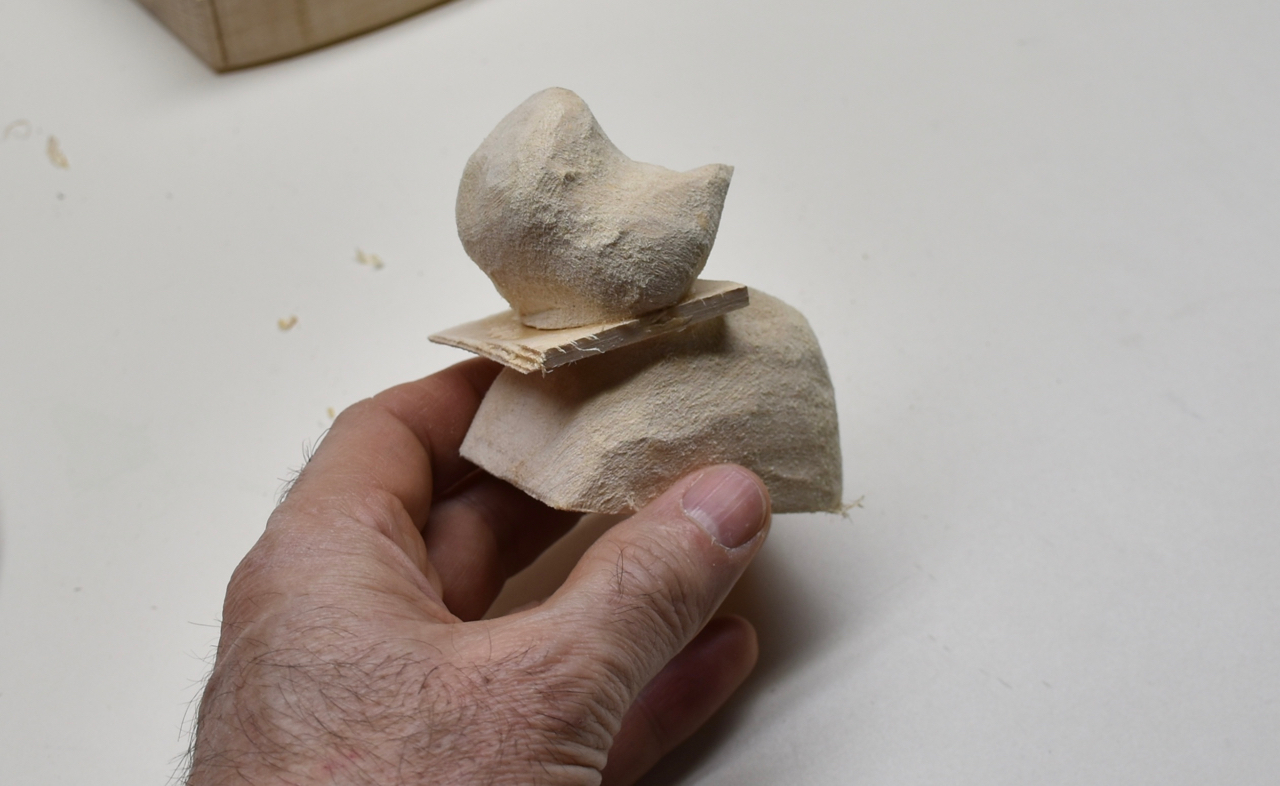
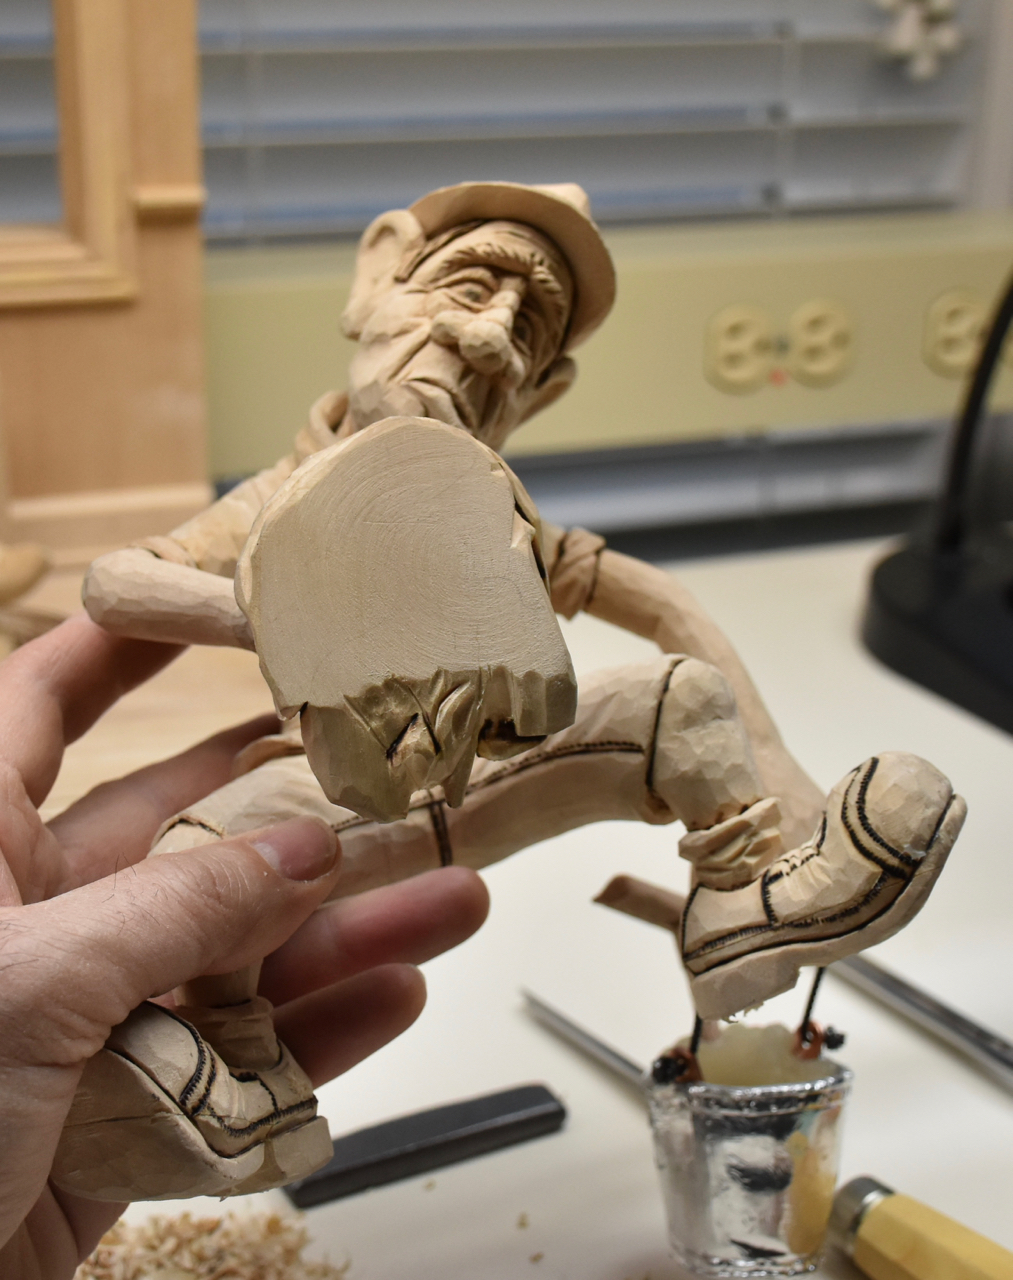
Next, it was time to tackle the bucket Wendell would hold. It was pretty straight forward carving the bucket…I added a few “dents” and some raised ribbing along the top, bottom and side seam. I used some copper to make two small posts for the handle to attach. The handle was a drilled out piece of basswood and the “ropes” are twined light wire.
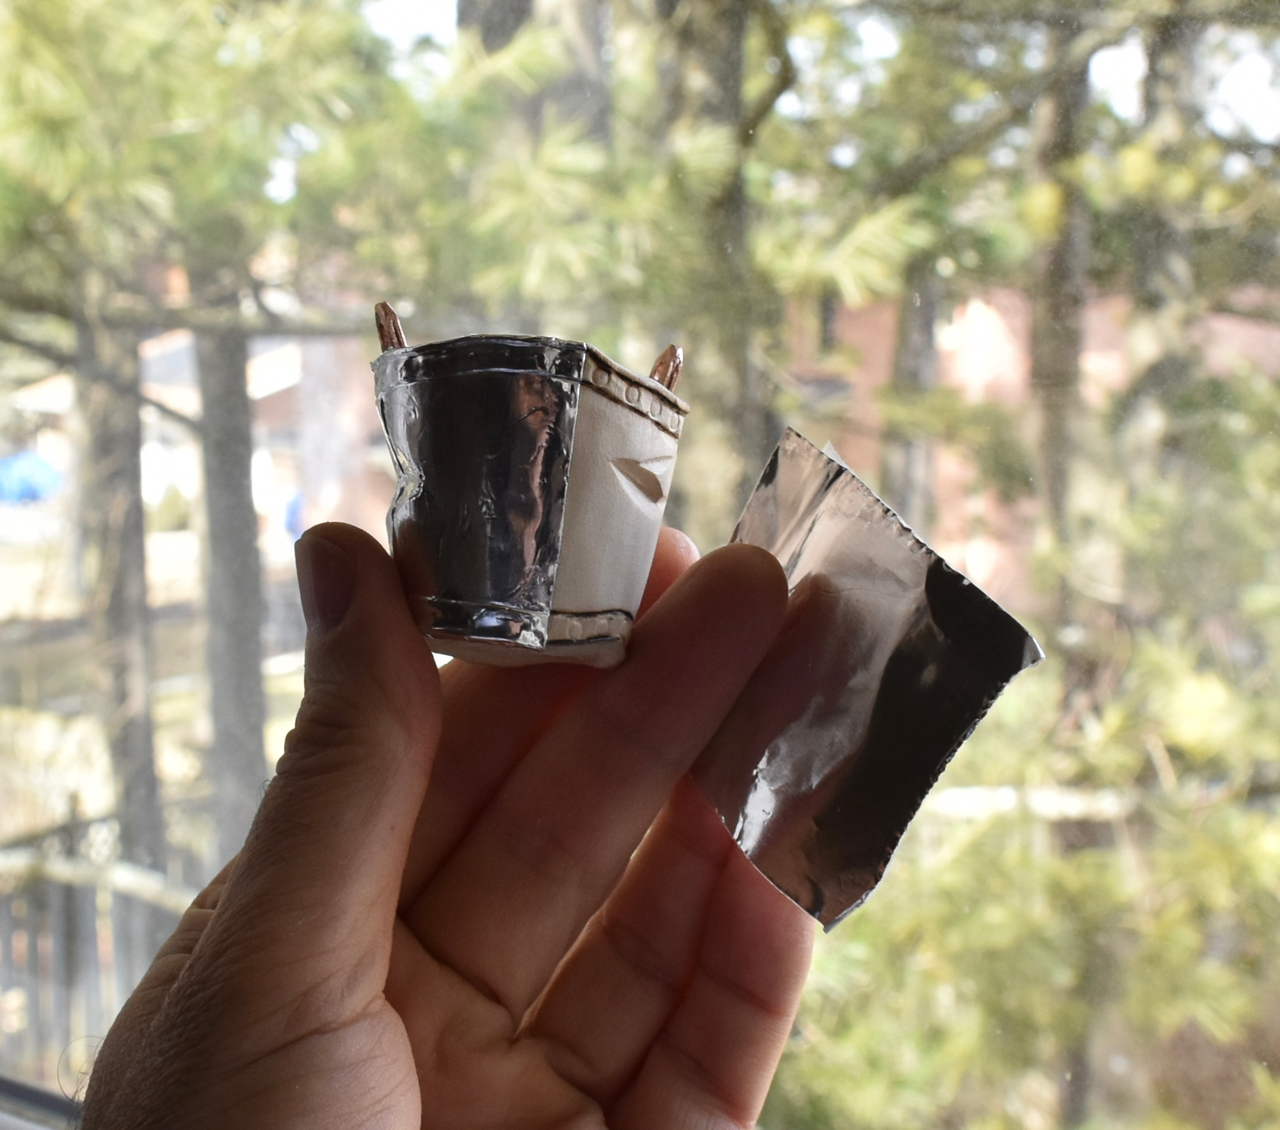
It really started looking like an old bucket when I applied adhesive backed aluminum tape. Once the tape was on and burnished in place, I used a centre punch to make small rivets along the ribbing.
With some epoxy that I intentionally “foamed” by constant stirring, I added a thick layer of “suds” into the shallow depression that I had carved in the top of the bucket. Once it was cured, I drilled out a hole to place a carved “squeegee.”

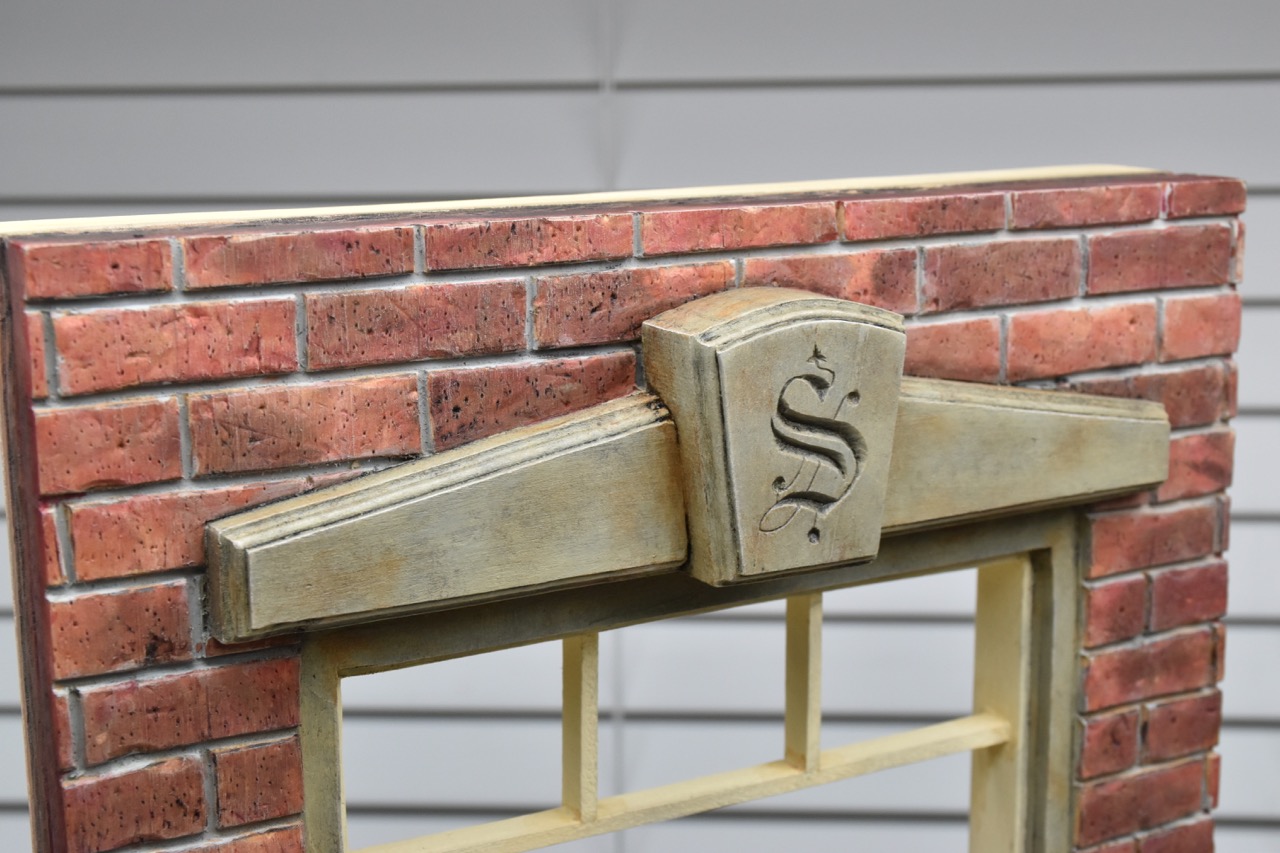
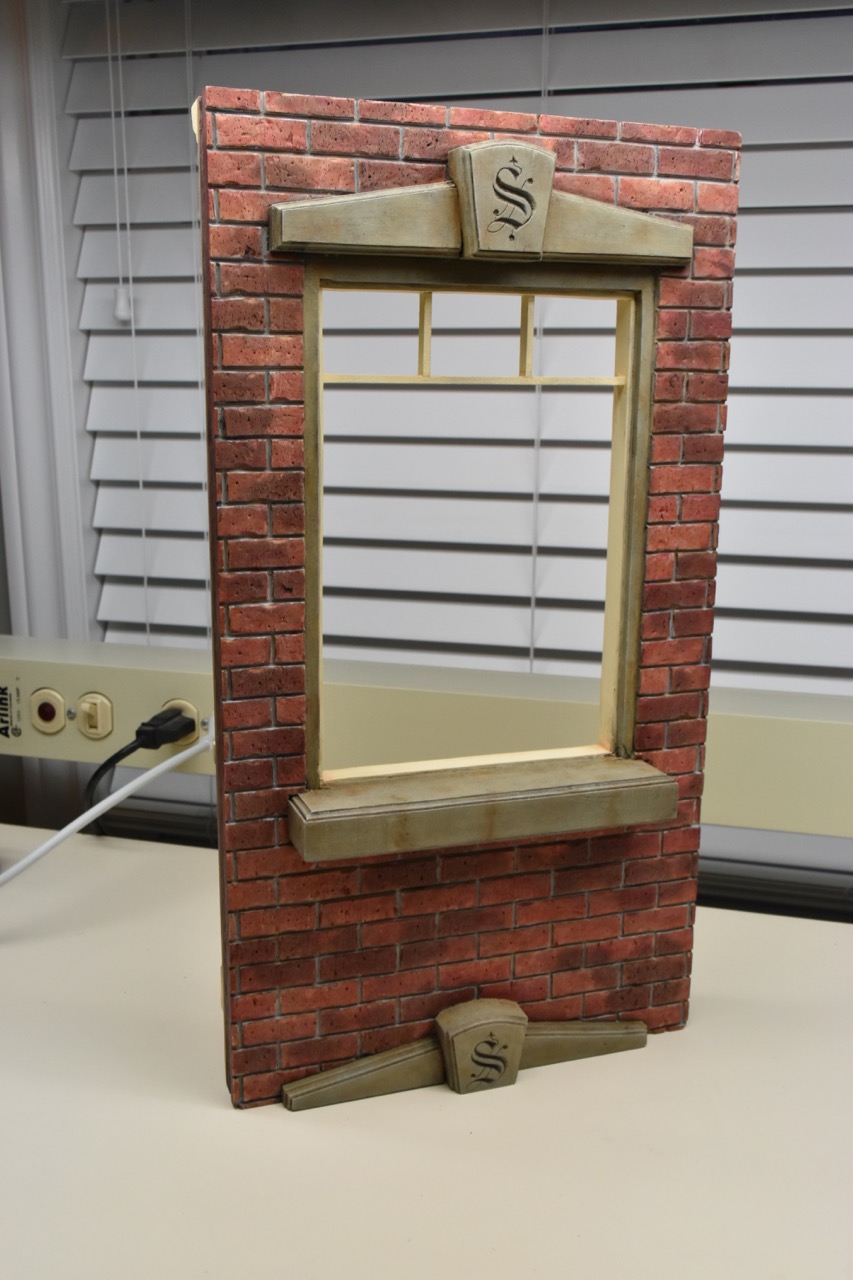
Then came the fun part. I used payne’s grey as a wash over the entire aluminum surface to give it some age, added some yellow ochre, a rusty brown and some raw sienna to make it look worn and dirty. After I painted Wendell’s logo, I used a razor knife to scratch away some of the paint to make it look like it had chipped and worn over time. Lots of fun.