tributesinwood

Wood Carvings by Mark Sheridan

Archive for the tag “Basset Hound Carving”

Memories of Monty Python

Remember the Monty Python skit with the guys with the knotted handkerchiefs on their heads?  Ha!  When I was a kid we had a very nice older man as a neighbour who also used to always knot a handkerchief and wear it on his head when he was cutting the grass.

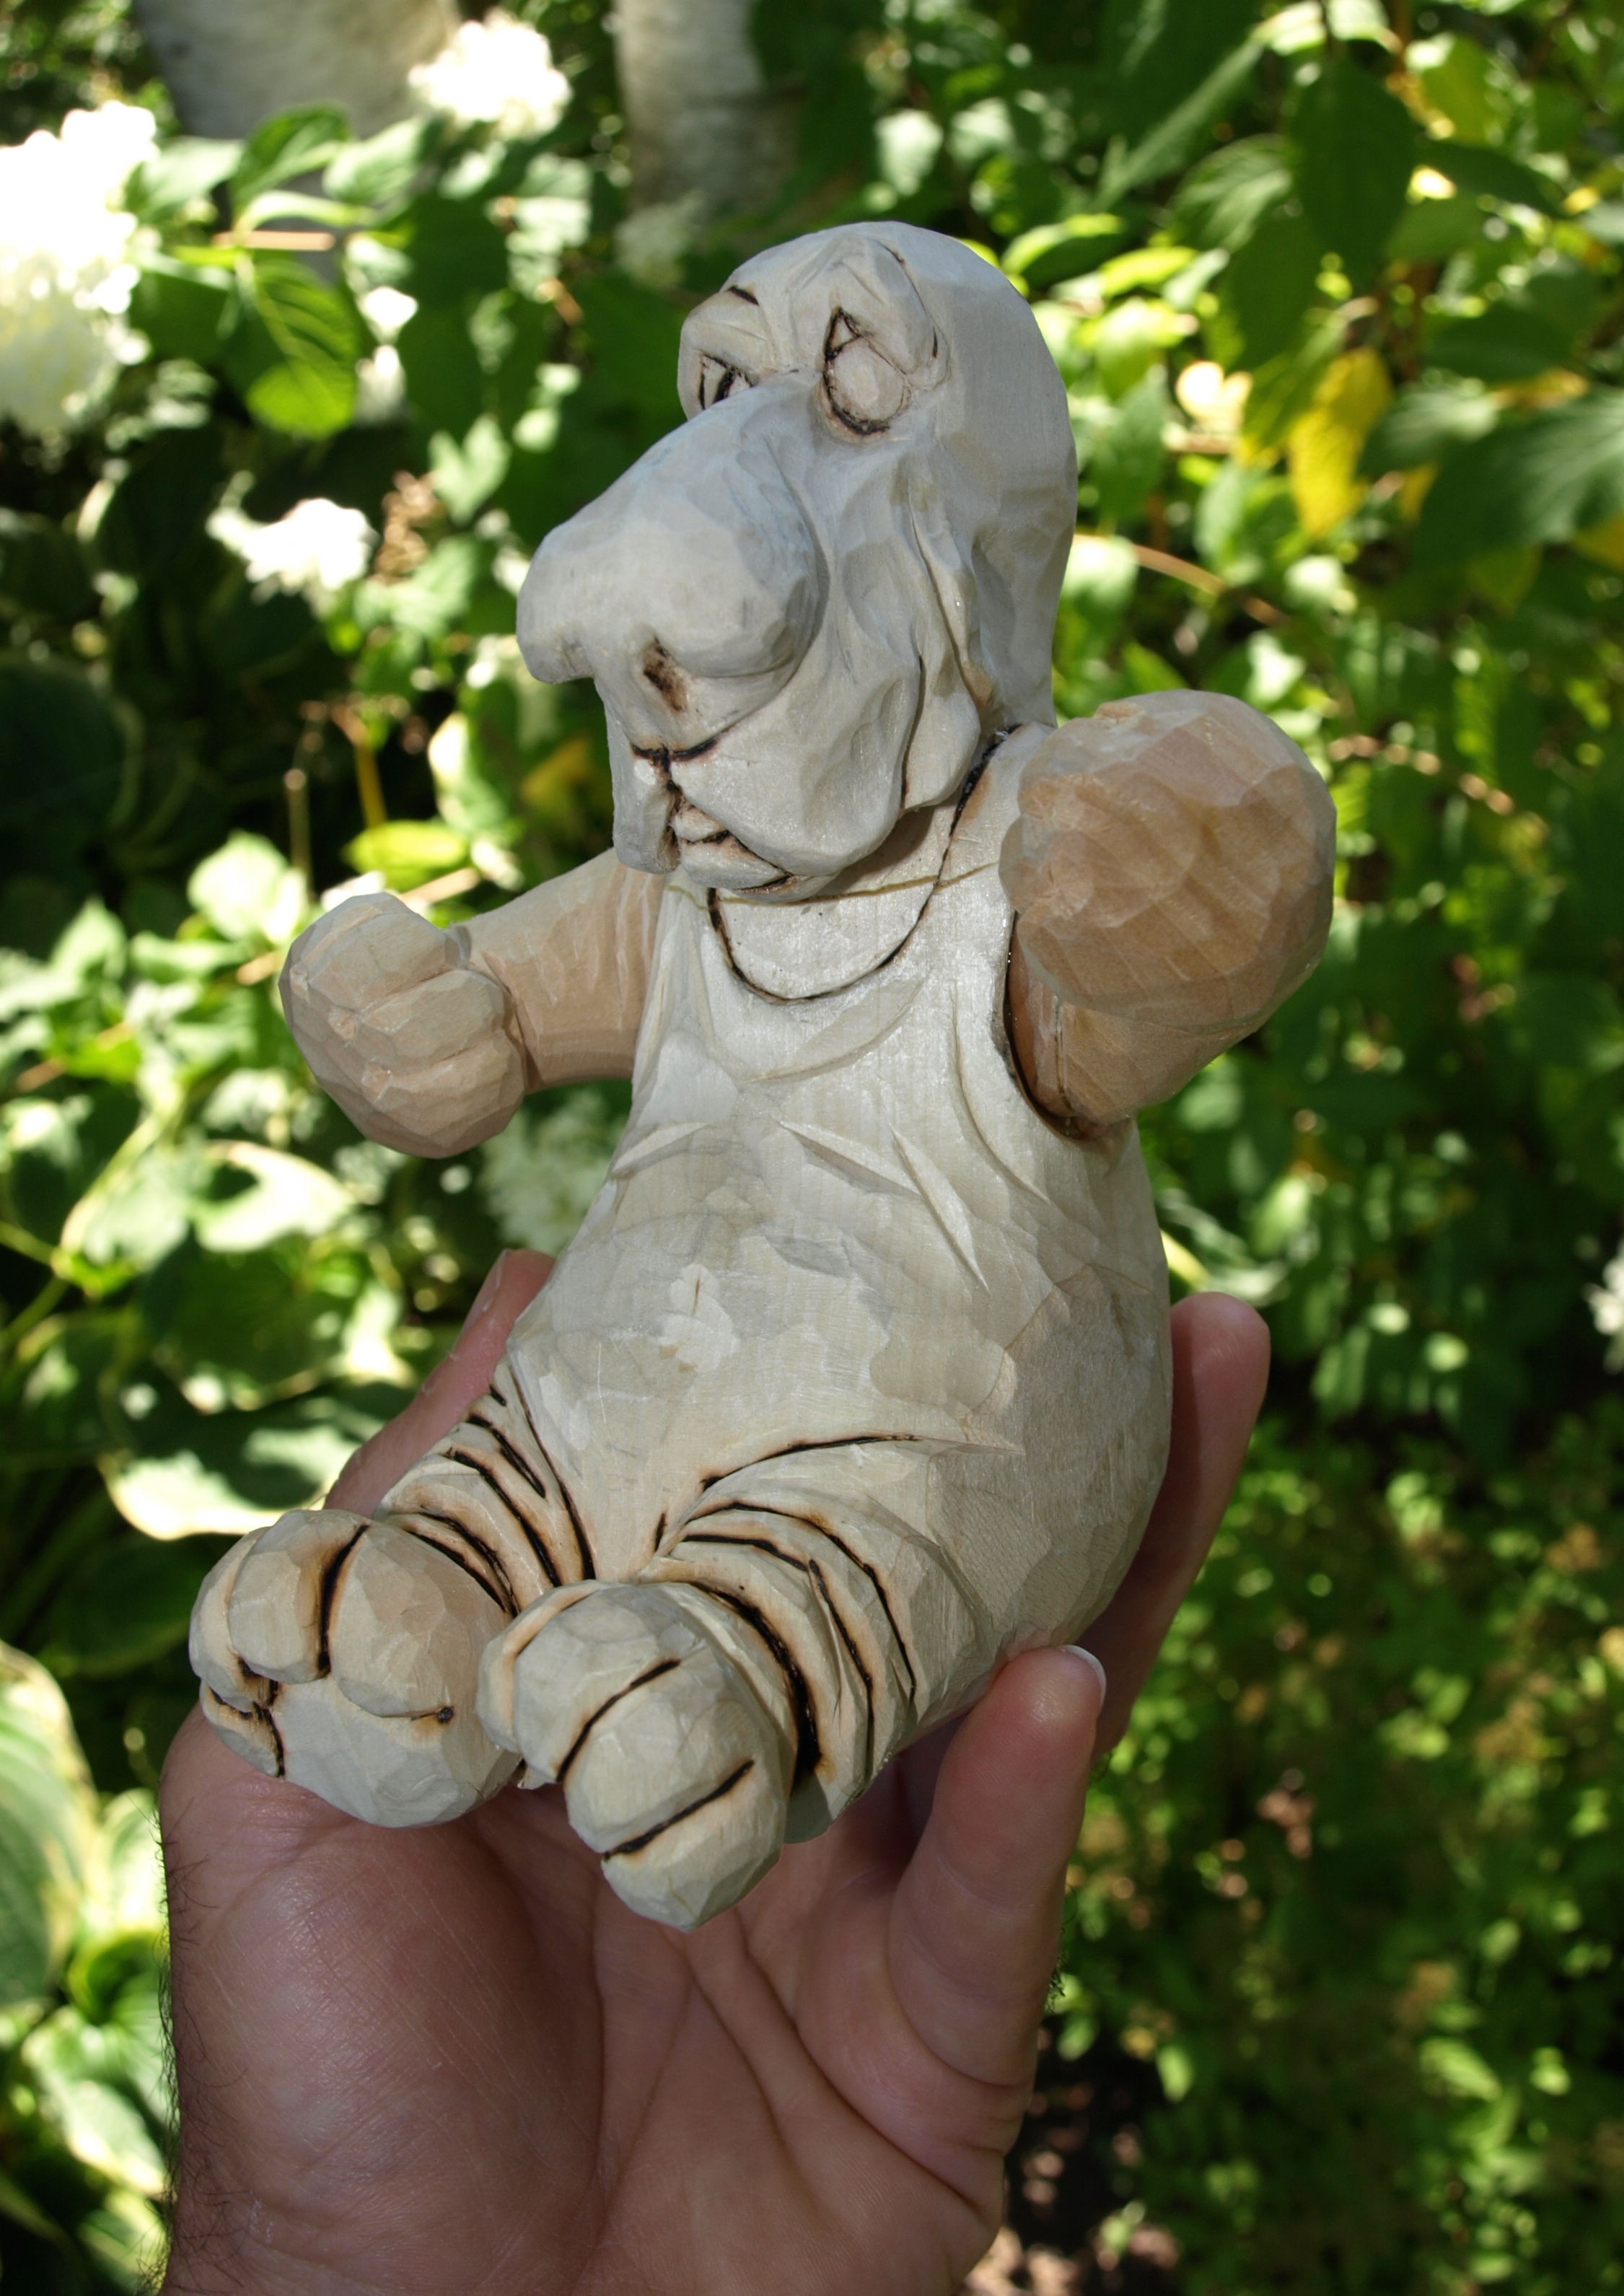
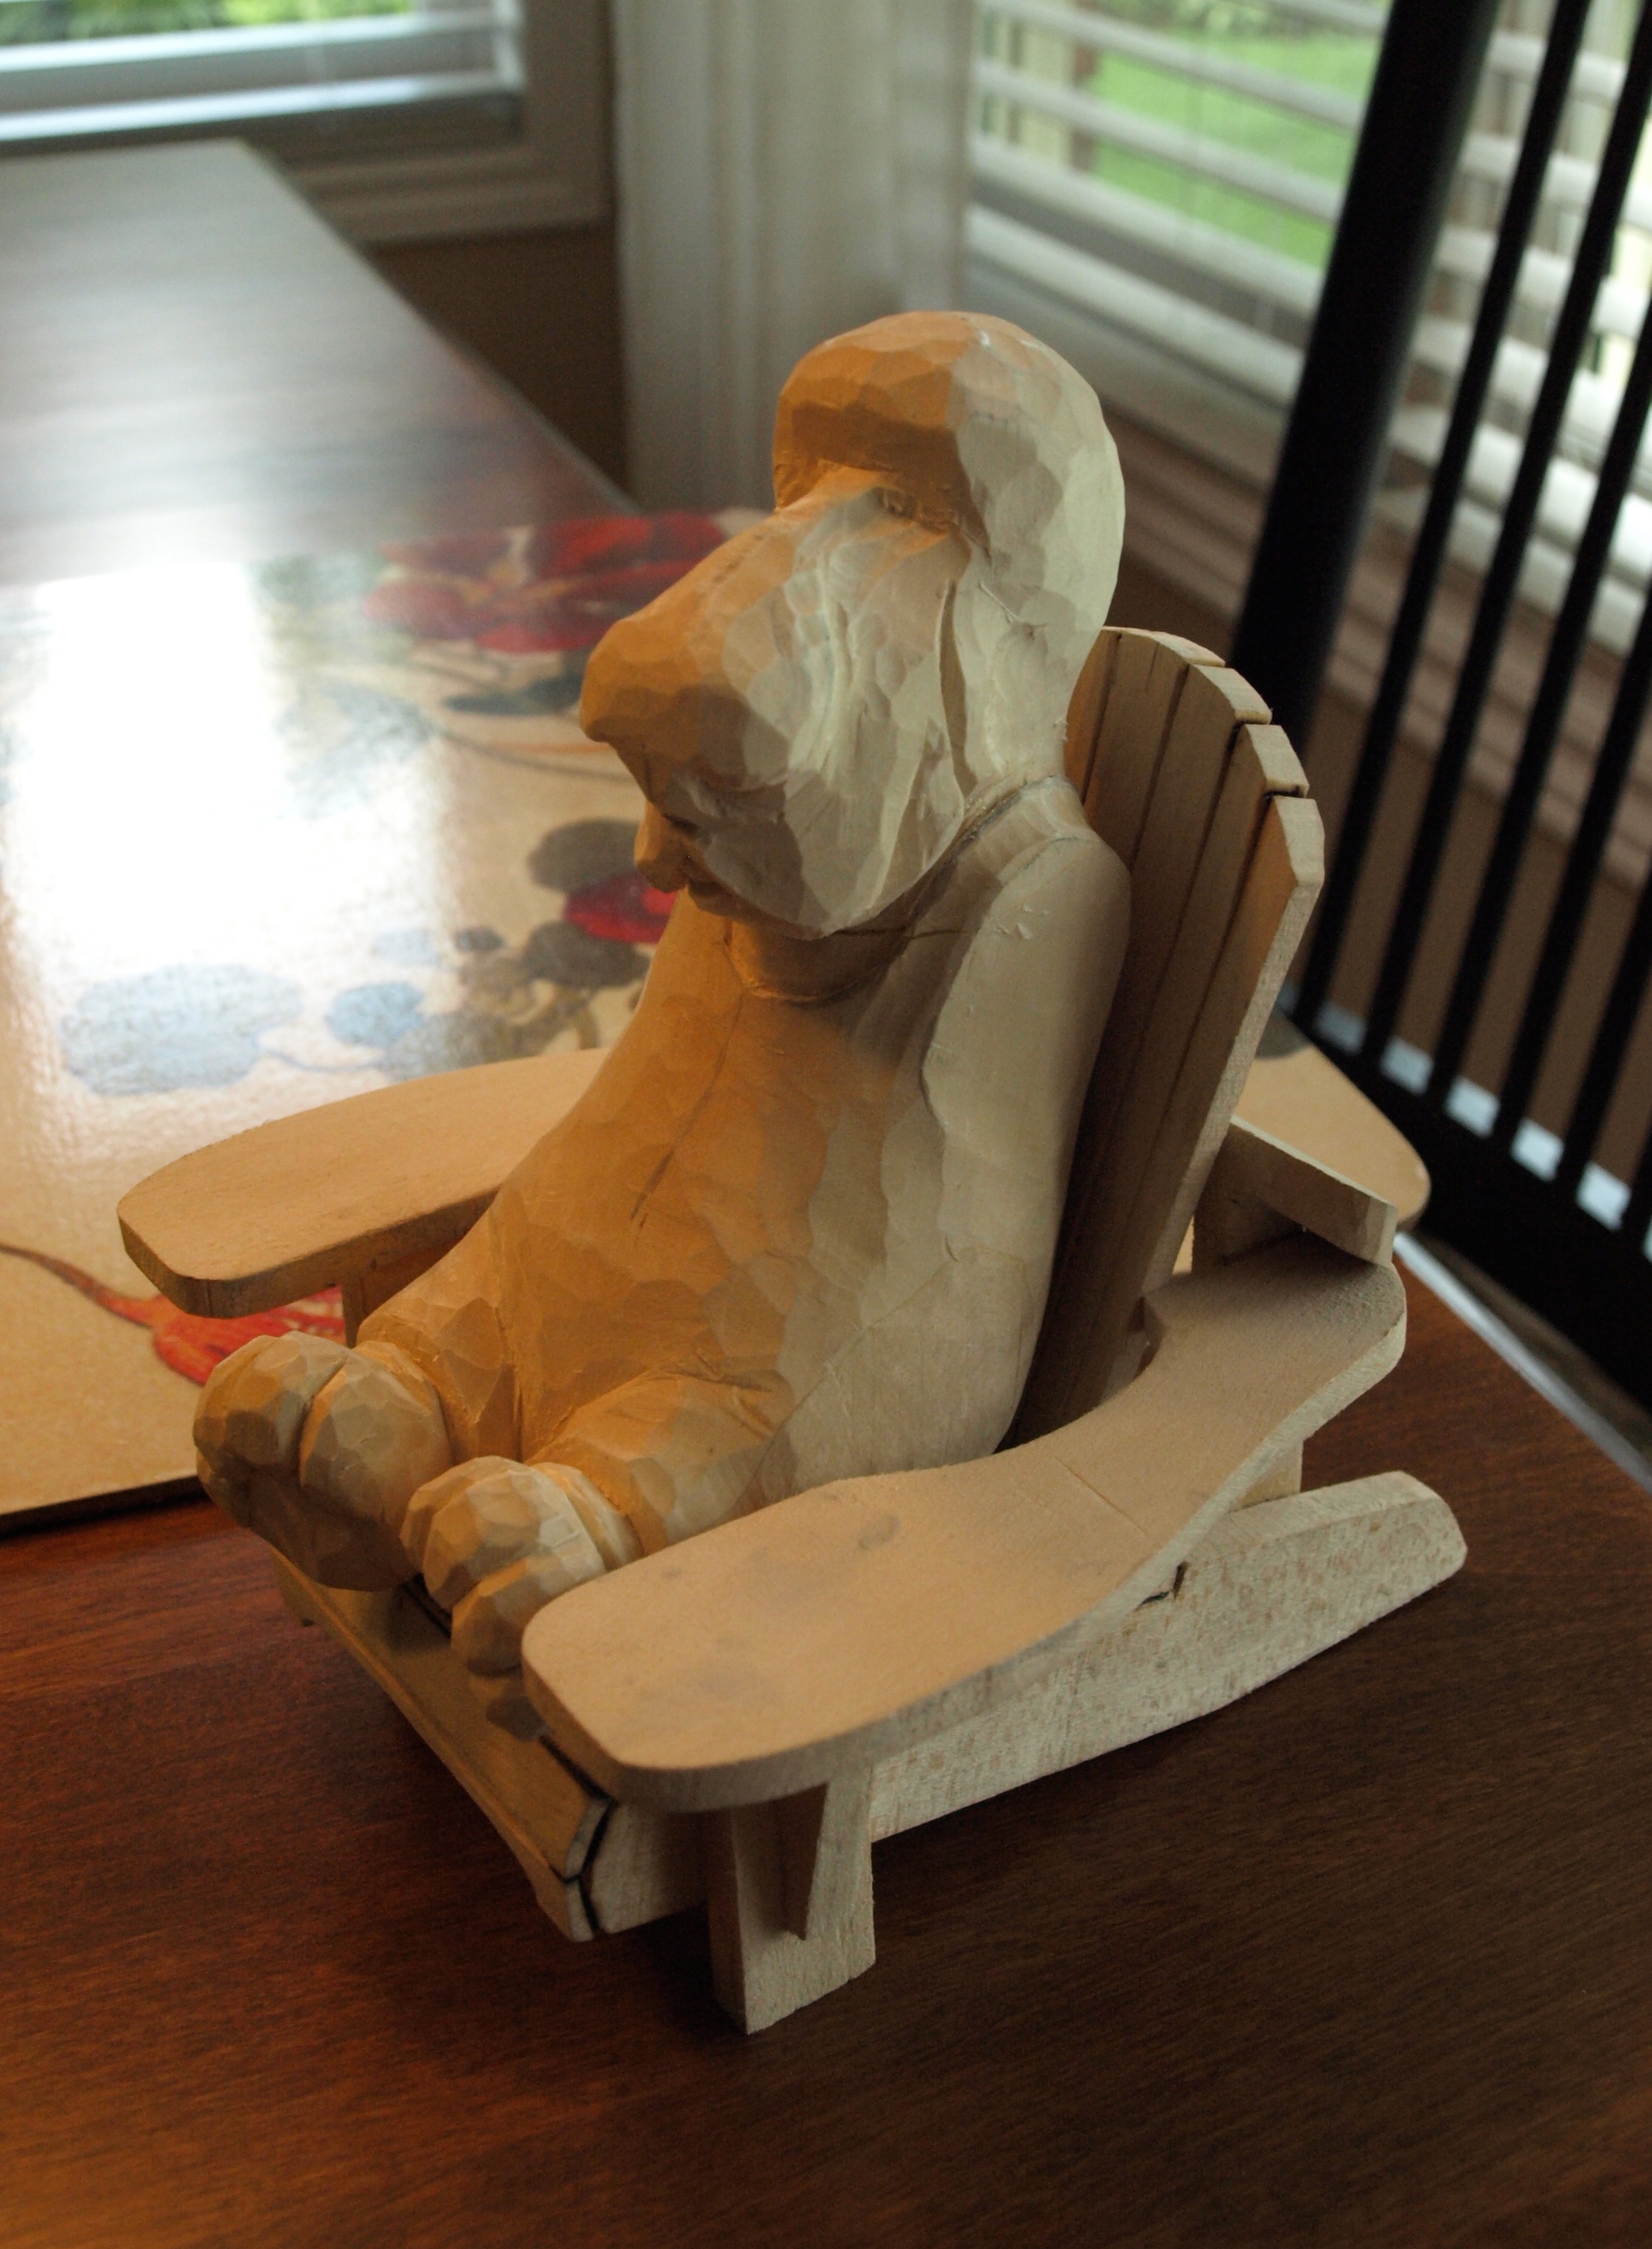
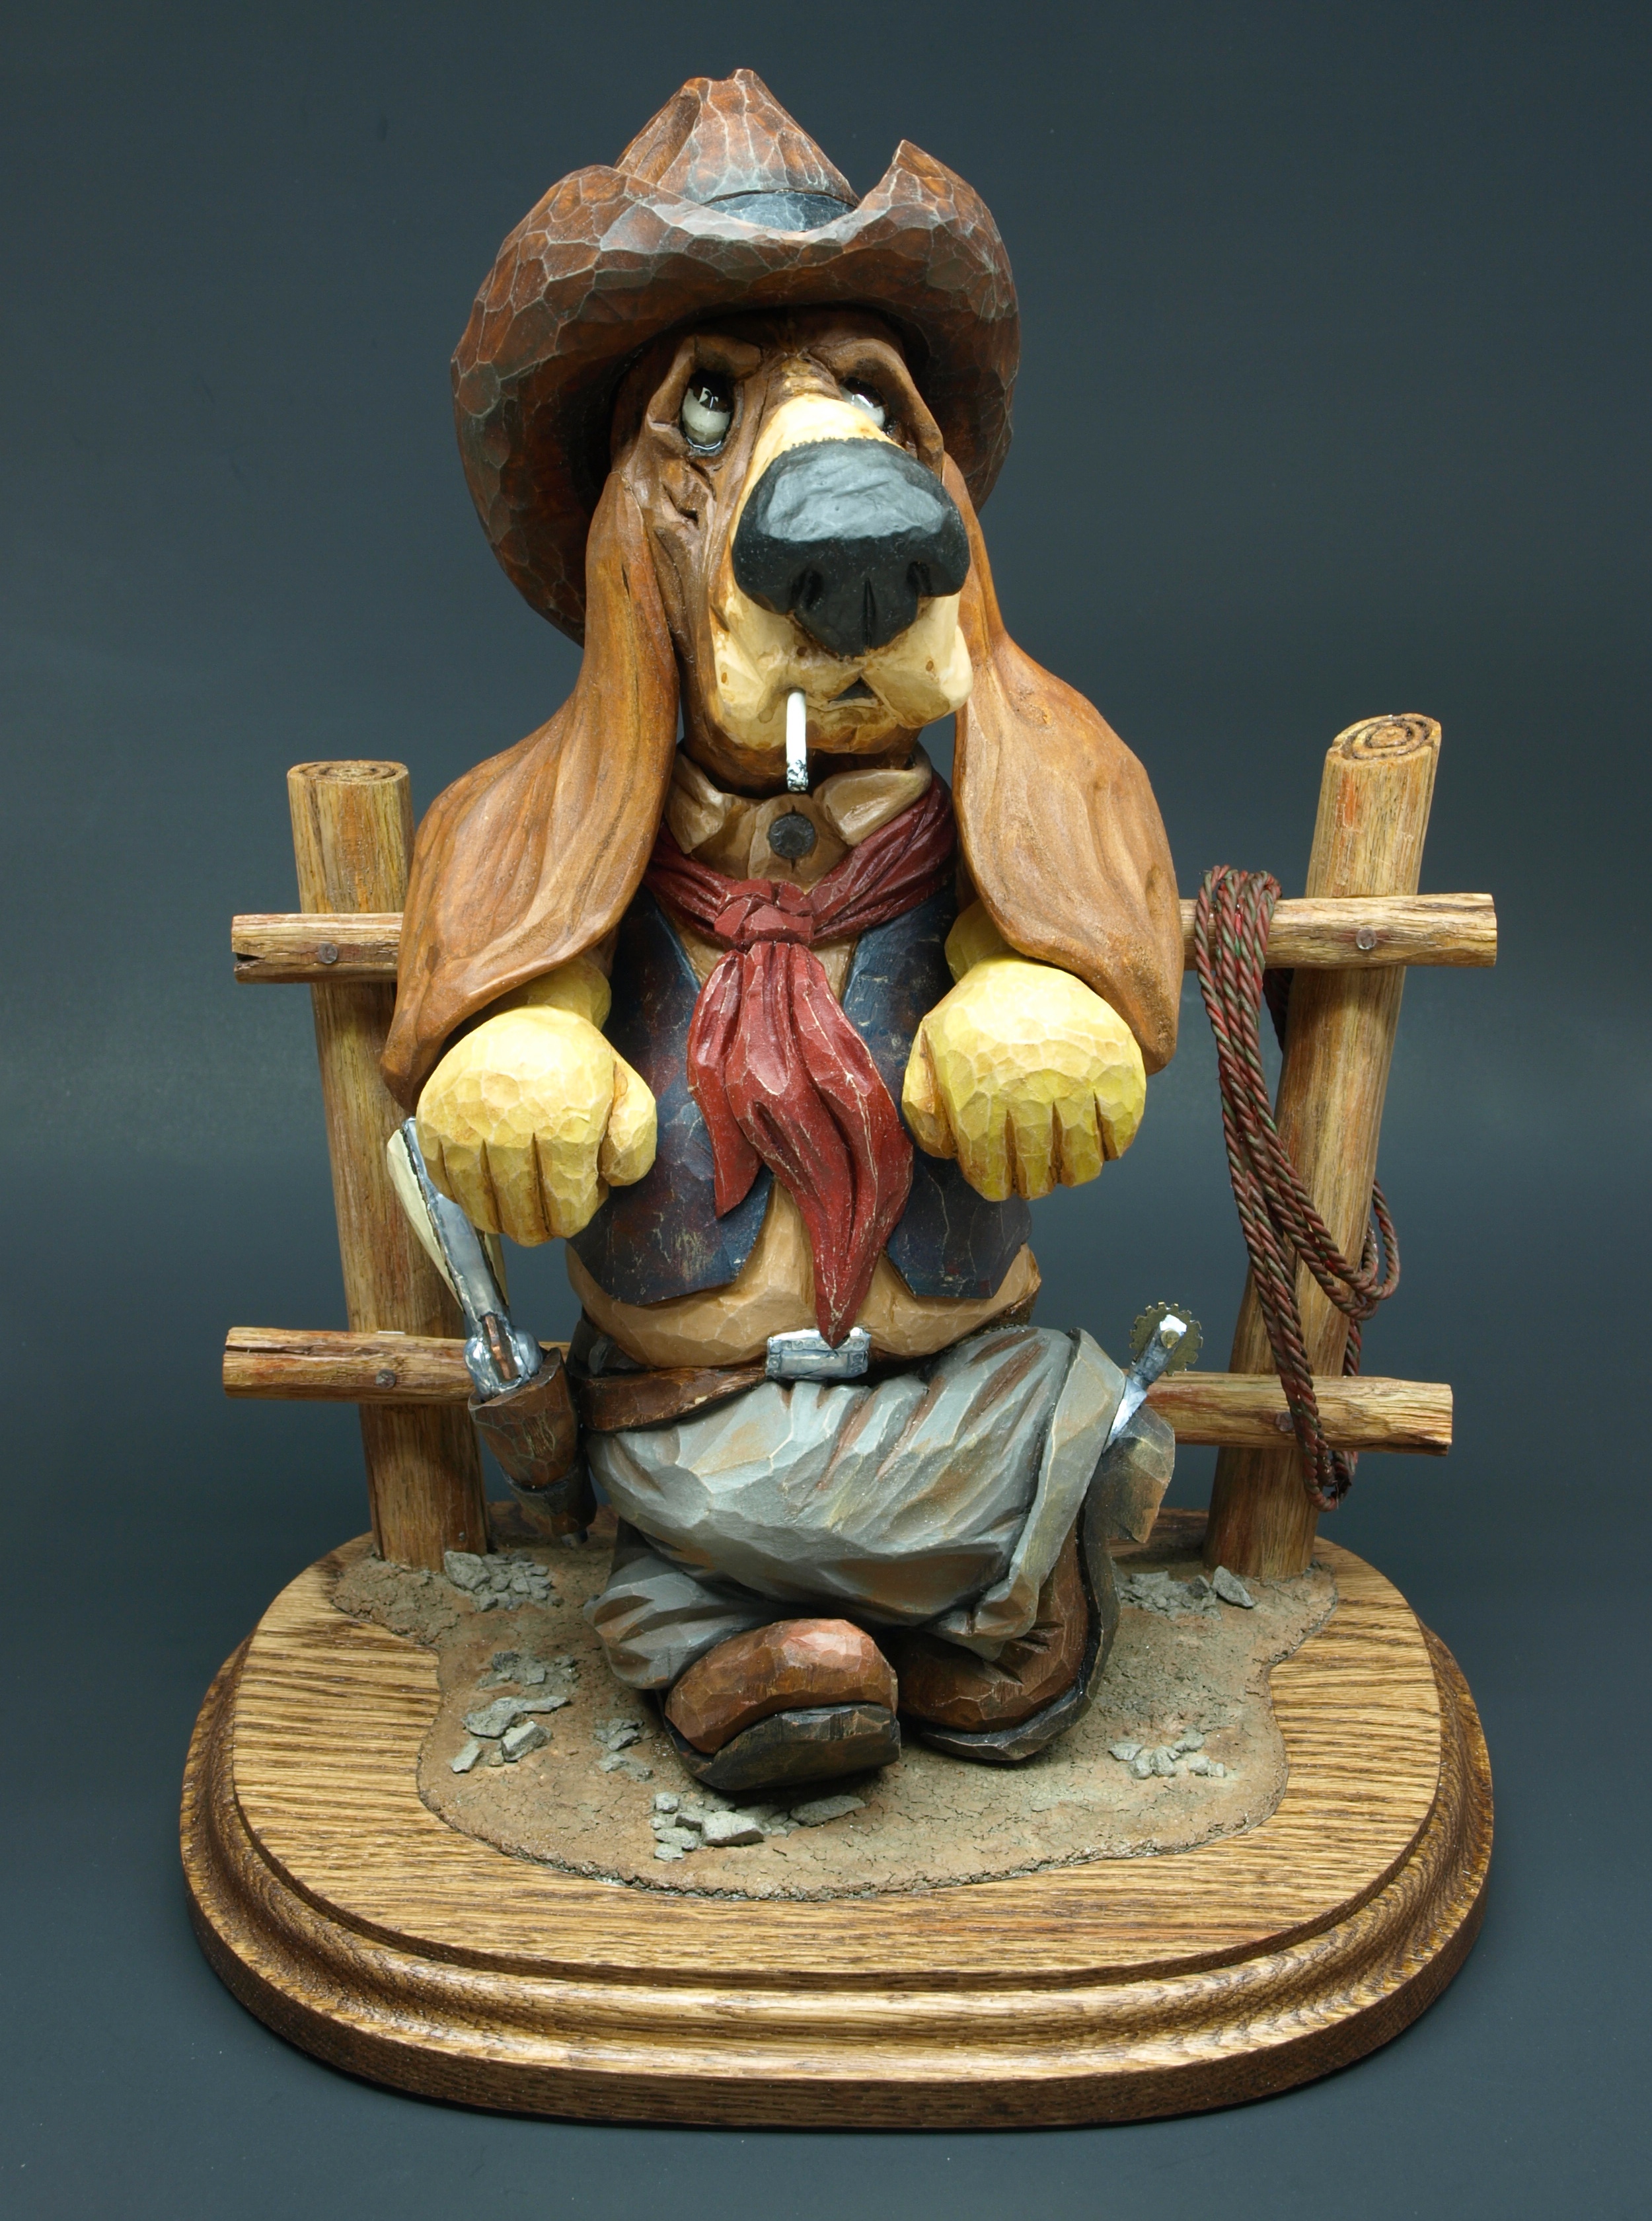
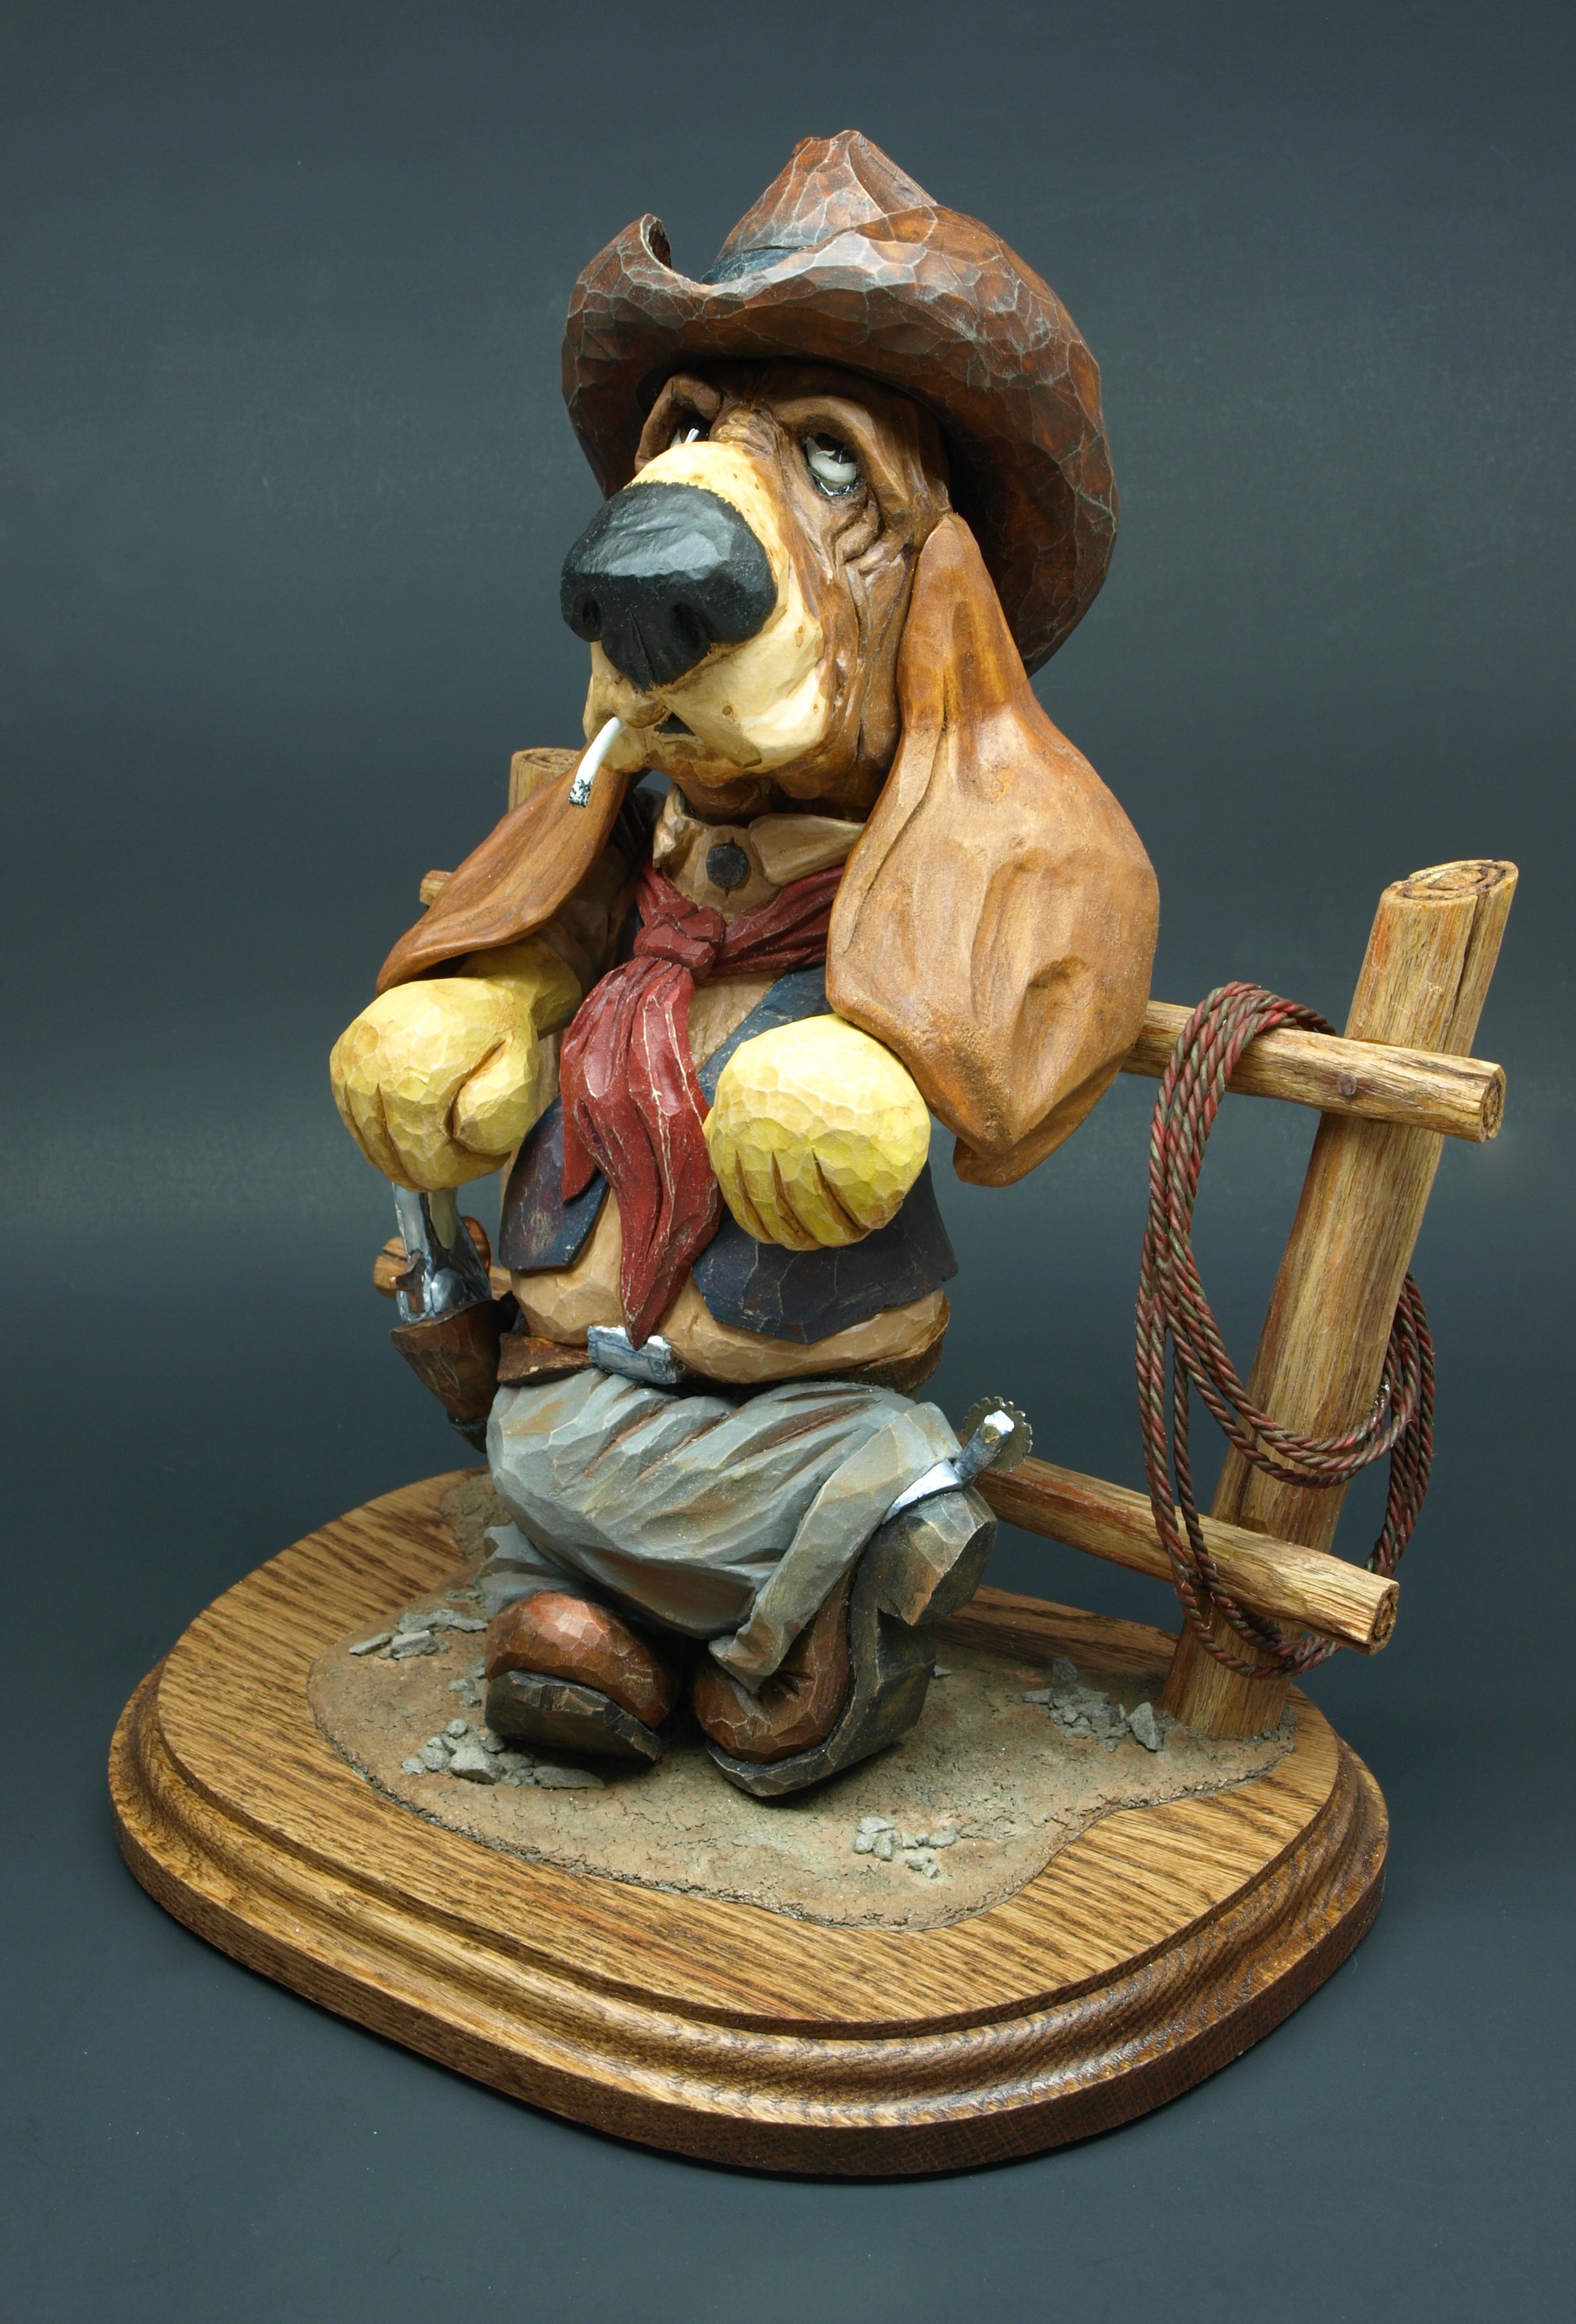
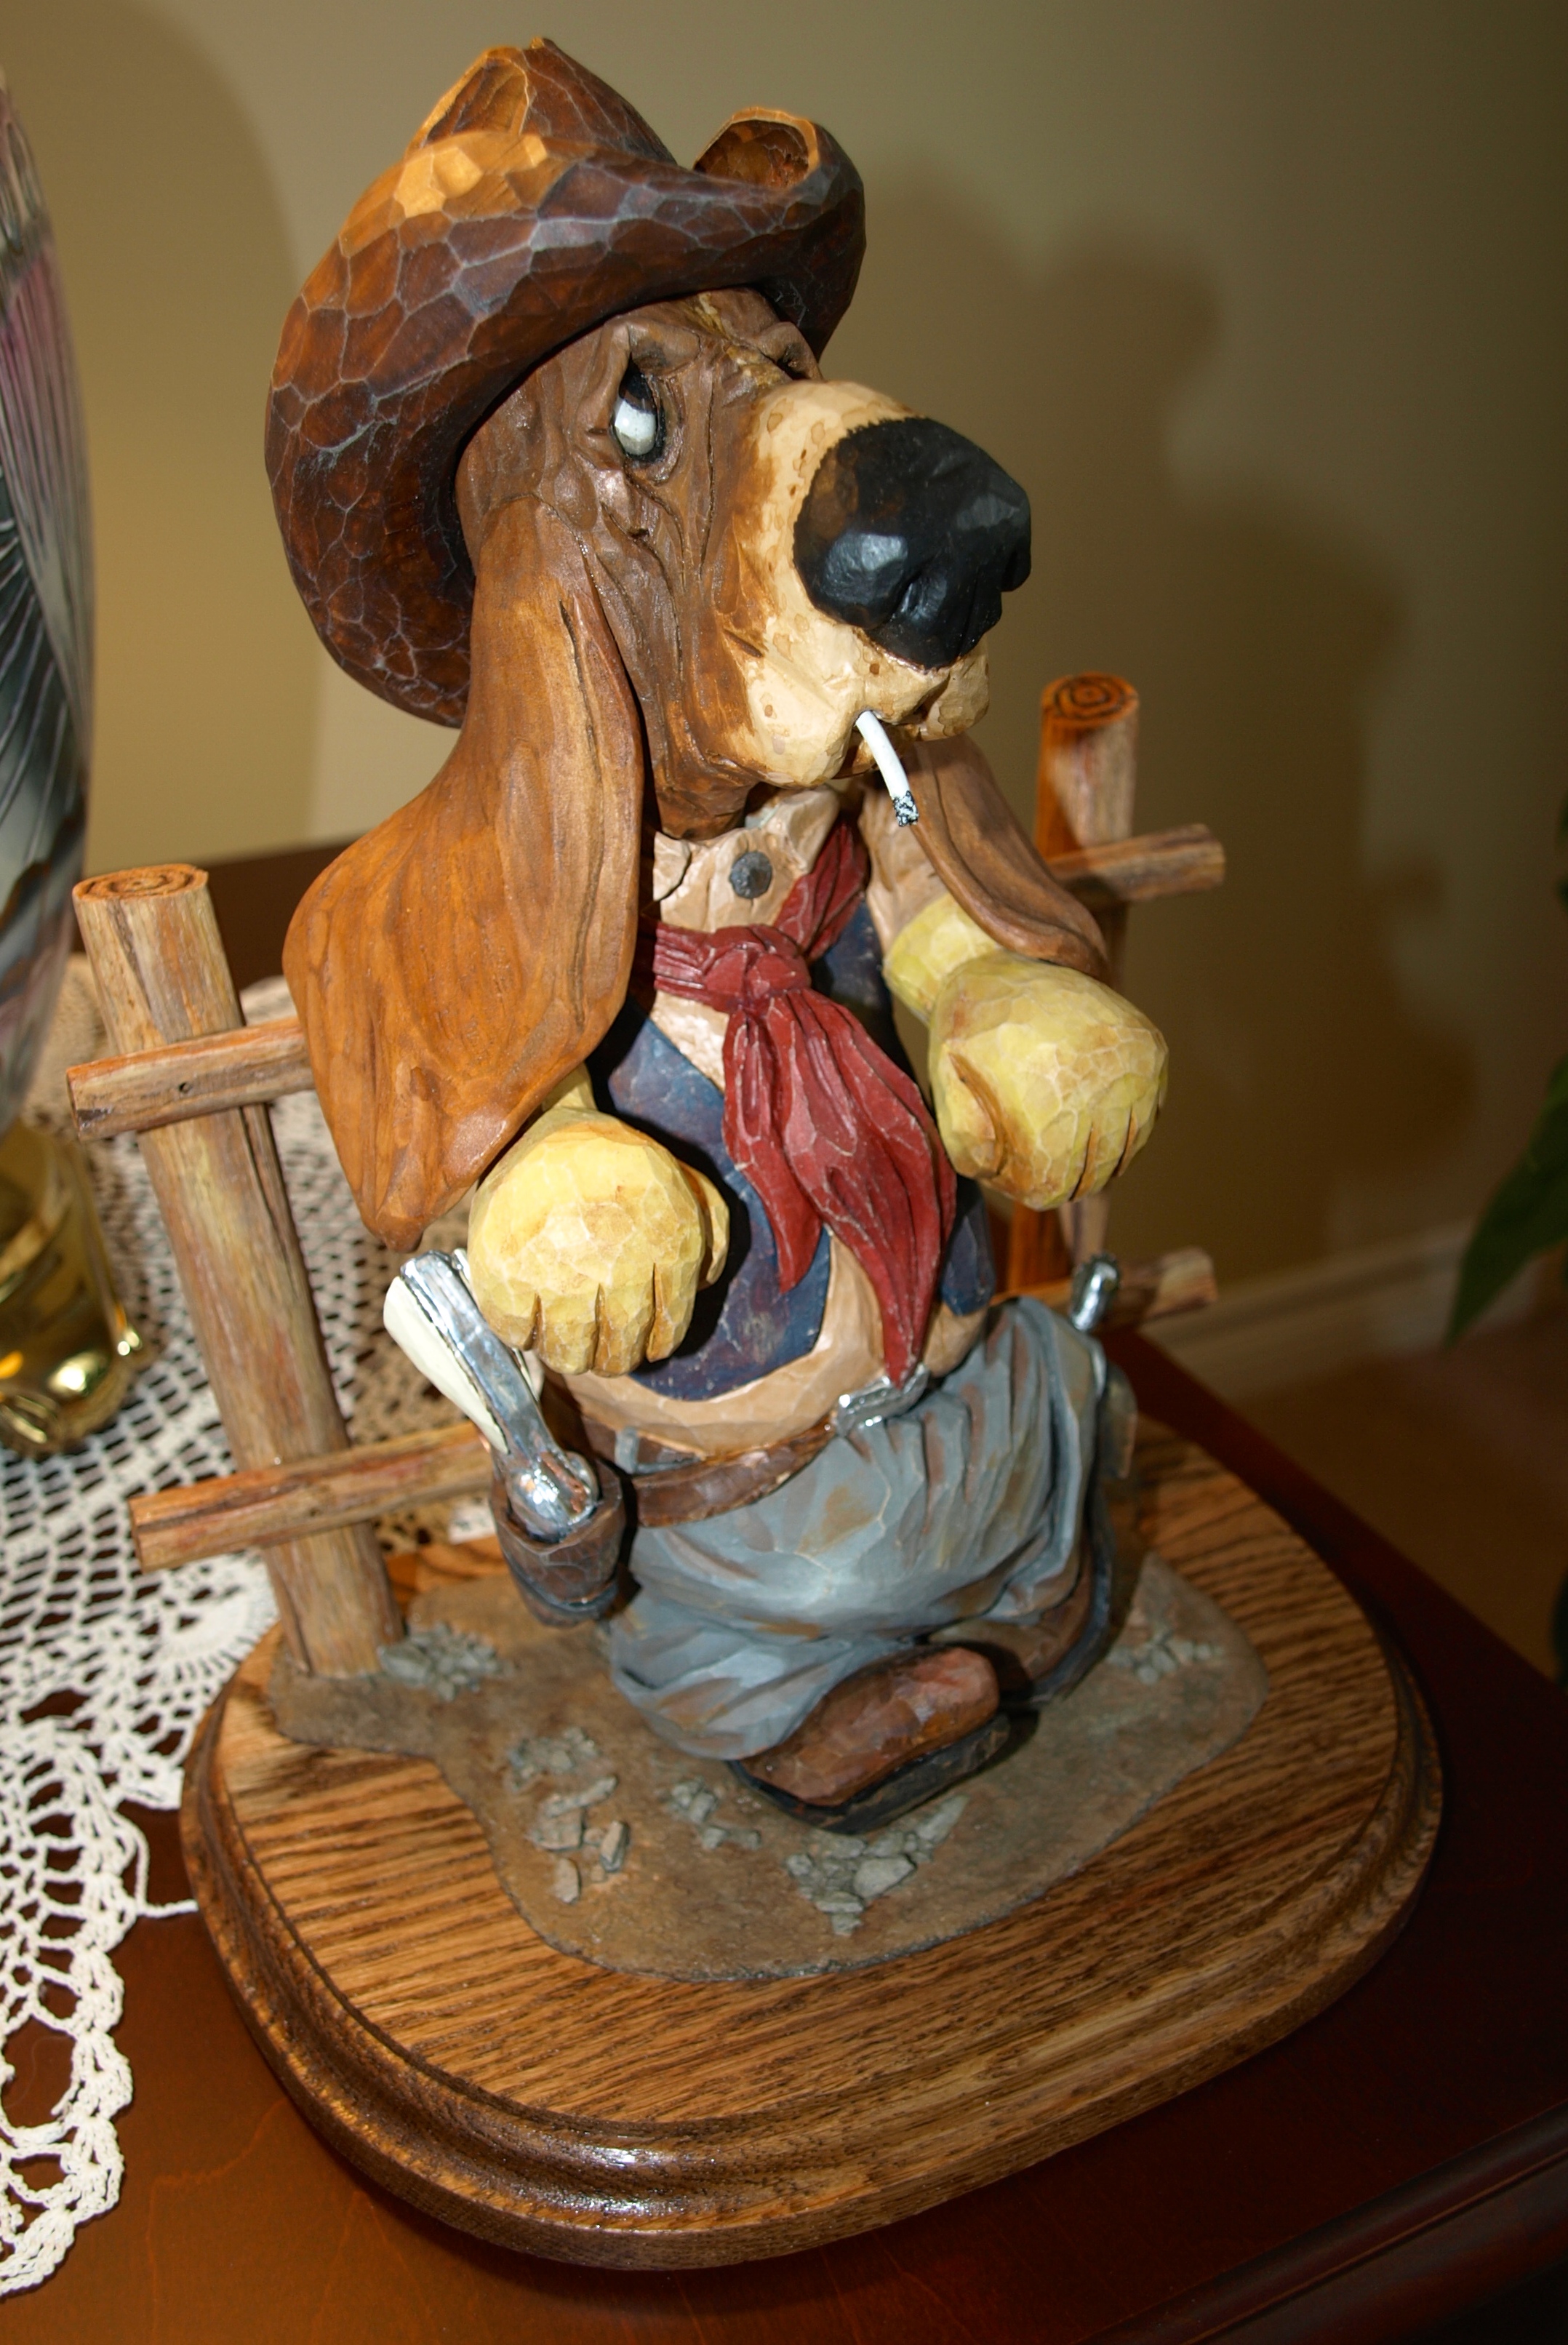
Well, our little Beach Basset is following suit.  The handkerchief with the stress wrinkles at the corners where the knots are located was simply carved into the head of the Basset.  I cut the edges irregularly to make it look like the material was disappearing beneath itself all around the head.

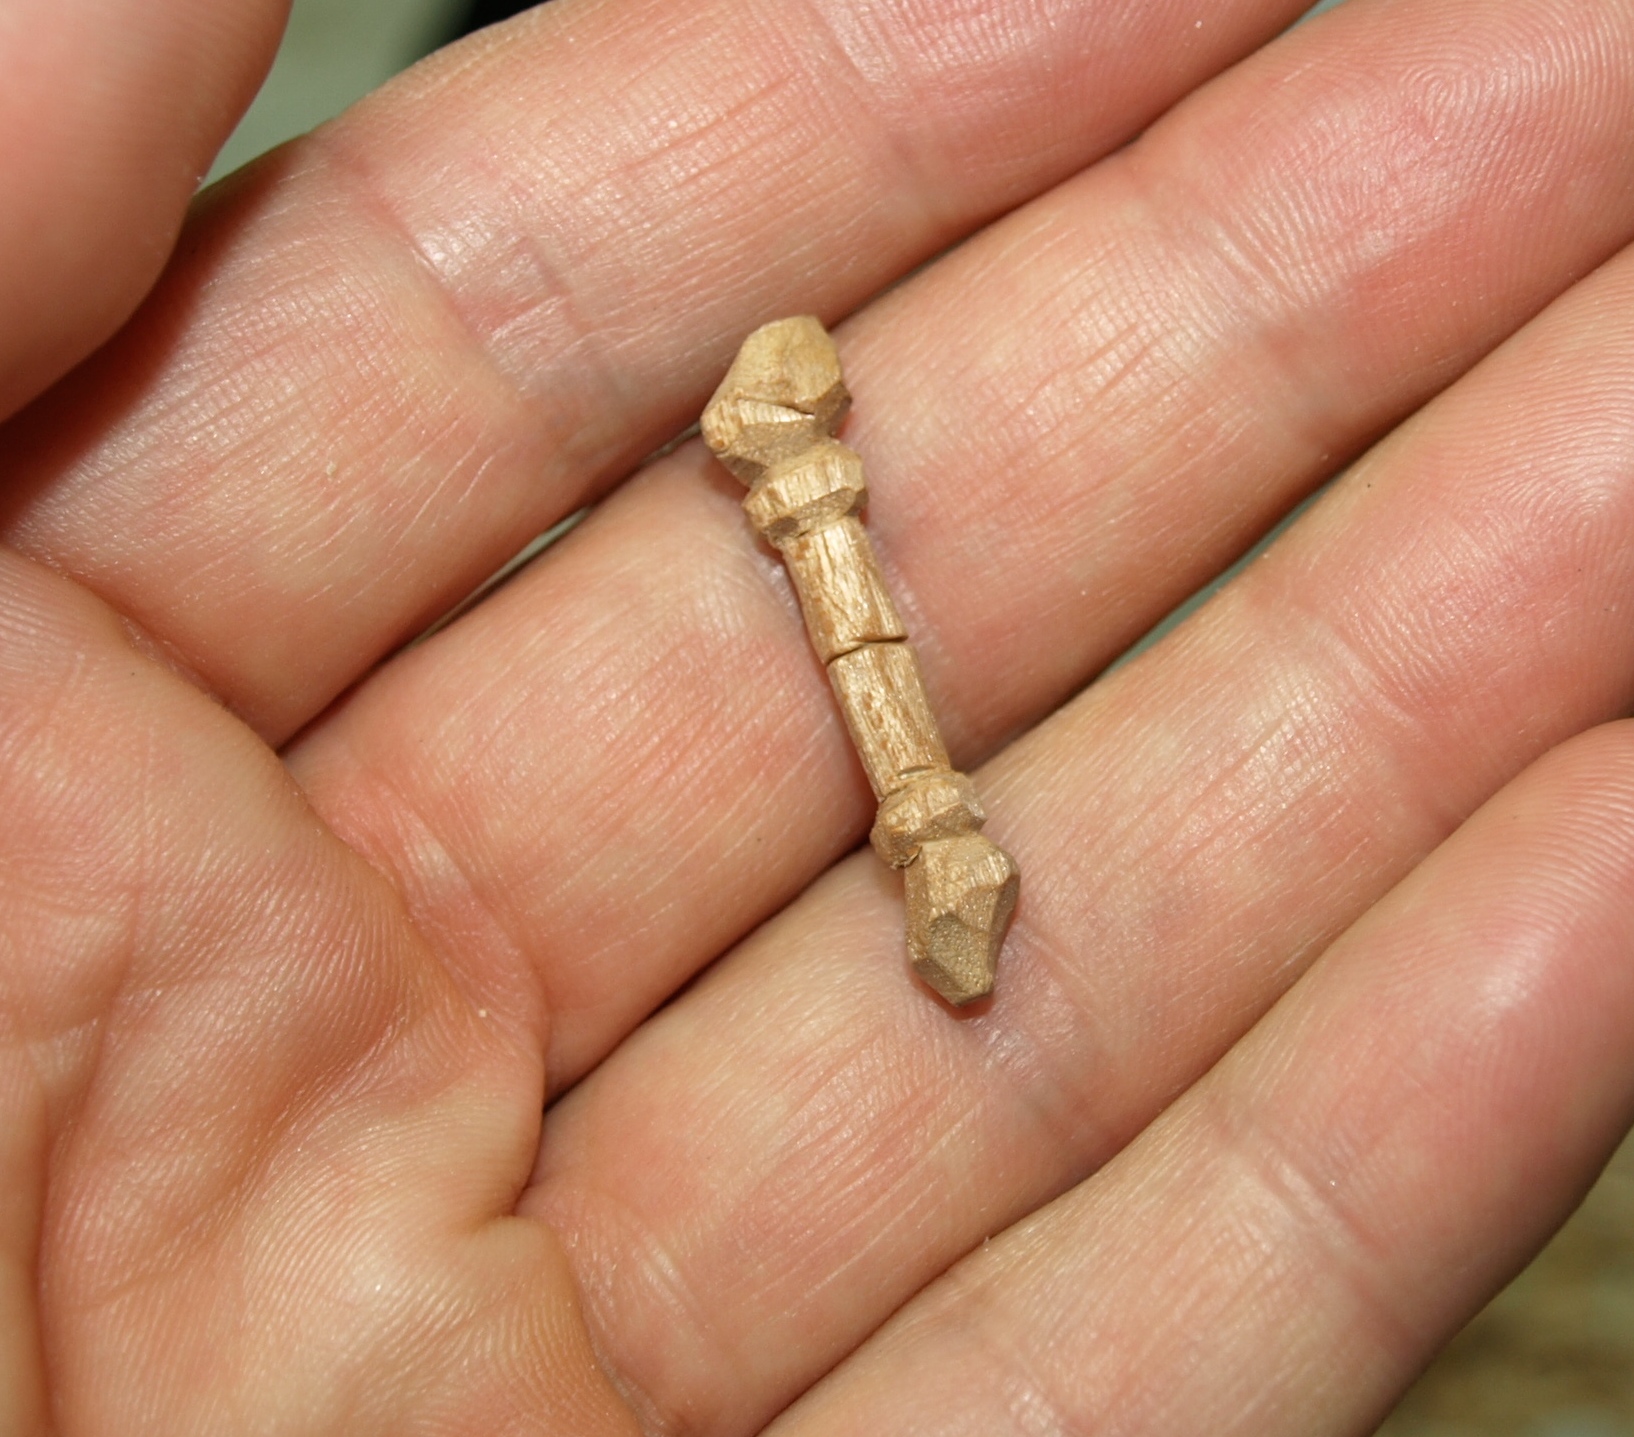
The knots were made separately from small pieces of cherry.  The cherry was used as it is harder than the basswood and will be able to withstand an inadvertent “knock” without breaking off.  I just fashioned a knot with the end piece hanging out and a long round section on the other end that could be epoxied in drilled holes at the knot locations of the handkerchief.  You can see this in the one photo that shows two knots back to back that were later separated in the middle and glued in place.

Monty Python lives again!

Fitting the Ears

Did a bit of carving today on the little Basset’s ears.  Although it’s officially the Fall, we’re still getting beautiful summer weather here in Kingston.  I’m not complaining a bit as I’m also finishing up some painting outside.  So far, I’ve painted three exterior doors and two garage doors.  I did get a bit of a break in that I was going to paint the aluminum decorative shutters on the house but once I took them down to clean them…Peggy and I agreed that the house looked nice without them!  So, no need to paint them…now that’s a treat!

I followed my normal pattern of fitting the ears by first cutting out a block of basswood about the overall size of the ears.  Then, by rubbing some pencil lead against the carving and leaving an impression on the mating part, I slowly carved the ears to fit the contour of the head and arms nicely.

I’ll epoxy the ears in place next and then get started on his “hat.”  You’ll get a kick out of that.

Ready for Ears

The arms have been glued on the Beach Basset and I’ve done some additional detailing here and there.  I’m actually pretty happy with the way the face has turned out so far.  I’m shooting for an older dog look and I’m picturing those droopy eyes eventually looking at you over a newspaper.  I’m toying with those half-lens reading glasses as well.

Next step will be to add a couple of ears draped over the arms in my typical fashion for these bassets.

The weather has been just beautiful around Kingston which has been keeping me outside and away from a lot of carving.  But…rain is predicted this weekend, so maybe a couple of ears will appear.

Some Work on the Beach Basset

Not a whole lot of carving to report on for a couple of reasons.

First, we decided to change the window coverings in the dining room to blinds.  To make a long story short, that simple idea led to crown moulding, new baseboards and a fresh coat of paint on the walls.

Second, I hurt my thumb.  Actually, somehow I got an infection in the cuticle and boy does it hurt.

Nonetheless, I did enjoy a bit of carving today and put a bit more shape into this little basset’s paws and swimsuit.  I’ll rough in the arms over the next few days as my thumb heals!

Roughing In the Beach Basset

I’m using the clay sculpture now to rough in the Basset.  Once again, I’m using a Typhoon bit and a Foredom tool to do the quick and rough work.  I’m pretty much ready to start on the final shape and detailing with the knives and chisels.

The arms turned out to be projecting out from the body more than I had initially expected and were necessarily long so that the newspaper that they’ll be holding will be at a reasonable distance from the hound’s nose.  Given that, I decided to add the arms separately so that I could orient the grain of the wood along the arms for added strength.

It doesn’t look like much now but it’ll take on a character soon enough.

You can just see the small pond and surrounding rocks in this photo from my backyard.  Our telephone company is installing fibre optics through the neighbourhood and is running into a lot of rock ( Kingston isn’t known as Limestone City for nothing ) as they dig.  When Rosie and I go for our walks I end up carrying back a few good sized rocks that end up around the pond.  I’m not sure that I’ll subscribe to the fibre optics but I’m at least getting something out of the construction phase of the work!

Some Initial Clay Sculpting

I’ve decided to do a clay mock-up of the Basset Hound body to help me along with the later carving.  I really found that the clay sculpture that I did of the Hockey Player helped out a lot in the carving phase of that project…so, we’ll try it again.

I’ve still got a ways to go on the clay but you can see the general shape that I’m after.  This beach lounger will be reading a paper while relaxing in the sun, so the arms are positioned to hold a folded and wrinkled paper.  I’ve actually got an interesting idea on how to make the paper, so stay tuned and I’ll let you in on it…if it works!

I need to put some deeper wrinkles in the bathing suit and age the Basset’s face a bit more as I want this hound looking a little  long in the tooth.

The Beach Basset

Time to get back to a nice Basset Hound caricature.  I’m fortunate to know a few really creative people who come up with novel ideas for me.  This little Basset will be enjoying a sunny day at the beach…with all of the trappings of a lazy day…lounge chair, fancy drink and the latest newspaper.

You’re probably familiar with an Adirondack chair often seen on the beach and at cottages.  In Canada, and certainly in Ontario, the same style of chair is known as a Muskoka chair.  It’s a wooden lounge chair that’s fairly low to the ground and surprisingly comfortable.  The Muskokas is an area in Ontario known for it’s beautiful lakes, beaches and cottages.  The very wealthy have terrific homes in this area of Ontario.  The rest of us own a chair or two.

I cut out the various parts for the Muskoka chair out of a piece of basswood.  On the back and seat of the chair, I carved in the wood slats and later burned them with a wood burning tool for greater definition.  Finally I glued it all together with epoxy.  Before painting, I’m using the chair to size the Basset that will sit in it.  I’ll use clay again to do a quick initial sculpture that I’ll use as a mock-up for the carving.

A Watchful Eye on the Range

Buford is now complete and watching every move on that open range.  This carving was a lot of fun to complete.  I’ll get some additional photos up on the Flickr Site later today…but here’s a few shots for starters.

OLYMPUS DIGITAL CAMERA OLYMPUS DIGITAL CAMERA

OLYMPUS DIGITAL CAMERA

OLYMPUS DIGITAL CAMERA

End of the Rope

Well, I think I’ve come up with the rope that I’ve been looking to create.  Lynn Doughty also gave me a terrific suggestion with the use of gun bluing that he’s used very successfully in his carving sculptures ( Outwestwoodcarving ) and I do want to give that a try at some point.

I took a bit of a different path and decided to take a stab at using plastic insulation coated wire.  This wire is probably 20 gauge or lighter wire but has a plastic insulation coating surrounding it.  You’ve seen this kind of wire sheathed in a bundle of six or more individual wires and used for telephone hook-ups, 12 volt door bell installations, etc.

I took three of the multicoloured wires, ran some sandpiper over the insulation to roughen it up and wound them together using the portable drill process that I described earlier and that I’ve seen Lynn use.  I then looped and bent the wires into the shape that I was looking for and epoxied  them together in several points in the loop.

The roughened up wires looked just terrific as they looked like the actual fibres that you’d see in a rope.  After a bit of priming and painting of the rope, I did find that the roughened plastic coating took the paint well and I’m pretty happy with the finished product.

OLYMPUS DIGITAL CAMERA

A Quick Update

I know that this isn’t the greatest of photos, but I needed to show off how good Buford is looking now that the base is near complete and he’s been fastened and glued in place.  A few items to finish that I’m still not satisfied with…I want to tone down the silver parts with a bit of Payne’s Grey, I have some fake nails to make up for the posts and rails, and…

…I hate to admit it but my rope experiment failed miserably.  The paint just did not adhere to the wire that I used.  So, it’s back to the drawing board but I’ll get that licked this week.

OLYMPUS DIGITAL CAMERA

Post Navigation