tributesinwood

Wood Carvings by Mark Sheridan

Archive for the tag “wood caricatures”

Roughing in the Head

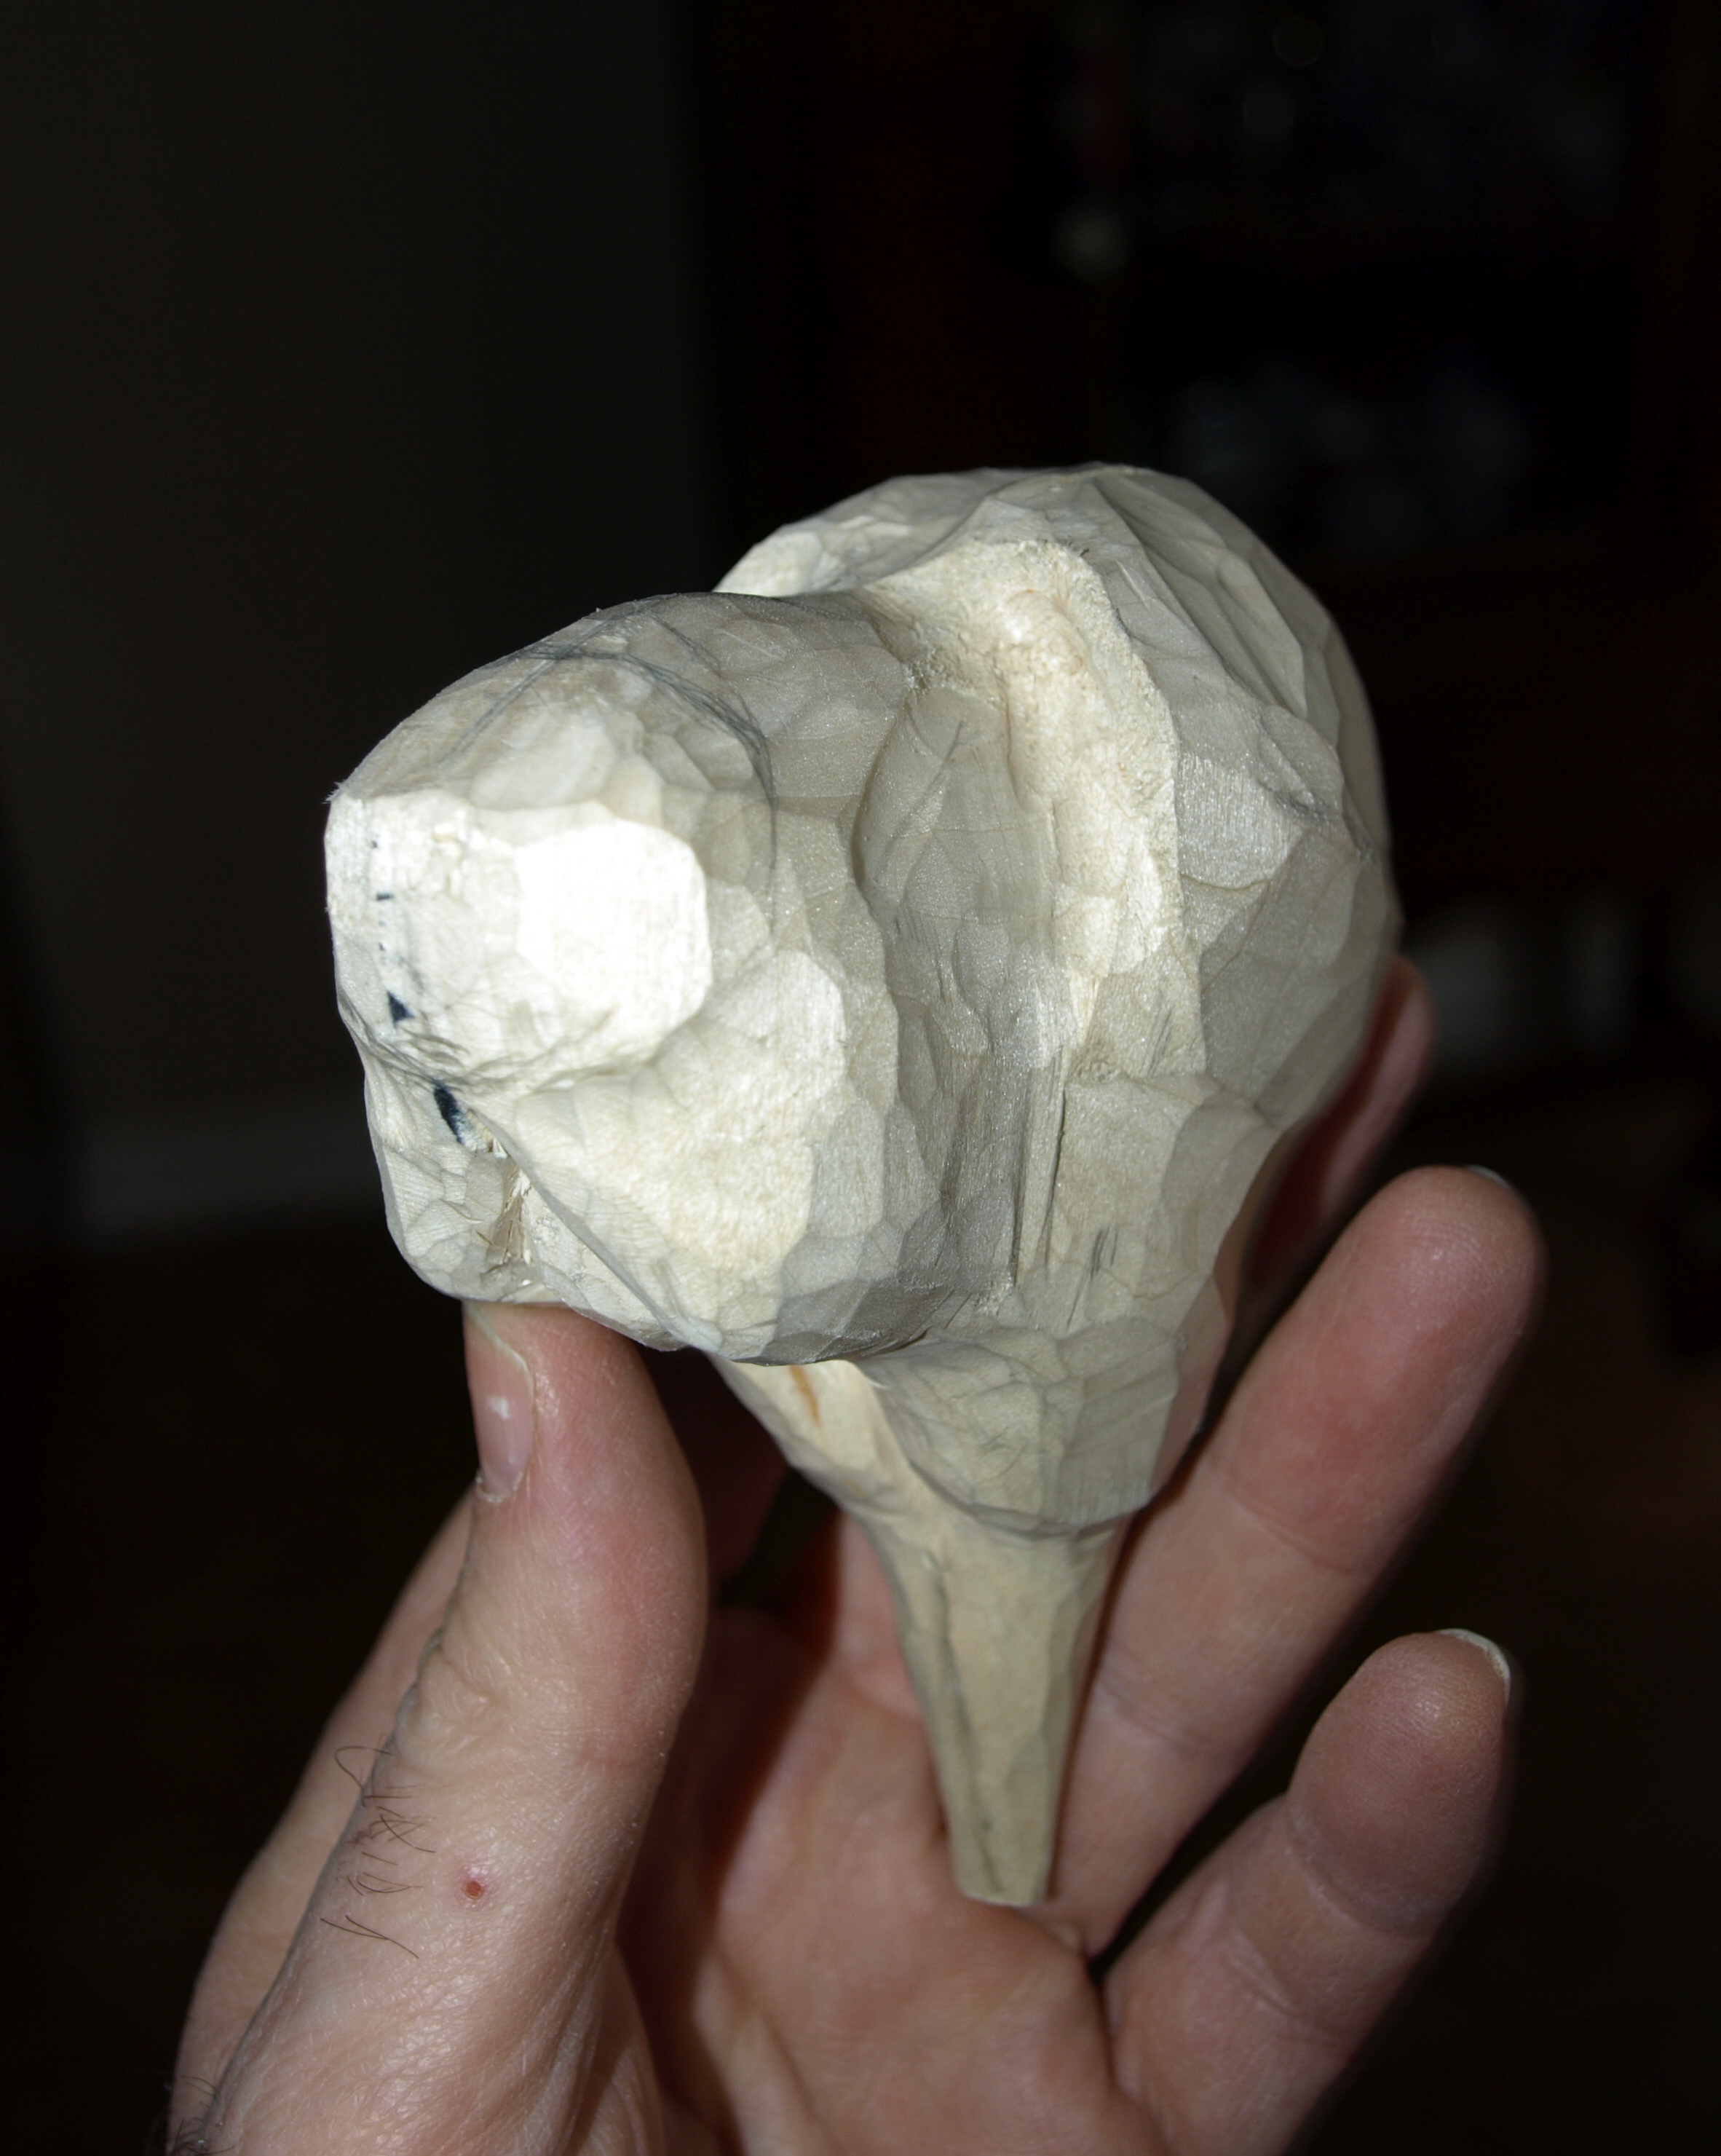
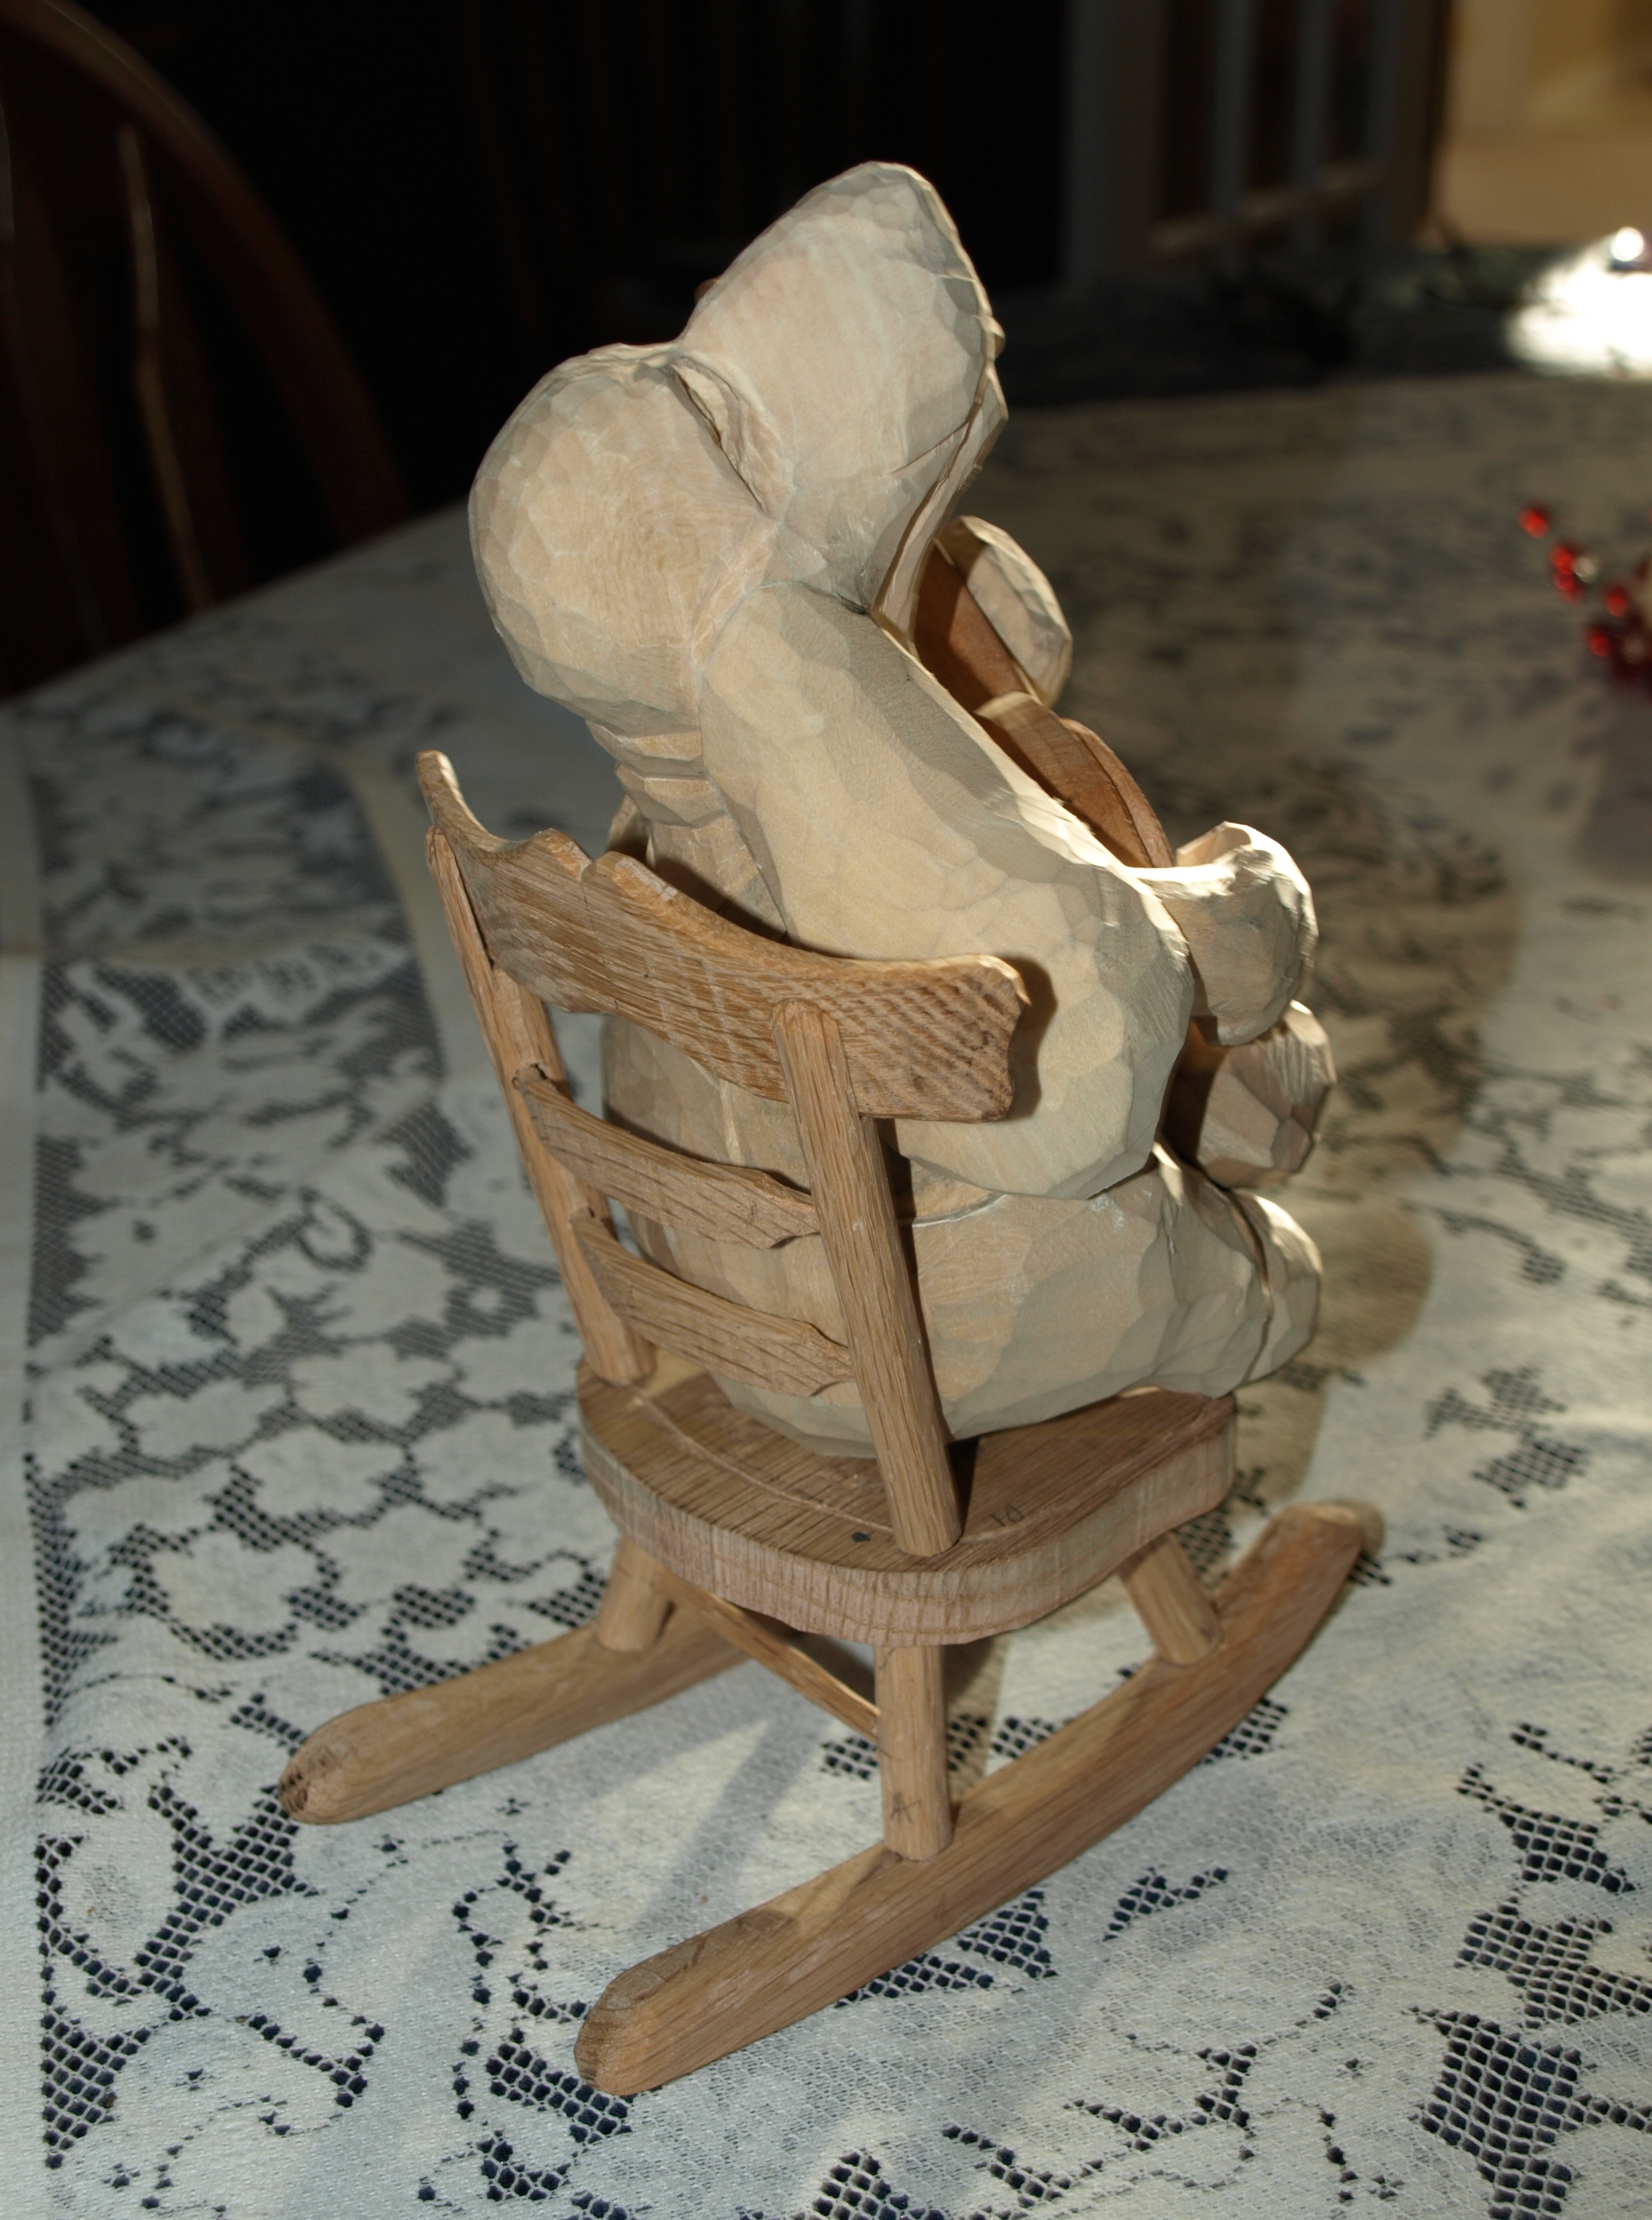
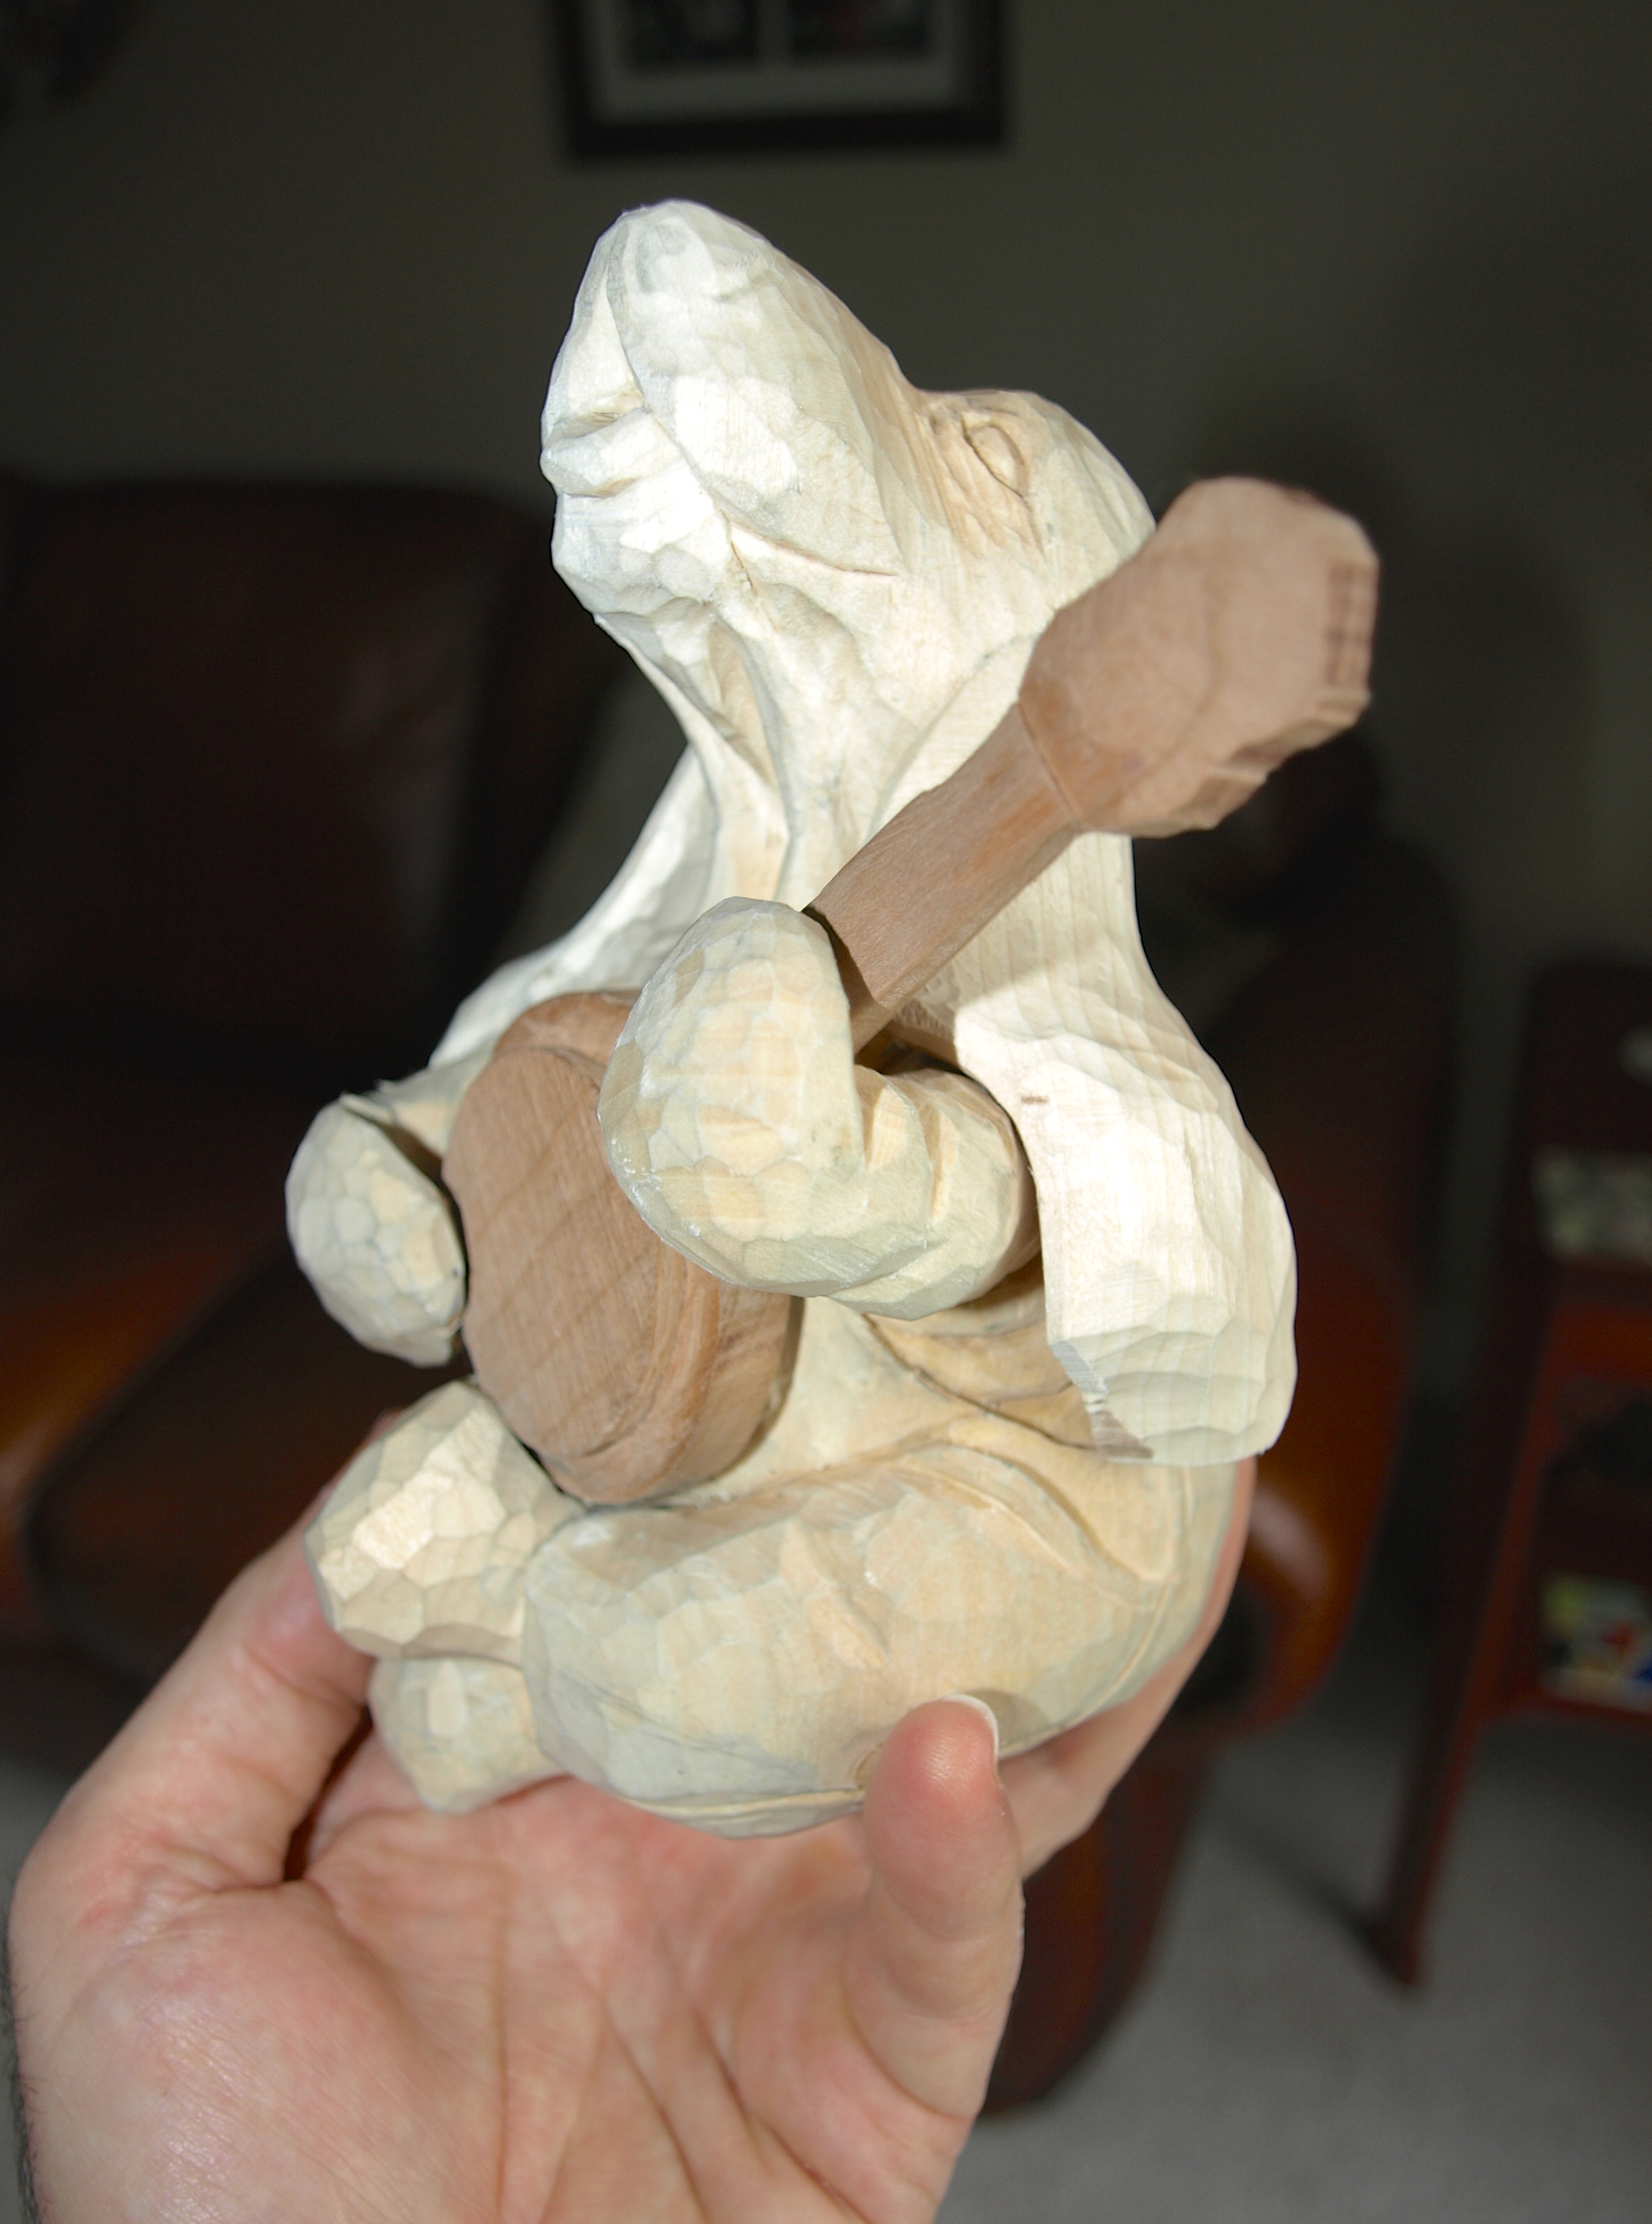
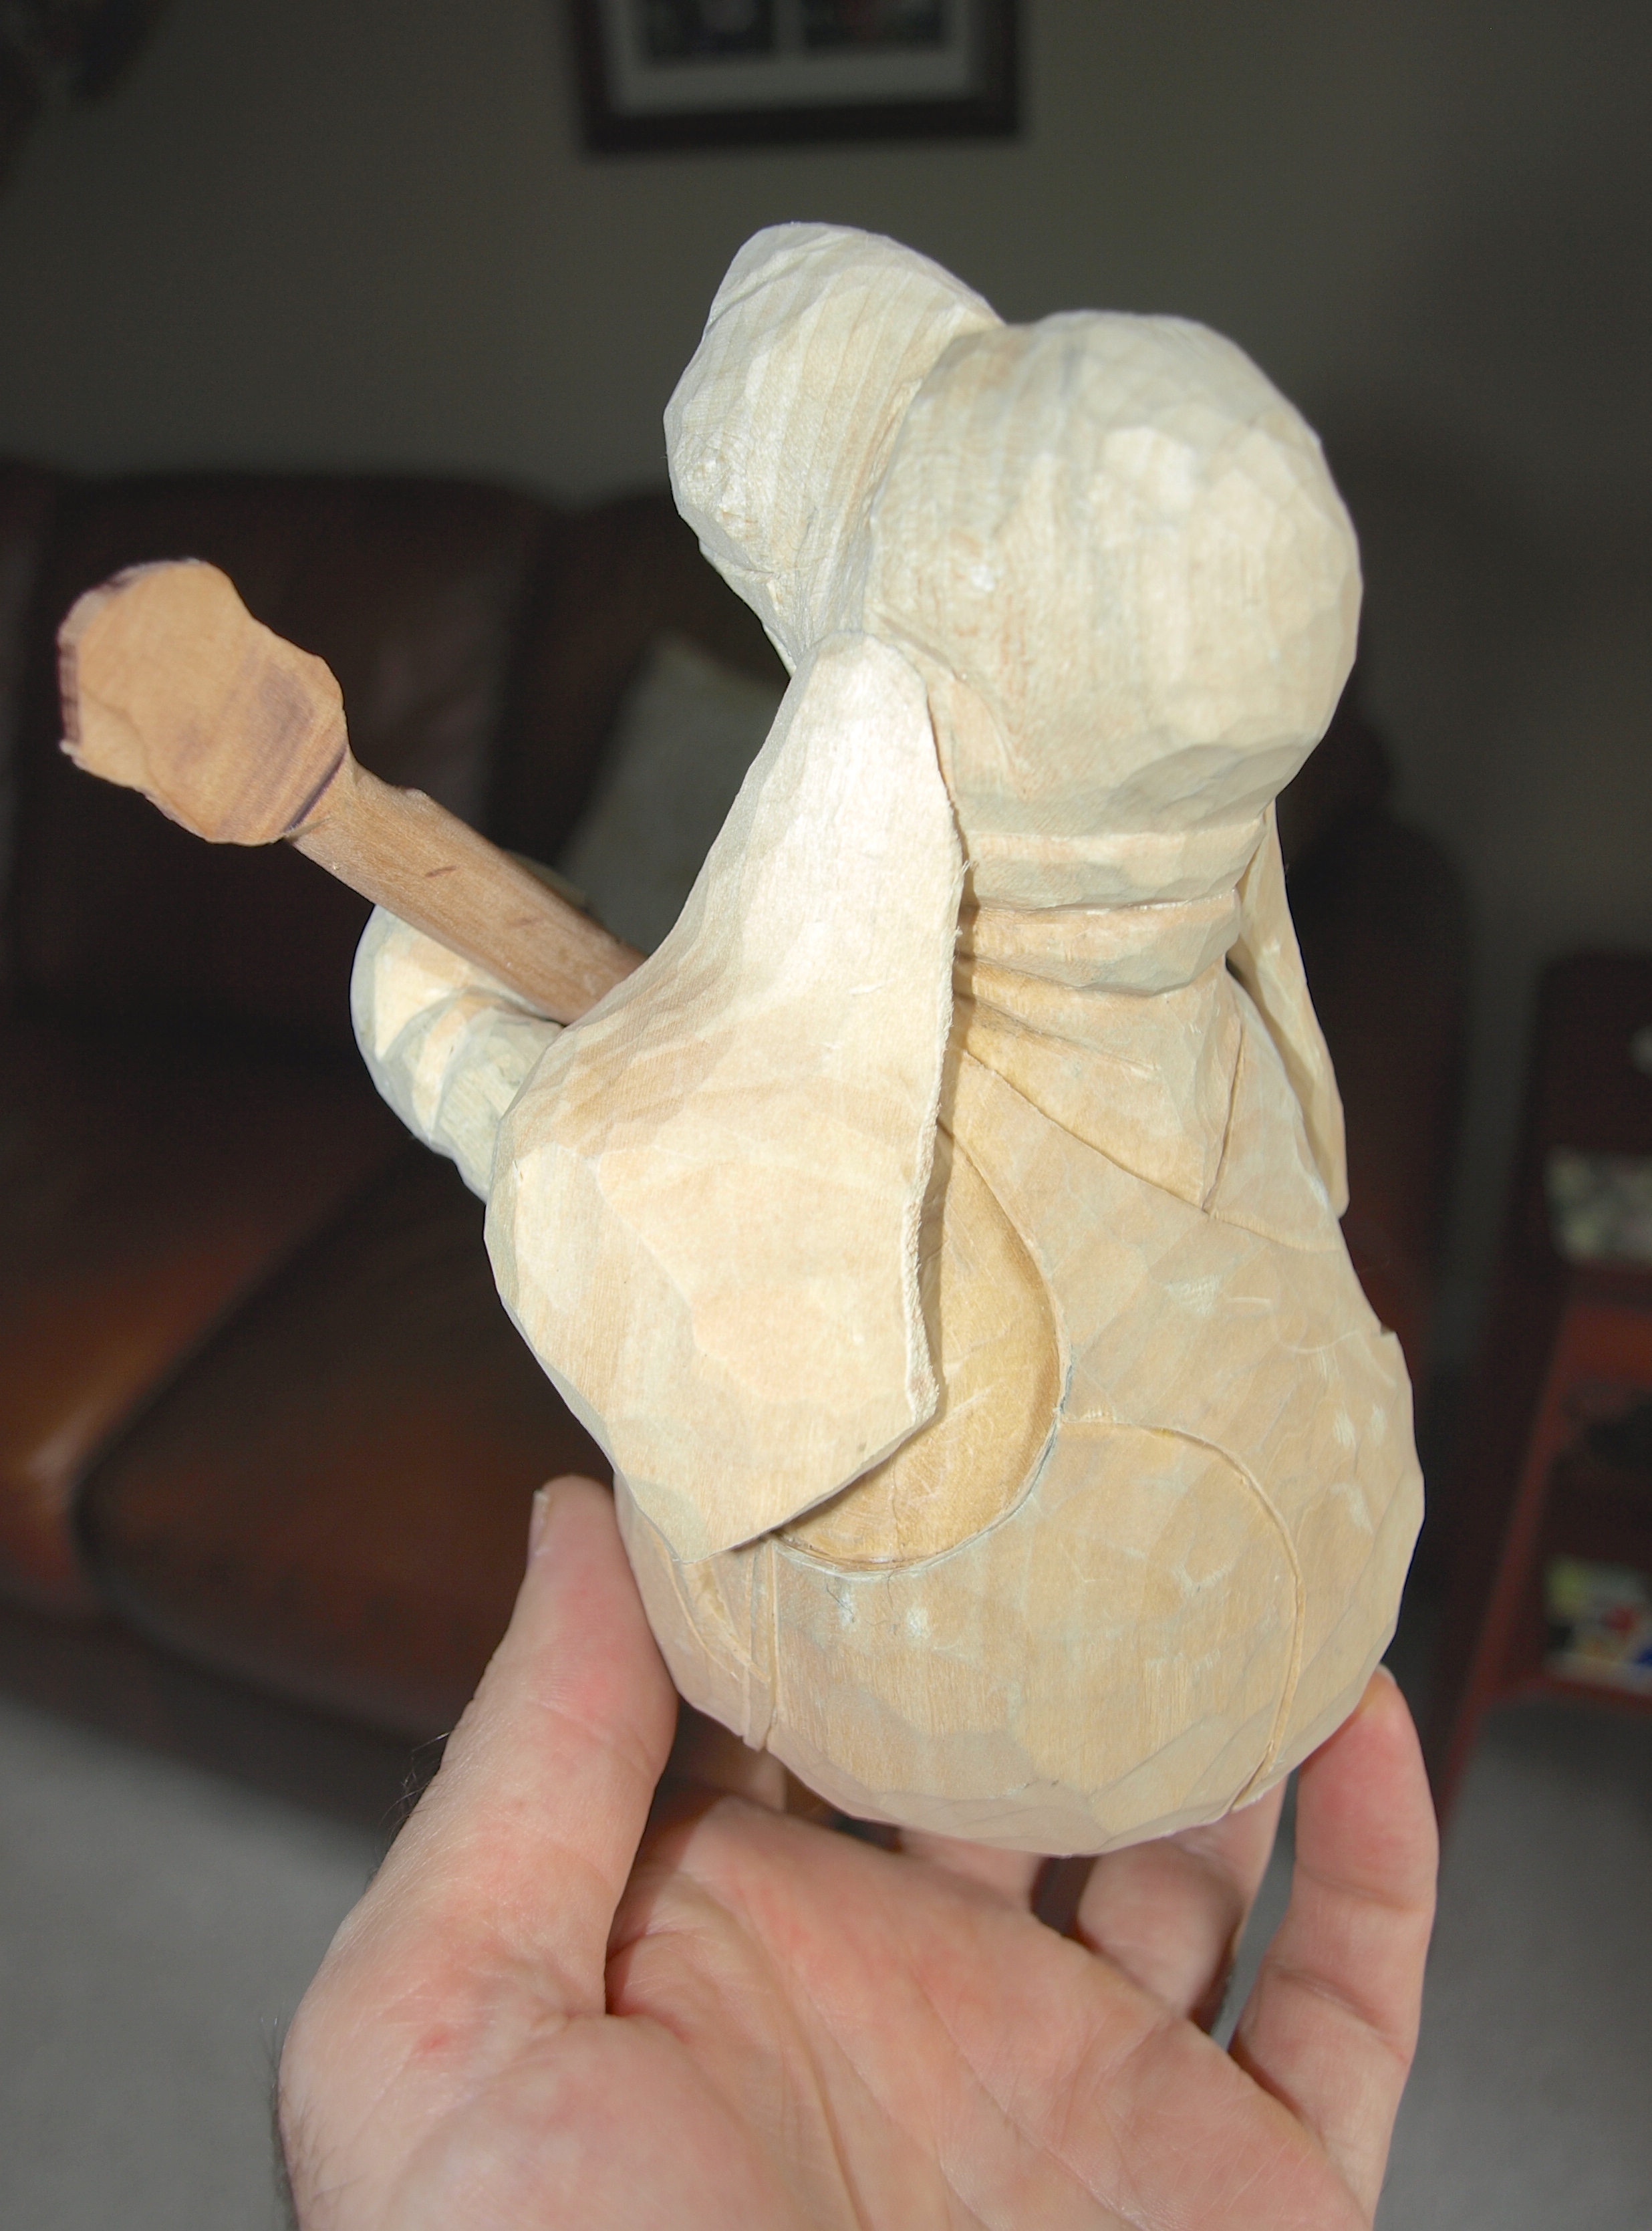
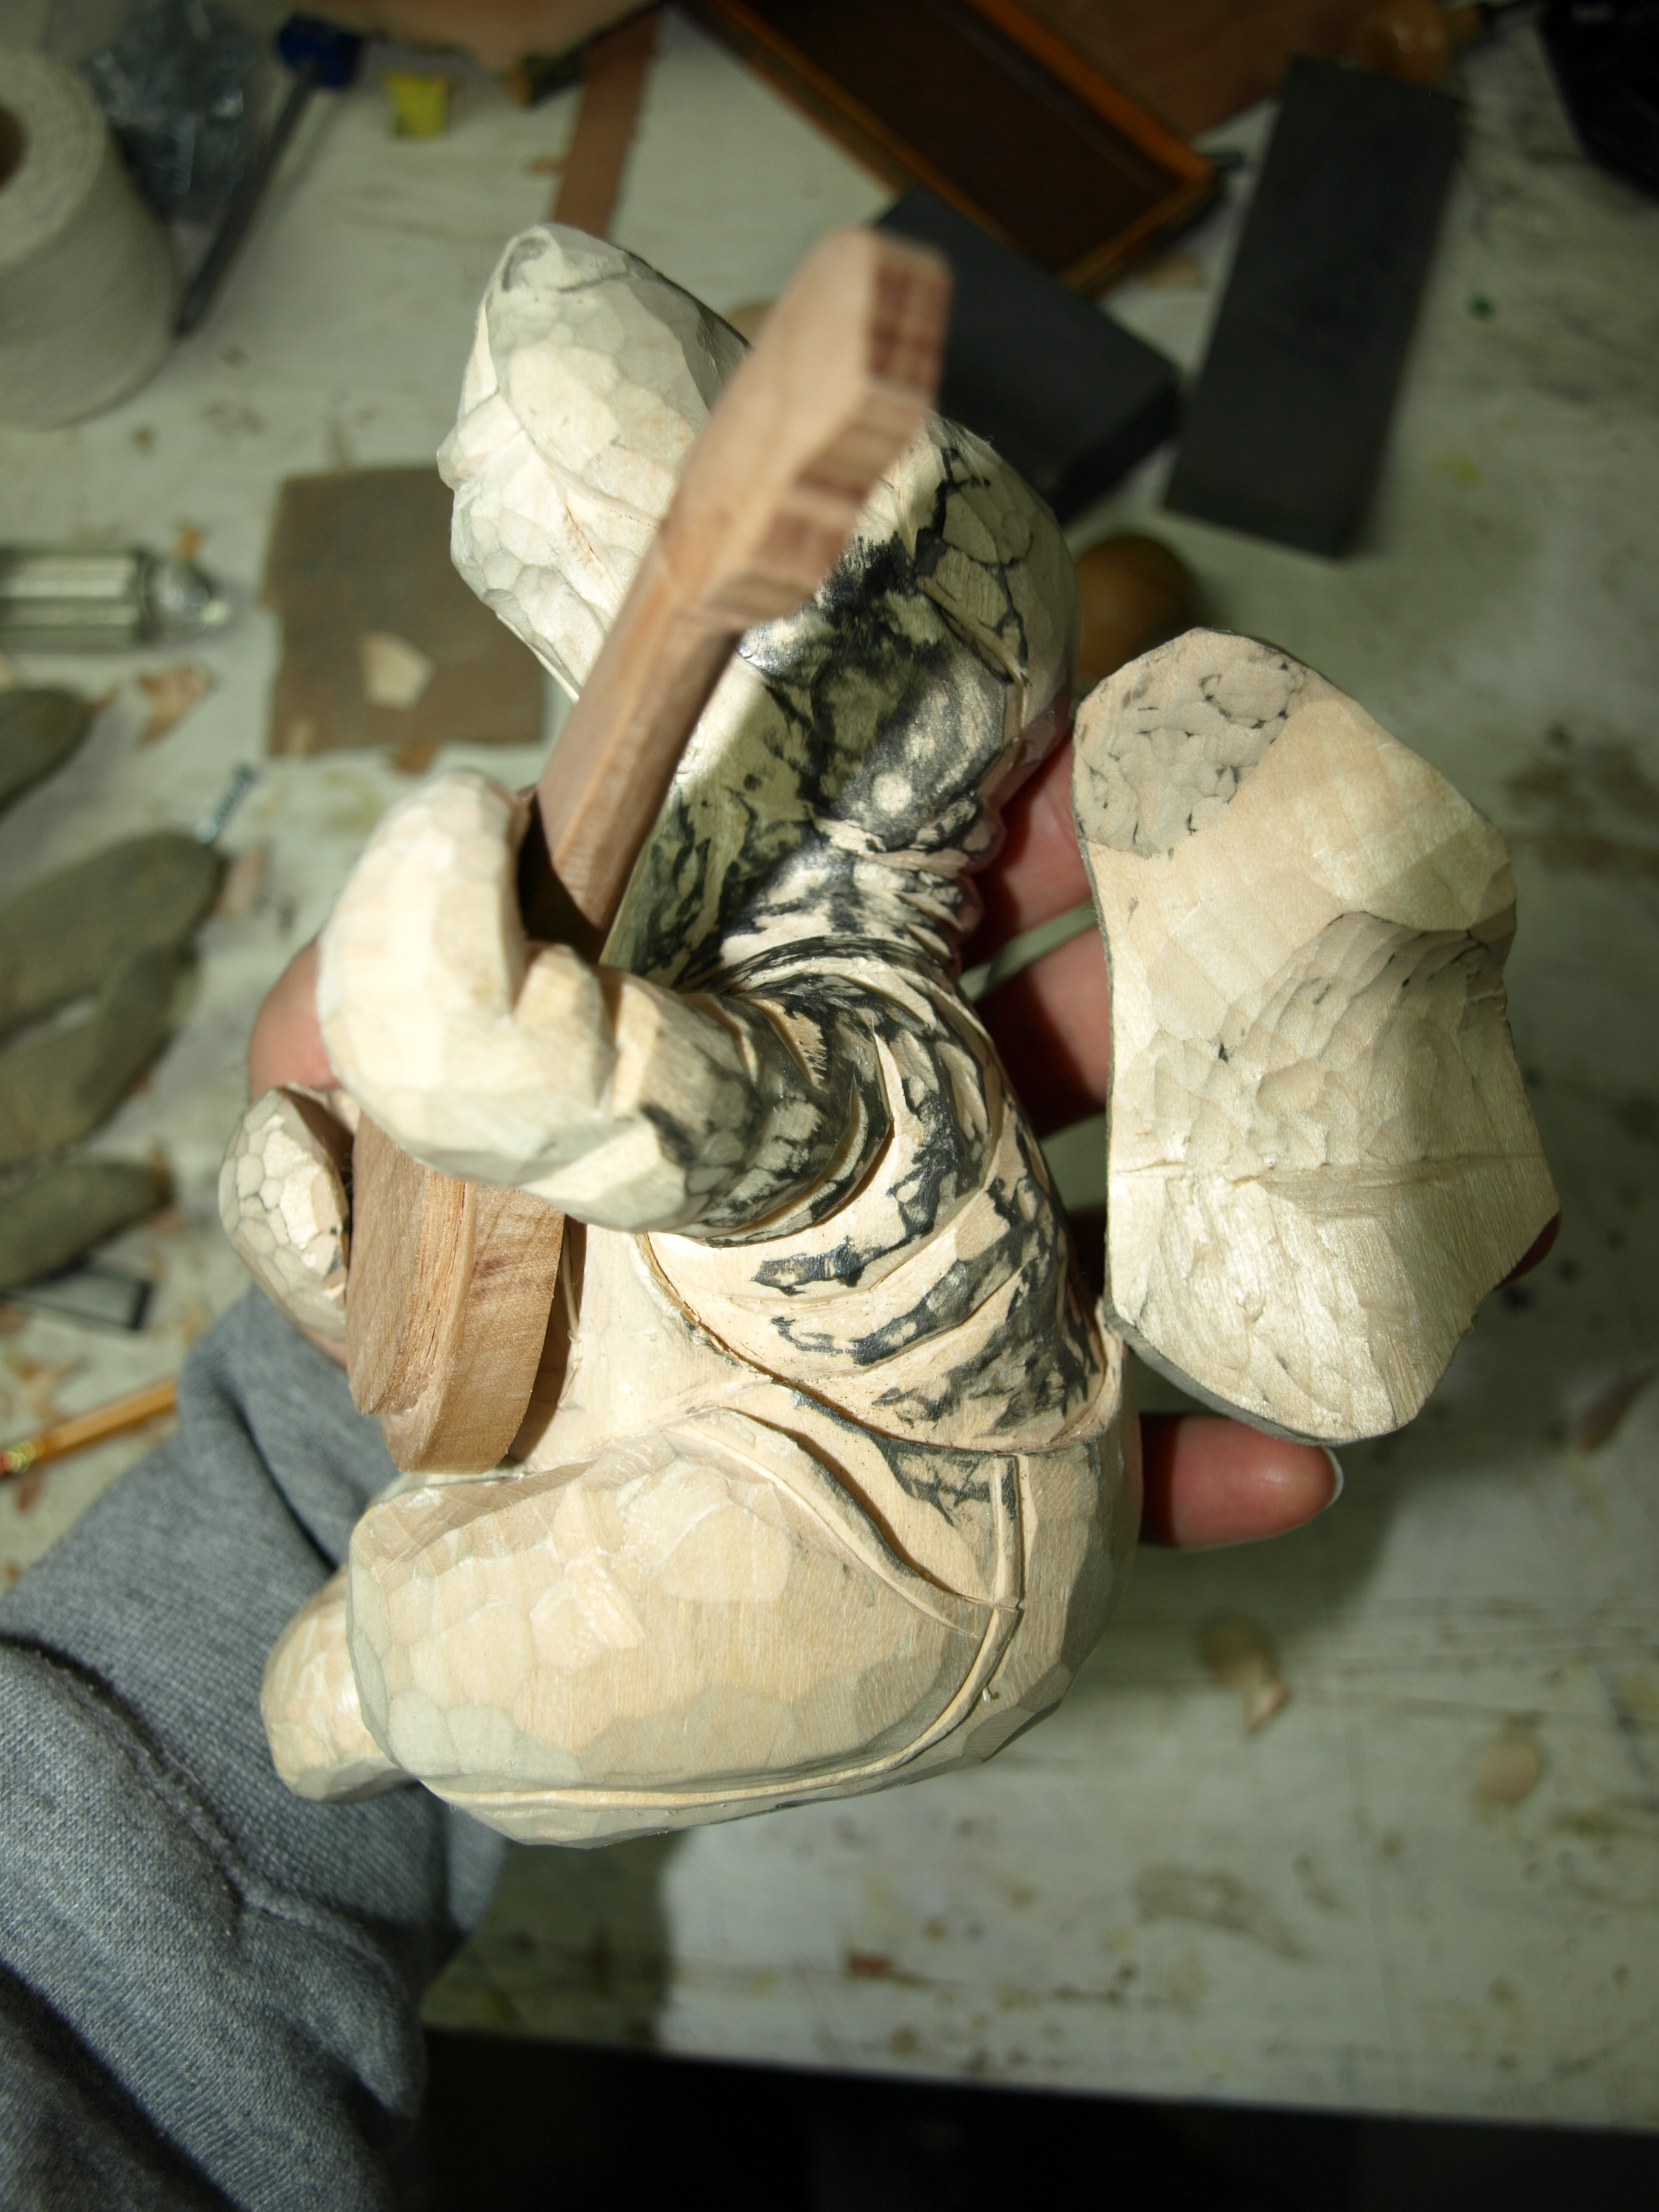
The Wrangler Hound is starting to take some shape.  The general outline of his head was marked out on a piece of basswood and cut away on the bandsaw.  I intentionally cut the outline a little bit larger than I expect the carving to be when it’s completely so that I have room to cut in some deep wrinkles and folds that these little Basset Hound carvings end up having.

OLYMPUS DIGITAL CAMERA

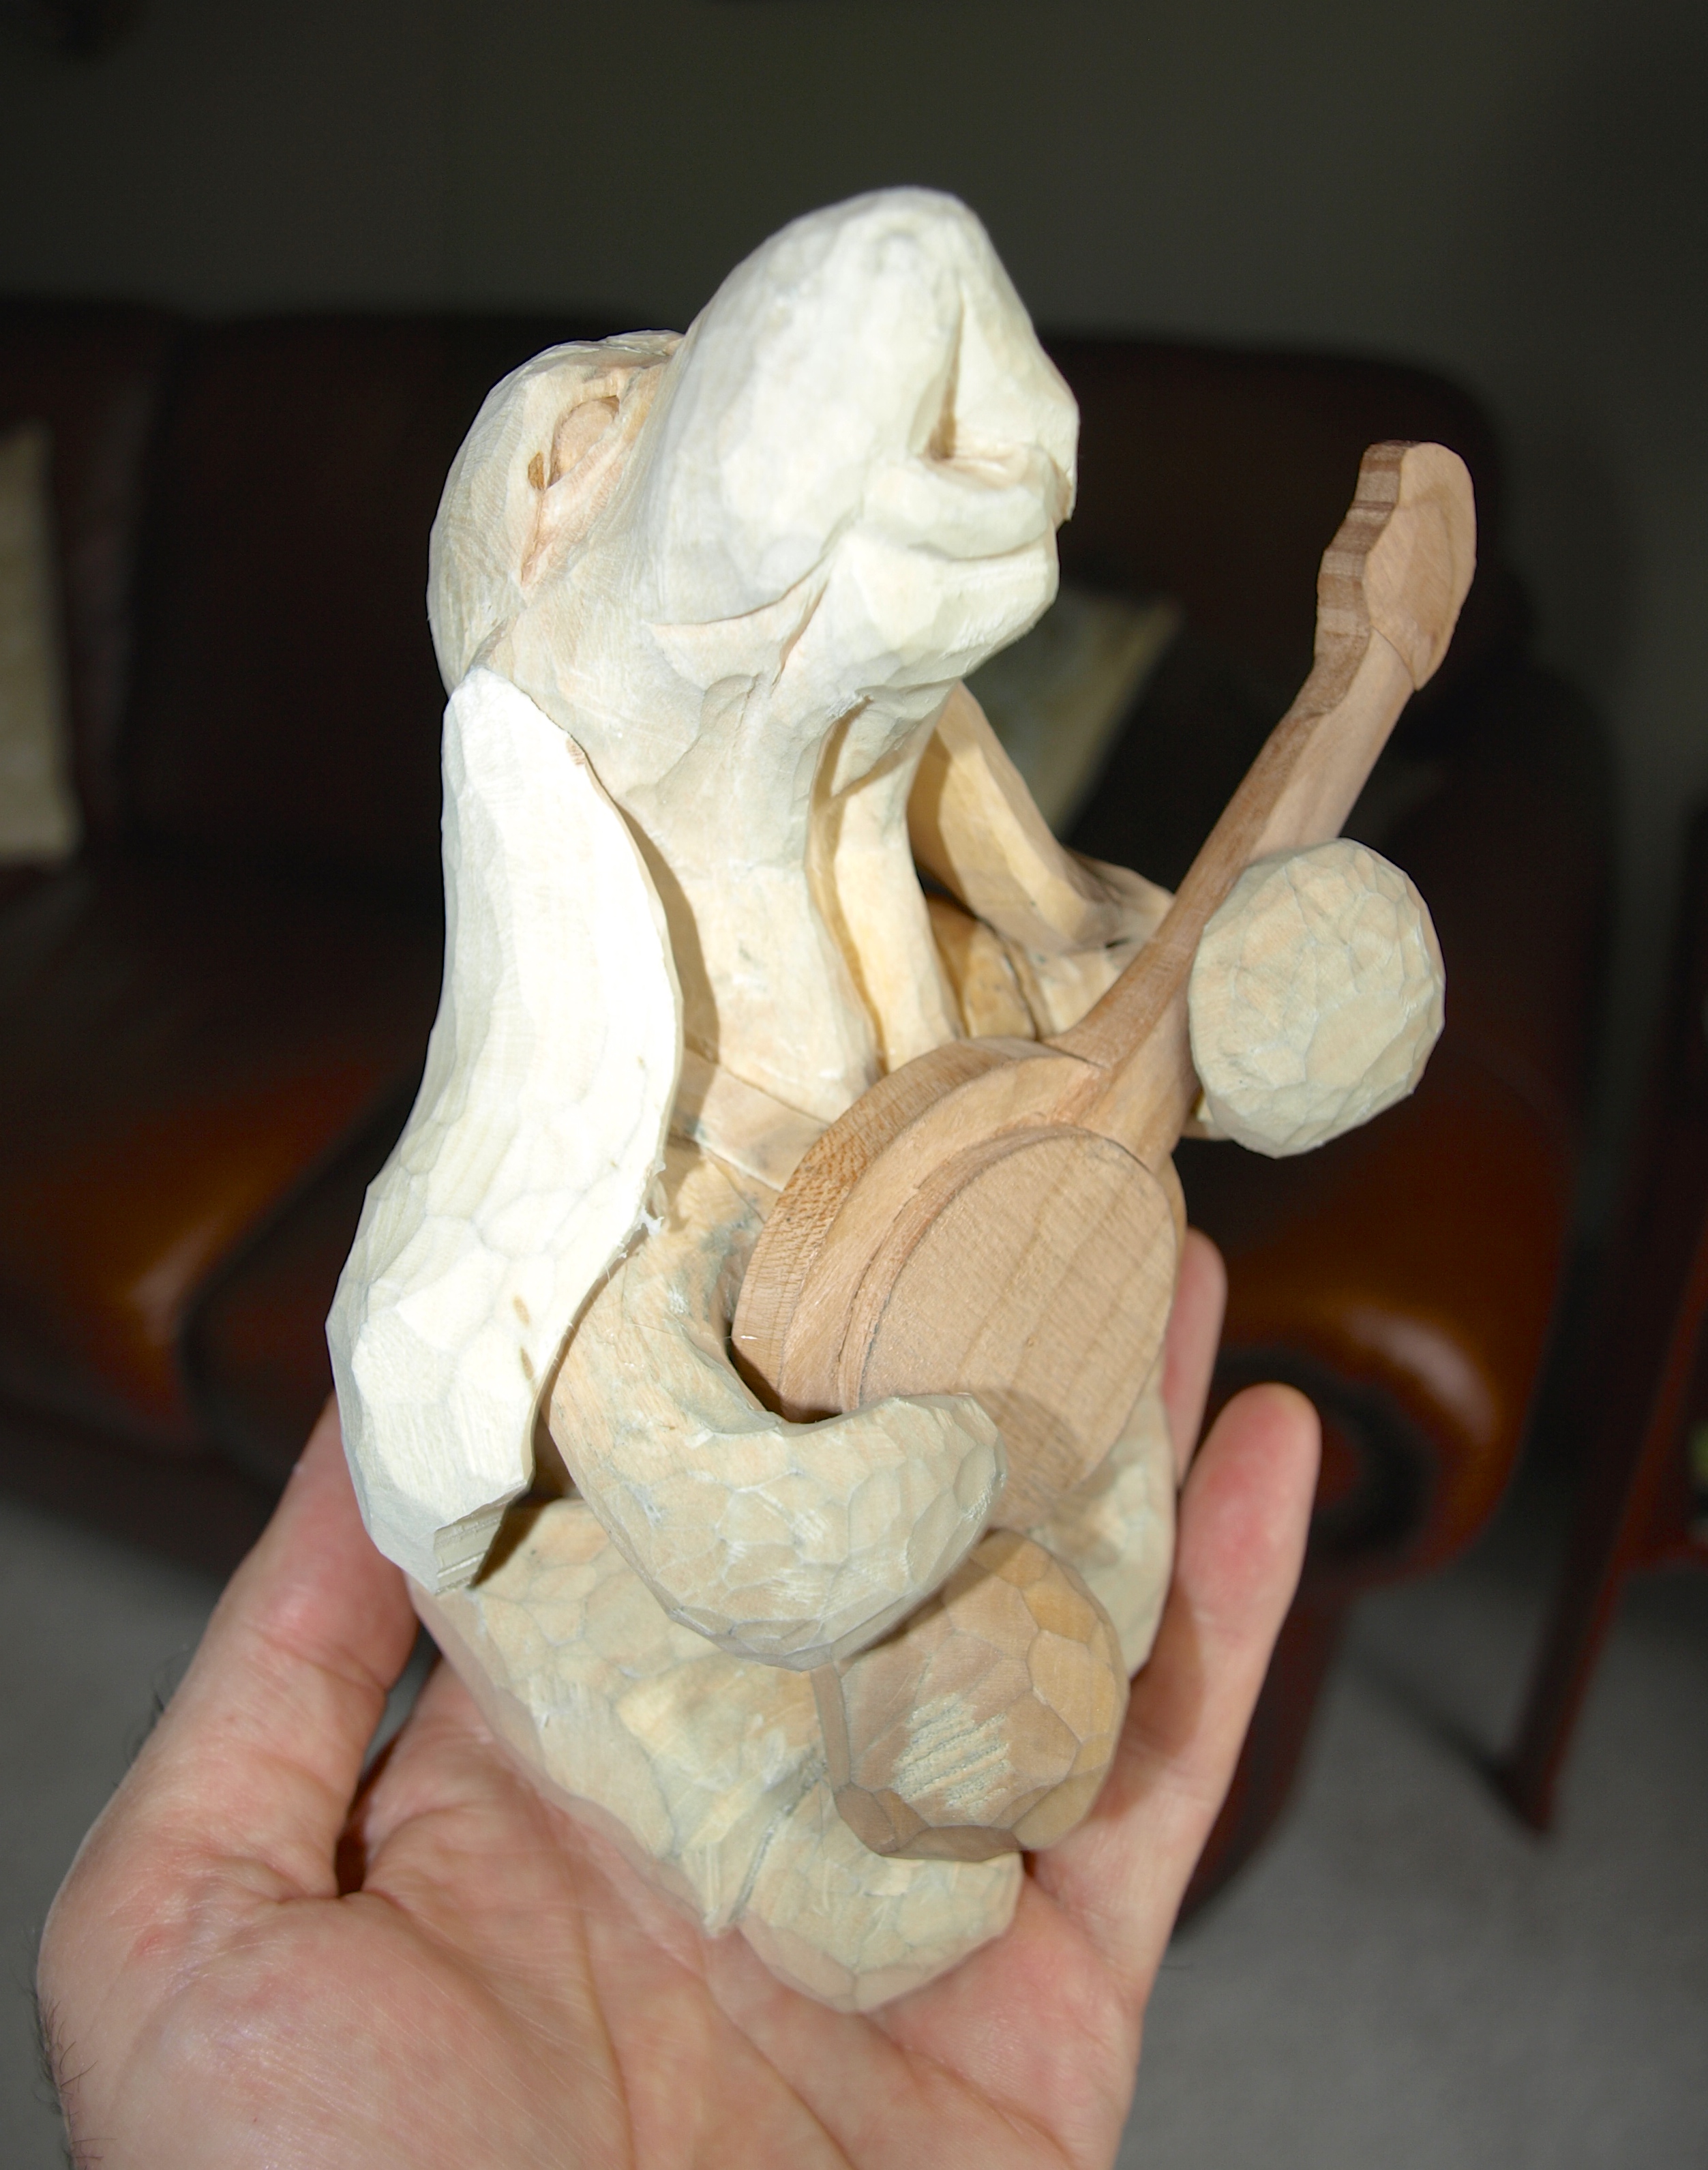
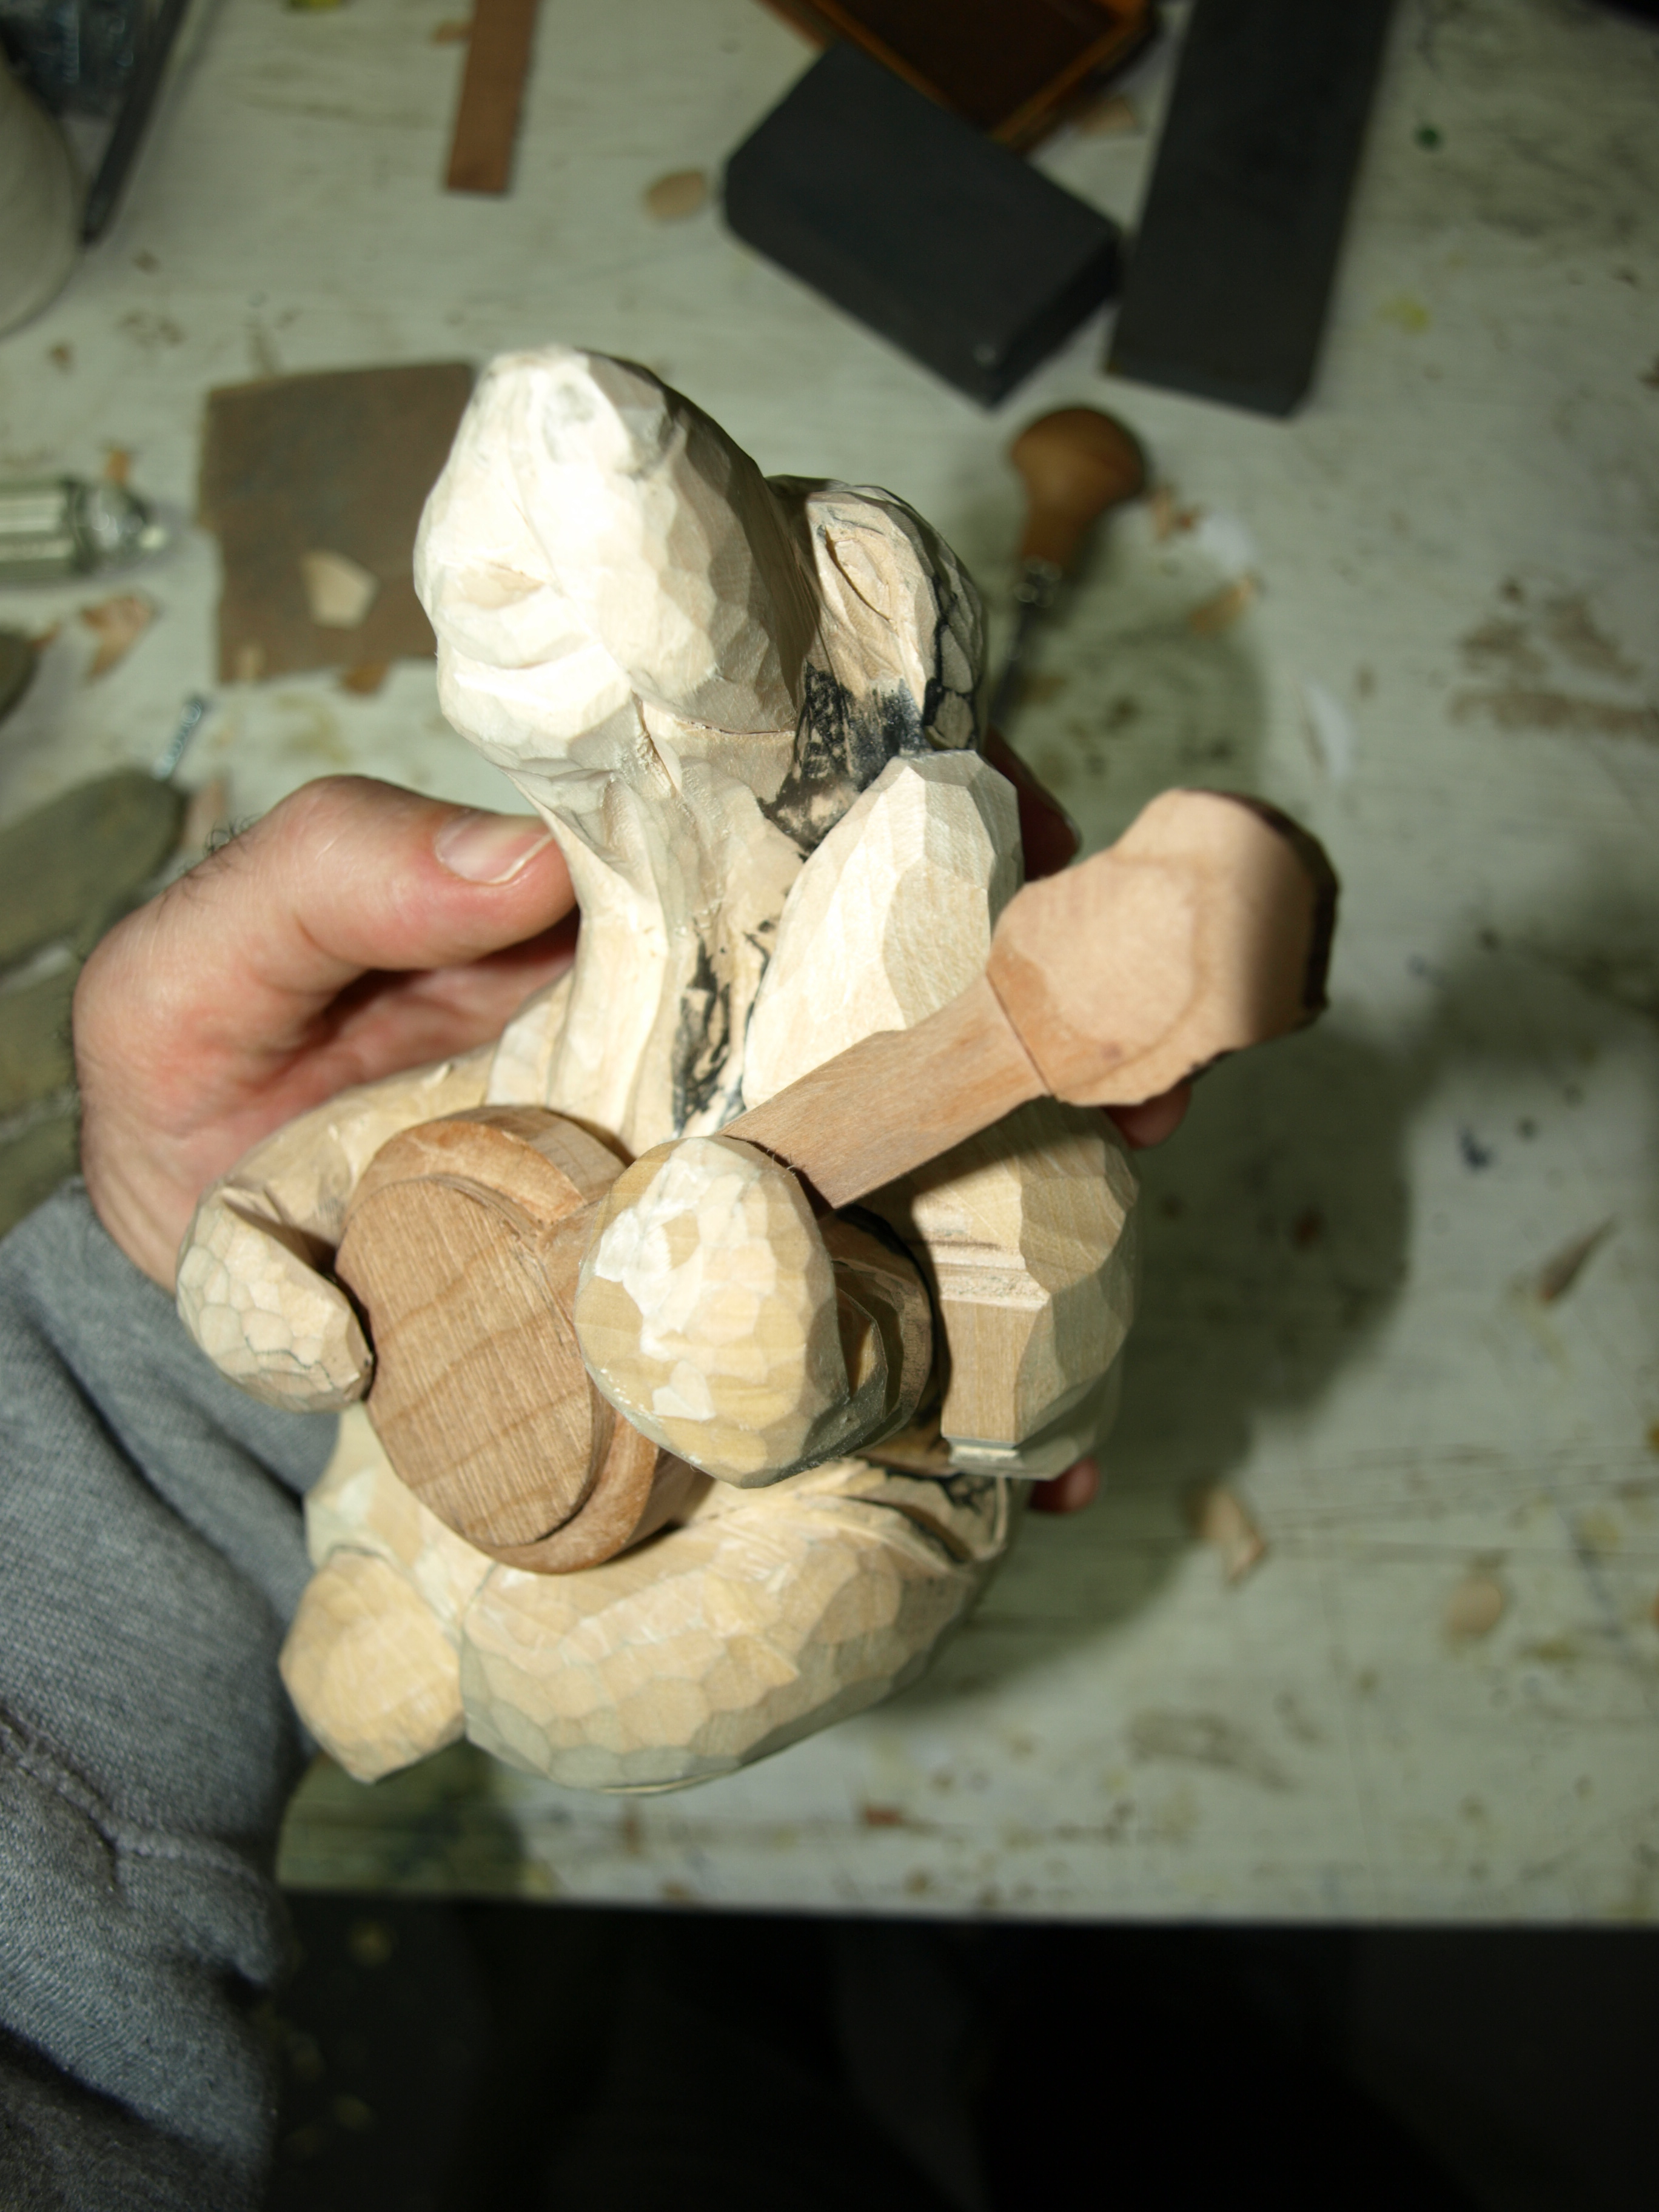
I started off using a Typhoon bit and the Foredom tool to move some wood away quickly and do some general shaping.  I’ve mentioned before that Typhoon bits are very aggressive carbide tipped bits.  If you decide to use this method of blocking in your carving, you need to wear the appropriate protective gear…safety glasses, gloves, leather apron and either leather or very heavy sleeves.  Of course, you can use your regular knife to accomplish the same thing.

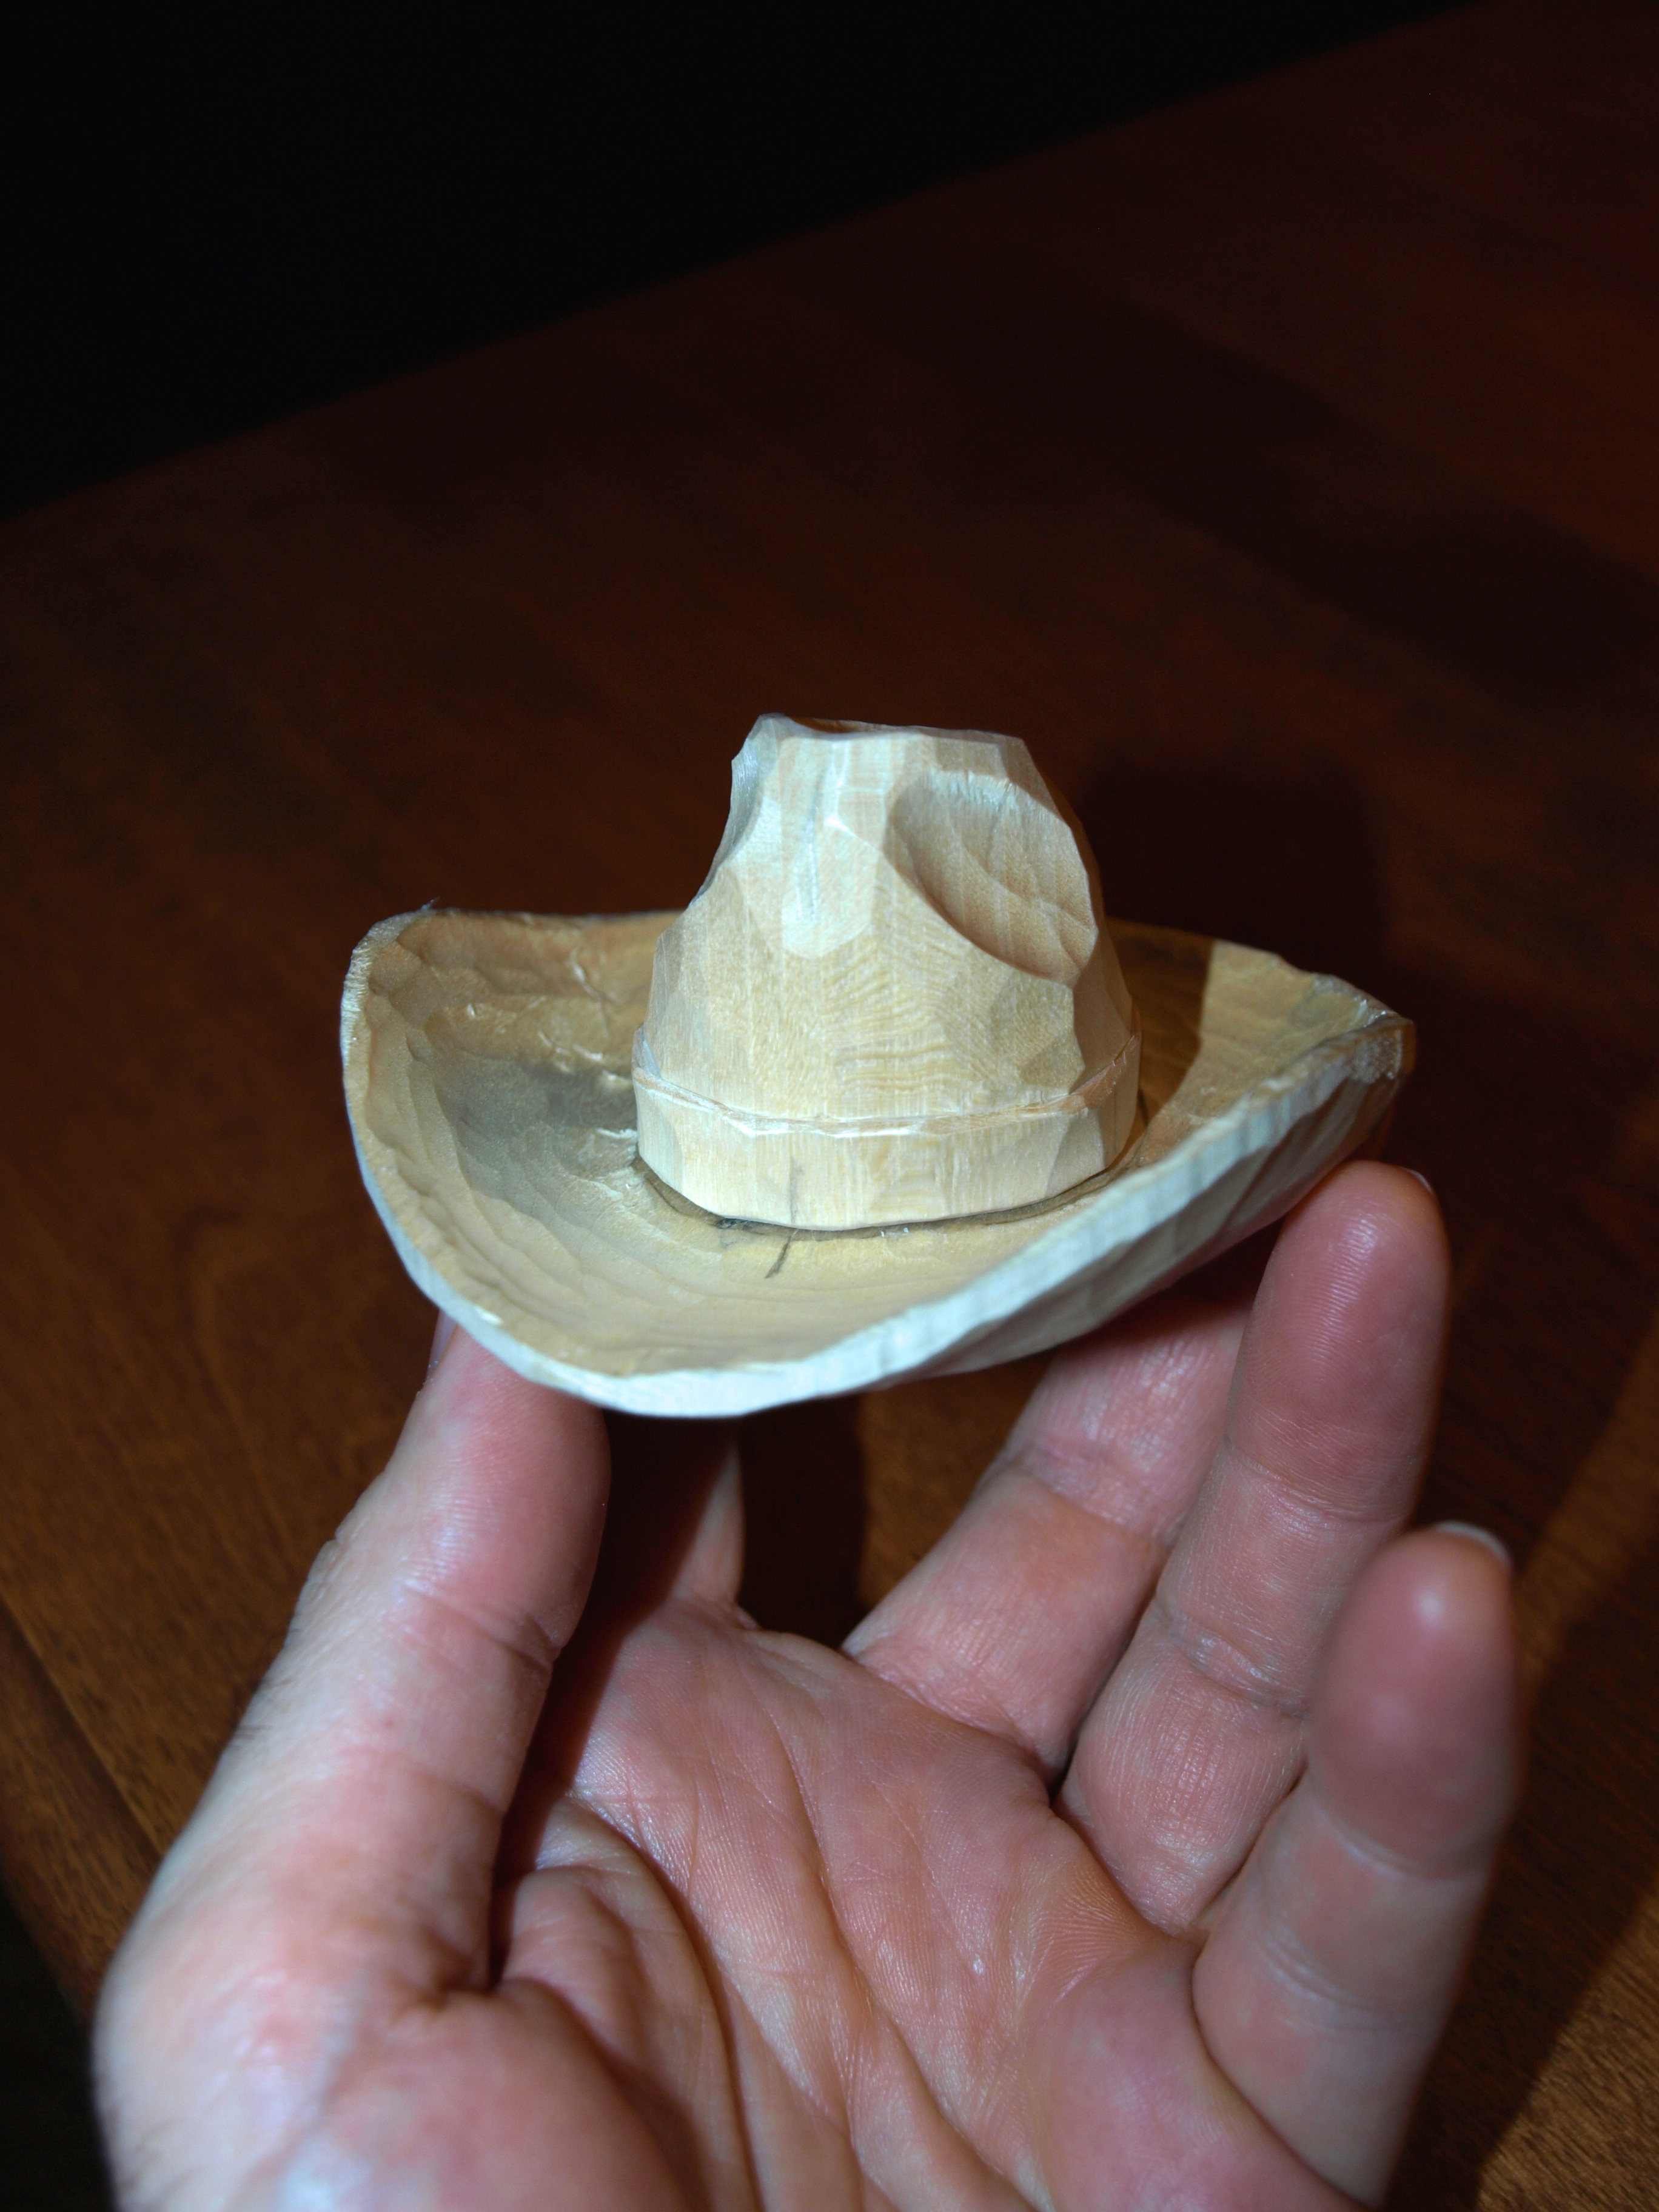
The roughed-in surface after the shaping with the Foredom tool and a bit of refining with a carving knife is looking like this.  Next step will be to cut a flat section along the top of the head and add in a weathered, droopy, cowboy hat.

OLYMPUS DIGITAL CAMERA


OLYMPUS DIGITAL CAMERA


Some Rug Braiding

I’ve done some rug braiding tonight and the rug is now ready for paint!

The planked floor and the shaped base beneath it also got some stain and urethane earlier this week, so the base is coming to completion.  I’ve typically painted the wood grain lines on the plank floor with acrylic paints, however, in this case, the planks are running parallel to the grain in the oak base and, given that the grain is very fine, an oak finish looked just right to make a true-to-scale rendition of a floor.

OLYMPUS DIGITAL CAMERA


After doing some sanding, the edge of the base got a darker stain than the planked floor just to make the perimeter stand out.  I also included some small nails at a few of the plank joints in the floor just to add some more interest.

My next step will be to use some acrylic paints to provide a multi-colour rug pattern within the “braided” lines that I’ve already burned in with a wood burner.  I’m planning to use diluted “washes” of a number of colours so that the rug ends up not looking too bright…I’d prefer something that looks well used.

Hound in a Hat…

I’ve carved in the cushion for the rocking chair and have added a nice barnyard red to it to provide that country look.  With the bit of dry-brushing that I did on the cushion, I’m thinking that it’s looking sufficiently worn like a good rocker should be.  I put a darker stain on it and then pulled away some of the colouring on the high spots, again, to give it a well used look.  When I get a bit of urethane on it, the colour of the cushion and the grain in the rocking chair will really stand out.  I’m also planning to add some cushion ties when things are in the final stages to really give it a complete look.

OLYMPUS DIGITAL CAMERA

I also did some roughing-in on the hat.  I was shooting for something that looked like a big straw hat somewhere between a cowboy hat and a sombrero.  I think I’m pretty close.  The trick was to ensure that the hat looked like a good fit on the Country Hound…and fit around the back of the rocking chair.  Took a bit of fitting back and forth.  In making the hat ( two pieces ) and fitting it to the Hound’s head, I used the process of scribbling pencil lead on one of the two mating parts and then cutting away the high points where the lead marked the clean mating piece.

OLYMPUS DIGITAL CAMERA

With all of the individual pieces together, our little Hound is coming right along.  Time to start adding some detail next.

OLYMPUS DIGITAL CAMERA

Ottawa and Progress on the Country Hound

Tomorrow afternoon I’ll be heading out to Ottawa to drop off my carvings for the “Poetry in Wood” Carving Show and Competition.  I’ll bring along the same carvings that I had entered in the Pickering Show of a couple of weeks ago: Hobo and Ned; and, the Three Louisiana Hounds.  I’m sure that they’ll be enjoyed in Ottawa because it’s a great group of people who meet there for the show.

My location in Kingston and my links to Southern Ontario are quite nice from a carving standpoint…the Pickering Show which is a couple of hours away brings in carvers from central Ontario around the Toronto area; the Ottawa Show which is a couple of hours in the opposite direction brings in carvers from Eastern Ontario and Western Quebec; the Hamilton Show at the beginning of next year brings in Central and Western Ontario and is located almost in the backyard of my daughter’s home in Ancaster; and, the Niagara Competition brings in carvers from Southern Ontario and is a stone’s throw from my Mom’s home.  So, I pretty conveniently take in the major competitions around the province.  There is one other great competition that I know of in Kitchener which is in Western Ontario…hmm…I do have an Aunt who lives in those parts…just thinking.

Here’s a quick couple of photos of the Country Hound.  Not much changed since my last update although I’ve detailed the rocking chair a bit more, added in some cross braces on the legs and did some wood burning on the upper-most head piece.  He’s coming along.

OLYMPUS DIGITAL CAMERA

OLYMPUS DIGITAL CAMERA

Ain’t Nothin’ but a Hound Dog…

…rockin’ around town.  Ok, now it’s time to get rockin’ on the rocking chair.

The little chair for the country hound will be made from oak and fashioned as you’d expect a country chair with a bit bulky pieces rounded simply and with a ladder back. The first photo depicts the runners cut from about a 3/8″ piece of oak with the grain running in the direction of the runner.   I had to take a good look at my Grandma’s rocking chair that I have at home to realize how slight a curvature is actually in the rocking chair runner.  Also, if you hadn’t noticed before, the rear of the runner on a rocking chair is flatter than the front to prevent the chair from rocking too far backwards and up-ending the occupant.

You see how much you learn when you try to carve something!?  The second photo is of the two runners cut out.

OLYMPUS DIGITAL CAMERA OLYMPUS DIGITAL CAMERA   The uprights for the base of the chair that attaches to the runners were cut of the same material.  Again the grain was oriented for greatest strength.  The second photo, below, shows the drilled hole in the runner along with a carved-down upright piece that fits snuggly in place.  Although everything will be rounded out nicely after I do some carving, I want to keep the look of the tapered sections that fit into the holes as it will give the chair a less refined and more rustic country look…just like some country craftsman ( crafts-hound? ) made it without the availability of the best power tools on the market!

OLYMPUS DIGITAL CAMERA OLYMPUS DIGITAL CAMERA   So, this is what it shapes up to look like at this stage.  I like the general proportions.  I still need to add in some cross members between the uprights on the two runners. The chair seat is nice and thick at this point and will give me a chance to trim it down and possibly include a chair cushion…I’ll have to think about that but right now a colourful chair cushion might be a nice addition.  Next steps will be the chair back with its ladder rungs and, of course, all of the rounding and detailing.

OLYMPUS DIGITAL CAMERA

Now that I look at this picture, I should also mention that I numbered each mating piece as it’ll be important when I do the final gluing that the right pieces went in the right spots in the right way.

Enjoy the photos.  Any comments or questions, just fire away.

Just Needs a Hat

This little Country Hound really does just need a hat now before I can say that the roughing-in portion is complete.  Of course, all of the detail is ahead of me in order to really bring out his personality.  After the hat is roughed in, I’ll probably begin the rough in of his rocking chair just so that I’ll know the basic fit of everything before the detail gets carved in.

So, since my last post, this little guy has acquired a second ear as well as a second rear leg.  The leg had to wait until I was sure on the placement of the banjo.  Both the second ear and the leg went in with the same fashion as I outlined in the previous post…some lead “pencil” rubbed on the body of the carving and then some repeated fitting and removal of the lead marks on the leg and ear.  Everything is just placed together right now with a glue gun, so it will be a simple matter to remove these pieces and add the detail that I want later on and then use the same lead-mark-removal method to get the final tight fit.

Oh…and for those worrying about my house chores…I also painted three windows this weekend ( just in case Peggy is reading this post ).

Hope you enjoy the photos.

OLYMPUS DIGITAL CAMERA

OLYMPUS DIGITAL CAMERA

OLYMPUS DIGITAL CAMERA

An Ear for Music

This hound definitely will need to have an ear, or two ears, for music…so, here’s the start of that tale.

The outline of the ear was drawn out on a piece of paper and cut on the bandsaw from a block of basswood such that the grain of the wood ran along the length of the ear outline.  Remember, this is important because the strength of the wood is greatest along the direction of the grain and you would prefer to have as many items as possible on the carving making use of this natural strength.

After a very rough approximation of the contour of the ear around the shoulder and front leg ( I want to call it an arm…I mean, he is playing a banjo after all ) I cut that contour out with a second trip to the bandsaw leaving a lot more wood than I would eventually need.

OLYMPUS DIGITAL CAMERA


And the reason that you want to leave a lot of wood initially is that you are going to very gradually cut the inner side of the ear down little by little until it fits exactly and tightly to the shape of the head, shoulder and front leg.  The way that you can do this is to take some artist’s lead ( usually comes in a bar, but a very soft pencil could work ) and rub the body with it where the ear will fit.  Then, when you place the ear where you want it and wiggle it around a bit, a bit of the artist’s lead rubs off on the inner part of the ear.  If you look close you can see the little marks left on the ear that basically represent the high points on the ear that touched the lead.   After that it’s a simple process to gently cut away those marks with a knife or chisel.  Repeating this process over and over again eventually gives you a super tight fit of the ear to the rest of the carving.

OLYMPUS DIGITAL CAMERA


Put some of your favourite music on while you do this as it takes a while…but the end result is perfection.  By the way, the lead markings can be shaved away and washed with soap and water.  Also…wash your hands well…lead isn’t very good for you, so be sure not to ingest it by getting it on your hands and then eating something.

Fitting the Banjo

I’ve been working on the basic shape and fit of the banjo in the Hound’s arms and he’s looking pretty good.  I was able to epoxy the arms in place now that the banjo is about the right size.  Still a lot of detail to go but this gives me some sense of the dimensions of things to work against.  I’ll probably carve the one back paw, now that I know where the banjo is going to sit, as well as a couple of roughed in ears, now that I have the front paws positioned.   Not the best photo, but you can get a picture of where we’re heading with this carving.

OLYMPUS DIGITAL CAMERA

Banjo Playing Paws

These front paws will eventually be shaped around a nice little banjo for a tune or two.  In the photo, I’m just holding them in place with my fingers but I’ll be adding some small diameter dowels shortly to hold the front legs in place while I shape in the detail.  When I’m finished with all of the shaping, they’ll be epoxied in place for good.

I’ve also added a bit more shape to this little hounds neck and he’ll develop some jowls before the weekend is over.

But…it is Canadian Thanksgiving this weekend and I’m afraid that I’m going to have to turn my attention to eating too much turkey and dressing in a short while.  Just so many things to do…

Happy Thanksgiving to those Canadians celebrating this weekend.

OLYMPUS DIGITAL CAMERA

Rough Looking Country Hound

Yeah, he does look a bit rough…but that’s the way that they start out.  I’ve said it before, I tend to call this stage the “seal” stage as they look more like a seal to me than a Basset Hound.  If you’re inclined to carve a hound, be sure to shoot for the seal look as you’ll know you’re going in the right direction!

Right off, you’ll notice that I’m missing a few parts.  The arms are being done separately for a couple of reasons.  First, the grain has to be going along the length of the arms to give them some strength.  I like to think that my carvings will be around for a long time, so I want the parts and pieces to be strong and lasting.  Second, I need to fit a banjo in there and I’m suspecting that I’ll need to fit the arms in their final spots after I’ve carved the banjo.  I can’t wait to do the banjo.

The ears are separate as well for much the same reasons.  They need to flow over the arms ( which will be over the banjo ), so they need to go in separately, and second, I want the grain to be in the direction of the flow of the ears for strength.

Finally, I decided to add one of the little back paws as a separate piece as it needs to “cuddle” the banjo.

I’m also painting windows right now ( what on earth that has to do with carving, I’m not sure, but I’m told is right up there in priority ) so I may not get an update on the arms until a bit later this week.

Now that I look at the photo, I should remind those that are carving to always wear a kevlar glove in your non-knife-holding-hand.  It won’t save you from a puncture into the weave, but it will save yourself being cut by a glancing knife blade.  They’re inexpensive and sold at all carving shows and many building supply stores.  If you’re of the opinion that a real carver doesn’t use hand protection, remember that if you cut a tendon in your hand or finger you’ll not be enjoying your hobby for a long, long time.  Although you might still be able to paint windows.

OLYMPUS DIGITAL CAMERA

Post Navigation