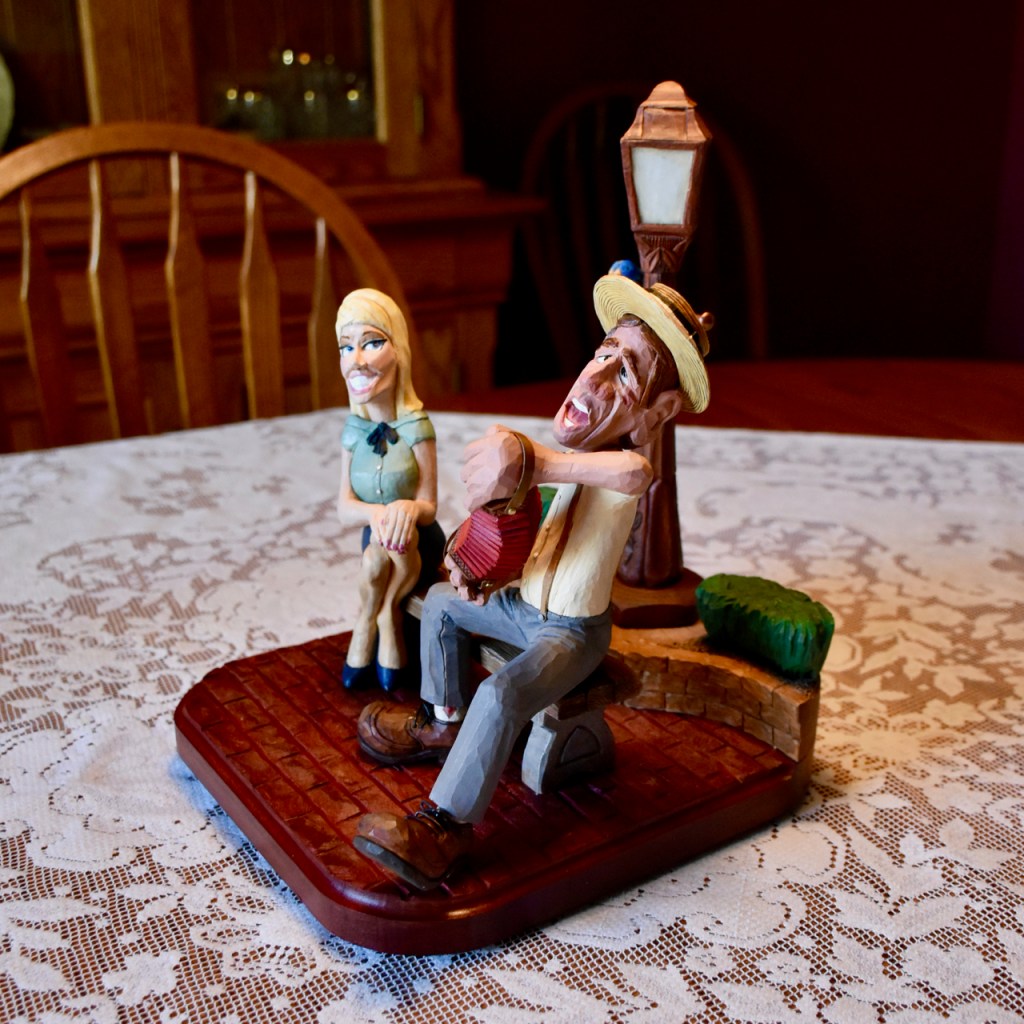
Might be Finished
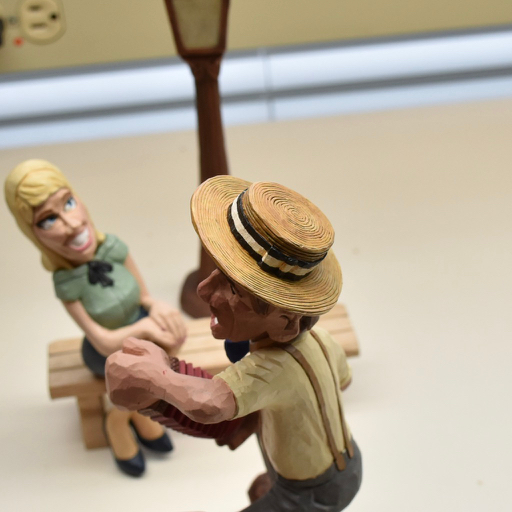
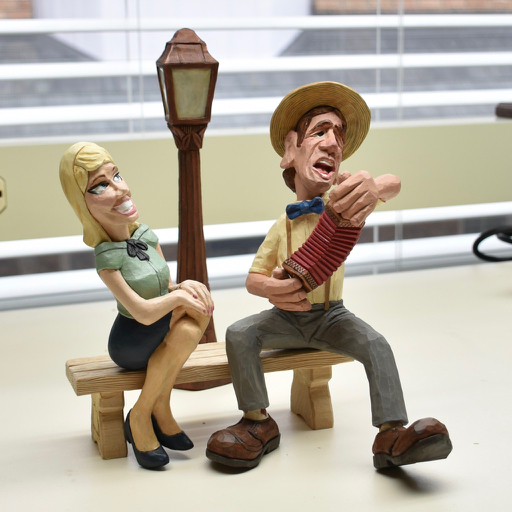
I’m never quite sure when I’m finished a carving. I can always think of something extra to add and, in this case, it’s probably going to be a little dog. But for now, I’m going to call this one complete enough to put into a cabinet and move on to some serious gardening.
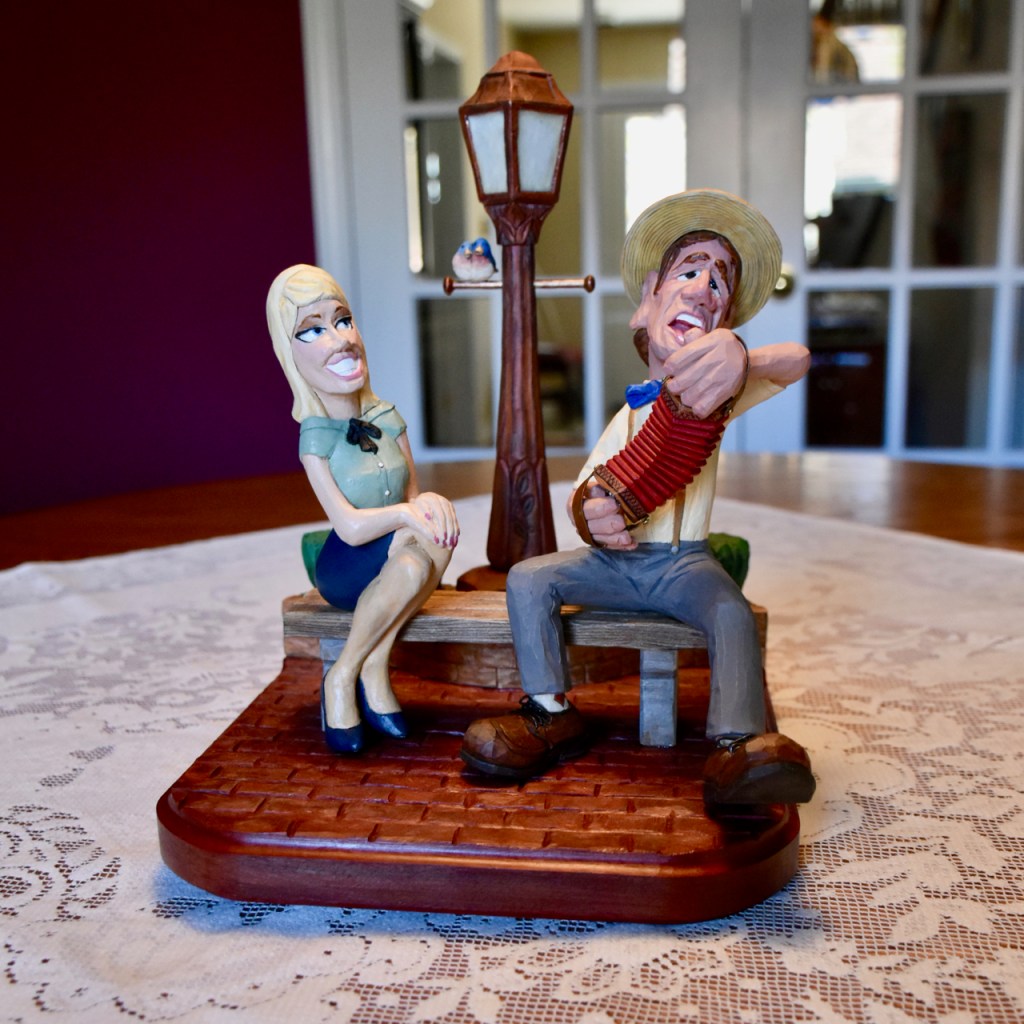
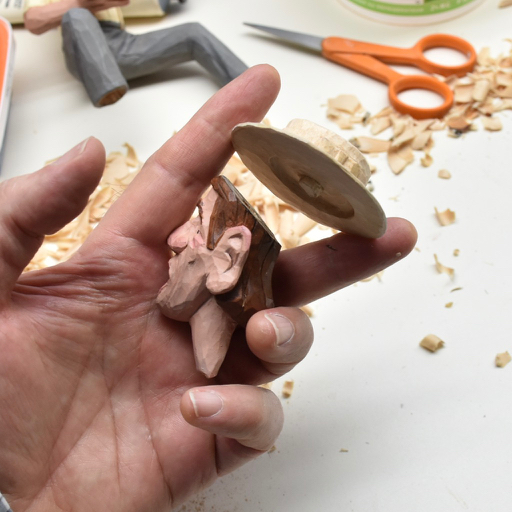
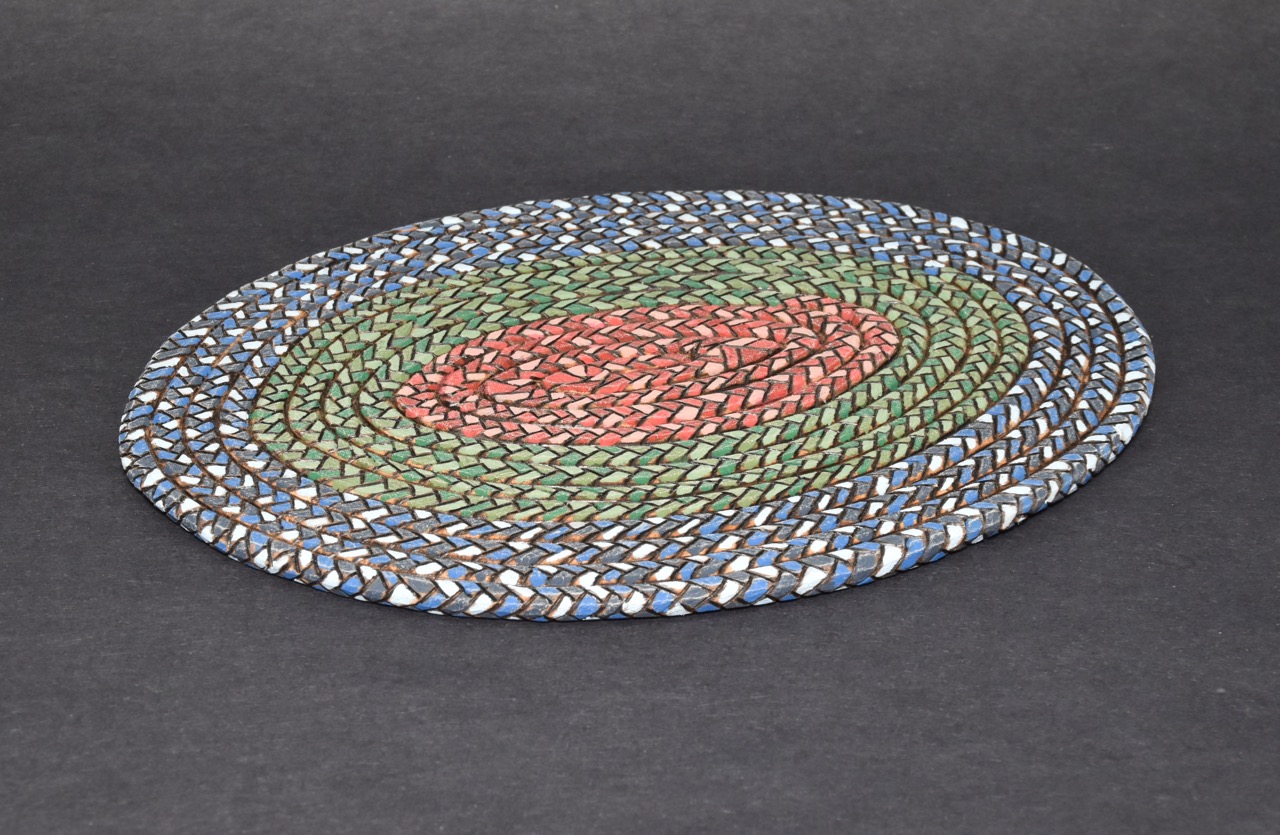
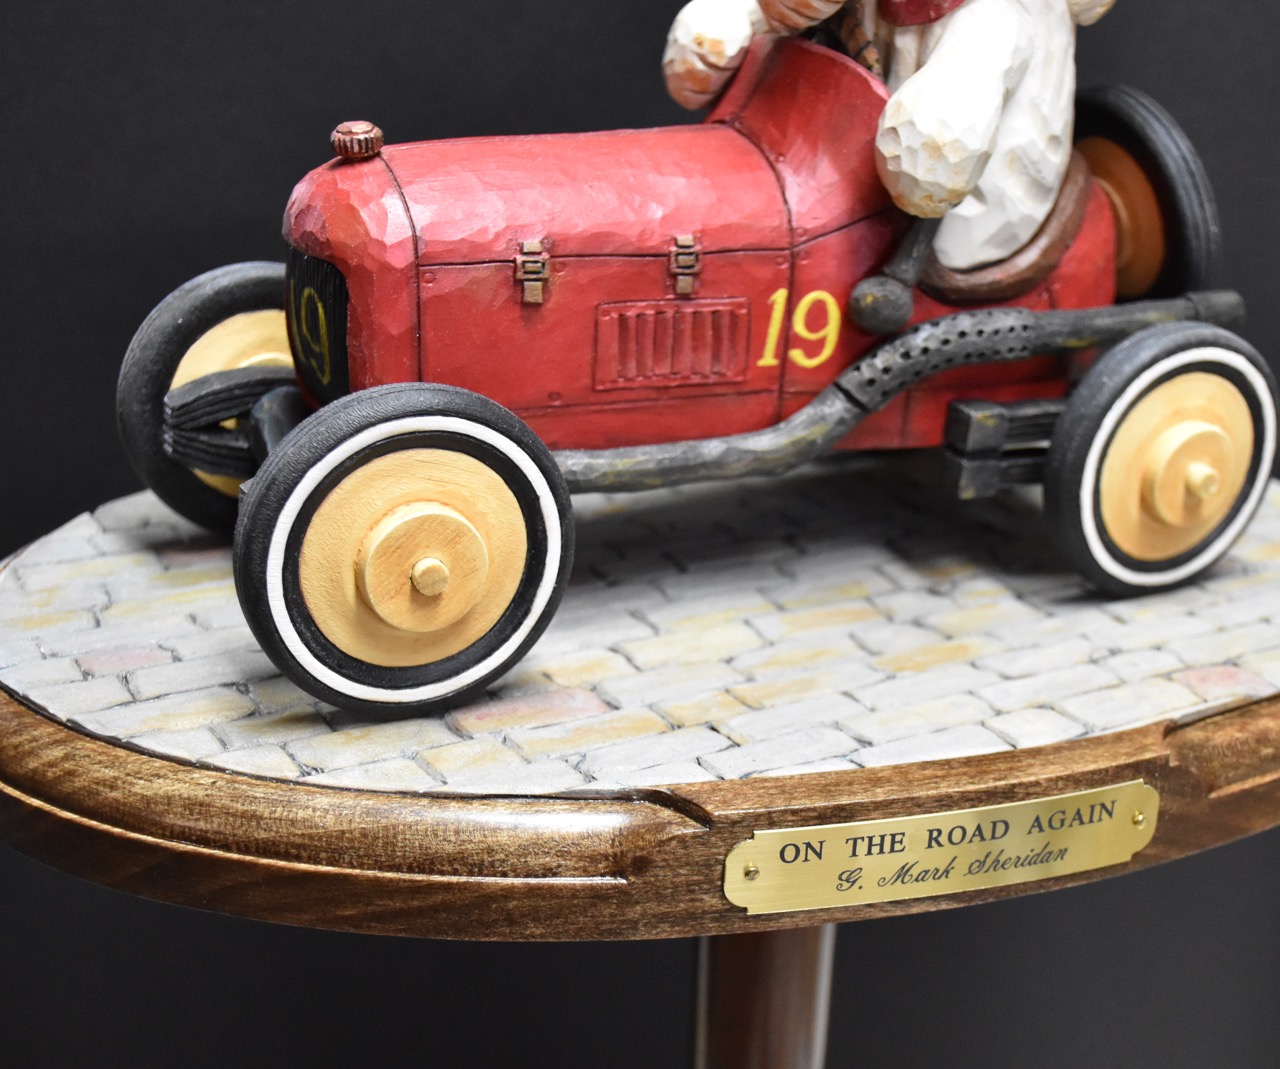
A friend gave me a piece of bloodwood. I’d never heard of it either. It’s a South American wood, very red in colour and when it’s cut on a power saw it has a very nice odour…something like coconut butter. I used a dust mask but could still smell the fragrance of the wood. Oh…and it’s hard as nails…I would imagine if you were making something substantial from bloodwood, you’d need to buy some new saw blades and router bits after the project was complete.
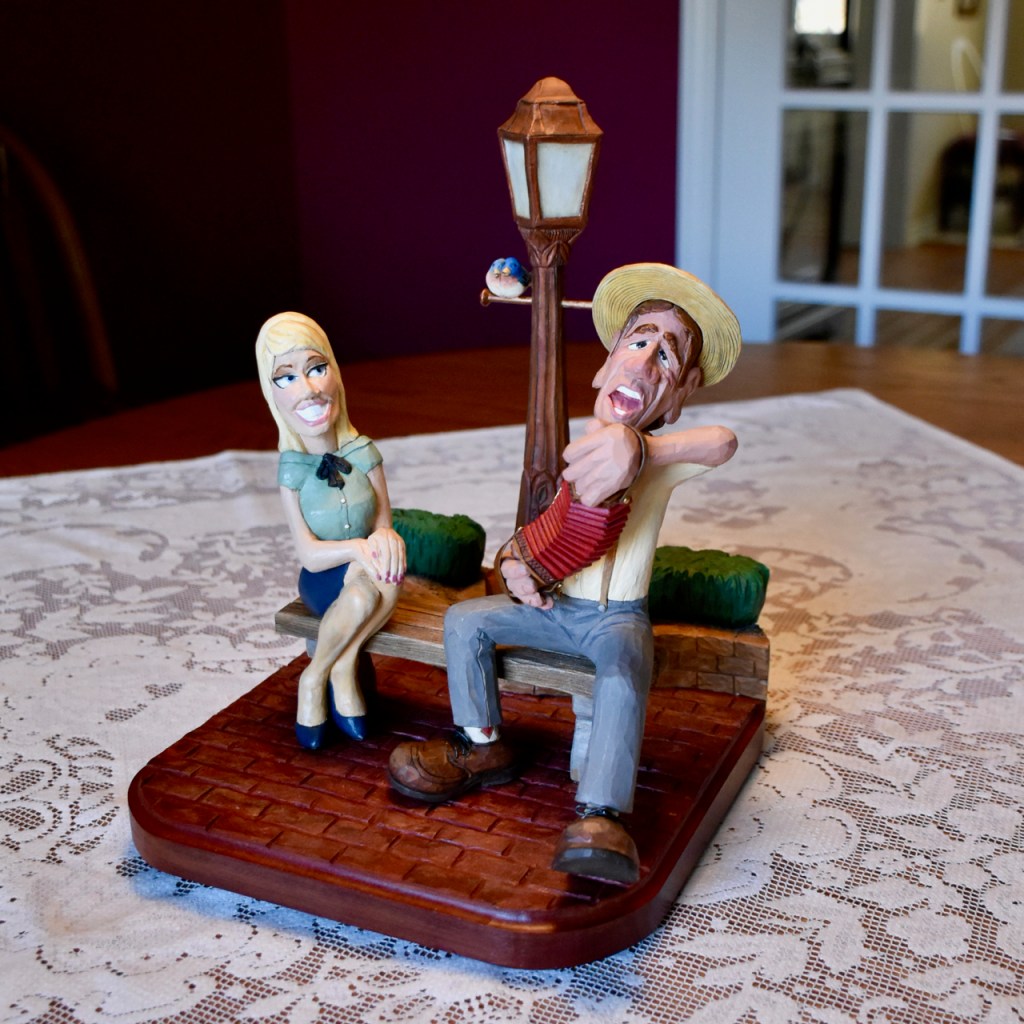
I used the bloodwood for the base and carved/chiseled/ground/dynamited a few lines in it to represent cobblestone. I then added a little flower bed at the back made from basswood ( which felt like carving butter after carving the bloodwood ) and included a brickwork wall. I added a couple of evergreen bushes and it all ended up looking like a nice backdrop.


I drilled a hole through the lamp post and inserted a brass tube. A couple of screws and washers on the end covered in epoxy made nice little end spindles. Of course, a couple of little blue birds needed to be added to this bar. I also used some light metal sheet to make straps at the end of the accordion.
Before everything was epoxied in place, everything got a light coat of satin urethane.
So, now it’s on to the gardening!