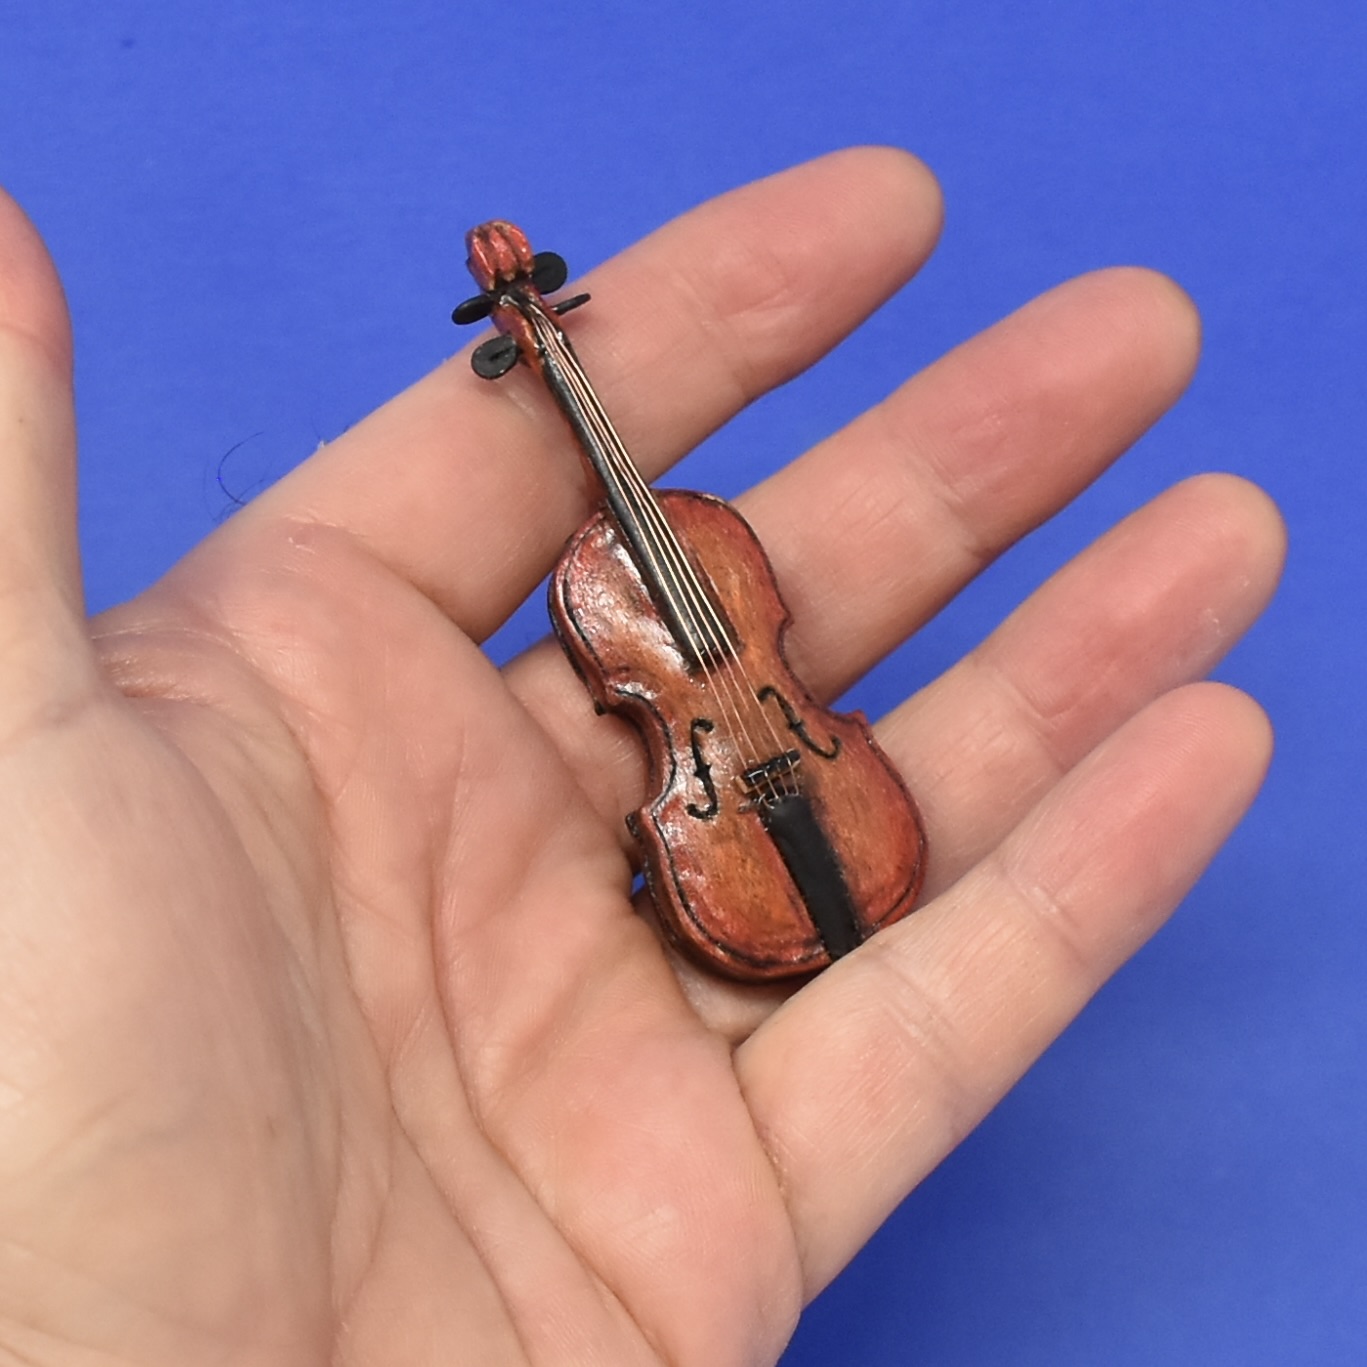
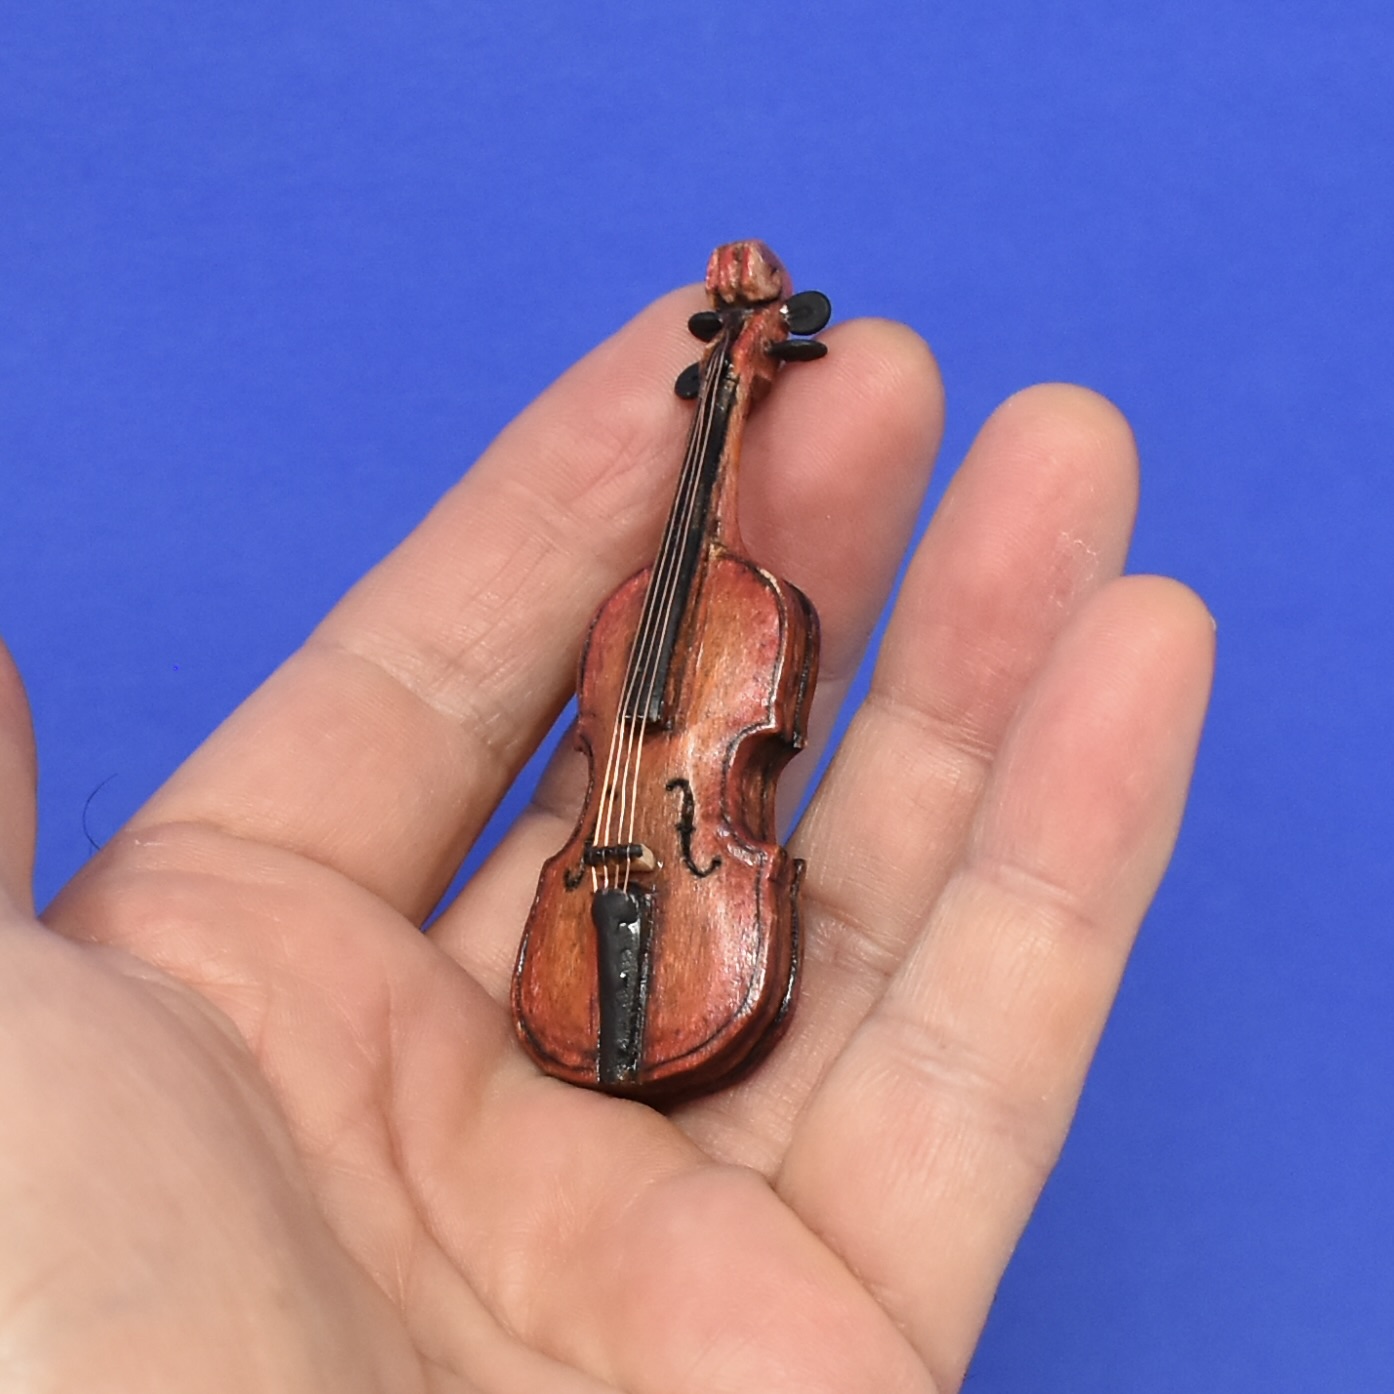
Final Details on the Fiddle
Much of the fiddle was finished on the previous step, but I did add some final touches.
The little gear/mechanism handles for tuning were made from household copper wire. I just curled the end of the copper wire over on itself and flattened those ends into a bit of a pancake shape. A very small gap would remain in the centre of the handle but, once I put some black paint on them, the little gap was filled. The other straight end of the copper wire got cemented with expoxy into four drilled holes in the head of the fiddle. The downside of cementing them in place is that our little gal will have to live with whatever tuning the original string arrangement produces!
Because the fiddle was carved from a piece of Maple, I started the painting by staining the wood with a Red Mahogany oil stain. I then followed up with red, orange and yellow acrylic paint to get the right colouring and shading that I was after. The fretboard and the backboard were painted black. It was all finished up with a couple of coats of gloss urethane to give it a shine.

The strings ended up being wire. I had considered a number of suggestions but I felt that fine wire was the way to go. I took some braided speaker wire and unwound four very fine wires. I twisted the four separate wires at both ends of the length that I needed, and epoxied one end into a hole drilled into the head of the fiddle. I cemented that with epoxy and spread the wires evenly across the fretboard by making small knife cuts into the end of the fret board and cementing the wires within those grooves.
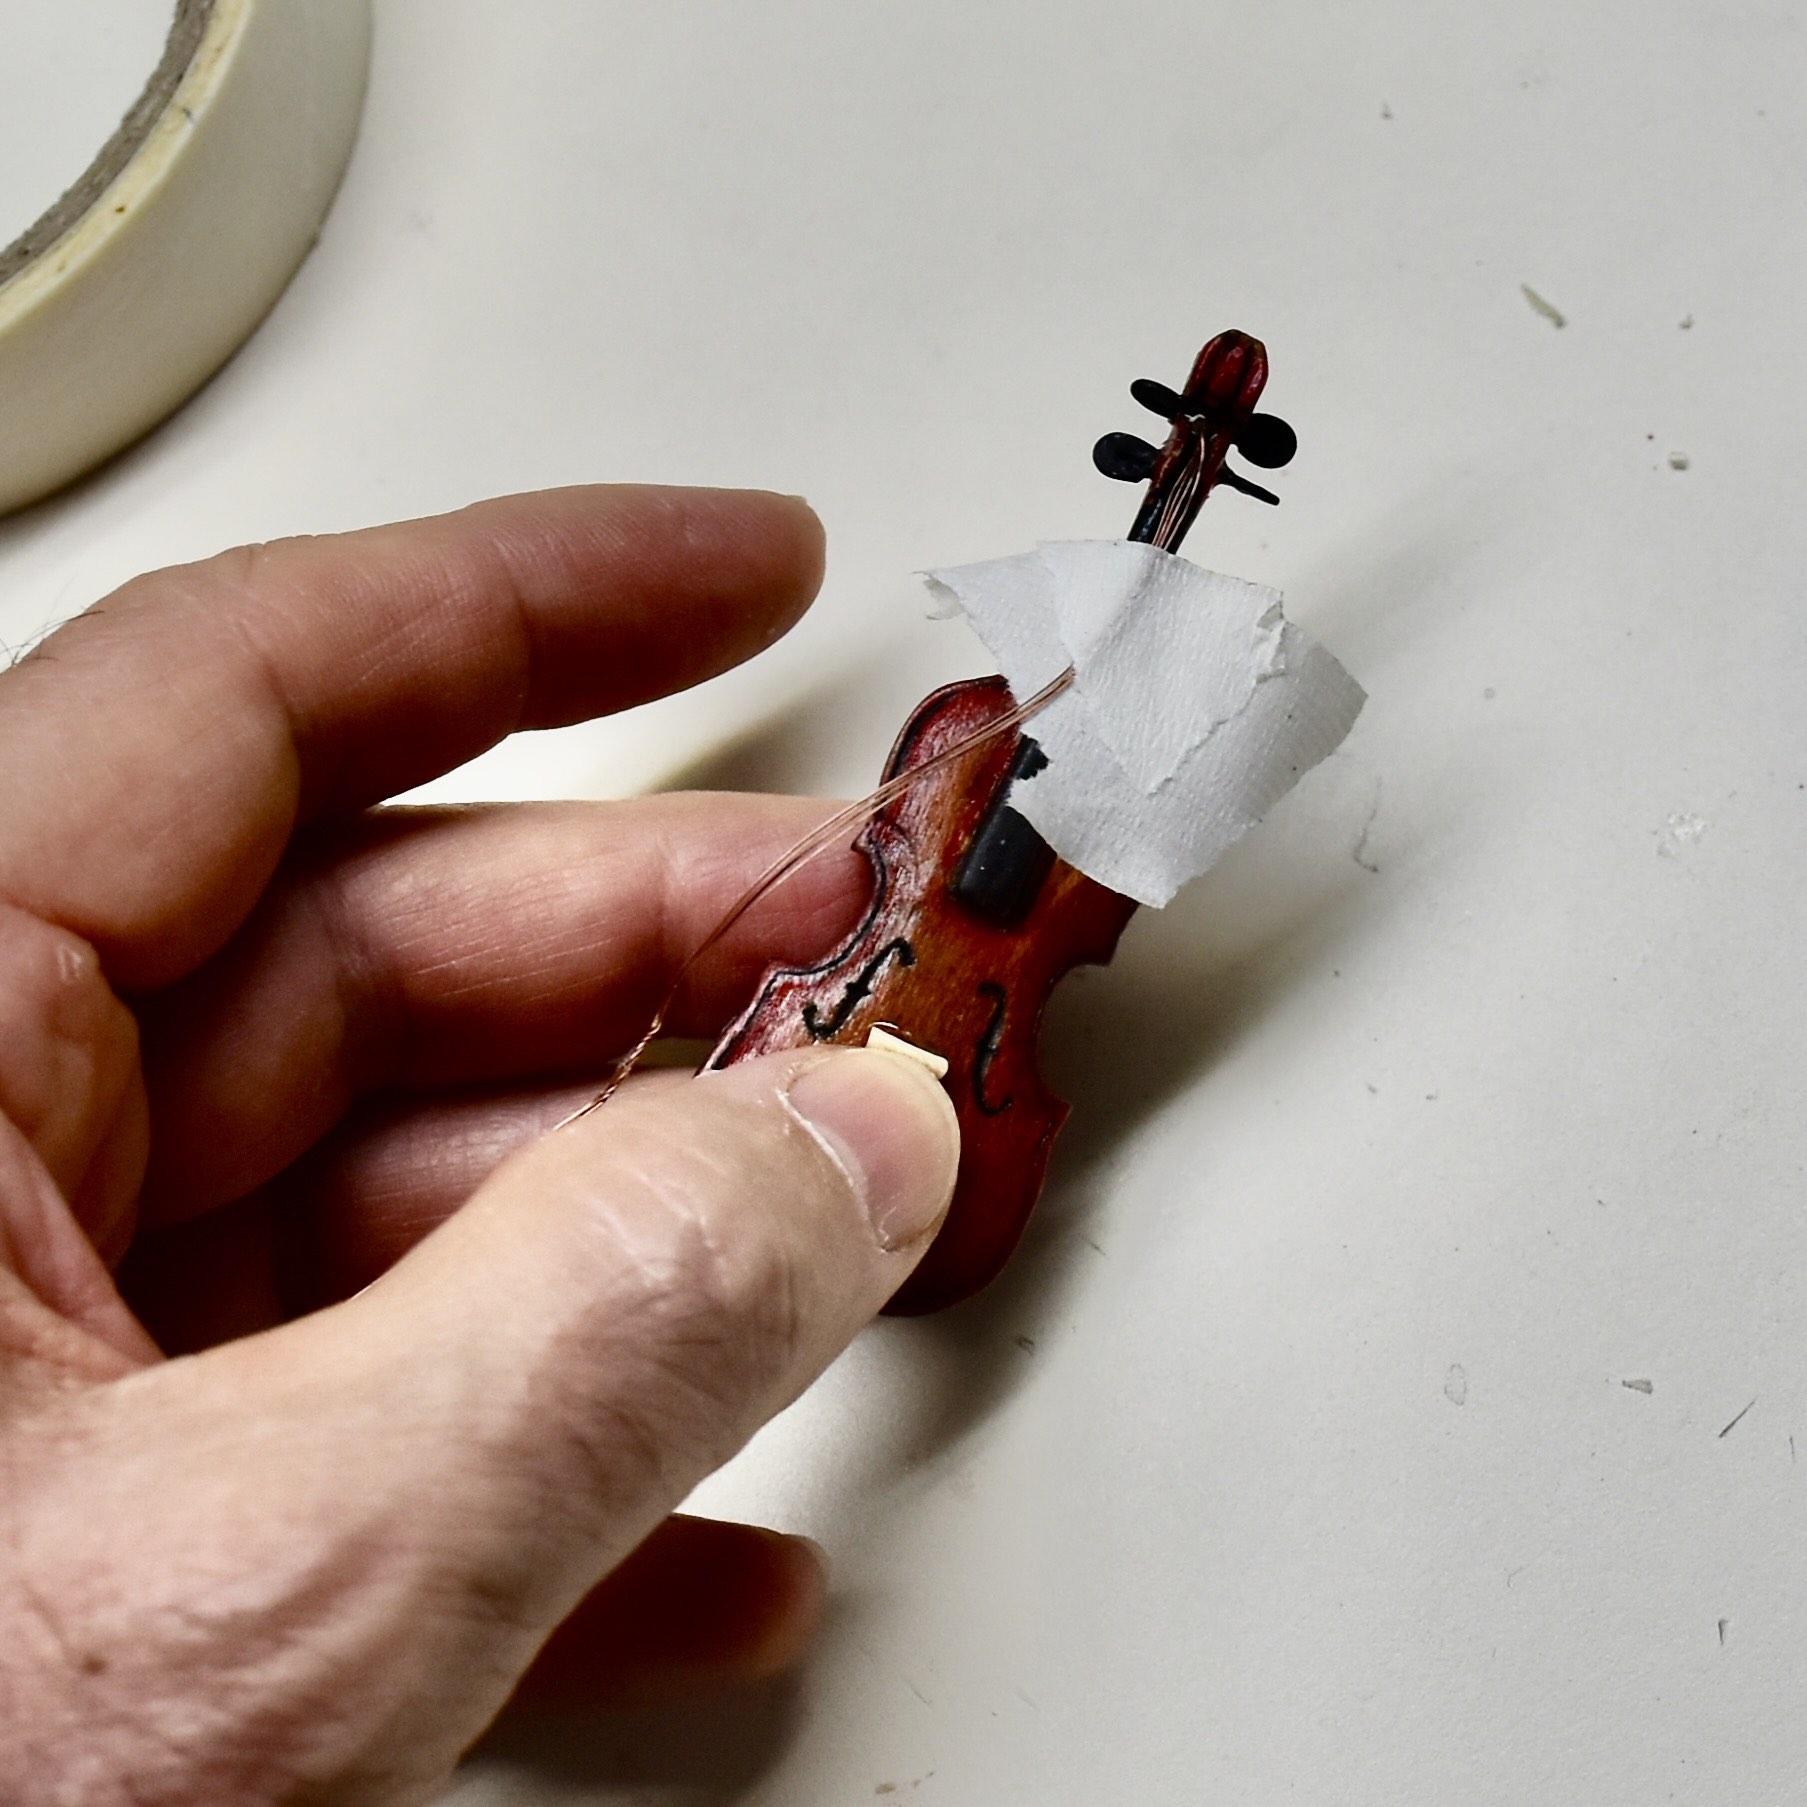
I made a small channel into the backboard of the fiddle and cemented the opposite twisted end of wire strands into that channel. By stretching the wires reasonably and clamping them while the epoxy dried, it ended up being a nice, tight fit. A bit of black paint over the epoxied pieces finished up the fiddle.